
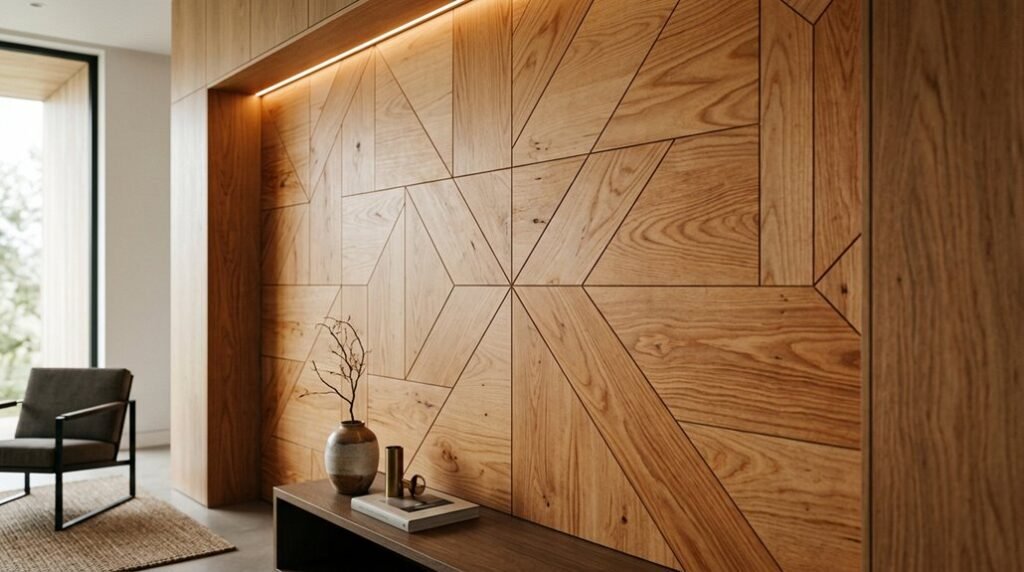
Your walls are the bones of a room, and plywood is the skeleton wearing tailored oak. You will spend 40–60% less than solid wood while gaining dimensional stability from cross-laminated veneers. The right 3–18 mm sheet, FSC-certified and A-grade finished, turns telegraphing-prone surfaces into gallery-ready planes.
But thickness alone won’t save your edges from looking cheap. You need a system: zero-VOC sealants, concealed fasteners, and millwork-grade reveals. The first decision you make determines whether your installation reads as deliberate design or budget shortcut.
Why Plywood Walls Deliver High-End Looks for Less
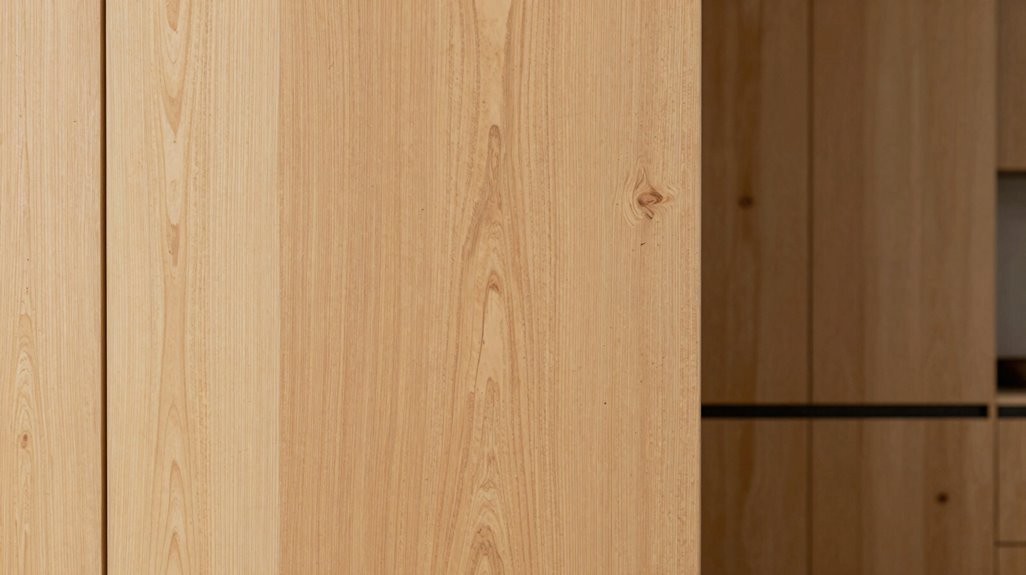
How do you achieve the structural integrity and visual warmth of solid wood without draining your budget? You choose plywood walls, and here’s exactly why they belong in your space.
Plywood delivers premium results through engineered precision. Thin wood veneers, glued with opposing grain directions in 3, 5, or 7 layers, prevent warping and maintain dimensional stability. You’ll get roughly double the rigidity of drywall, so no trouble playing with weak, flexing surfaces that feel cheap under your fingertips.
Plywood’s cross-layered construction delivers twice the rigidity of drywall, eliminating the cheap flex that undermines quality surfaces.
Standard panels measure 2440mm × 1220mm, with thicknesses from 3mm to 18mm matching your structural needs.
Finishes change these panels fast. Stain, paint, or varnish open up three distinct aesthetics, natural grain, rich tone, or clean color, at a fraction of solid wood cost. Over 70% of U.S. options carry FSC certification, and recycling remains straightforward.
Plywood vs. Drywall vs. Plaster: What Actually Changes
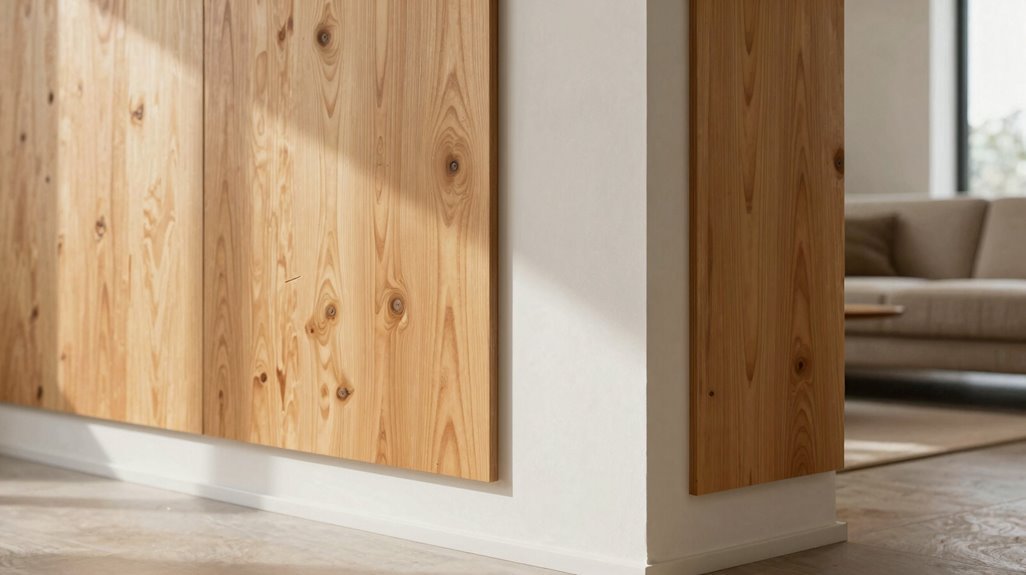
Where exactly does plywood pull ahead of drywall and plaster when you’re building out interior walls? You get structural superiority from the start. Plywood’s cross-laminated veneers, typically 3, 5, or 7 layers, deliver twice the rigidity of same-thickness drywall. That stability prevents warping, shrinks your installation timeline, and eliminates callbacks.
Your maintenance burden drops markedly. You dust monthly instead of repainting every 3-5 years. When damage occurs, you patch small sections fast. Drywall repairs demand joint compound, sanding, and priming. Plaster requires skilled labor and extended cure times.
Finish flexibility seals your advantage. You stain for grain visibility, paint with zero-VOC options for nurseries, or varnish for durability. Natural to dark wood tones integrate across design styles without the 20-30% premium of solid hardwood.
Plywood Wall Costs: Real Savings vs. Drywall and Solid Wood
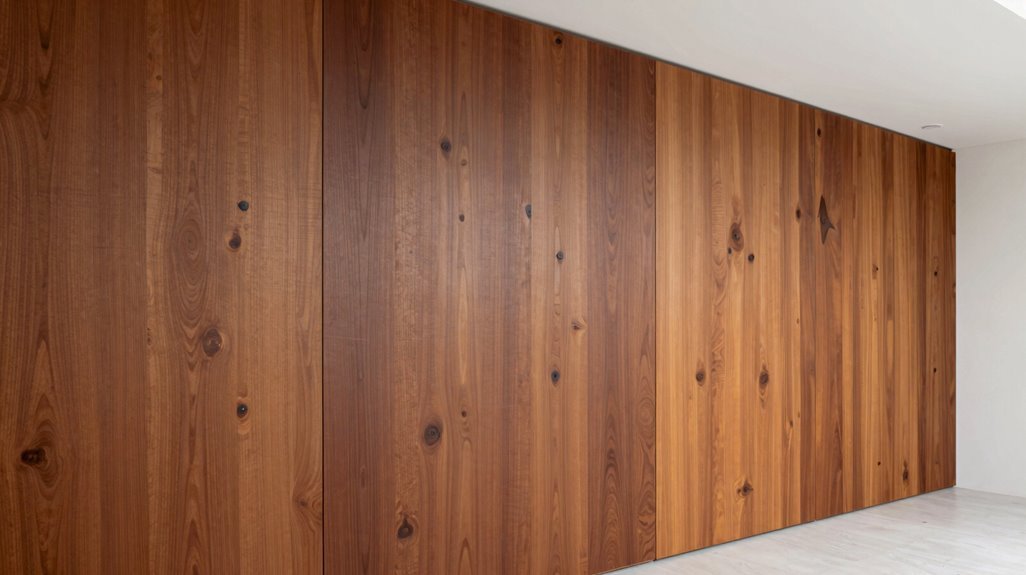
Why exactly should you choose plywood when budget pressures mount? You save 20–30% per square foot versus solid hardwood, and 10–15% against high-end drywall. That’s real money you redirect toward finishes, fixtures, or your next project.
Plywood sheets measure 2440 mm × 1220 mm, with thicknesses from 3 mm to 18 mm. You select your grade, then apply stain, paint, or varnish; three options, zero complexity.
You cut installation time significantly. Each room requires 4–6 fewer labor hours than plaster walls. You also handle material easier: plywood weighs roughly 50% less than solid wood, accelerating your workflow and reducing physical strain.
You achieve affordability without sacrificing adaptability. Your walls look premium, your budget stays intact, and you join the growing community of builders who work smarter, not harder.
Which Plywood Grade Gives That Premium Finish
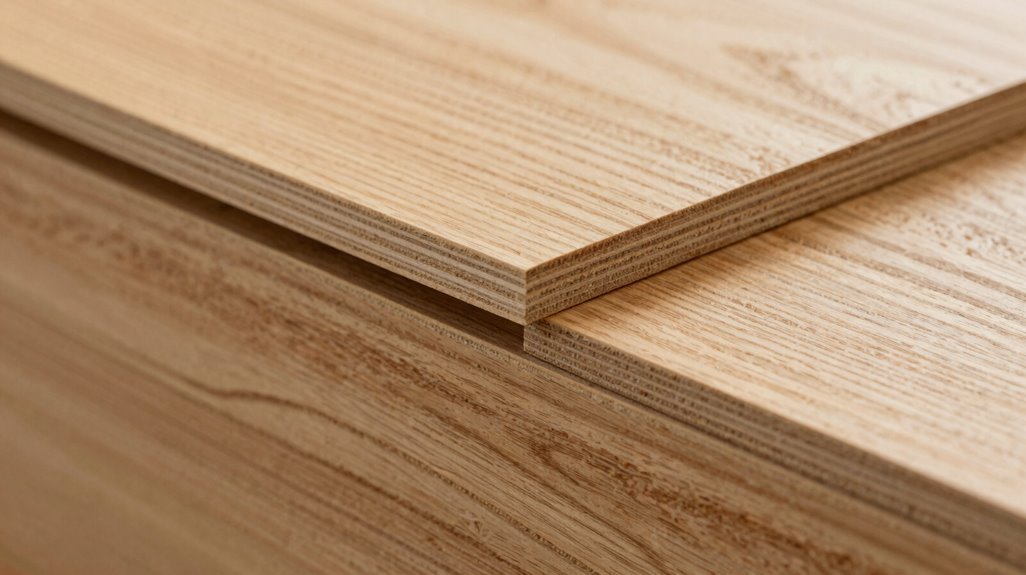
What distinguishes a wall that merely covers space from one that commands attention? You choose hardwood plywood or marine-grade plywood for premium finishes, plain and simple.
Hardwood plywood delivers tighter grain, fewer voids, and stronger veneers than softwood alternatives. You’ll notice the difference immediately: uniform surfaces take stain and paint flawlessly.
Marine-grade plywood adds dimensional stability and moisture resistance, preventing warping that ruins high-end appearances.
Specify A-grade veneers for minimal knots and seamless finishes. Pair these substrates with zero-VOC paints, durable varnishes, or tinted stains to maximize depth and color clarity.
Your thickness selection matters too. Thicker panels resist telegraphing through finishes.
Skip lower grades if you’re serious about belonging among discerning designers. B-grade tolerates minor imperfections, but you want A-grade every time for gallery-worthy walls that signal refined taste without apology.
Where to Buy Plywood Wall Materials Without Overpaying
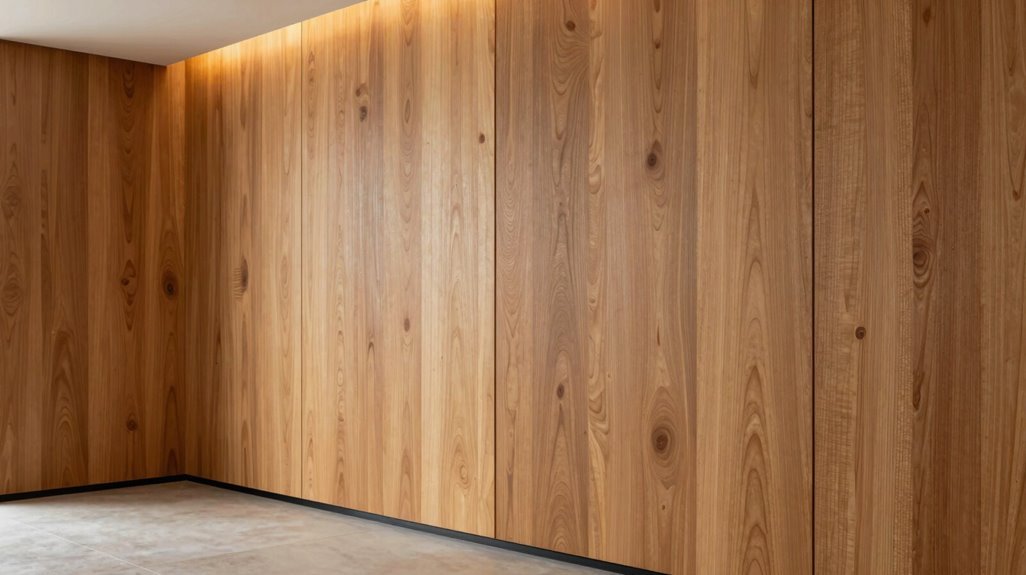
You’ll need to balance smart sourcing strategies with quality cost balance to avoid overpaying on plywood wall materials. Compare hardwood, softwood, and marine plywood grades across multiple suppliers, checking for FSC certification and moisture-resistant options that fit your 3mm–18mm thickness requirements.
Prioritize retailers offering competitive per-square-foot pricing, typically 10–15% below high-end drywall, while verifying sheet dimensions of 2440mm × 1220mm and available finishes like stain, paint, or varnish.
Smart Sourcing Strategies
Where exactly should you source plywood wall materials without draining your budget? You need vendors who deliver certified products, competitive pricing, and reliable specifications.
- Confirm FSC certification. You align with eco-conscious communities when you select suppliers offering FSC-certified plywood, which comprises over 70% of U.S.-sold inventory.
- Evaluate price tiers. You save 20–30% per square foot compared to solid hardwood, and 10–15% compared to premium drywall, by comparing supplier quotes systematically.
- Match plywood grades to applications. You specify softwood for standard interiors, hardwood for visible finishes, and marine-grade for moisture-prone zones requiring enhanced resistance.
- Confirm dimensional standards. You request 2440mm × 1220mm sheets with thicknesses from 3mm to 18mm, plus finish compatibility data covering stains, paints, varnishes, and zero-VOC options for three-plus aesthetic outcomes.
Quality Cost Balance
Smart sourcing sets the foundation, but you still need to lock in actual purchases without overspending. You balance quality and cost by matching plywood type to your project’s moisture exposure and finish requirements, not by defaulting to premium grades everywhere.
| Plywood Type | Best Application |
|---|---|
| Hardwood plywood | Visible interior walls, stain-grade finishes |
| Softwood plywood | Painted walls, budget-conscious projects |
| Marine plywood | Bathrooms, kitchens, high-humidity zones |
You buy 2440 mm × 1220 mm sheets in 9 mm or 12 mm thickness for most wall installations, reserving 18 mm only where rigidity demands increase. You confirm FSC certification, so your materials align with community values around sustainability. You compare suppliers on per-sheet pricing, not bulk discounts you cannot use, and you time purchases during quarterly sales cycles.
Screws, Nails, or Adhesive? What Holds Plywood Walls Best

How exactly should you secure plywood to your walls when strength, cost, and speed all pull in different directions? You need a method that delivers holding power without draining your budget or your weekend.
- Drive screws into studs with pilot holes and embedment of at least 1 inch for maximum pull-out resistance.
- Use nails sparingly; they’re faster but loosen under shear unless you add adhesive or bracing.
- Apply construction adhesive per manufacturer specs to distribute loads and prevent edge splits when paired with mechanical fasteners.
- Combine all three for climbing walls or large panels, and choose galvanized or stainless fasteners in damp spaces to prevent corrosion decay.
You belong with builders who prioritize lasting results over shortcuts.
How to Keep Plywood Wall Panels Flat Over Time
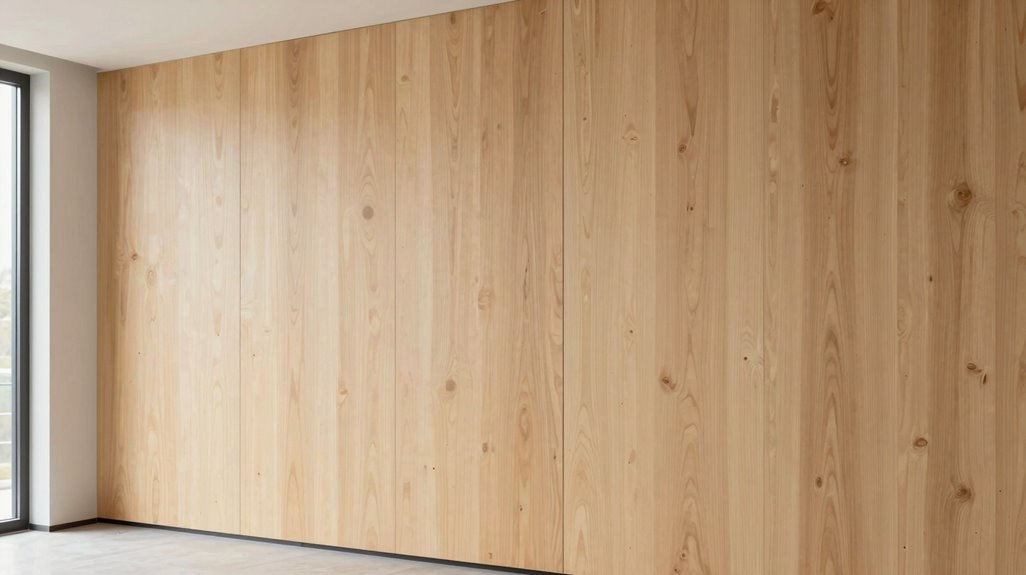
You’ve secured your plywood panels with screws, nails, or adhesive, but now you face the critical challenge of preventing panel warping over months and years. Structural support isn’t a one-time installation; it’s an ongoing system of top-to-stud bracing, metal connectors, and continuous back bracing that distributes loads and resists the subtle bending that threatens your wall’s flat plane.
Before you apply any finish, you’ll verify plumb with a long straightedge or laser, adjusting your top framing, then stage your assessment to catch residual movement early.
Preventing Panel Warping
Where exactly does plywood wall warping originate, and what structural interventions prevent it? Warping stems from uneven moisture absorption, inadequate bracing, and single-direction grain stress. You’re building something that lasts, so you’ll need precise methods to maintain flatness.
- Select multi-veneer plywood: choose 5 or 7 layers with alternating grain directions, which counteract bending forces under load.
- Install a top cross-brace first: secure this beam with screws before adding lower supports, distributing vertical loads immediately.
- Reinforce the back center: add planks or interjoist braces where flexing concentrates most severely.
- Specify marine-grade or moisture-resistant material: minimize dimensional changes from humidity fluctuations.
Follow this sequence, and your panels stay flat. Your installation joins a community of builders who prioritize structural integrity through proven, repeatable techniques.
Securing Structural Support
Your plywood panels won’t remain flat by accident; they need engineered support starting at the top. Install a top beam or 2×4 across every stud, securing it firmly to distribute loads before you address anything else. Without this anchor, your wall will flex regardless of how many boards you add later.
| Support Component | Installation Sequence | Load Distribution |
|---|---|---|
| Top cross-brace | First priority | Primary lateral stability |
| Interjoist braces | After top support | Secondary reinforcement |
| Backing boards | Final assessment | Supplementary rigidity |
Once you’ve locked in that top connection, step back and reassess. Check for remaining movement, then determine if additional bracing or lateral supports are necessary.
You’re building a system that works together, not layering temporary fixes.
How to Finish Plywood Wall Edges Like Custom Millwork
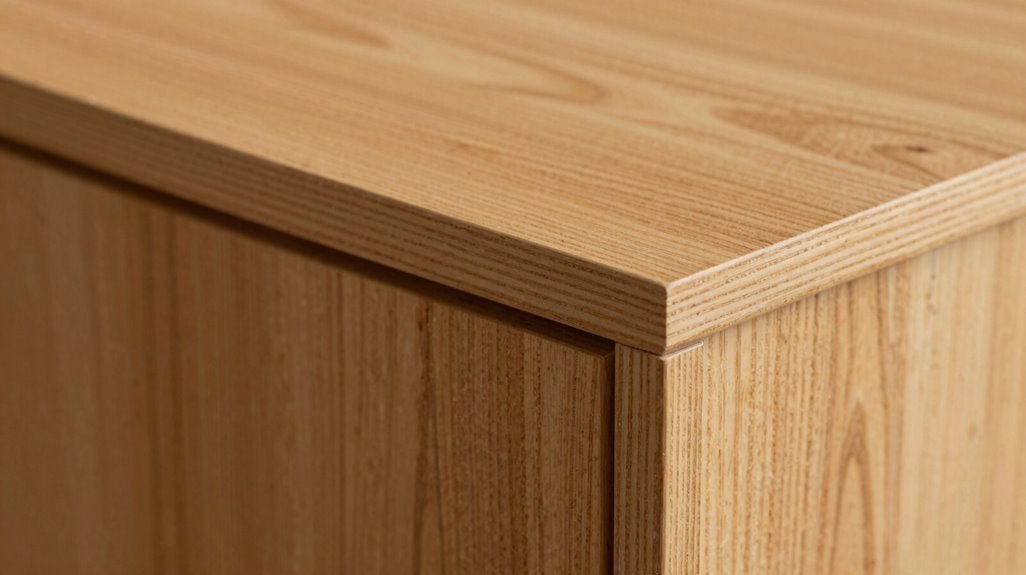
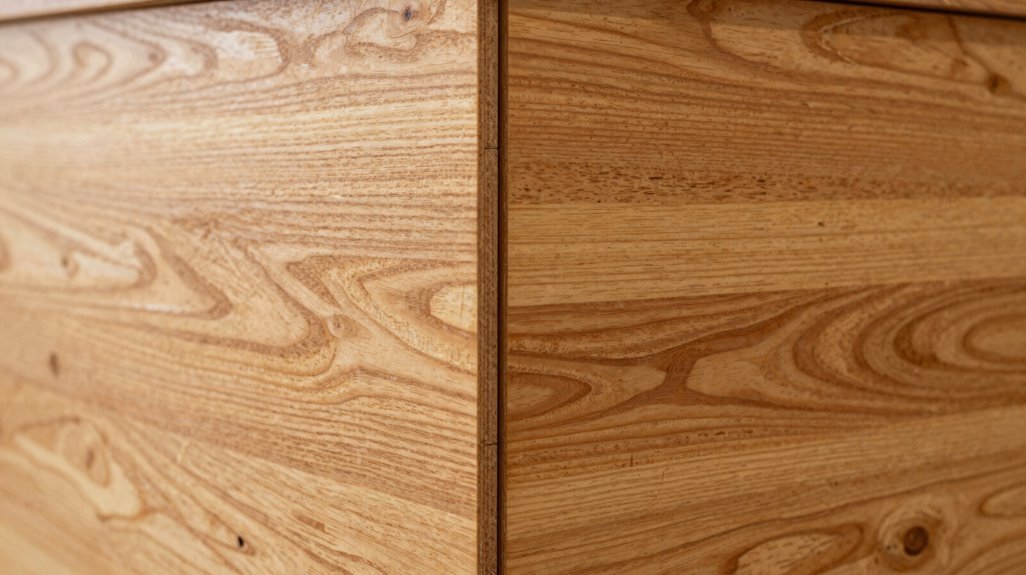
Why settle for obvious plywood seams when your wall edges can pass for quarter-sawn oak panels? You turn raw plywood into millwork-grade finishes through precise edge treatments that conceal core layers and improve surface continuity.
- Apply ribbon-cut or hardwood veneer edge banding to match your panel species, creating seamless, factory-precision joints.
- Select 0.5 mm to 1 mm ESP edge banding for heat-resistant, water-resistant durability in demanding interiors.
- Form post-formed or lipped perimeter edges to hide plywood cores beneath clean, solid wood-comparable profiles.
- Finish with clear polyurethane, oil-based varnish, or tinted stains, then route slim chamfers or raised-edge profiles at joints to replicate traditional crown and base moldings.
You achieve boutique-quality results without boutique budgets.
Where to Place Plywood for Maximum Visual Impact
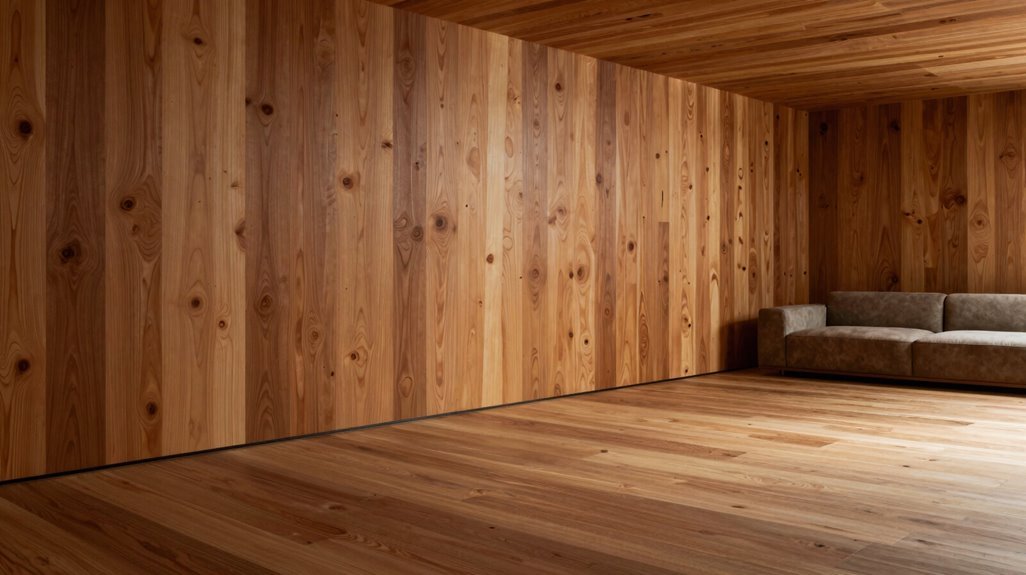
Once you’ve sealed those edges to perfection, you’re ready to decide exactly where your plywood panels will command attention. Install full accent walls covering 20% of your space, creating bold focal points without overwhelming the room. Choose natural grain finishes or stains from light oak to dark walnut, highlighting texture while complementing metal, concrete, or fabric elements.
Use full sheets measuring 2440mm × 1220mm with 3–18mm thickness indoors for clean, seamless appearances and minimal joints. Select FSC-certified plywood for sustainable, modern aesthetics. Balance warmth with industrial styling by pairing your wall with 3–4 small green plants and metal shelves 12–18 inches wide.
| Placement Strategy | Specification |
|---|---|
| Wall Coverage | 20% of total room space |
| Sheet Dimensions | 2440mm × 1220mm, 3–18mm thick |
| Complementary Elements | 3–4 plants, 12–18 inch metal shelves |
Design Styles That Make Plywood Walls Look Intentional
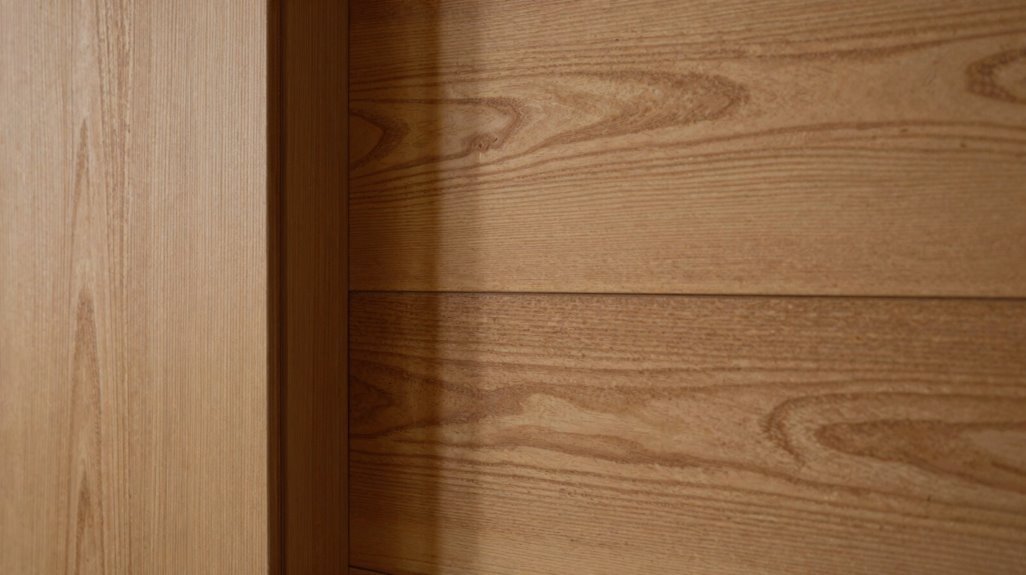
How do you guarantee plywood walls look deliberate rather than unfinished? You anchor them in established design languages that signal intention through material relationships and finish discipline.
- Modern warmth: Pair exposed grain with metal, concrete, and fabric accents for spatial depth.
- Style alignment: Deploy natural, stained, or painted finishes to match Scandinavian, industrial, or minimalist frameworks.
- Finish control: Select stain, paint, or varnish; specify zero-VOC paints for children’s environments.
- Scale precision: Execute full accent walls (20% coverage), half-walls (4–5 feet), or 2×3-foot panels for texture modulation.
You’re selecting from 70% FSC-certified U.S. plywood with 30% lower carbon footprint than MDF, embedding measurable sustainability credentials into your specification.
Plywood Wall Maintenance: Monthly Tasks That Actually Matter
You can’t ignore plywood maintenance if you’re protecting your investment, so dedicate forty-five minutes each month to these essential tasks.
- Dust thoroughly. Use a microfiber cloth to clean every surface, preventing buildup that dulls your finish.
- Inspect edges and seams. Check for delamination, loose fasteners, or panels that aren’t flush. Tighten any exposed screws immediately.
- Evaluate moisture exposure. In bathrooms or kitchens, verify your marine-grade panels show no water damage.
- Assess finish condition. Note where stain, paint, or varnish needs reapplication to protect the wood surface.
Plywood’s rigidity means you’ll rarely find cracks, unlike drywall owners in your circle. Your natural or lightly stained walls age gracefully with this routine. Skip these steps, and you’ll face costly repairs that others avoid.





