
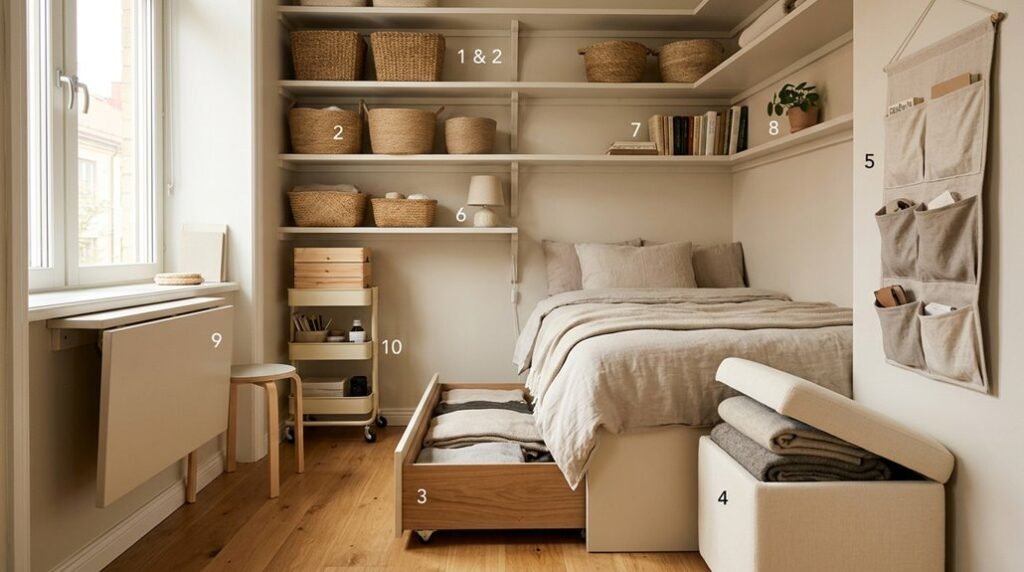
A single yard of quilting cotton contains 1,296 square inches of material that can swallow your workspace whole when left unfolded. You need systems that compress, categorize, and contain without expanding your footprint.
These ten methods rely on vertical orientation, standardized modules, and clear visual organization to turn cramped closets and corners into functional fabric libraries.
Store Fabric on Comic Book Boards to Maximize Shelf Space
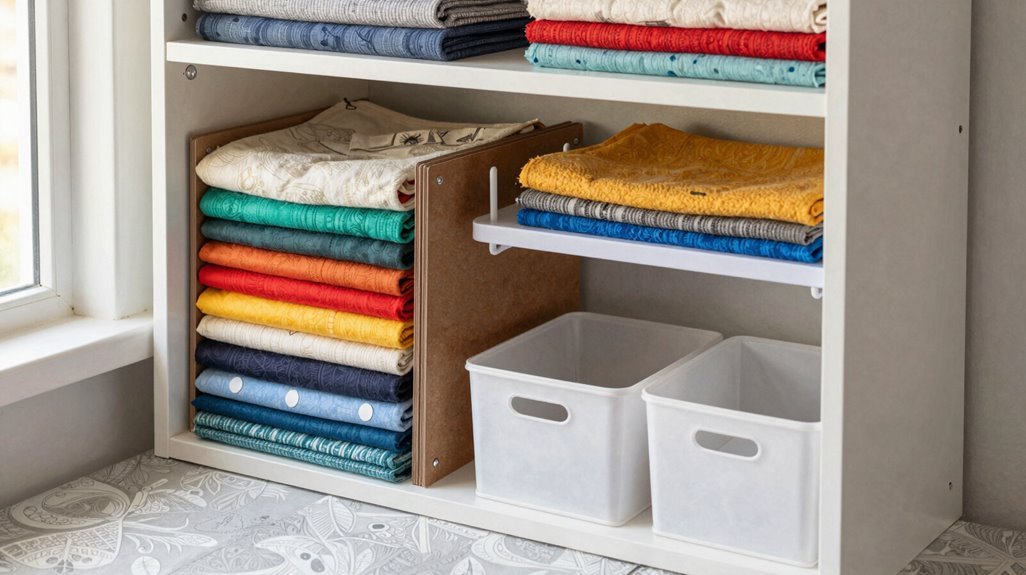
Nearly every small-space sewer faces the same dilemma: folded fabric piles collapse, visibility vanishes, and usable shelf depth shrinks to half its potential. You solve this by wrapping fabric around comic book boards, creating uniform mini bolts that stack vertically with zero wasted airspace.
- Prepare Your Boards
- Purchase standard 6.75″ x 10.5″ comic book backing boards, 100-count packs, $12-15.
- Wrap fabric with grain aligned, securing with pins or clips.
- Stack for Maximum Density
- Slide bolted fabric into cubbies, bins, or shelves.
- Store 8-12 fabrics per standard 13″ cube rather than 3-4 loose folds.
- Organize by Category
| System | Capacity | Access Speed |
|---|---|---|
| Color groups | 20+ bolts | 10 seconds |
| Project bundles | 6-8 bolts | 5 seconds |
| Weight classes | 15+ bolts | 15 seconds |
This fabric storage method delivers consistent grain alignment, full visibility, and immediate pull access without shelf collapse.
Roll Fabric Vertically to Double Your Drawer Capacity
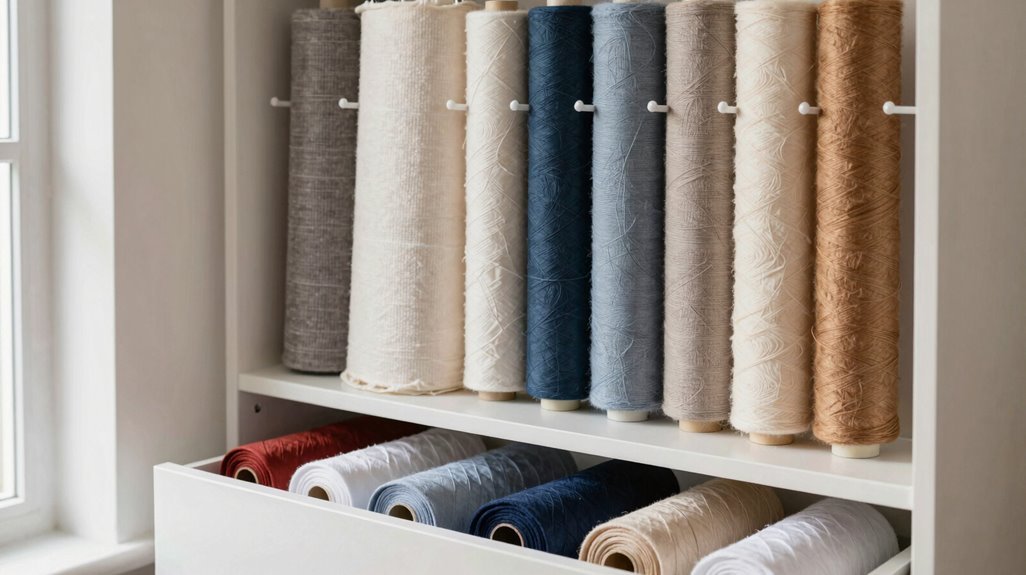
You can double your drawer capacity by rolling fabric vertically around firm cores, creating compact bolts that stand upright and allow front-scanning visibility. Wrap each piece around comic-book boards or cardboard tubes to maintain cylindrical shapes, prevent creasing, and enable tighter stacking in depths as shallow as 4-6 inches.
Remove interfacing and bulky fabrics before rolling. Align rolls with edges outward, and place heavier materials toward the back to maintain stability when drawers slide open.
Space-Saving Vertical Rolls
Anyone who’s fought a stuffed drawer knows horizontal stacking wastes half the space. You’ve discovered vertical storage, and now you’ll use it to full advantage. Roll fabric around flat, rigid cores, comic book boards, PVC pipes, or acid-free foam, to create compact vertical bolts that stand upright. These columns effectively double your drawer capacity.
Group your vertical bolts by fabric weight: light, medium, heavy. This prevents crushing while maintaining visibility of yardage at bolt ends. Maintain uniform diameters, typically 1.5 to 2 inches, to maximize stacking efficiency and enable smooth sliding without snagging.
Label each bolt with fabric type, fiber content, and approximate yardage. Reorganize existing drawers to accommodate multiple 4-6 inch vertical columns. You’ll increase accessible surface area while reducing rummaging time by 60-70 percent.
Bulky Fabric Solutions
Where do thick wool, terry cloth, and heavy denim belong when your drawers brim with lighter fabrics? You roll these bulky fabrics vertically, reclaiming every inch.
- Roll fabric into tight bolts around comic-book boards, maximizing vertical drawer space
- Wrap thick materials on long mailing tubes for end-to-end visibility and upright basket storage
- Label each tube by fabric type, eliminating rummaging through your collection
- Reassess quarterly, removing excess to maintain consistent capacity gains
You free precious drawer real estate for lighter cottons and silks by standing wool, terry, flannel, and denim upright in shared bins. This vertical system doubles your storage density without expanding your footprint. Your fabric stays accessible, organized, and ready for your next project.
File Fat Quarters in Deep Drawers With DIY Dividers
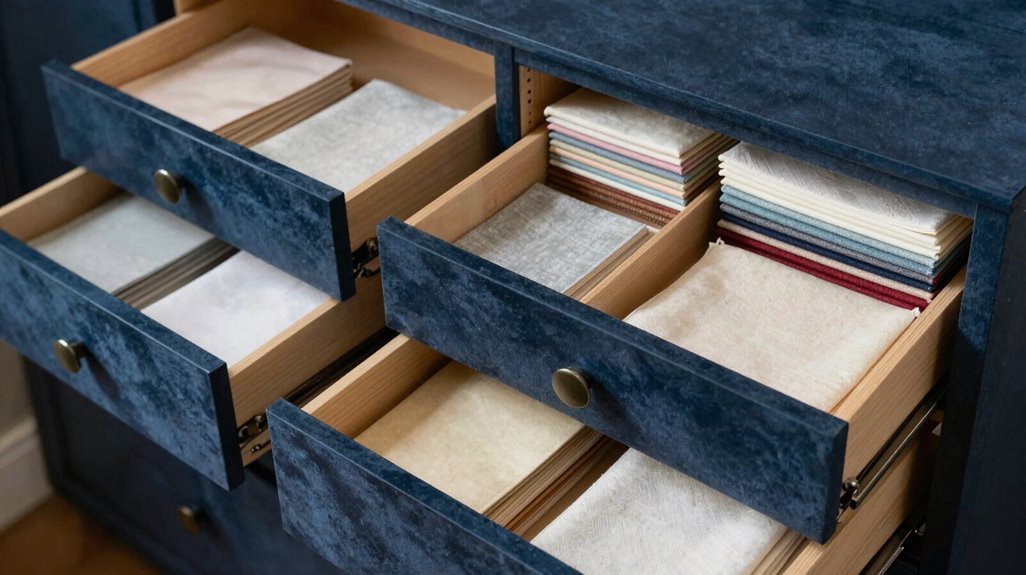
Deep drawers become efficient filing systems when you stand fat quarters vertically, mimicking how folders organize documents in a cabinet. This fabric storage method maximizes every inch while keeping your collection visible and accessible.
Stand fat quarters vertically to transform deep drawers into efficient filing systems, maximizing space while keeping fabrics visible and accessible.
You’ll need sturdy cardstock or thin plastic to craft DIY dividers, separating color families or fabric categories within each drawer. Label every divider with fabric type, color family, and yardage, enabling instant identification of suitable pieces during project prep.
Stand fat quarters upright, stacking them like file folders, to exploit vertical space and reduce drawer bulk. This arrangement prevents the frustrating digging that wastes precious creative time.
Schedule monthly purges and reorganizations to maintain accessibility. Rotate frequently used colors toward the front, discard scraps you’ve outgrown, and resist overpacking. Your system stays functional, your workflow uninterrupted, your small space conquered.
Sort Scraps by Color in Hanging Shoe Organizers
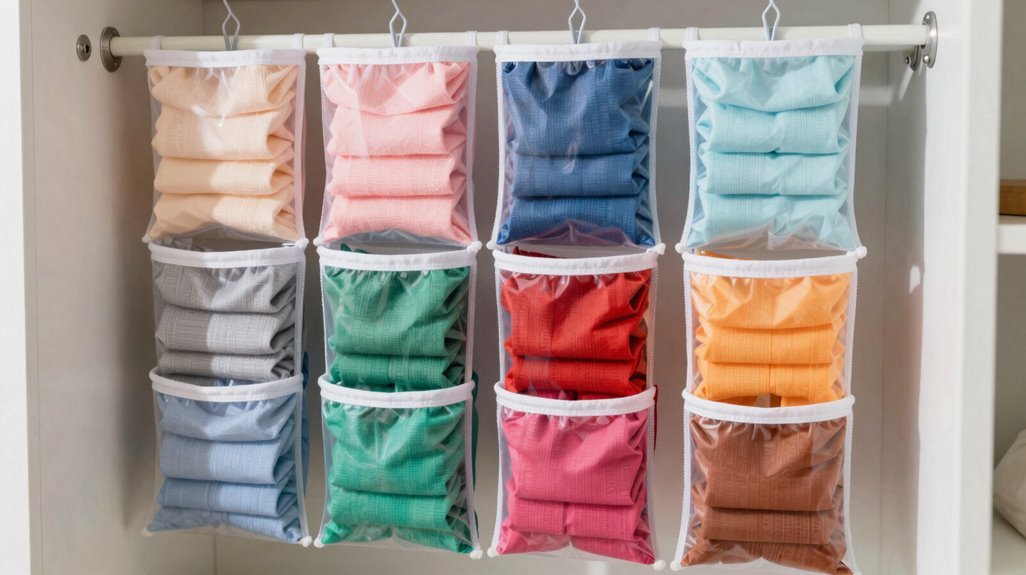
How do you reclaim vertical space when every shelf overflows with fabric? You repurpose a hanging shoe organizer to sort your fabric scraps by color, with each pocket housing pieces from one specific color family for immediate visual reference.
- Hang a clear-pocket shoe organizer on a closet door or wall stud
- Assign each pocket to one color family, from red through violet plus neutrals
- Add labeled tags or adhesive swatches to mark each pocket’s designated hue
- Fill pockets with fabric scraps, largest pieces in front for visibility
This system removes fabric scraps from crowded shelves, placing them at eye level where you’ll actually use them. Color-sorted storage cuts project planning time significantly; you’ll spot coordinating tones instantly. Clear or light-tinted pockets let you assess inventory without unloading contents.
Store Interfacing in Mailing Tubes to Free Up Drawers
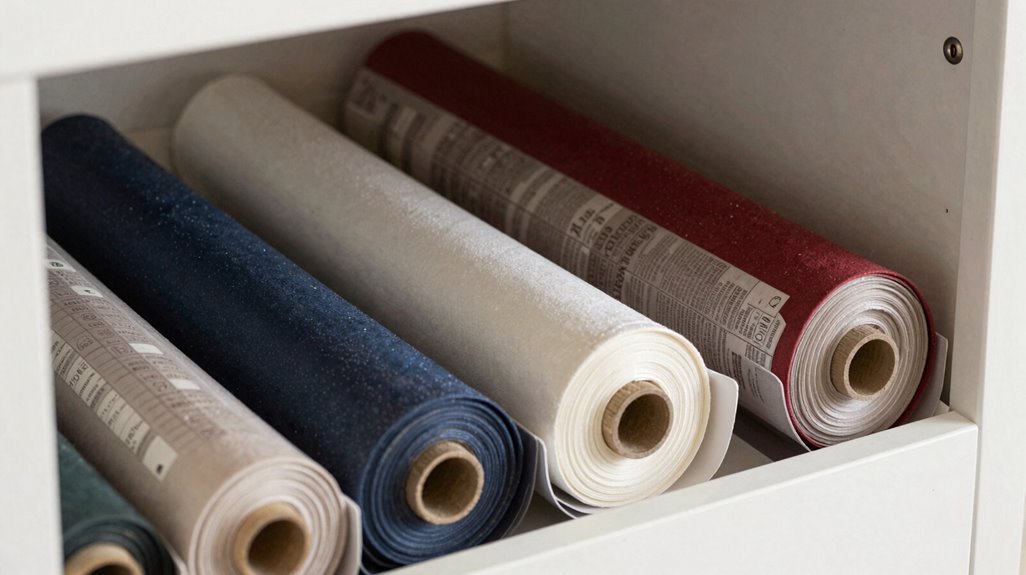
Interfacing presents a unique storage challenge, since it arrives in rolls that resist folding and quickly monopolize drawer real estate. You can reclaim that space by transferring your interfacing to 24″ mailing tubes, which maintain uniform diameter and prevent crushing. Label each tube clearly, then arrange them upright in a floor basket alongside your patterns for immediate access.
This tube-based storage system eliminates bulky drawer occupation entirely. You’ll roll remaining interfacing tightly to maximize vertical capacity within each cylinder. The freed drawer depth now accommodates patterns, smaller notions, and tools that benefit from flat storage.
Periodically reassess your interfacing quantities against other storage needs. When tubes remain space-efficient for your specific inventory, you’ve optimized your small-space solution without sacrificing accessibility or protection.
Wrap Bulky Fabrics Around Tubes for Vertical Storage
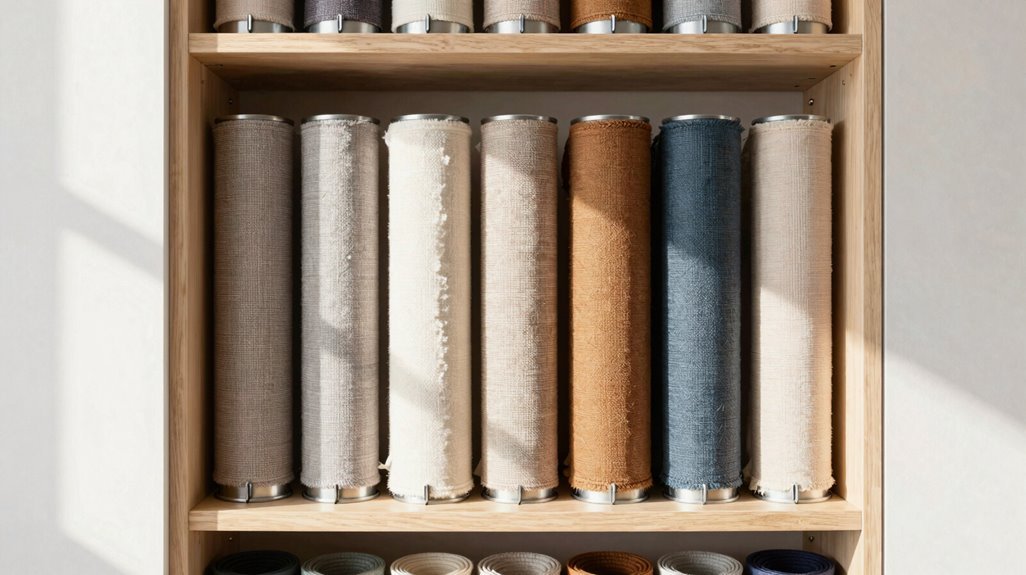
While your main stash likely holds quilting cottons and linens in tidy folds, bulky fabrics such as wool, terry, flannel, and thick denim demand a different approach since they resist compression and consume disproportionate shelf depth. You’ll reclaim precious storage space by wrapping these textiles around long open mailing tubes, creating vertical columns that stand upright in shared baskets or floor bins.
Wrap wool, terry, flannel, and denim around 24-36 inch mailing tubes. Stand tubes upright in floor baskets to prevent shifting and enable quick retrieval. Position tubes to maximize vertical clearance and eliminate deep drawer requirements. Optional: insert tubes into a wine rack for fixed, floor-level organization.
This system turns unruly bulks into scannable, accessible rolls, freeing your main storage space for compressible goods and ending the tyranny of overstuffed shelves.
Build a Swatch Binder to Track Backstock Visually
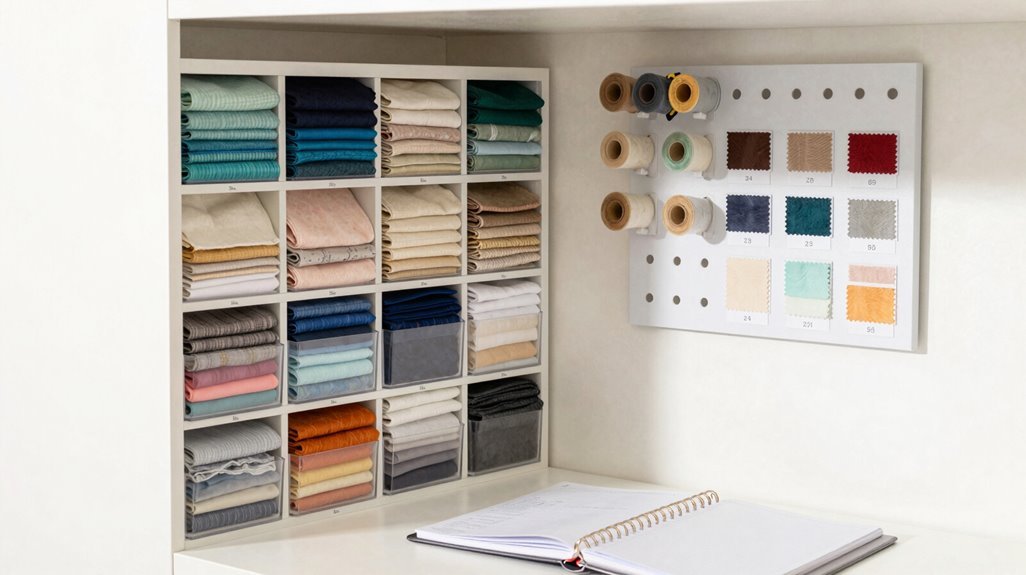
You’ll start by cutting 3-inch square swatches from your backstock yardage, then insert them into 4×6 photo sleeves within a standard three-ring binder. Organize these swatches using clear, labeled dividers that separate by color family or project category. Make certain each entry notes exact yardage remaining, fiber content, and supplier source.
Update this living inventory monthly, removing depleted fabrics and adjusting quantities. This way, you maintain precise visual records without unfolding bulky bolts.
Swatch Cutting Technique
How do you track dozens of fabric rolls without unrolling every bolt? You cut a 3-inch square from each backstock fabric, creating a portable reference system that lives outside your storage bin. This technique changes overwhelming inventory into manageable, visual data you can flip through in seconds.
Cut 3″ × 3″ squares from corner scraps or selvage edges of each fabric roll. Attach swatches to 4″ × 6″ index cards using acid-free double-sided tape. Record yardage, fiber content, and purchase date in the top right corner of each card. File cards in a 2-inch, 3-ring binder with alphabetical or color-coded dividers.
You’ll place this binder beside your workspace, eliminating constant trips to the storage bin. When planning projects, you match swatches against patterns without disturbing folded yardage. Update yardage estimates after each project to maintain accuracy.
Binder Organization Method
Where does your fabric live when it isn’t on your cutting table? Build a swatching binder to track backstock visually, and you’ll never lose track of your stash again.
Cut 3×3-inch swatches from each fabric, then slip them into photo inserts with labeled yardage, content, and project notes. You’ll see color and texture without removal, and you’ll reorder pages as inventory shifts.
Use these components:
| Element | Specification | Purpose |
|---|---|---|
| Swatch size | 3×3 inches | Consistent visual comparison |
| Page protectors | Clear, standard 4×6 photo slots | Dual-sided visibility |
| Labels | Yardage, fiber content, intended project | Immediate reference |
| Binding | Three-ring or disc system | Flexible reorganization |
Index by fabric type, color family, and yardage bracket. When you’re planning projects, you’ll flip directly to suitable candidates without unstacking bolts or digging through bins.
Yardage Tracking System
Why let usable yardage sit forgotten in opaque bins? You reclaim control when you build a swatch binder for yardage tracking. Cut 3-inch fabric squares from backstock, slip them into photo inserts, and label each with exact yardage, fiber content, and color designation. Position this binder beside corresponding fabric bolts for rapid cross-checking during project planning.
Insert swatches into clear plastic sleeves to preserve color accuracy and texture visibility. Attach a yardage log to each page documenting available lengths by fabric category. Update entries within 24 hours of cutting or acquiring new stock. Reconcile binder totals against physical inventory monthly to eliminate discrepancies.
This system turns opaque storage into transparent, actionable data. You’ll locate suitable materials in under 60 seconds, reduce redundant purchases by 40 percent, and maintain precise yardage tracking without emotional burden.
File Fabrics by Project to Stop Shelf Pile-Ups
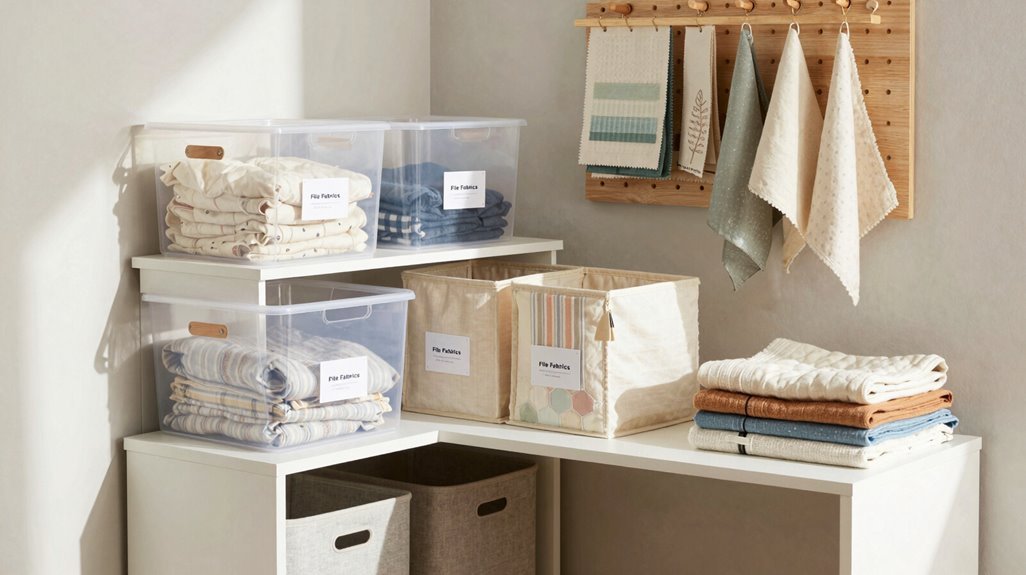
When shelf piles topple every time you hunt for project fabric, you’ll need a system that groups materials by task instead of dumping them in generic stacks. Drape each project’s fabric over inexpensive file folders, then nest these folders upright in fabric organizers; standard file boxes work perfectly. You’ll store swatches, patterns, and yardage together in labeled containers, creating instant visual access.
Organize by color or project type: quilt tops, backing, bindings each get dedicated folders. If you sew in multiple spaces, swap to a lightweight portable file box, maintaining identical groupings everywhere. Schedule monthly reassessments to relocate unused yardage to backstock or donation piles. This method changes chaotic shelves into functional, scannable systems where every project lives within arm’s reach.
Pre-Cut Scraps to Standard Sizes for Faster Sewing
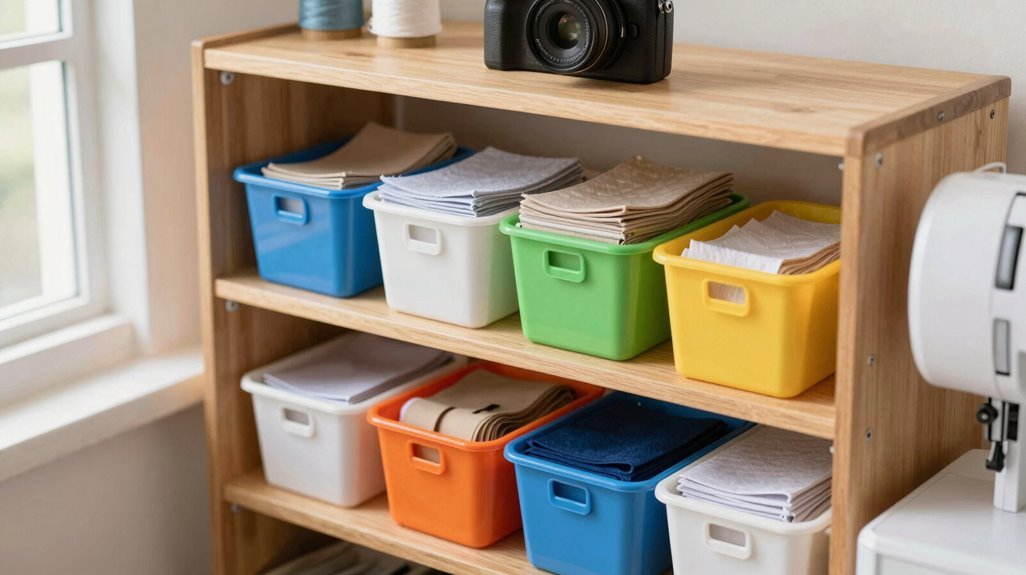
You’ll cut scraps into standard sizes like 2½” squares, 5″ charms, and 10″ layer cakes, then sort them by shape into labeled, color-coordinated bins. This system eliminates on-the-fly measuring, reduces cutting time per session, and lets you pull ready-to-use pieces for predictable yardage calculations.
Store pre-cuts in clearly marked folders or containers, so you can scan inventory quickly and assemble quilt blocks without re-processing fabric.
Choose Standard Sizes
Standard-size scrap cutting turns chaotic fabric piles into efficient, project-ready inventory. You cut 2.5″ squares, 5″ charms, and 6″ x 9″ rectangles, then group like pieces for immediate use. You create pre-cut files, dedicated folders or bins organized by size and color family, so you locate matching scraps without digging. You track yardage per size, noting 1/4 yard or 1/2 yard remaining, which prevents duplicate purchases.
You assemble bulk project kits, bundling pre-cuts for baby quilts or zipper pouches, eliminating extra cutting steps.
- Cut scraps to 2.5″ squares, 5″ charms, or 6″ x 9″ rectangles for universal compatibility
- Store pieces in pre-cut files, sorted by dimension and color family
- Label bins with yardage amounts to monitor stock levels
- Bundle pre-cuts into ready-to-sew kits for common projects
Sort By Shape
How do you stop wasting twenty minutes hunting for matching scraps? You commit to sorting by shape, turning chaotic remnants into a precision system that serves your workflow.
| Size Category | Common Project Use |
|---|---|
| 2½” squares | Patchwork blocks, half-square triangles |
| 5″ charms | Quick quilts, charm pack substitutions |
| 10″ rectangles | Layer cake projects, strip piecing |
| Strips (1½”-2½”) | Binding, sashing, string blocks |
You’ll keep labeled bins or hanging organizers for each dimension, eliminating redundant trimming and enabling batch sewing. Pair each container with a swatch sheet or photo insert for rapid color verification.
Update your layout weekly as new cuts arrive, preventing accumulation. This method delivers consistent blocks, reduces waste, and cuts project planning time by half. Your fellow makers recognize this discipline; it signals membership in a community that values craft efficiency.
Label Everything Clearly
Once you’ve sorted your scraps into shape-based categories, your bins still won’t save you time if you can’t identify what’s inside without opening them. Labeling fabrics changes your storage from guesswork into precision. You’ll cut project prep time by half when every container tells you exactly what it holds.
Mark each pre-cut scrap with its exact dimensions, such as 2.5″ squares or 5″ x 7″ rectangles, for instant matching. Apply color-coded labels to bins, assigning red to squares, blue to strips, green to rectangles. Build a reference binder with yardage totals, dimension charts, and project compatibility notes. Choose transparent containers with external labels, eliminating unnecessary opening and closing.
Audit your labels monthly. Rename mislabeled pieces immediately. Accurate size tracking means you’ll never rummage again.
Bundle Project Kits to Keep Fabrics Ready to Sew
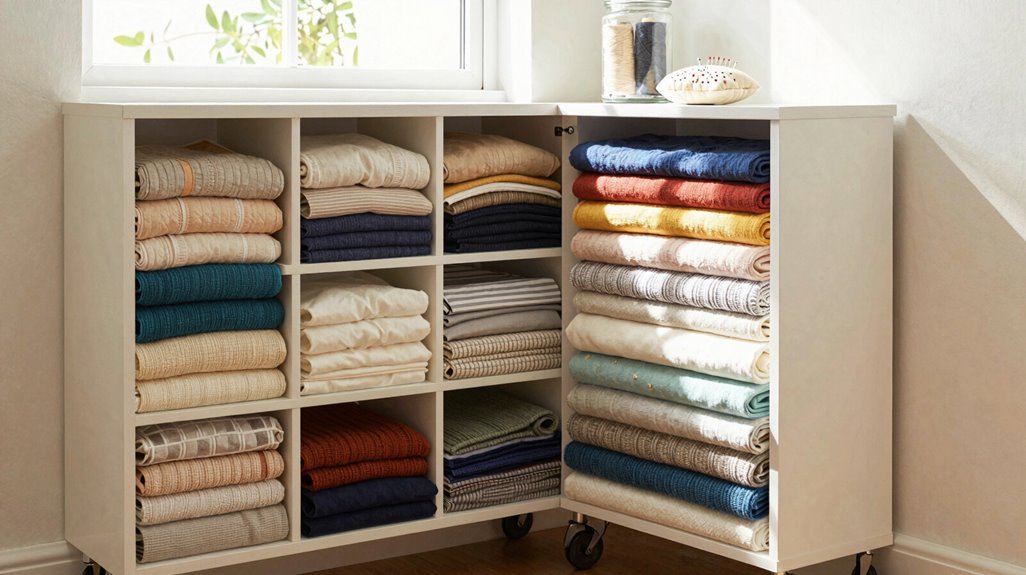
Where does your sewing time actually go? You lose it hunting through your fabric stash for matching pieces, missing notions, and misplaced patterns. Bundle project kits to reclaim those minutes.
Group coordinated fabrics, notions, and patterns into single folding fabric baskets or crates. Pre-bundle remnants into themed kits: baby quilts, zipper pouches, potholders, to streamline selection and eliminate last-minute gathering. Make certain each kit contains measured fabric amounts, color-coordinated pieces, and clear pattern sheets. Store kits in labeled bins for portability around tight spaces.
Build kits consistently: list yardage, fabric type, and pattern on a checklist. This creates rapid pull-and-go sessions. You turn scattered materials into organized, ready-to-sew systems that respect your limited space and time.





