
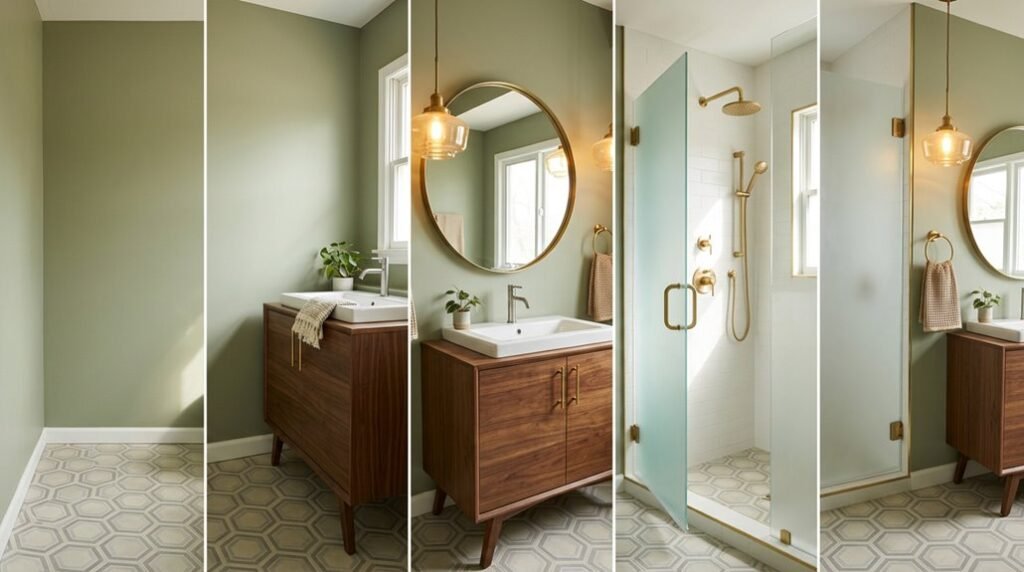
You measure twice, you plan your plumbing routes, you select your materials, and you still risk costly mistakes if you miss the sequence. A mid-century modern bathroom demands precise coordination between structural constraints and aesthetic choices, with each decision locking in options for the next phase.
This guide breaks the process into five actionable steps, from rough-in planning to final fixture selection, with specific measurements and material specifications at every stage. You will learn how to avoid the three most common errors that derail timelines and budgets.
Plan Your Mid-Century Modern Bathroom Around Real Constraints
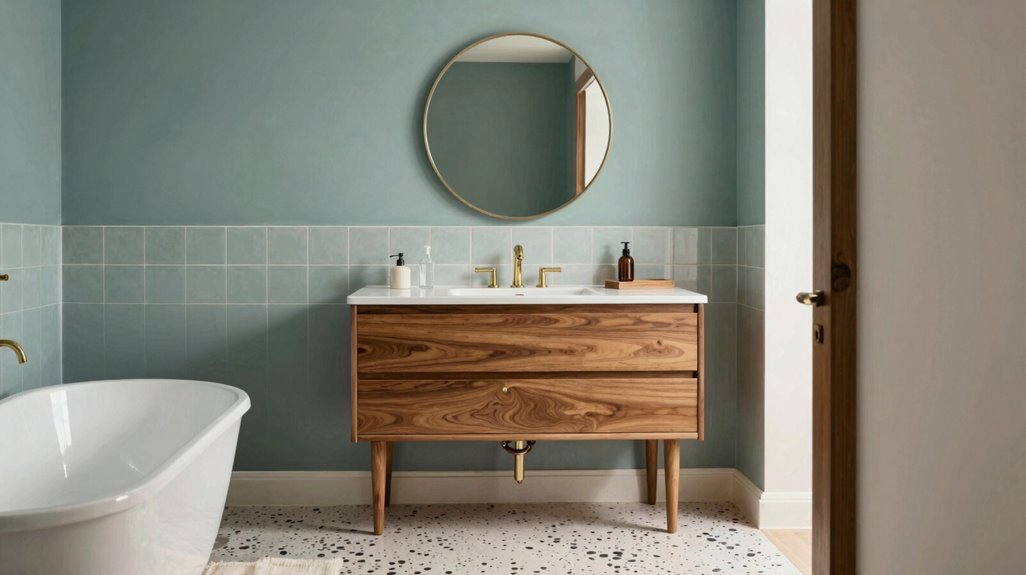
Where do you begin when you’re staring at a 1949 bathroom with cast iron pipes, outdated plumbing, and no clear path forward? You start with your cohesive palette, mapping wood tones, marble, and brass across your entire apartment before touching a single finish.
Your bathroom remodel demands you confront aging infrastructure head-on. Cast iron pipes require foundation demolition, so you plan plumbing relocation early, rerouting vent piping and drains before walls close. You hot-mop shower floors for waterproofing integrity, eliminating mid-project surprises that drain budgets.
Your mid-century modern vision depends on cross-room consistency. You specify walnut cabinetry, brushed brass fixtures, and Calacatta marble now, making sure your bathroom speaks the same design language as adjacent spaces. You select tile patterns that anchor this vocabulary, creating belonging through deliberate, unified choices.
Choose Tile Patterns That Define Mid-Century Style
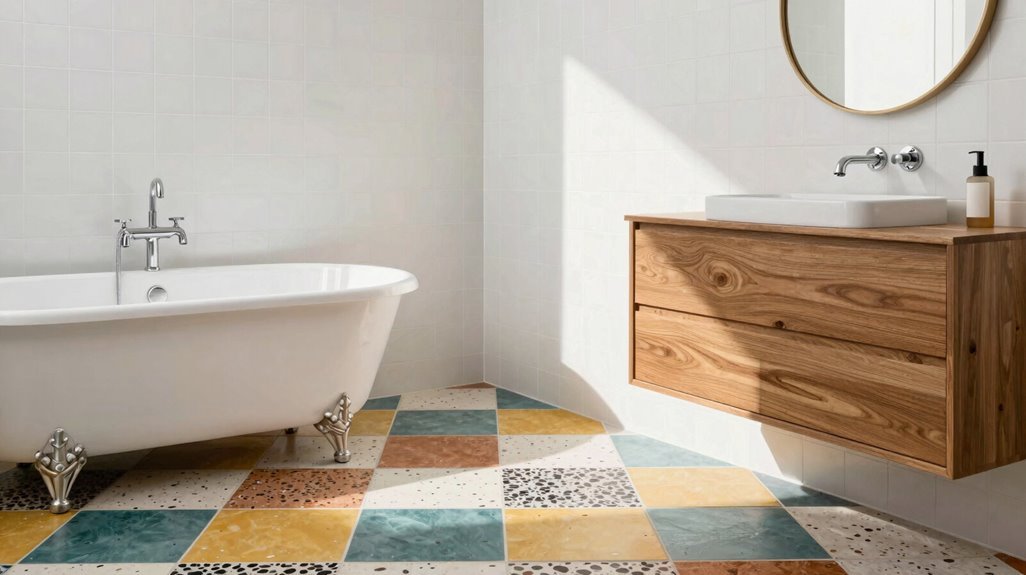
You typically begin tile selection by identifying which surfaces demand pattern versus which require visual rest, allocating your boldest choices to floors or single accent walls while keeping remaining surfaces quietly complementary.
For your mid-century modern bathroom, deploy these proven combinations:
- Lay a hexagon floor in 1-inch penny tiles for vintage authenticity, or scale to 3–6 inch hexes for contemporary relevance
- Run subway tile in classic 3×6 white with warm gray or charcoal grout on walls, pairing with herringbone marble floors for elevated contrast
- Install chevron patterns on floors or accent walls, or select basketweave and stacked tile layouts to establish period texture without visual clutter
Each pattern solves specific spatial challenges. Chevron directs movement. Basketweave anchors tradition. Stacked tile creates uninterrupted, gallery-like surfaces that expand perceived wall area.
Select Fixtures in Authentic Mid-Century Colors
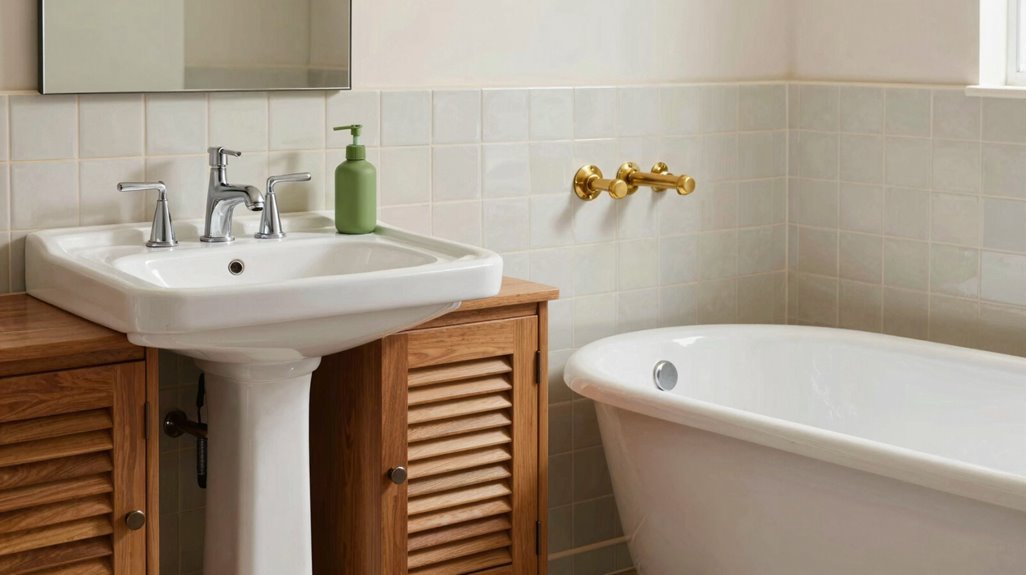
How do you anchor a mid-century bathroom renovation in genuine period character without surrendering modern functionality? You select fixtures in authentic mid-century colors that honor 1950s-1960s design while delivering contemporary performance.
- Choose era-appropriate fixtures in ochre, pale pink, or bold reds to capture period mood. Install that statement pink sink you’ve admired against complementary brown tile for immediate vintage impact.
- Source vintage hardware or period-accurate reproductions. Specify brass hardware and polished nickel finishes that coordinate with your walnut vanity and lighting selections.
- Select Kohler Purist faucets with cross handles to maintain authentic retro hardware detailing throughout.
- Pair colored fixtures with complementary materials, such as walnut vanity bases and marble countertops, to preserve cohesive mid-century warmth without visual discord.
Install Wood Vanities With Brass Hardware and Geometric Tile
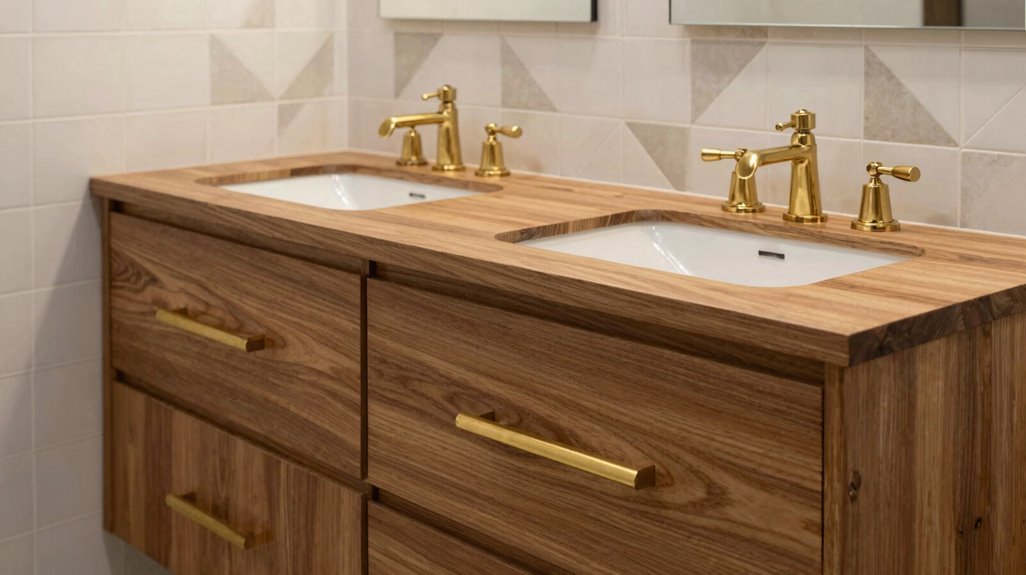
Once you’ve selected your period-colored fixtures, you’ll set the room’s structure with a walnut or wood-veneer vanity that establishes immediate mid-century credibility. Your bathroom makeover needs this foundation, pairing your wood vanity with polished brass hardware that reinforces the era’s warm metal accents.
Select a Mohair grey or similar muted vanity finish to modernize the wood while maintaining cohesion with brass fixtures. Coordinate your vanity top with existing stone elements, specifying Calacatta or Carrara marble for consistent material flow. Install geometric tile on floors or tile walls, choosing hexagon patterns or angular designs that emphasize clean architectural rhythm.
Complete your mid-century modern scheme with brushed brass lighting and mirrors that echo your vanity hardware. This systematic approach keeps every element reinforcing your intended aesthetic without deviation.
Keep Sight Lines Clean to Frame Outdoor Views
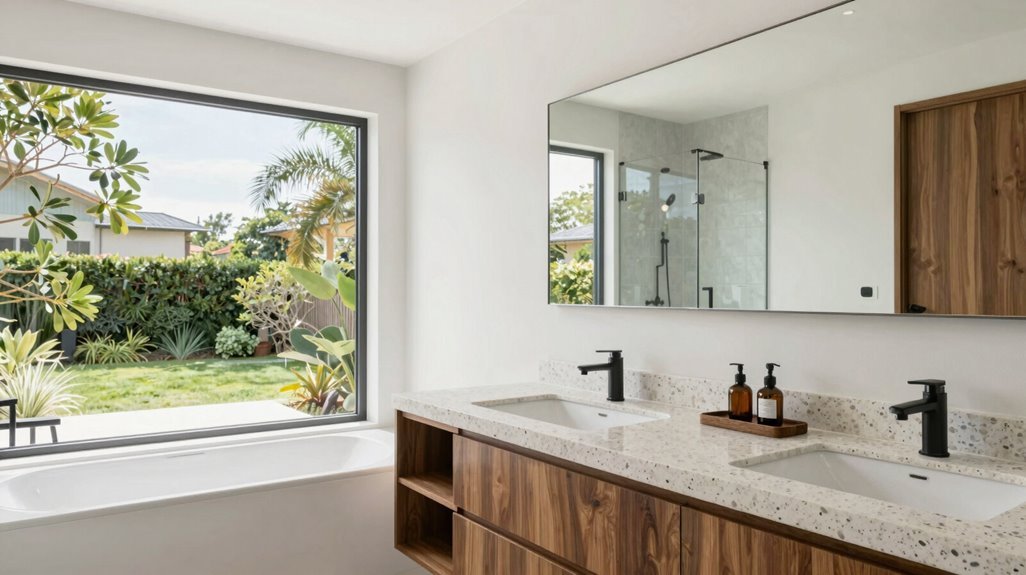
Where should your eye travel when you enter the bathroom? In midcentury modern design, you direct it straight through clean sight lines toward your exterior landscape. You’re framing outdoor views, not fighting them.
Start by selecting your wood vanity. You choose rich tones but limit hardware; restrained pulls preserve visual corridors toward windows. You install silver or polished nickel finishes that complement nature rather than compete.
Your tile and wall treatments must stay flat. You prioritize uninterrupted planes, allowing 8-foot expanses of large-format tile or single-panel surfaces. You reduce millwork to simple, straight lines that don’t obstruct.
You maintain 12-18 inches of clearance around fixtures, so paths remain open. Your goal is readability; nature becomes backdrop, not afterthought. You edit aggressively, knowing every element either supports or blocks the view.
You design for clarity, deliberately.





