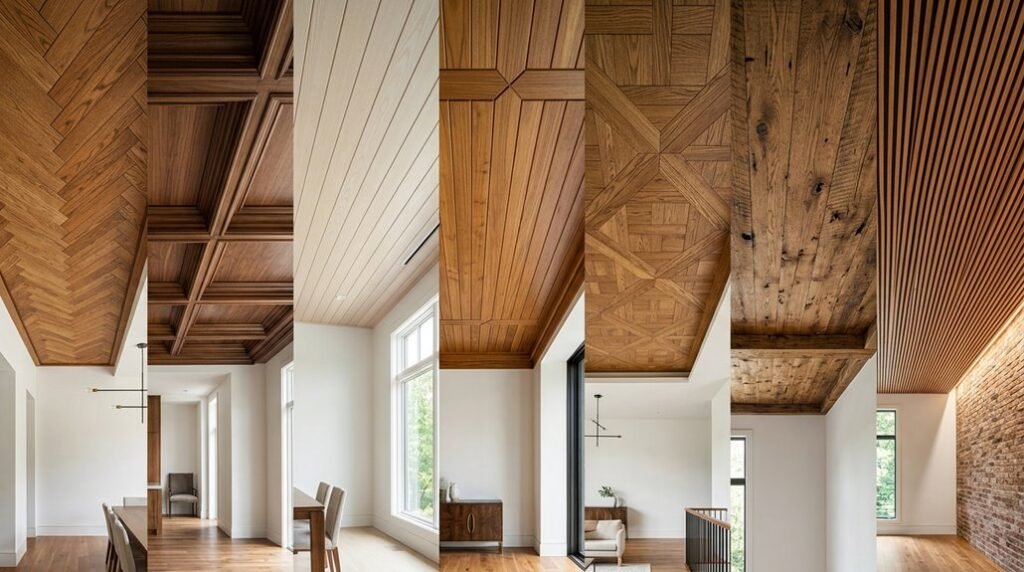
You need a wood ceiling that looks upscale without draining your renovation budget. Seven specific methods use laminates, pine planks, plywood veneers, and reclaimed materials to deliver premium aesthetics at 30–60% below hardwood costs.
Each approach provides measurable dimensions, installation times, and finish options you can evaluate against your timeline and skill level. The first solution starts with a material you have likely walked past without noticing.
Cheap White Oak-Look Panels Under $120
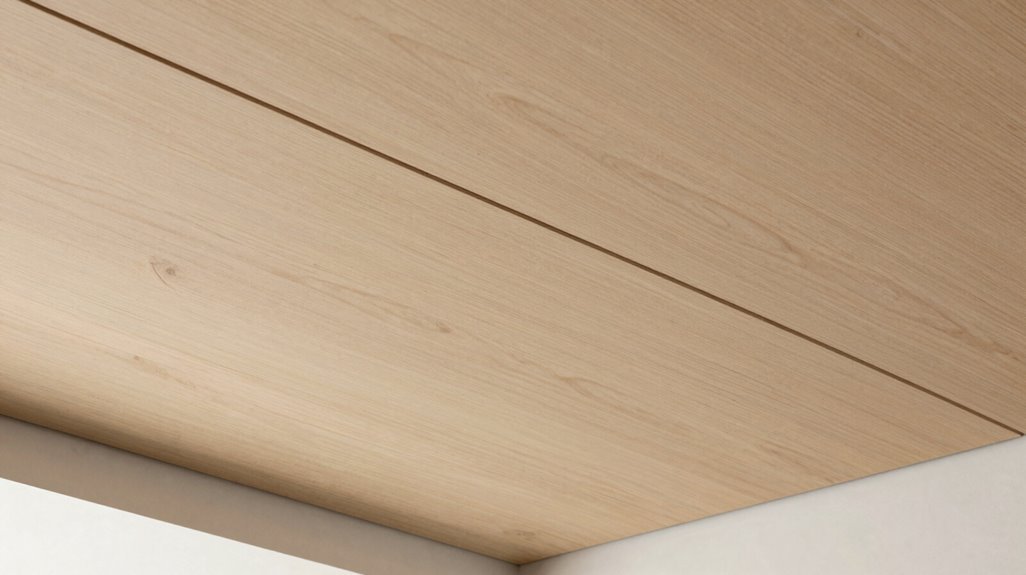
How can you turn a drab office ceiling into a sophisticated wood-paneled feature without exceeding a $120 budget? You select white oak, look panels, which deliver premium aesthetics at minimal cost.
Transforming your ceiling from forgettable to striking doesn’t require a fortune—just smart material choices that maximize visual impact on a minimal budget.
Materials You’ll Acquire:
- White oak laminate panels (12ft x 6in, 10-pack): $78
- Construction adhesive: $18
- Brad nails (1-inch, 500-count): $12
- Sandpaper assortment: $8
- Wood filler: $4
Installation Sequence:
- Measure your ceiling grid to determine panel quantity
- Apply adhesive to furring strips at 16-inch intervals
- Secure panels with brad nails every 12 inches
- Fill gaps with wood filler, sand smooth
You’ll complete 120 square feet in one weekend using basic tools. These panels install directly over existing drywall, eliminating costly demolition.
Your finished ceiling projects warmth, professionalism, and deliberate design choices that distinguish your workspace without demanding professional labor or premium materials.
Pre-Finished Pine Planks for Quick Installation
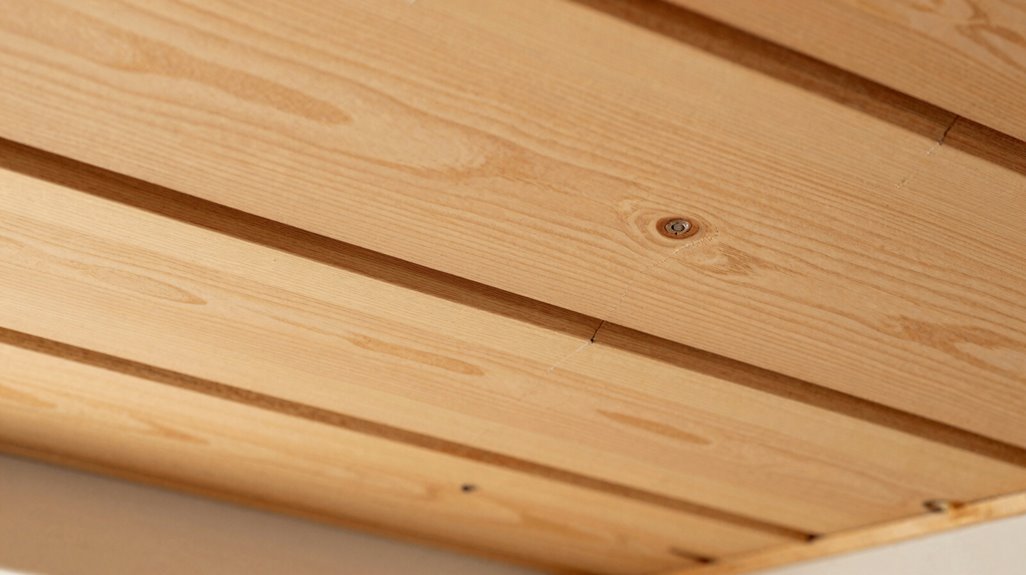
Three compelling advantages make pre-finished pine planks your most efficient path to a wood ceiling change. First, you eliminate on-site sanding, staining, and sealing, reducing installation time by 60-70%. Second, you achieve hardwood aesthetics at 40-50% lower material cost. Third, you access multiple factory-applied finishes, including weathered gray, honey oak, and espresso, without purchasing separate stains.
Pre-finished pine suits interior ceilings and walls with durable, ready-to-install surfaces. You avoid raw wood’s labor-intensive preparation while maintaining visual warmth. Standard planks measure 6-8 inches wide, 8-12 feet long, installing with nails or construction adhesive in 4-6 hours for 150 square feet.
For wood ceilings on tight schedules, pre-finished pine delivers professional results without contractor-level time investment. You join homeowners who prioritize smart efficiency over unnecessary labor.
Ripped Plywood That Mimics Premium Veneer
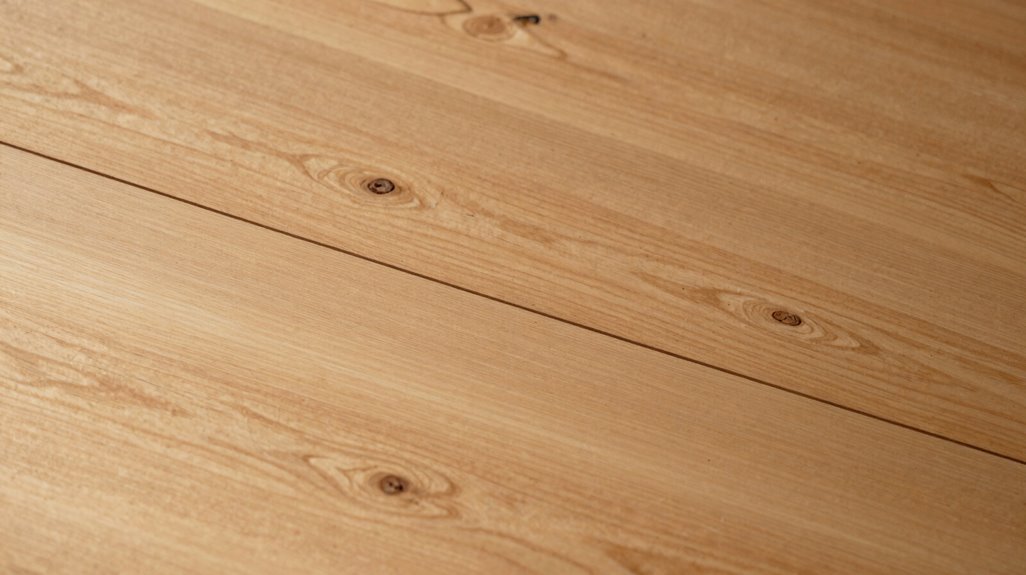
Why pay premium veneer prices when you can achieve identical results with ripped plywood? You achieve this wood ceiling by selecting pre-finished plywood with superior veneer quality, not generic alternatives. Your veneer choice directly controls both final aesthetic and total project cost.
First, install firring strips to create your stable mounting base. Second, rip your plywood into uniform planks, typically 6 to 8 inches wide. Third, secure these wood panels over your strips, maintaining consistent spacing. This method delivers cohesive, wood-toned results at significantly reduced expense.
Your ceiling appears indistinguishable from premium installations when you execute proper veneer selection and precise installation. The firring strip system provides structural integrity while permitting economical material choices. You join discerning homeowners who recognize that smart material substitution, not compromised quality, defines sophisticated renovation.
Tongue-and-Groove Pine for Traditional Style
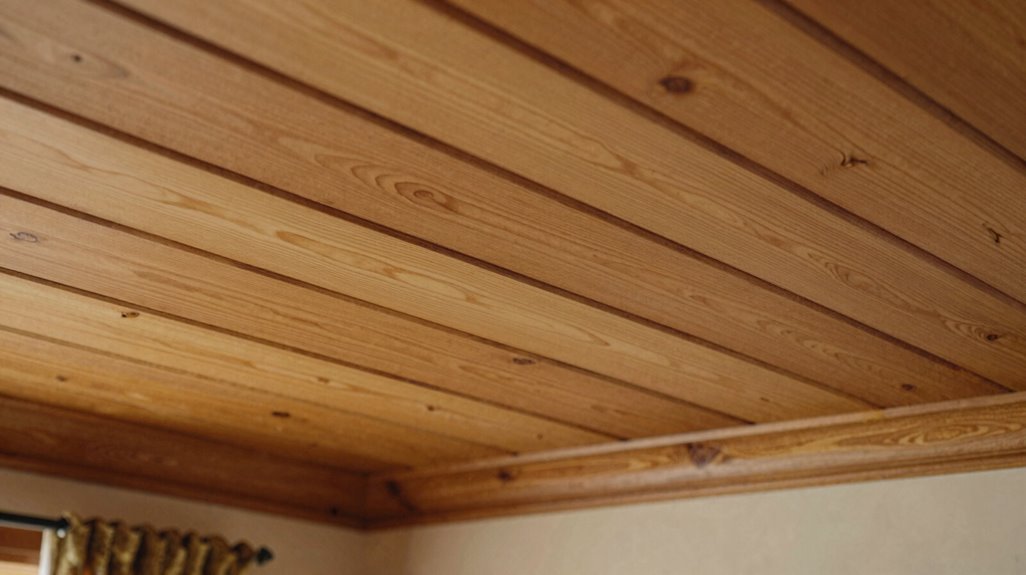
You’ll find tongue-and-groove pine delivers an affordable rustic aesthetic through interlocking boards that eliminate visible seams, typically costing $2–$4 per square foot for #2 grade material. The simple installation process requires only a nail gun, level, and basic carpentry skills, allowing you to secure planks directly to ceiling joists or furring strips in 6–8 hour spans for standard 12×14 foot rooms.
Versatile finish options range from clear sealants that highlight natural grain patterns to whitewash or stain applications, each requiring 2–3 coats with 4-hour drying intervals between applications.
Affordable Rustic Aesthetic
How can you achieve a traditional wood ceiling without exhausting your renovation budget? You select tongue-and-groove pine, an accessible material that installs with straightforward precision and delivers immediate visual warmth.
| Material Option | Cost-Saving Benefit |
|---|---|
| Standard tongue-and-groove pine | Lower per-square-foot pricing, accepts stain uniformly |
| Veneer-faced engineered planks | Mimics hardwood grain patterns at 40-60% reduced cost |
| Reclaimed wood fence pickets | Salvaged character with zero premium pricing |
| Pre-finished pine boards | Eliminates additional labor and finishing material costs |
You avoid generic plywood; it undercuts your investment through visible seams and inferior surface quality. Reclaimed wood offers authentic weathering without artisan markup. You source cedar or pine fence pickets from local salvage operations, typically $1-2 per linear foot, then sand lightly and seal.
You achieve cohesion through consistent installation spacing, typically 1/8-inch gaps for seasonal expansion. Your ceiling becomes anchor point for your room’s identity.
Simple Installation Process
Once you’ve selected your tongue-and-groove pine, you’re ready to complete the installation with systematic precision.
1. Prepare Your Layout:
Lay boards on the floor to preview the pattern. Purchase 10-25% overage; complex patterns demand higher reserves.
2. Install Firring Strips:
Attach horizontal strips to your ceiling joists. This eliminates stud-location requirements, streamlining your DIY project.
| Overage Guidelines | Pattern Type |
|---|---|
| 10% | Straight, simple runs |
| 25% | Herringbone, diagonal designs |
3. Secure the Boards:
Fasten tongue-and-groove planks with nail guns, driving fasteners through the tongue to hide hardware. Alternative methods include shiplap or S3S milled siding for uneven surfaces, helping create flush mounting where standard boards fail.
4. Final Placement:
Work systematically across the ceiling, engaging each groove before fastening. Check alignment every third board to prevent cumulative drift.
Versatile Finish Options
Why settle for a single aesthetic when tongue-and-groove pine adapts to multiple finish strategies? You control the final appearance through two primary approaches: natural or stained surfaces.
- Natural Finish: You retain pine’s warm, honey-toned character with clear sealant. This option requires 2-3 coats of polyurethane, drying 4-6 hours between applications.
- Stain Finish: You achieve darker, hardwood-mimicking tones using oil-based stains in 8-12 color variations. Apply stain with 220-grit sanding between coats, allowing 24-hour curing periods.
| Finish Type | Coats Required | Total Project Time | Cost per 100 sq ft |
|---|---|---|---|
| Natural clear | 3 | 2 days | $45-60 |
| Light stain | 4 | 3 days | $65-85 |
| Dark stain | 5 | 4 days | $80-110 |
You maximize veneer quality by selecting prefinished tongue-and-groove planks, eliminating field-applied finishing errors. Pair your chosen finish with diagonal installation patterns using 1×2 furring strips spaced 16 inches on center for structural support and visual complexity.
Pickled Oak Finish for Custom Color on a Budget
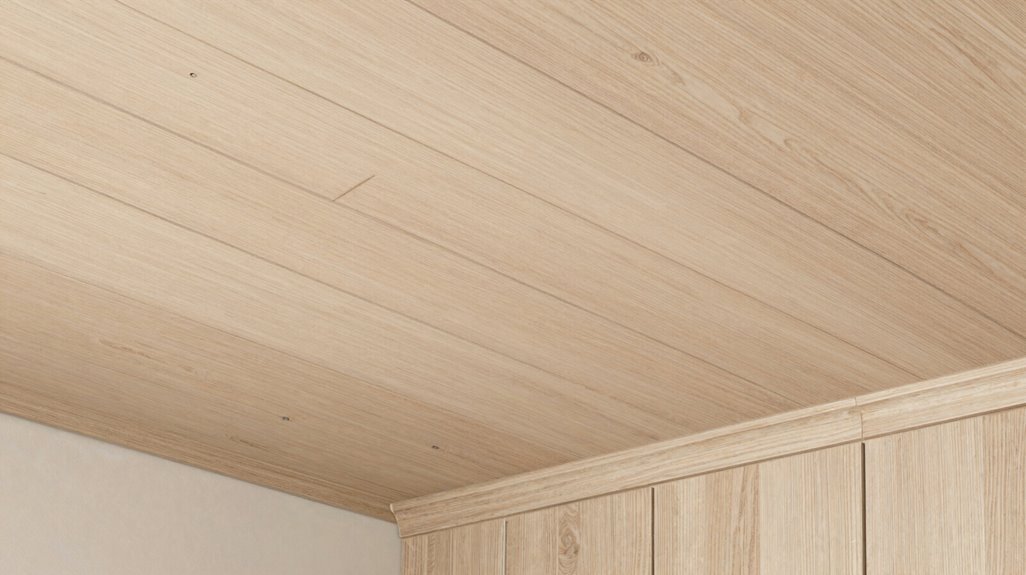
Where can you find the warmth of white oak without draining your wallet? You achieve this through a pickled oak finish on your wood ceiling, turning affordable materials into a high-end aesthetic for under $120.
Start by selecting 1×6 or 1×8 pine boards, or rip 3/4-inch plywood into 6-inch strips. Secure furring strips to your ceiling joists, spacing them 16 inches on center. Install your planks perpendicular to these supports, leaving 1/8-inch gaps for expansion.
Apply a white-pigmented stain or diluted white paint to create the pickled oak effect. Work in 4×4-foot sections, wiping excess within 3-5 minutes for consistent color penetration. Two coats achieve optimal depth.
Consider pre-finished veneer panels for faster installation. You get custom coloration without premium material costs, joining others who prioritize smart resource allocation over excessive expenditure.
Faux Wood Beams Without the Heavy Lifting
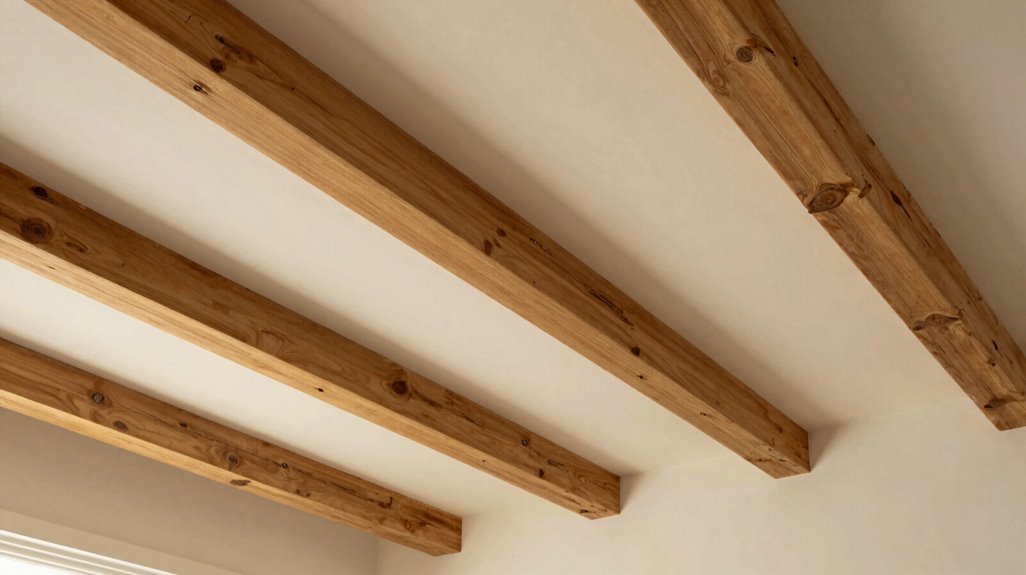
You can achieve substantial architectural impact by installing hollow polyurethane or high-density foam beams, typically weighing 2-5 pounds per linear foot compared to 15-30 pounds for solid timber. Secure these lightweight alternatives directly to ceiling joists using concealed mounting brackets, completing most residential installations within 4-6 hours without specialized equipment.
This approach delivers comparable visual depth and shadow lines at 40-60% lower material cost, while accommodating integrated LED channels or pendant fixtures within the beam cavity.
Lightweight Beam Alternatives
Solid wood beams deliver striking visual impact, but their substantial weight, often 30–50 pounds per linear foot for 8-by-8-inch sections, demands engineered support, structural assessments, and professional installation crews. You’ll find faux wood beams solve this burden entirely. These lightweight alternatives, typically 2–4 pounds per linear foot, attach directly to your existing ceiling without structural reinforcement.
You can select hollow polyurethane or high-density foam options that replicate oak, cedar, or distressed pine grain patterns. Combine these beam shells with plank sections to build dimensional depth and natural shadow lines. You’re creating architectural presence without load-bearing complications. Anchor pendant lighting or décor to these faux elements, establishing focal points with complete visual authenticity. Your ceiling transformation requires no permits, no engineered drawings, and no specialized labor, just measurable results you control.
Easy Installation Methods
How quickly can you update a ceiling without structural permits or specialized crews? You can complete most faux beam installations in one weekend, using lightweight wood planks that attach directly over existing surfaces.
Your installation begins with furring strips, spaced 16 inches on center, to create a level plane. You then secure cedar fence pickets or prefinished plywood veneer panels with a nail gun, or thumbtacks if pneumatic tools aren’t available. Black roofing paper underlayment hides gaps and eliminates staining requirements.
| Method | Material | Time Required |
|---|---|---|
| Furring strips + planks | Cedar pickets | 6-8 hours |
| Direct panel mount | Plywood veneer | 4-6 hours |
| Non-flush siding | Lightweight composite | 3-5 hours |
You skip popcorn ceiling removal when you build out rather than tear down. Leave boards raw for zero finishing time, or seal later if desired.
Budget-Friendly Visual Impact
Where else can you deliver a $3,000 visual impact for under $120 in a single afternoon? You achieve this through faux wood ceiling systems that eliminate structural engineering. You install furring strips at 16-inch intervals, securing them directly to existing joists, then mount lightweight boards over this framework.
Select veneered plywood over generic alternatives for authentic grain patterns. Apply black roofing paper beneath boards to create depth without dark stains. Source tongue-and-groove pine for seamless, interlocking installation.
Calculate material needs at 1.1 times your square footage to account for waste. Complete surface prep, including sanding edges, before ceiling mounting.
You avoid heavy structural modifications while producing warmth comparable to white oak. This approach positions you among homeowners who recognize that strategic material selection outperforms costly labor every time.
Reclaimed Wood Sources for Authentic Character
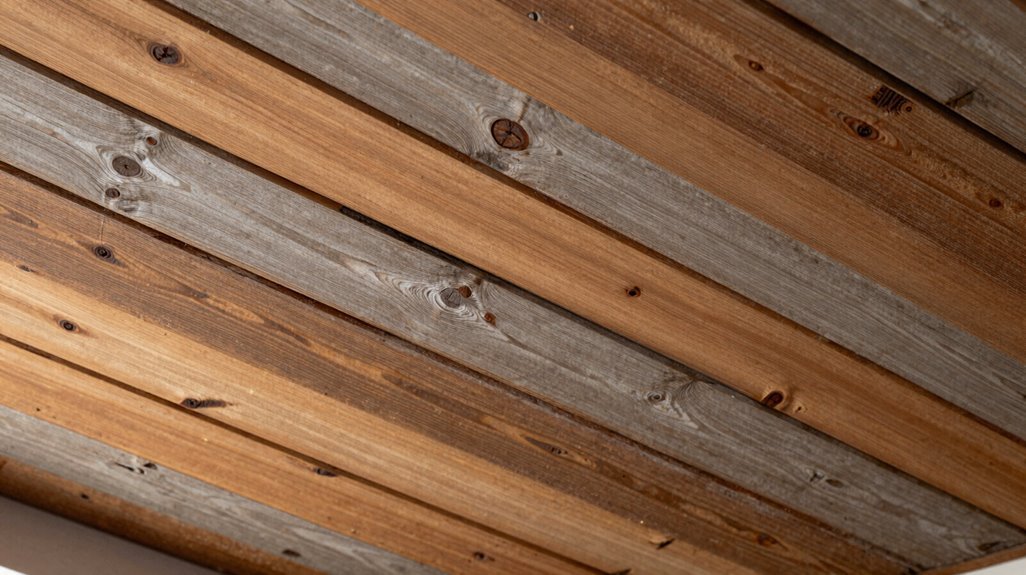
If you’re aiming for ceiling boards that carry genuine history without factory-fresh uniformity, reclaimed wood delivers weathered character through nail holes, saw marks, and oxidized patina that new lumber cannot replicate. You can source this material from deconstructed barns, industrial pallets, or demolished warehouses, often paying $2-$5 per square foot depending on provenance and preparation.
Before installation, inspect boards for structural integrity, measuring moisture content to make sure levels stay below 12% to prevent warping. You’ll need to plane uneven edges and treat for pests, adding 15-20 hours of labor per 100 square feet.
For easier installation, select reclaimed wood with tongue and groove profiles, which lock together without visible fasteners. When supply proves inconsistent, specify new cedar or pine with hand-scraped finishes, achieving comparable aesthetics at predictable quantities and price points.