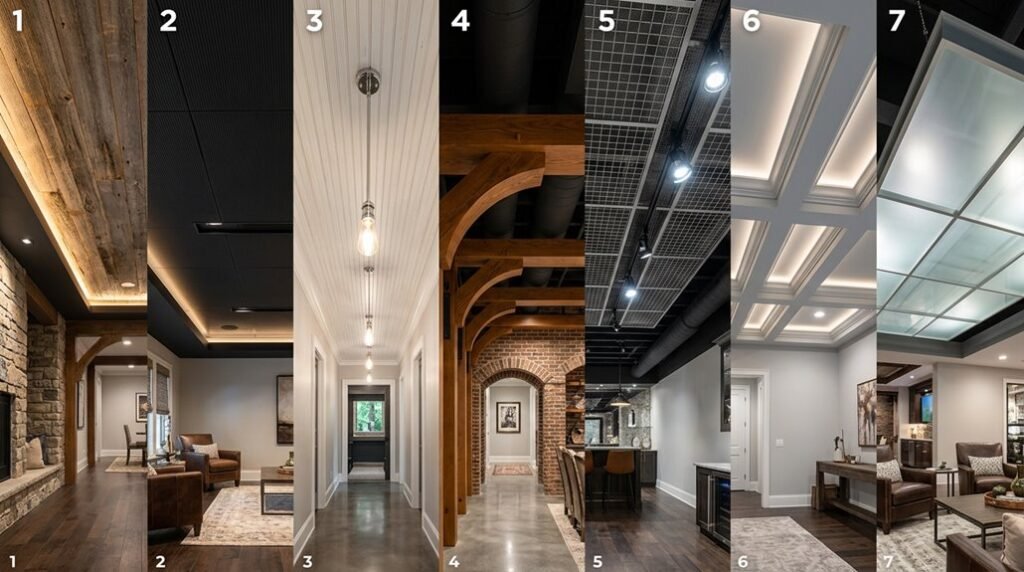
You might assume basement ceilings must hide every duct and pipe, but accessibility and aesthetics can coexist without compromise. You will evaluate seven distinct approaches: exposed joists, painted finishes, drop tiles, beadboard, shiplap, plywood, and fire-rated drywall, each matched to specific spatial constraints, code requirements, and maintenance demands.
You need solutions that balance headroom preservation, wiring access, acoustic performance, and safety compliance in a single, coherent system. The following framework eliminates guesswork through categorical breakdowns, measurable specifications, and conditional decision trees.
Choose Between Exposed and Finished Basement Ceilings Based on Access Needs
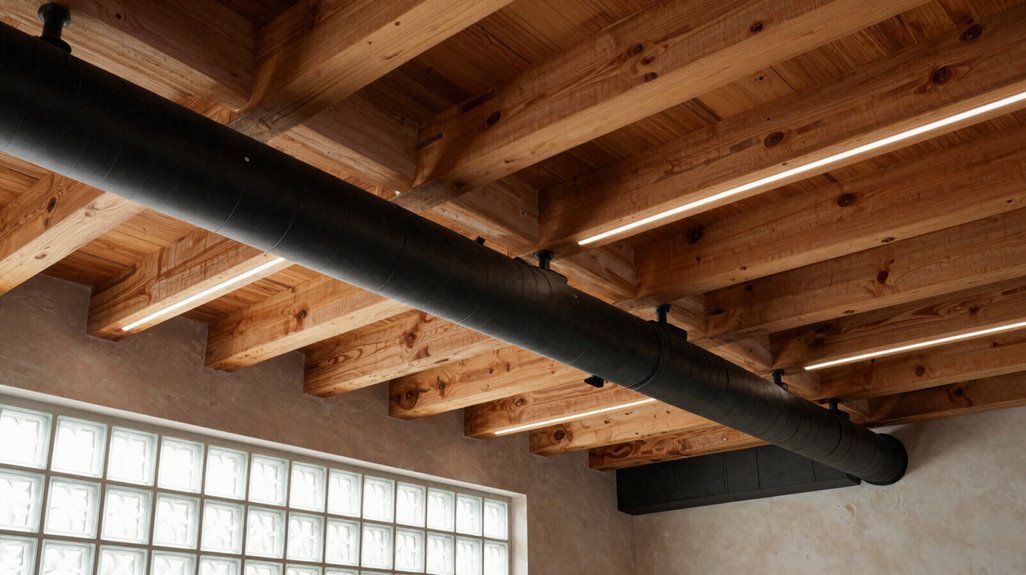
What access level do you require for your basement’s mechanical systems? Your choice between exposed and finished ceilings determines how you’ll handle future repairs, inspections, and upgrades.
1. Evaluate Your Ceiling Access Requirements
Map your basement’s mechanical layout. Count your access points: water shutoff valves, electrical panels, HVAC dampers, and sump pumps. If you access these systems quarterly or more, plan for removable solutions.
2. Compare Finished Ceiling Options
Drop ceilings provide immediate ceiling access; lift any 24-by-24-inch tile individually. Slat systems require partial disassembly but conceal utilities aesthetically. Fixed drywall eliminates access without cutting.
3. Address Fire Safety Compliance
Install 5/8-inch Type X fire-block drywall between floor joists where required by national codes. Verify local amendments, as jurisdictions modify firewall ratings. Unfinished ceilings expose utilities but demand sprinkler coverage or intumescent coatings per code.
| System | Access Speed | Fire Rating Required |
|---|---|---|
| Exposed joists | Immediate | Sprinklers or coating |
| Drop ceiling | 30 seconds/tile | Tile classification |
| Slat ceiling | 10-15 minutes | Behind-slat barrier |
Source materials early; retailer stock varies, and specialty slat suppliers often require 4-6 week lead times.
Paint Exposed Basement Ceilings Black for Easy Drama in Open Spaces
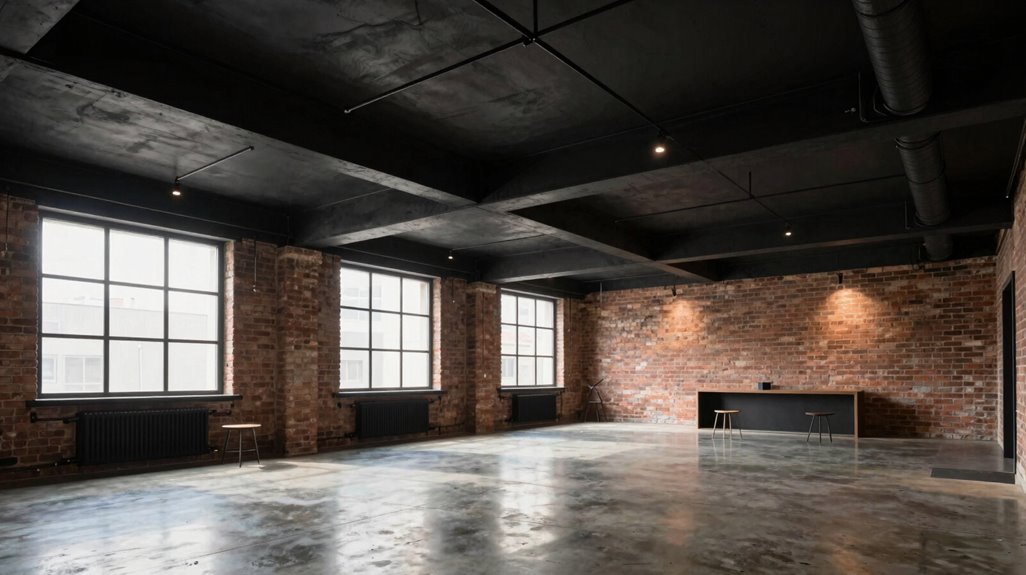
Once you’ve mapped your mechanical access needs, you’re ready to select a ceiling treatment that balances utility with visual impact. Painting your basement ceiling black delivers dramatic, gallery-like results without the cost of full renovation.
You’ll coordinate with electricians to position can lights before applying paint, making sure you have proper illumination across the black ceiling surface. This approach works particularly well for lower-ceiling basements, defining overhead space without adding bulk. The treatment pairs with white walls and painted concrete floors for modern contrast.
You achieve affordable, kid-friendly sophistication through this method. The black ceiling absorbs visual clutter from exposed ducts and wiring, creating cohesive, intentional aesthetics. Installation requires 2-3 days including prep and dry time. Materials cost $200-400 for average 600-square-foot spaces.
Use White Paint on Low Basement Ceilings to Maximize Headroom and Light
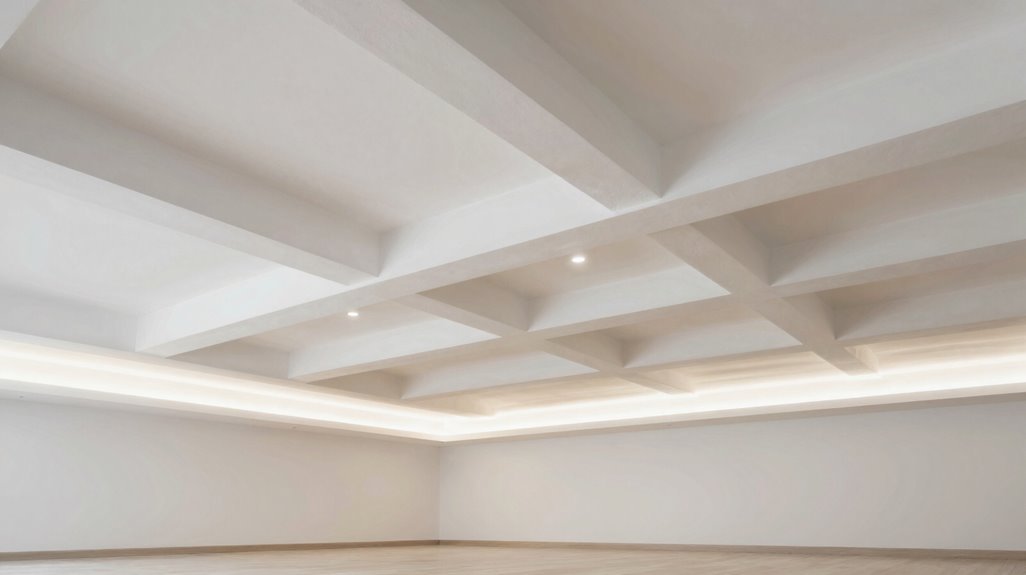
You can brighten dark spaces and maximize visual height by applying white paint directly to your low basement ceiling, including exposed pipes and rough surfaces. This approach blends structural elements into a cohesive plane, eliminating visual fragmentation that makes ceilings feel lower than their actual 7-to-8-foot measurements.
Pair this treatment with white or light-colored walls, as demonstrated in a Columbus Airbnb laundry room renovation, to amplify perceived headroom without costly structural modifications.
Brighten Dark Spaces
Why struggle with oppressive, cave-like conditions when a single coating changes your basement’s entire spatial perception? You reclaim valuable square footage by abandoning the Drop Ceiling approach, opting instead for a unified White Ceiling treatment that erases visual clutter. This method demands 1-2 gallons of high-quality white ceiling paint per 400 square feet, applied over 4-6 hours including drying time between coats.
Blend exposed pipes and rough surfaces into a cohesive, luminous plane. Preserve raw wood, stone, and concrete textures beneath bright, reflective coverage. Amplify light distribution when paired with pale walls and flooring systems.
The Columbus Airbnb laundry room demonstrates this principle: one white ceiling application expanded perceived dimensions without structural modification. You achieve equivalent results through systematic surface preparation, selecting matte or eggshell finishes to minimize glare while maximizing luminosity.
Maximize Visual Height
If your basement ceiling measures seven feet or lower, you’re working within a confined vertical envelope that demands strategic visual expansion rather than structural intervention. You’ll achieve maximum perceived headroom by coating every overhead surface, exposed pipes, ductwork, joists, with uniform white paint, turning compressed vertical space into breathable architecture.
| Surface Treatment | Visual Outcome |
|---|---|
| White ceilings, flat finish | Eliminates shadow pockets, extends sightlines |
| Gloss white on ducts | Reflects 75-90% of available light |
| Matte white on joists | Absorbs irregularities, unifies texture |
| White ceiling tiles (2’×4′ or 2’×2′) | Modular coverage for partial obstructions |
You preserve structural honesty while reducing visual weight. Pair white ceilings with matching wall color for continuous planar flow. This technique works across laundry zones, recreation areas, or storage cells, anywhere you’re optimizing cubic efficiency without lowering mechanical systems.
Install Removable Drop Ceiling Tiles for Wiring Access and Code Compliance
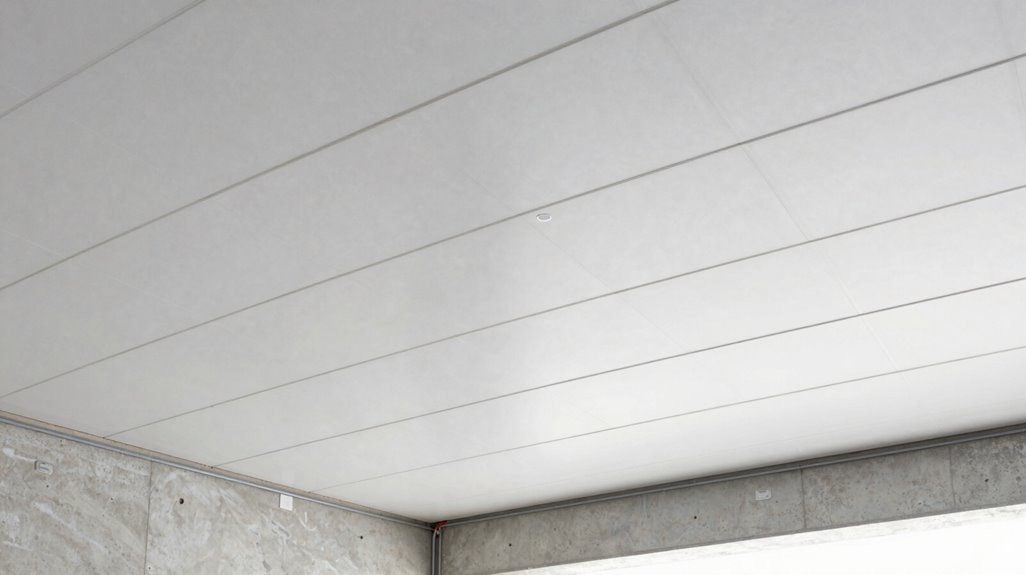
How can you maintain full access to critical infrastructure without sacrificing a finished appearance? You install removable drop ceiling tiles, a solution that balances practicality with polished aesthetics. Drop ceilings turn your basement into a compliant, functional space where wiring access remains unobstructed.
Drop ceilings deliver polished aesthetics without locking away the infrastructure you need to reach.
You’ll appreciate these core advantages:
- Instant infrastructure access: Lift any tile within seconds to reach electrical, plumbing, or HVAC systems without tools or demolition
- Sustained code compliance: Permit inspectors to verify fire blocking and concealed systems quickly, avoiding costly violations
- Height preservation with acoustic benefits: Lightweight tiles install on exposed grids, maintaining headroom while reducing noise transmission
Your basement deserves systems that work as hard as you do. Choose snap-in or easy-up grid configurations for straightforward maintenance. This approach delivers budget-conscious updates without compromising future adaptability or regulatory requirements.
Add Beadboard, Shiplap, or Plywood for Warmth in Home Offices and Living Areas
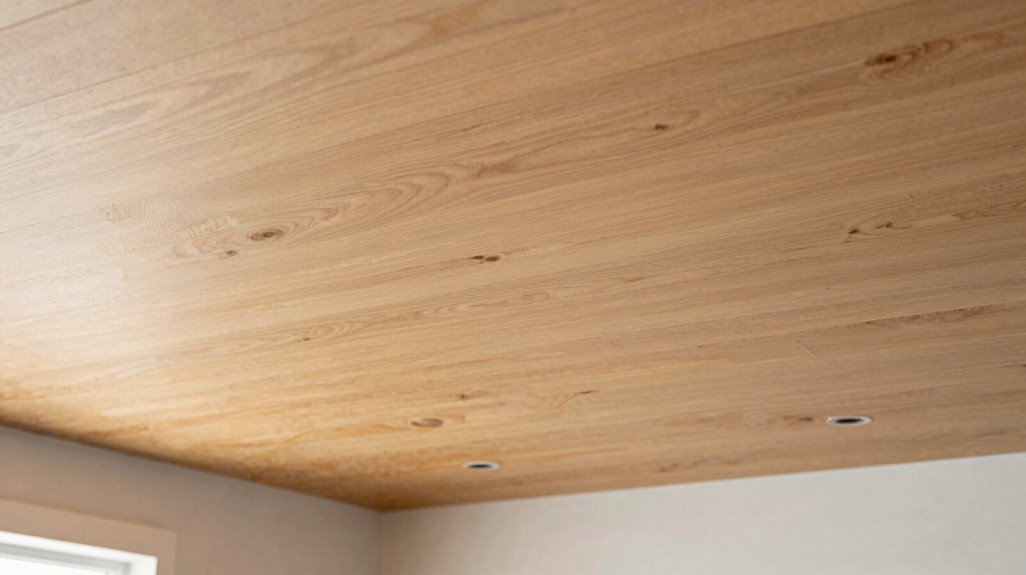
You can install beadboard, shiplap, or plywood panels directly over existing ceiling surfaces or between exposed joists, typically requiring 1×4 or 1×6 boards cut to 8-foot, 10-foot, or 12-foot lengths depending on your room dimensions. Fasten panels with 2-inch finishing nails spaced every 12 inches, and leave 1/8-inch expansion gaps between boards to accommodate seasonal humidity fluctuations in below-grade spaces.
For a 12×15-foot basement office, you’ll need approximately 180 square feet of material plus 10% waste allowance, with installation taking one weekend using basic miter saw and pneumatic nail gun equipment.
Warm Wood Ceilings
What separates a sterile basement from an inviting workspace? You install warm wood ceilings that turn cold, forgotten square footage into spaces where you want to spend time.
- Beadboard replaces dated drop ceiling panels, delivering instant charm to laundry rooms, bathrooms, and offices with minimal material investment.
- Plywood creates bold, rustic-industrial surfaces you can install yourself, typically requiring 4×8 sheets cut to joist spacing.
- Shiplap fits between exposed joists, establishing farmhouse rhythm you can replicate across any basement zone.
You coordinate these wood treatments with white walls, bright interiors, or painted joists for cohesive, scannable design. Combine exposed structural elements with finished wood surfaces to balance raw texture and polished warmth. Measure your ceiling span, calculate board quantities by square footage, and execute.
Easy Panel Installation
Where should you begin when rigid ceiling tiles drain character from your basement? Start with ceiling panels that change your space through strategic DIY installation.
1. Select Your Panel Type
Choose beadboard for laundry rooms and bathrooms, shiplap for farmhouse aesthetics between joists, or plywood for bold, industrial office spaces. Each option installs within 4-8 hours using standard tools.
2. Execute Installation Scenarios
- Beadboard: Replace dated drop ceiling tiles directly
- Shiplap: Mount between exposed joists, 16 inches on center
- Plywood: Secure 4×8 sheets for seamless coverage
3. Address Pre-Existing Conditions
Inspect older tiles for asbestos before applying wallpaper overlays as temporary solutions.
Installation Requirements
| Panel Type | Skill Level | Time Required | Cost per Sq. Ft. |
|---|---|---|---|
| Beadboard | Beginner | 4-6 hours | $2-4 |
| Shiplap | Intermediate | 6-8 hours | $3-6 |
| Plywood | Beginner | 4-5 hours | $1-3 |
Your basement becomes a cohesive, welcoming extension of your home.
Hang Acoustic Ceiling Panels in Basement Gyms and Media Rooms
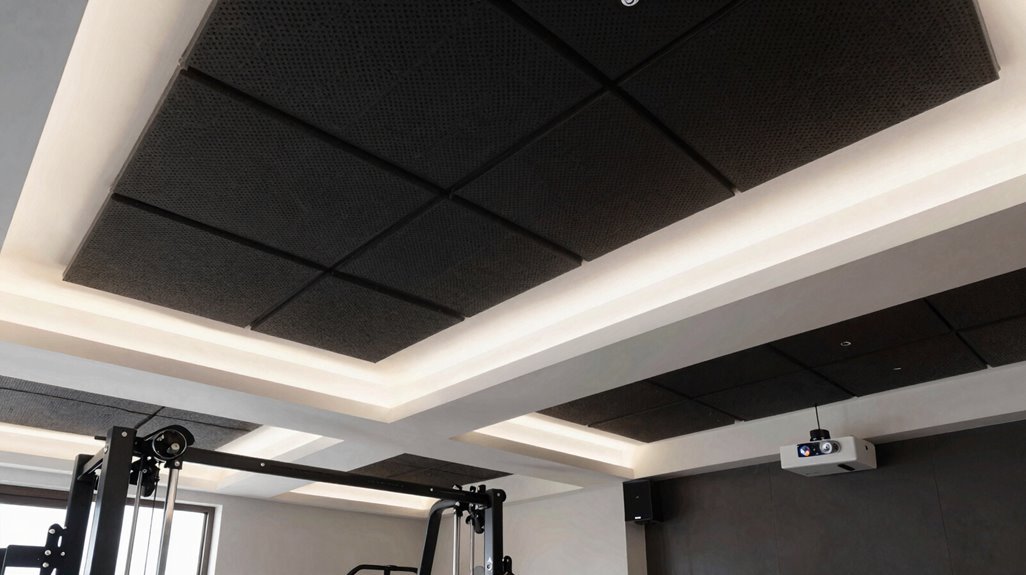
How might your basement gym or media room perform if every thud of weights and echo of dialogue were controlled rather than amplified? You can achieve this with acoustic ceiling panels, a strategic choice for any basement renovation focused on function.
Select lightweight tiles in colors and styles that match your aesthetic, from matte black to textured white. Install panels that drop into standard grid systems, allowing access to wiring and HVAC within 2-3 hours. Specify fire-rated, moisture-resistant options rated for basement humidity levels between 30-60%.
You gain professional-grade sound control without sacrificing practicality. The 24″ x 48″ or 24″ x 24″ dimensions adapt to existing layouts, minimizing structural modifications. This upgrade delivers measurable acoustic performance: expect 0.70-0.90 noise reduction coefficients in typical configurations.
Cover Basement Bedrooms With Fire-Rated Drywall for Safety and Comfort
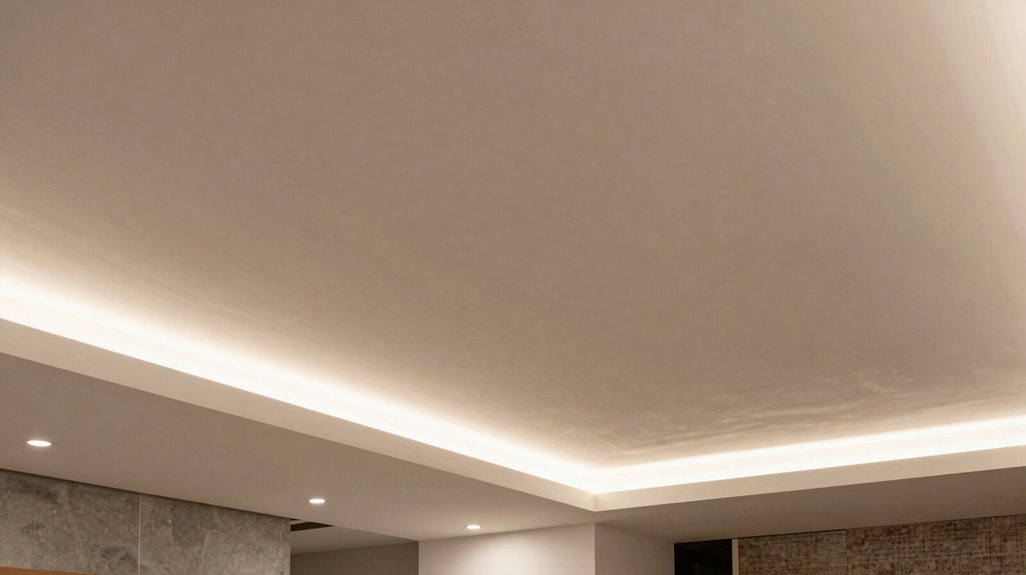
When you’re converting your basement into a bedroom, you’ll encounter strict fire safety requirements that demand specific materials and assembly methods. You must install 5/8-inch thick fire-rated drywall, commonly called fire block drywall, to enhance fire resistance and block heat transfer between spaces. This assembly meets code requirements for concealed spaces, reducing rapid flame spread in ceiling assemblies above basement bedrooms.
You’ll need proper fire blocking around voids and penetrations to maintain continuous protection. Pair fire-rated drywall with sound-control ceilings to improve comfort without blocking maintenance access.
Always reference national and local codes, then verify your assembly with building officials. Your basement bedroom must meet specific safety standards before occupancy.