Most sewists lose 40% of their productive time to inefficient movement between tasks, not lack of skill. You can reclaim that time by treating your small sewing room as a workflow system, not a storage problem.
The seven strategies ahead will show you exactly how.
Start Your Small Sewing Room With Zones, Not Furniture
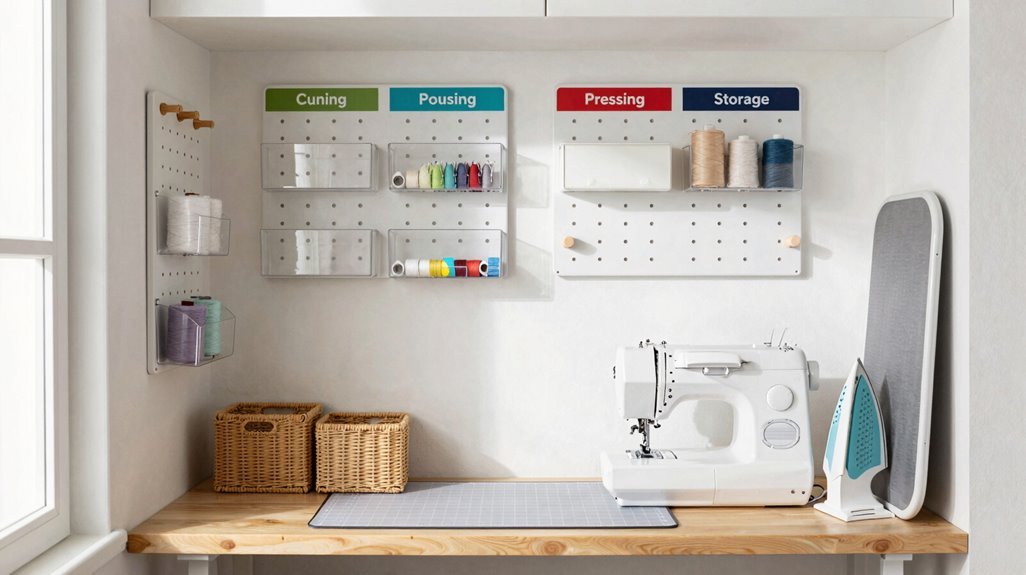
Where do you begin when an 11×9 ft room must hold your entire sewing operation? You start with zoning, not furniture placement. Small spaces demand that you divide your 99 square feet into three functional territories: cutting/pressing, sewing/workbench, and storage. This localization reduces your movement between tasks, saving approximately 30% of your working time.
You need storage solutions that disappear. Install closed dressers with 6-8 inch deep drawers for fabrics and patterns. Mount selective wall shelving at 48-72 inches high, reserving floor space. Add over-the-door ironing board brackets to reclaim 4 square feet.
Choose adjustable-height work furniture; tool benches or repurposed dressers set at 28-30 inches, to maintain ergonomic posture without expanding your footprint. Your zones create belonging through predictable, efficient workflow.
Plan Your Layout Around Cutting Space: It’s Bigger Than You Think
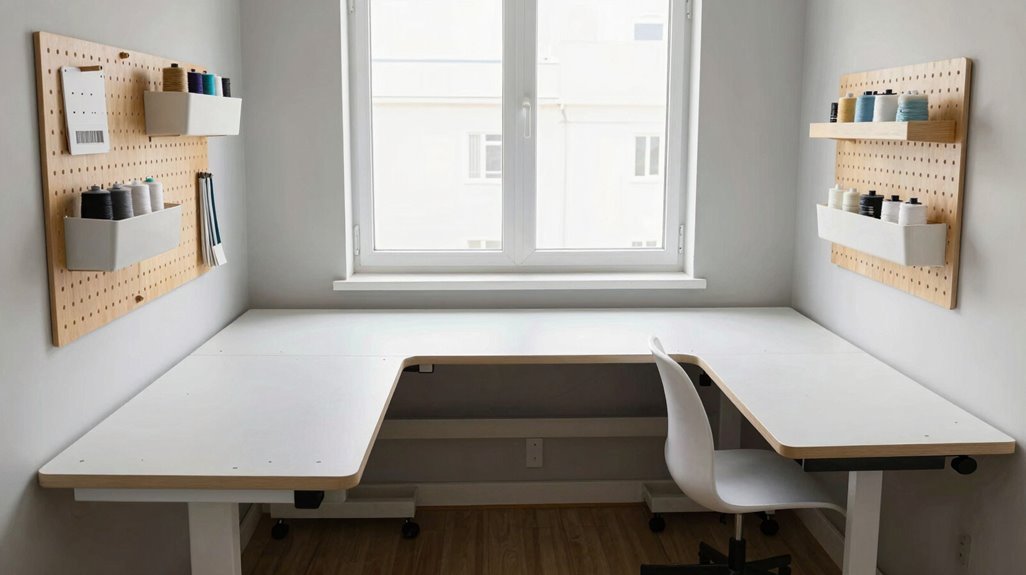
You’ll need more horizontal square footage for cutting than your sewing machine demands, so prioritize a dedicated 36-by-48-inch minimum cutting surface before allocating space for stitching.
When your permanent workspace falls short, deploy temporary solutions: folding tables, banquet surfaces, or even a cleared dining table, to create 60-plus inches of contiguous cutting length for larger projects. This dual-use approach lets you reclaim domestic furniture for fabric prep, then restore normal function within minutes, eliminating the need for oversized permanent fixtures in tight quarters.
Cutting Surface Priority
How much room does cutting actually demand? You’ll need at least 36 x 60 inches minimum, 45 x 72 for garment projects, or 72 x 96 for quilt layouts. Prioritize your cutting surface over sewing space; reclaim your dining table or deploy a sturdy folding cutting table as your command center.
Position your cutting table adjacent to fabric storage. Move selvage directly into bins without crossing the room. Stash rotary mats, rulers, and blades underneath or on wall hooks; keep that surface pristine.
When square footage shrinks, route workflows so cutting happens away from machine stations. You deserve a dedicated, height-adjustable cutting station; repurpose a dresser with casters and a plywood top if budget bites. Reserve flat surfaces nearby for intensive projects. Your body, and your precision, will thank you.
Temporary Table Solutions
Not every sewer claims a permanent room, and that’s where temporary table solutions earn their keep. You prioritize cutting space over sewing space, because layout and planning demand more square footage than stitching ever does. You deploy folding tables in hallways or spare corners, then clear them when guests arrive. You select a long, shallow-drawer workbench, like Husky’s 46-inch model, for quick-access cutting surfaces that keep fabric scraps contained.
You position temporary tables near storage, so scissors, patterns, and yardage remain within arm’s reach. You add rolling tables to expand surface area during intensive projects, maintaining mobility throughout your session.
| Table Type | Dimensions | Best Use |
|---|---|---|
| Folding tables | 6-8 feet long | Hallway setups, multi-project spreads |
| Rolling tables | 24×48 inches | Intensive cutting phases |
| Shallow-drawer workbench | 46×24 inches | Scrap organization, quick access |
Dining Table Dual Use
When space runs tight, the dining table becomes your primary cutting station, and you treat it as the command center for every layout decision. You prioritize cutting space over sewing area because fabric spreads demand more square footage than machine work. Your dining table becomes a versatile workspace that handles multiple projects simultaneously.
- Position an adjustable-height surface, such as a repurposed dresser with casters, adjacent to your dining table for seamless task-switching without floor congestion.
- Deploy hallway desks or dining room corners as temporary cutting stations during peak project periods, maintaining clear traffic flow through main living areas.
- Store lightweight cutting mats, rotary cutters, and rulers in shallow drawers or open shelves within arm’s reach of your dining table to eliminate retrieval delays.
Reserve flat, close-at-hand surfaces for intensive cutting phases, and maintain closed storage nearby for tools and fabrics to control visual clutter.
Skip the Sewing Desk: Buy a Workbench Instead
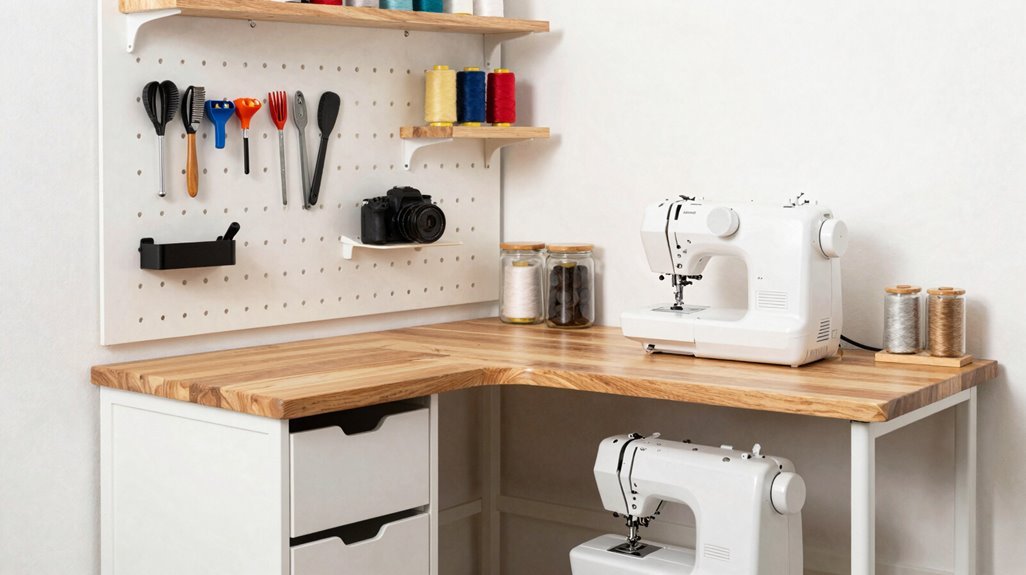
Because traditional sewing desks often wobble and lock you into fixed heights, you’ll get better results with a heavy-duty workbench built for industrial use. You’ll gain stability at high speeds, plus adjustable heights that protect your posture during long sessions.
| Feature | Workbench Benefit | Your Result |
|---|---|---|
| Storage | Shallow drawers hold threads, feet, tools | Clear work surface, organized supplies |
| Mobility | Casters enable reconfiguration | Flexible room layout, maximized floor space |
| Stability | Industrial-grade construction | Precise stitching, reduced vibration |
You’ll repurpose dressers or solid desks by replacing tops and adding casters for height flexibility. Prioritize closed storage under your workbench to minimize wall clutter. This creates movement space you’ll need in tight quarters. Choose long, shallow-drawer models like Husky to maintain efficiency without sacrificing capacity.
Mount Your Ironing Board and Reclaim Floor Space
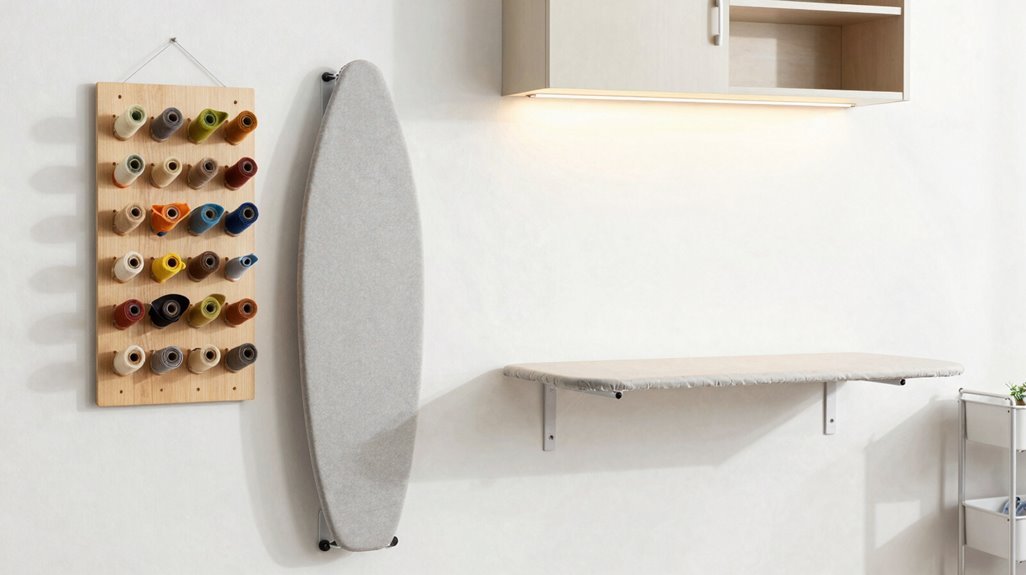
Your workbench now anchors the room, but you’ll lose that advantage if your ironing board claims 12 square feet of floor space every time you press a seam. You need a wall-mounted solution that keeps your surface accessible yet invisible between sessions.
Consider these three space-saving configurations:
- Install an over-the-door ironing board on your closet, eliminating trip hazards while preserving 100% floor clearance
- Mount directly to wall studs when door placement limits your layout, keeping a 34-inch ergonomic working height
- Build upper shelving above and lower bins below your mounted station, storing your iron, clapper, and spray bottle within 24-inch reach
You’ll maintain workflow efficiency without sacrificing precious square footage.
Borrow Storage Tricks From Kitchens and Garages
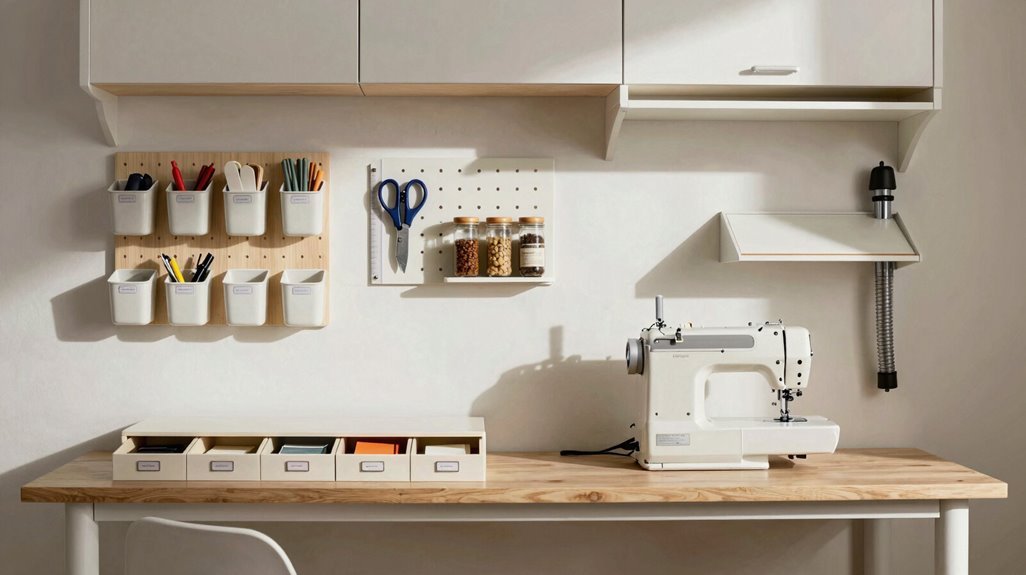
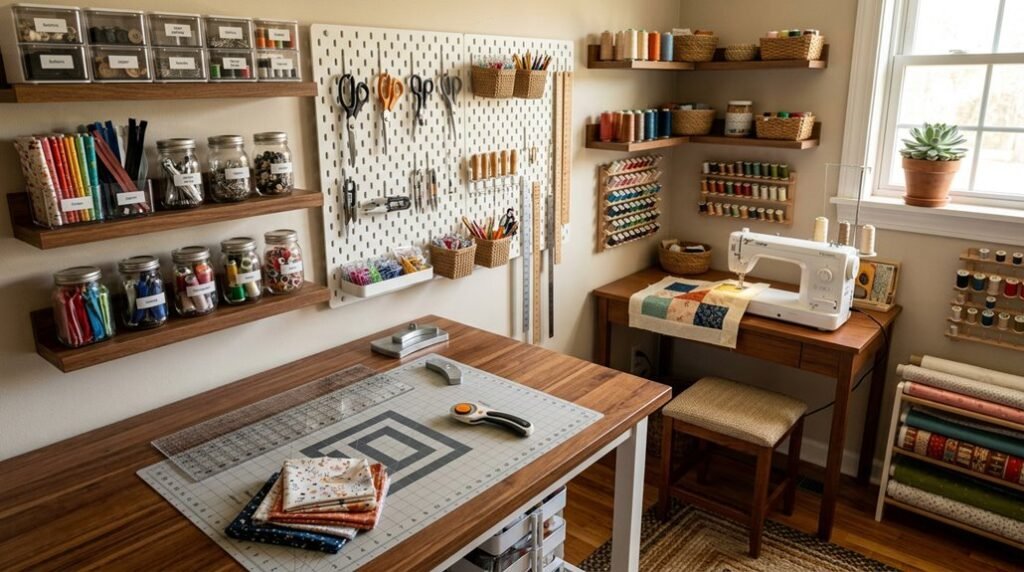
You can reclaim 15-30 square feet by installing vertical storage rails, pegboards, or slatwall systems between 24-48 inches wide, mounting them 16 inches on center for standard stud placement.
Consider integrating a mobile workbench with locking casters rated for 300-500 pounds, measuring 36 inches high for ergonomic cutting and 48-60 inches long to accommodate full fabric widths. These industrial-grade solutions, borrowed from kitchen pantries and auto shops, provide modular adaptability through standardized hooks, bins, and brackets that reconfigure in under 10 minutes as project demands shift.
Vertical Storage Solutions
When floor space measures fewer than 30 square feet, you’ll exploit vertical real estate using methods borrowed from commercial kitchens and organized garages.
You’ll implement three proven vertical storage systems:
- Stack tall, narrow pantry cabinets or labeled plastic bins to store 15-20 bolts of fabric, 50+ patterns, and notion containers without consuming floor space.
- Mount adjustable shelves and pegboard panels above your 24-inch work surface, placing 8-12 frequently used tools within 18-inch arm’s reach.
- Retrofit closets with slim rolling carts, door-mounted ironing boards, and 4-inch shallow drawers, creating 40% additional vertical storage while maintaining main area clearance.
This space-saving organization strategy eliminates horizontal clutter. You’ll label all containers by function: fabric, patterns, notions, tools; and establish categorical zones that reduce retrieval time to under 10 seconds.
Vertical storage changes cramped quarters into efficient, workflow-optimized workspaces where every item occupies a predetermined, accessible position.
Mobile Workbench Options
Three mobile workbench configurations turn cramped sewing quarters into adaptable workstations that follow you across projects.
- Shallow-Drawer Units: Select a long, Husky-style mobile workbench with 12-inch-deep drawers. Store 50+ thread spools, 15 machine feet, and rotary cutters in organized compartments, keeping essentials within 24 inches of your machine.
- Converted Furniture: Mount 4-inch locking casters to a dresser top or 36×48-inch cutting table. This creates a mobile workbench weighing under 75 pounds, relocatable in 30 seconds for piecing, cutting, or pressing workflows.
- Ergonomic Stations: Invest in an adjustable-height mobile workbench (28-36 inches) to minimize shoulder strain during 4-hour sessions. Engage locking wheels before sewing at 1,500+ RPM to eliminate vibration transfer.
Borrow kitchen under-table bins and garage wall racks to maximize vertical storage without sacrificing floor space.
Light Your Cutting, Sewing, and Pressing Zones Separately
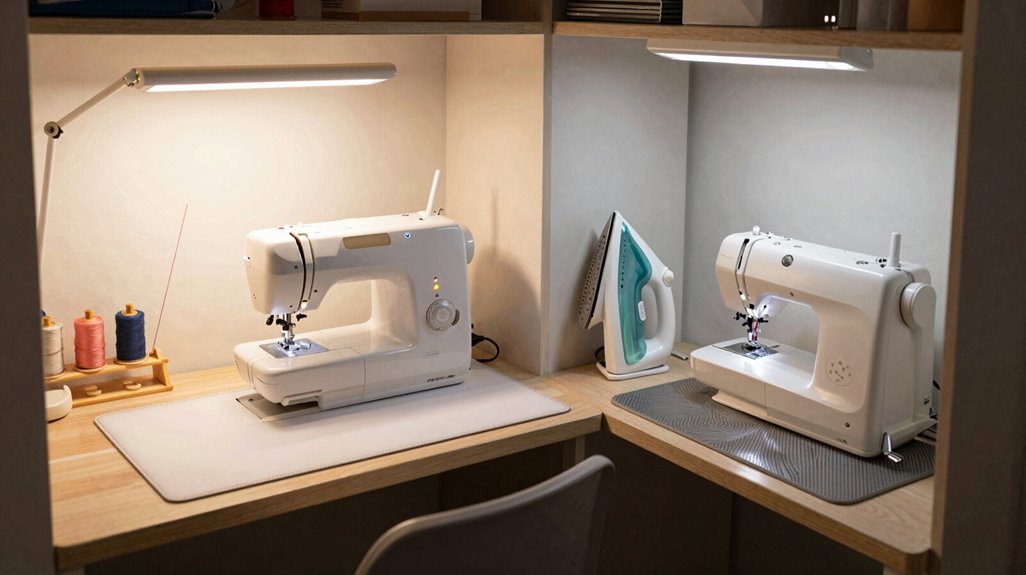
How can you sew accurately when shadows distort your fabric colors? You can’t, and that’s why proper lighting changes your sewing room from frustrating to functional. Zoning your workspace with dedicated illumination removes guesswork and protects your vision.
Implement these three lighting strategies:
- Position a daylight-balanced OttLite at your cutting station for true color rendering on fabric
- Mount a focused task lamp 18–24 inches from your machine needle to eliminate shadows
- Add clip-on neutral white lights (3500–4500K) near pressing tools and storage containers
You’ll reduce eye strain, match colors precisely, and keep notions visible without leaving your zone. Combine ambient ceiling fixtures with targeted task lighting at each station. Prioritize quality over quantity; one proper lamp beats three dim bulbs every time.
Design for Projects That Change Weekly
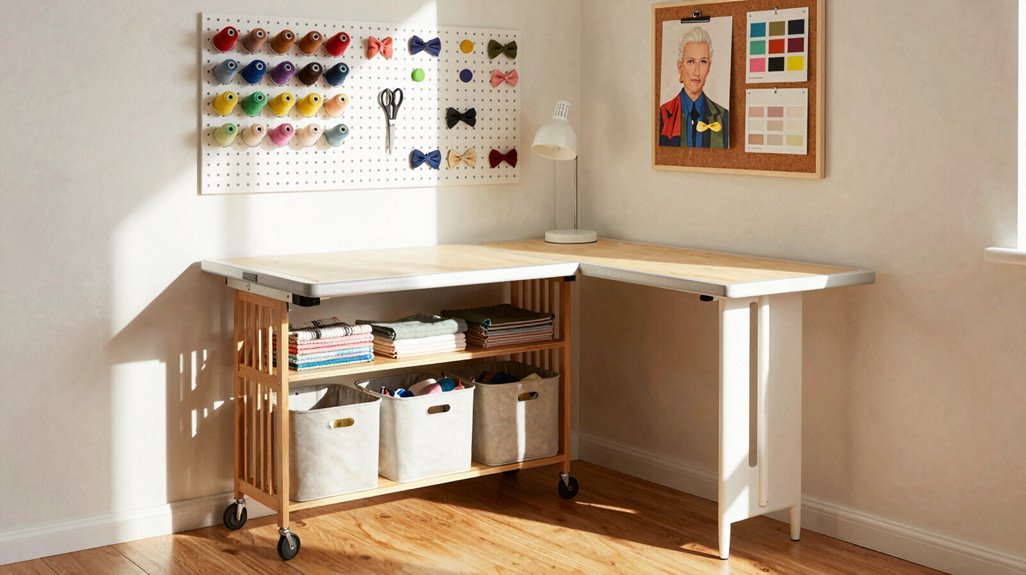
Why let a cramped space dictate your creative output when strategic planning lets you pivot between quilts, garments, and accessories without chaos? Your small sewing room demands systems that flex with every weekly project you tackle.
Reserve your largest surface, typically 36×48 inches minimum, for multi-project cutting. Position a compact, sturdy workbench against one wall, and store tools in closed cabinets to eliminate visual clutter. You rotate through cutting, sewing, and pressing on a fixed schedule, keeping labeled bins within arm’s reach.
Deploy adjustable-height furniture and caster-mounted modules. Repurpose dressers as cutting tables, adding lockable wheels for repositioning. Maintain clearly marked zones: fabric storage, patterns, notions, pressing. These space-saving solutions let you shift projects in under 10 minutes, preserving momentum without room reorganization.