Your ceiling occupies one-sixth of your room’s visual space, yet most homeowners ignore it entirely. You can reclaim this surface with three proven methods: stenciled paint applications, tension-mounted fabric systems, and interlocking beadboard panels.
Each solution requires under $150 in materials, demands no professional licensing, and completes within a single weekend. The following sections specify exact quantities, tool requirements, and sequential procedures.
Paint and Stencils: Roll and Stencil Your Ceiling in a Day
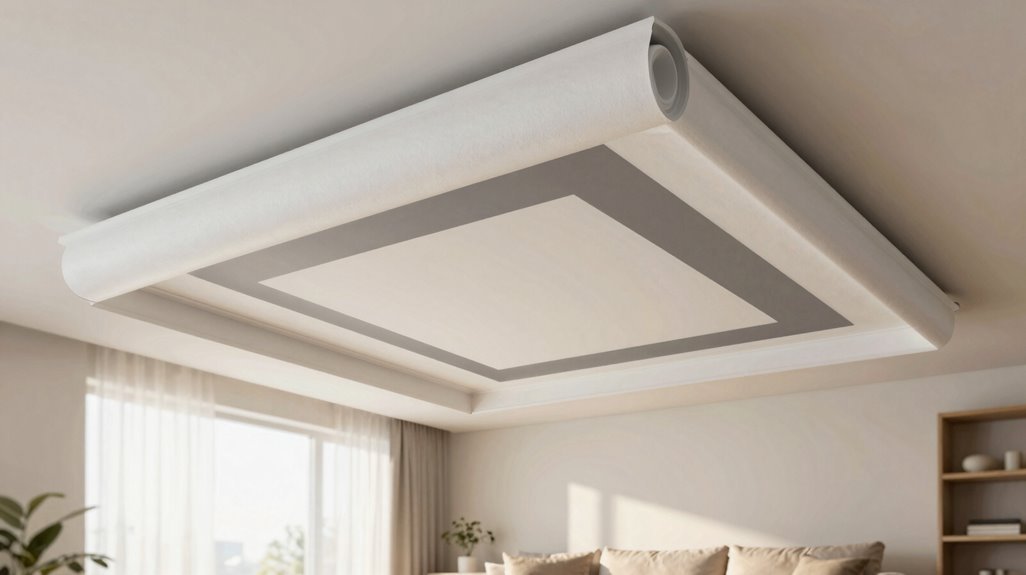
Why settle for a forgettable ceiling when paint and stencils deliver maximum change at minimum cost? You roll primer across your ceiling first, then apply your base paint in white or soft gray. After that dries, you position stencil motifs along the center or corners, securing them with painter’s tape.
You dab or roll paint through the cutouts, lifting carefully to reveal neat patterns. This DIY method demands thorough prep work: patch holes, sand bumps, and clean thoroughly before you begin. The entire process takes one weekend for spaces up to 200 square feet. You will create a decorative ceiling that rivals expensive installations, using materials under $100. Your finished room gains cohesion and appeal without paying for professional labor.
Fabric Draping: Hang Ceiling Fabric With Basic Hardware
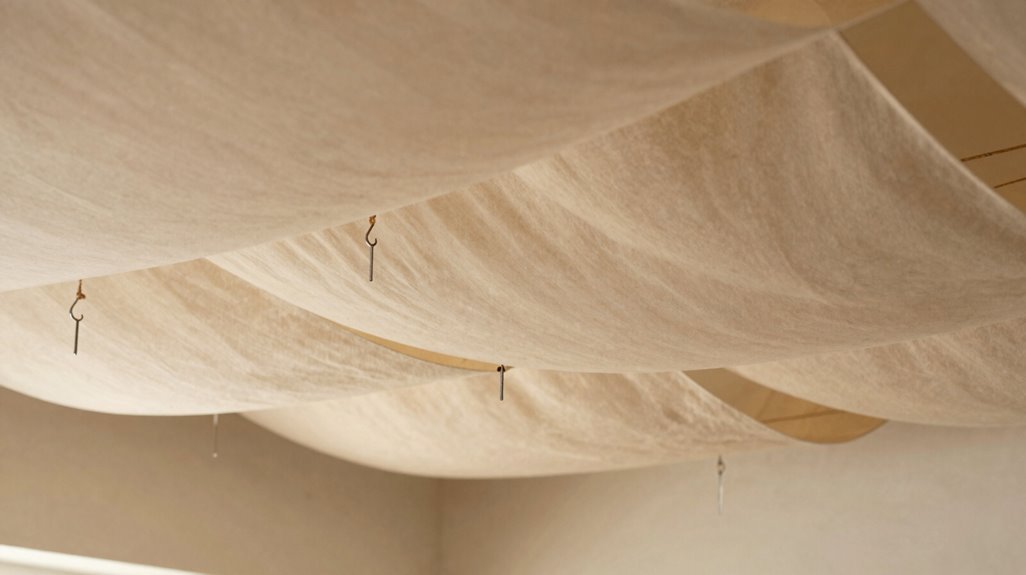
If painted patterns feel too permanent for your space, fabric draping offers a reversible solution that masks ceiling flaws while adding warmth. You create a moldable ceiling by suspending ceiling fabric with minimal fabric hardware, making this DIY ceiling project beginner-friendly and achievable in one afternoon. Select lightweight fabric such as sheer voile, chiffon, or cotton muslin, securing it with tension rods or ceiling tracks to maintain tautness without drilling.
Fabric draping transforms bland ceilings into warm, moldable art—no paint, no drills, just reversible elegance in one afternoon.
This temporary ceiling treatment requires no structural modification, ideal for renters or cautious decorators. Choose washable, darker-toned materials to conceal dust and discoloration over time.
- You turn an impersonal room into your intimate sanctuary within hours.
- You join countless renters who refuse to accept blank, damaged ceilings.
- You reclaim ownership of your space without risking your security deposit.
Beadboard Panels: Nail Up Texture Without a Contractor
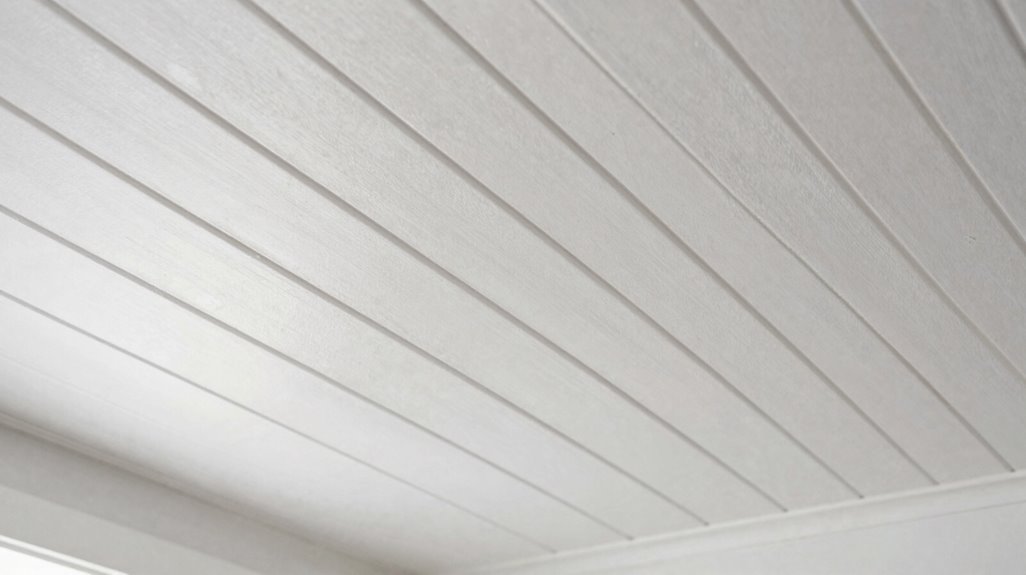
Where can you find architectural texture without hiring a contractor or draining your savings? You nail up beadboard panels, and you change your ceiling rental into a polished, professional space that neighbors will envy.
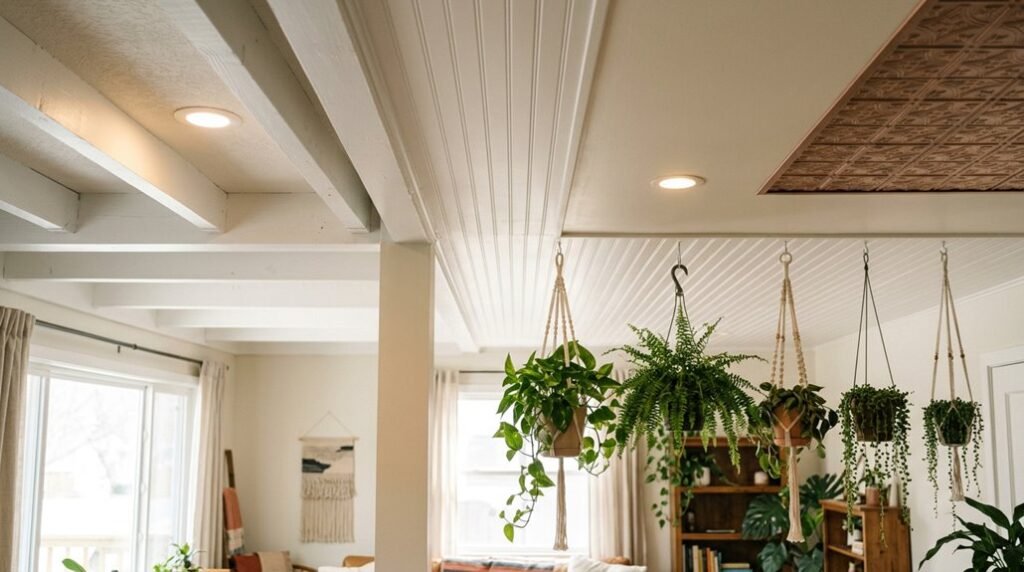
You’ll select beadboard ceiling options in two formats: tongue-and-groove boards or channel beadboard panels. You measure your square footage, add 10% for cuts, and you purchase moisture-resistant beadboard if you’re working in bathrooms or kitchens. You attach nail-up panels directly to ceiling joists with a finish nailer, spacing fasteners every 12 inches along studs.
For your DIY ceiling, you seal joints with paintable caulk, then apply semi-gloss paint for washability. This budget ceiling idea delivers textured ceiling appeal at $3-8 per square foot, making your ceiling renovation achievable in one weekend. You complete this easy ceiling upgrade, and you join the community of capable homeowners who skip the markup.