
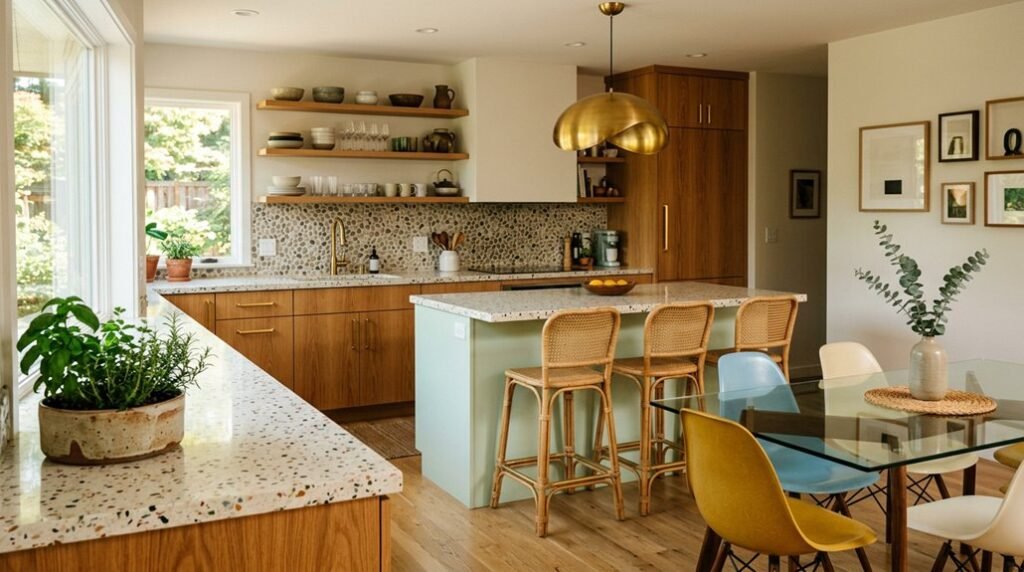
You need a kitchen that functions precisely while honoring mid-century principles of form and utility. This seven-step system breaks each decision into measurable actions: cabinet dimensions, hardware spacing, color ratios, and lighting placement. You’ll execute without guesswork. First, you must understand how these elements interconnect structurally.
Design Your Mid-Century Kitchen Palette: Walnut and Cream
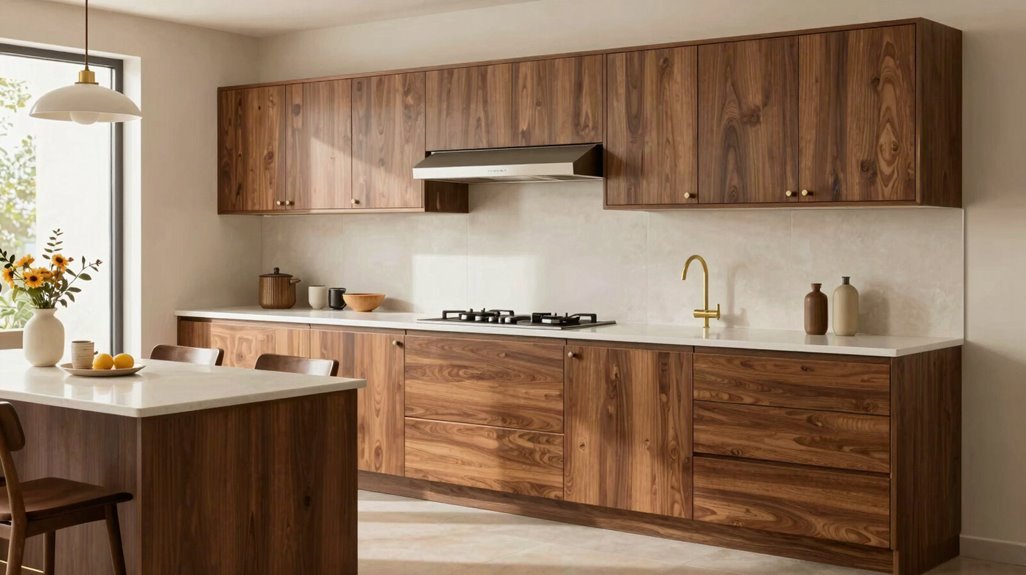
You’ll anchor your mid-century kitchen in two foundational materials: walnut and cream. Walnut cabinetry establishes warmth through floor-to-ceiling applications, while cream countertops and backsplashes balance darkness with reflective lightness. This mid-century modern pairing creates visual equilibrium without competing elements.
You’ll select cream as your neutral base, allowing walnut tones to dominate while warm metal hardware, subtle blue accents, and mustard details emerge distinctly. The cohesive palette prevents visual fragmentation, unifying surfaces across 10-15 linear feet of typical kitchen layout.
You’ll incorporate open shelving in walnut veneer, replacing 30-40% of upper cabinetry to maintain period-appropriate minimalism. Pendant lighting in brass or bronze finishes; globe pendants measuring 12-16 inches diameter, or sputnik fixtures with 6-12 arms; accentuates wood grain against cream backdrops. Natural textures, including cream quartz countertops and walnut veneer, complete this storage-forward, open-plan aesthetic.
Install Flat-Panel Walnut Cabinets With Brass Hardware
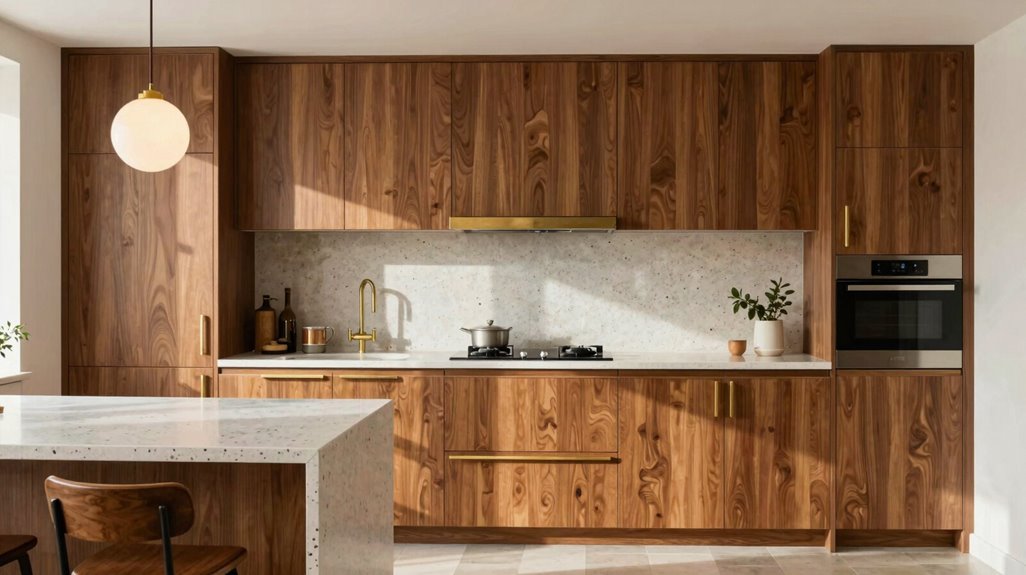
Why compromise on storage when flat-panel walnut cabinets deliver both function and period authenticity? You’ll anchor your mid-century modern kitchen design with flat-panel cabinets that emphasize clean lines, rejecting ornate details for minimalist precision.
Select walnut cabinetry with natural grain patterns, installing floor-to-ceiling units to maximize storage integration without visual clutter. Pair your walnut cabinetry with brass hardware, drawer pulls, cabinet knobs, and hinges, to introduce warm metallic contrast that complements both neutral bases and bold accent colors. Space hardware 6-8 inches apart for balanced proportion.
Integrate natural wood tones with minimal hardware placement, maintaining uncluttered surfaces central to mid-century aesthetics. Consider exposed wooden ceiling beams or slat wood details nearby to echo your walnut cabinetry, deepening textural richness.
This combination delivers streamlined functionality with unmistakable period credibility.
Add Color: Blue Tile Backsplashes and Orange Fixtures
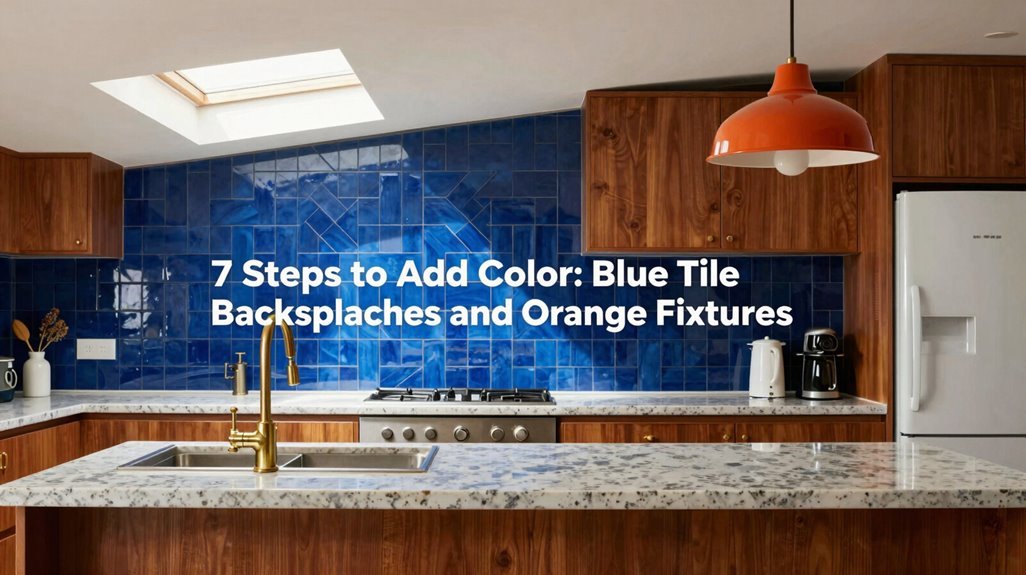
Where should color live in your kitchen if not on surfaces you touch and see daily? You anchor your mid-century modern kitchen with a blue tile backsplash that reinforces your walnut cabinetry and brass hardware already in place. You select deep cobalt or teal tiles, keeping countertops and walls neutral so your bold color accents command attention without visual fatigue. You pair this blue foundation with warm wood grain and cream walls, creating contrast that reads as deliberate, not accidental.
Anchor your kitchen with a blue tile backsplash that reinforces your walnut cabinetry and brass hardware already in place.
You integrate orange fixtures through three strategic moves:
- Install a rust-colored faucet as your sink’s centerpiece
- Position tangerine bar stools at your island for seating warmth
- Select geometric patterns in terrazzo-inspired blue tiles that coordinate with rounded orange hardware
You complete the palette by making certain every tone responds to another, building cohesion that signals you understand this design language.
Light With Sputnik and Globe Pendants
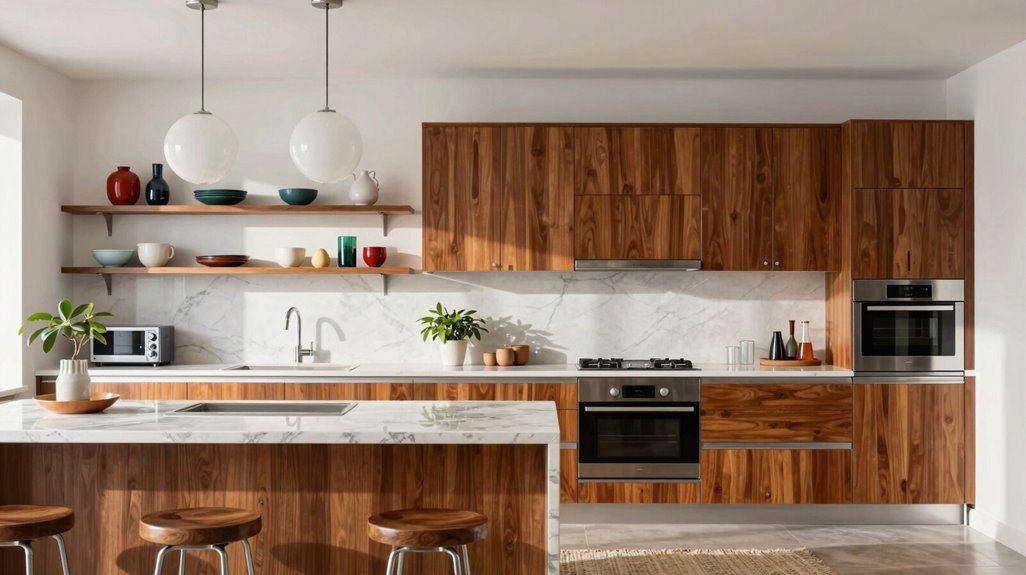
Your color scheme now demands lighting that performs as sculpture, not mere utility. You will anchor your mid-century modern kitchen with Sputnik and globe pendants that command attention while delivering precise illumination.
1. Select Your Fixture Type
| Fixture | Placement | Purpose |
|---|---|---|
| Sputnik | 30-36″ above island | Dramatic focal point |
| Globe pendants | 28-34″ above table | Even, ambient light |
2. Coordinate Your Finish
You must choose a brass finish on your Sputnik arms to complement blue cabinets and warm wood tones. Chrome or brushed nickel alternatives work when your palette runs cooler.
3. Position for Function
Hang pendant lighting to create clearance without sacrificing impact. Sputnik fixtures need 7 feet minimum floor clearance; globe pendants require 30 inches above surfaces.
This kitchen lighting strategy gives your room a unified, period-appropriate character.
Build Open Shelving for Display and Storage
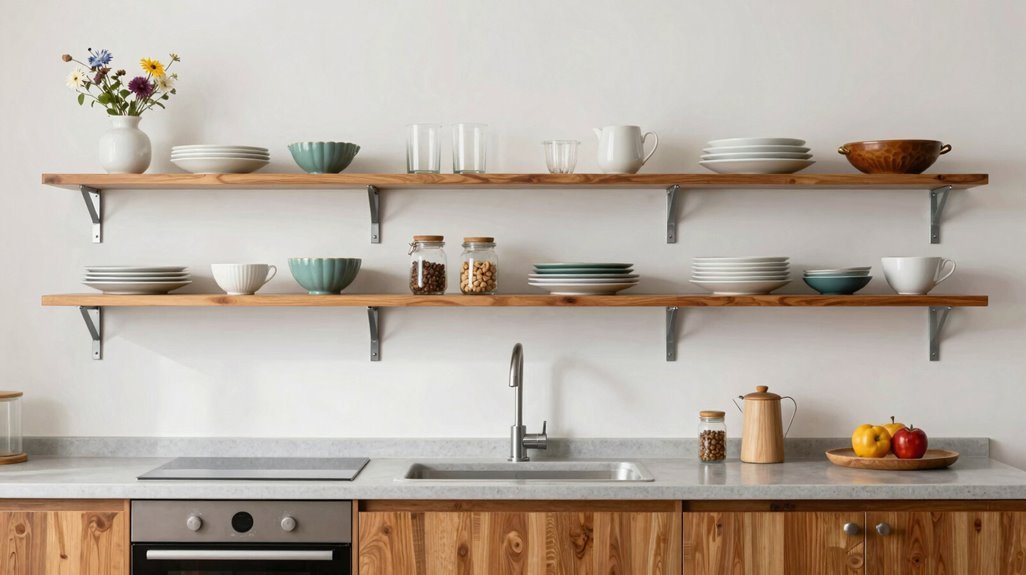
Install open shelving beside or above your slab cabinets to create functional display zones for retro glassware, potted plants, and vintage dishware, keeping dishes within 12-18 inches of your primary prep area. Use slim, minimalist brackets or recessed hidden supports, ensuring they span 24-36 inches between anchor points, to preserve clean lines while supporting 25-50 pounds per linear foot of shelving.
Select matching wood tones, walnut, oak, or teak, within 1-2 shades of your cabinetry finish, and intersperse open shelves with closed storage at a 1:3 ratio to maintain visual balance without overwhelming the kitchen’s flat-panel aesthetic.
Functional Display Zones
Why let solid cabinetry dominate every wall when open shelving offers a smarter hybrid of storage and style? You’ll create functional display zones that balance accessibility with mid-century modern aesthetics. Position your open shelving beside sinks or at cabinetry ends to establish cohesive sightlines, making your kitchen feel connected rather than fragmented.
Match warm wood tones, walnut or oak, to your existing cabinetry for unified visuals. Curate decorative items selectively: geometric bowls, glass hurricane jars, terrazzo accents, and brass hardware reinforce period authenticity. Layer continuously from countertops through islands, maintaining prep functionality while letting curated objects punctuate the space.
This approach turns storage into intentional design, letting you display retro glassware and potted plants without sacrificing workflow. Your kitchen becomes both practical and unmistakably yours.
Material and Finish Selection
The selection of materials and finishes for open shelving demands precision, balancing mid-century authenticity with practical durability in moisture-prone kitchen environments. You’ll want to prioritize walnut for your shelving construction, selecting wood finishes that complement your existing durable cabinet surfaces without competing for attention.
When you build these units, specify veneer faces for cost-effective consistency, but make sure you’re choosing sealed wood with proper moisture resistance ratings near sink zones. Your brass hardware selections, including brackets, supports, and optional rail systems, must maintain slim profiles while delivering structural integrity for dishware loads.
You should test finish samples under your actual kitchen lighting before committing, as walnut tones shift dramatically across warm and cool spectrums. Finally, you’ll establish maintenance protocols: quarterly resealing inspections, immediate spill remediation, and humidity monitoring protect your investment against warping and discoloration in this high-use display zone.
Choose Round Tables and Tulip Chairs for Kitchen-Dining Flow
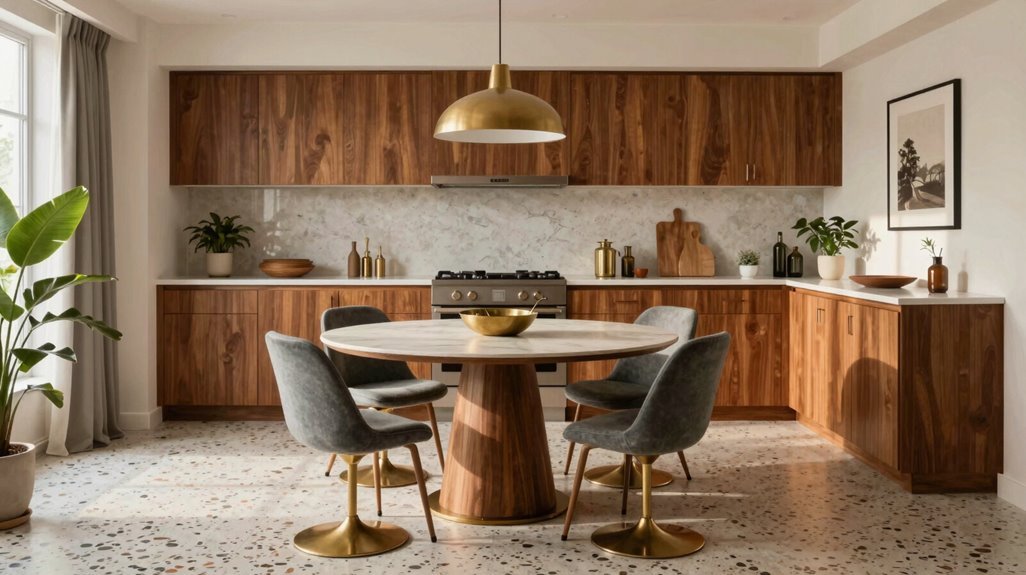
Where exactly should you position your dining zone when kitchen and living spaces merge? You anchor your round table near the center of your open-plan layout, creating natural kitchen-dining flow while maintaining clear sightlines to appliances and prep zones.
Anchor your round table near the center of your open-plan layout, creating natural kitchen-dining flow while maintaining clear sightlines to appliances and prep zones.
- Select a round table with tapered legs in walnut wood to echo your kitchen’s warm material palette
- Pair with tulip chairs, their molded seats balancing comfort against mid-century modern minimalism
- Suspend pendant lighting above to define the dining zone and reinforce retro motifs
You’ll mirror classic mid-century shapes while promoting easy circulation between spaces. Choose chairs with slim metal legs to maintain streamlined aesthetics.
This configuration fosters social interaction without obstructing functionality, giving you a coherent, practical dining solution that belongs seamlessly within your integrated living environment.
Style Kitchen Countertops With Ceramics and Brass
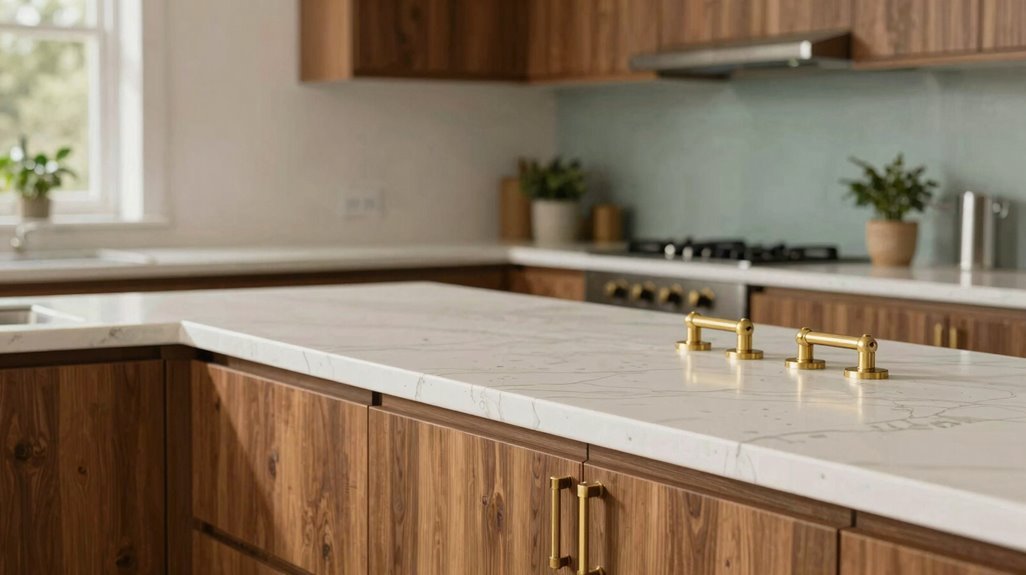
You’ll anchor your countertop arrangement by grouping ceramic vessels in odd-numbered clusters of three or five, varying heights between 6 and 12 inches to establish vertical rhythm without obstructing sightlines. Layer brass objects sparingly: a single 4-inch tray, a pair of candlesticks, or a small 2-inch orb, positioned within 18 inches of the vessel group to create metallic punctuation without visual competition.
Keep 12 to 18 inches of open counter space surrounding each styled zone, so your ceramic and brass elements function as deliberate architectural accents rather than accumulated clutter.
Ceramic Vessel Displays
How do you anchor clean countertops with authentic mid-century character? You build ceramic vessel displays that speak the visual language of the era. Start with these essentials:
- Curate three geometric jars with circular, hexagonal, or cylindrical lids to establish period-appropriate rhythm
- Layer earthy mid-century ceramics in cream, olive, and teal against walnut cabinetry for tonal warmth
- Position a Mondrian-inspired ceramic as your main accent, anchoring open-shelf styling with bold color blocking
You maintain clean sightlines by arranging vessels at staggered heights, typically 6, 9, and 12 inches, along island edges or slim shelf runs. Pair matte glazes with polished brass accents to generate subtle contrast. This approach turns your counter into a cohesive gallery that signals belonging within mid-century design tradition.
Brass Accent Styling
Why settle for scattered accents when you can orchestrate a unified brass-ceramic system across your countertops? You’ll anchor your mid-century modern kitchen by pairing warm wood cabinetry with brass hardware, creating immediate visual continuity.
Select ceramic tile countertops featuring subtle geometric patterns in brass, cream, or light gray to reinforce your cohesive metallic theme. Install brass faucet finishes, cabinet pulls, and brass lighting sconces within a 24-inch radius to establish rhythm across surfaces.
Balance brass accents with cool white, gray, or quartz countertops, limiting brass to 30% of visible hardware. Position decorative brass and ceramic vases or planters on open shelving at 12-inch intervals.
This methodical approach turns scattered elements into an intentional, belonging-driven design language.





