
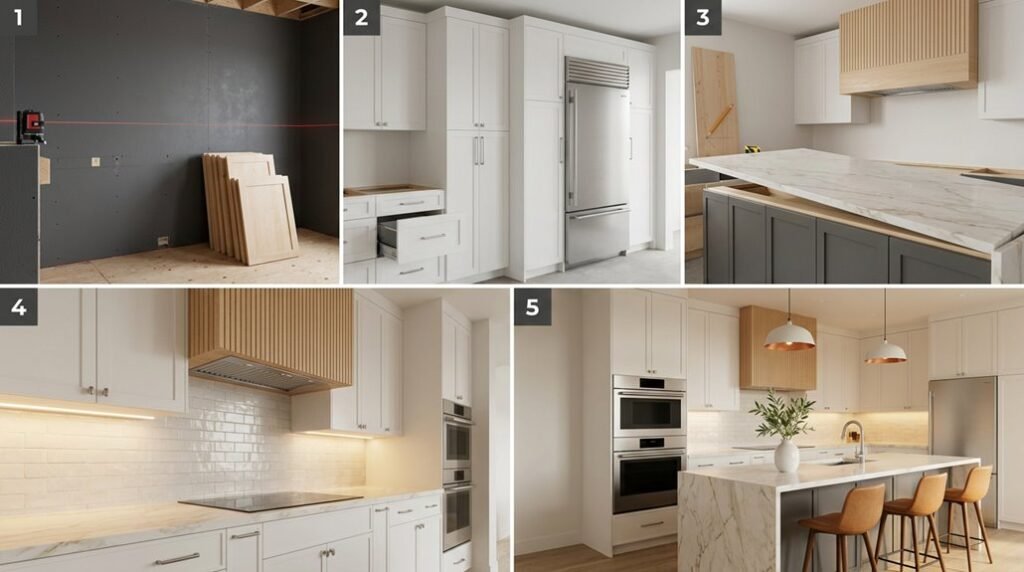
You don’t need an architect to design a functional kitchen, but you do need a system. Start by inventorying your daily routines, measuring your existing space, and cataloging 20–30 visual references that define your aesthetic boundaries.
The five-step method breaks complex decisions into manageable phases: style definition, spatial mapping, cabinetry selection, surface layering, and future-proofing. Each phase builds on the last, eliminating costly revisions. You’ll follow this sequence next.
Define Your Kitchen Style and Must-Haves
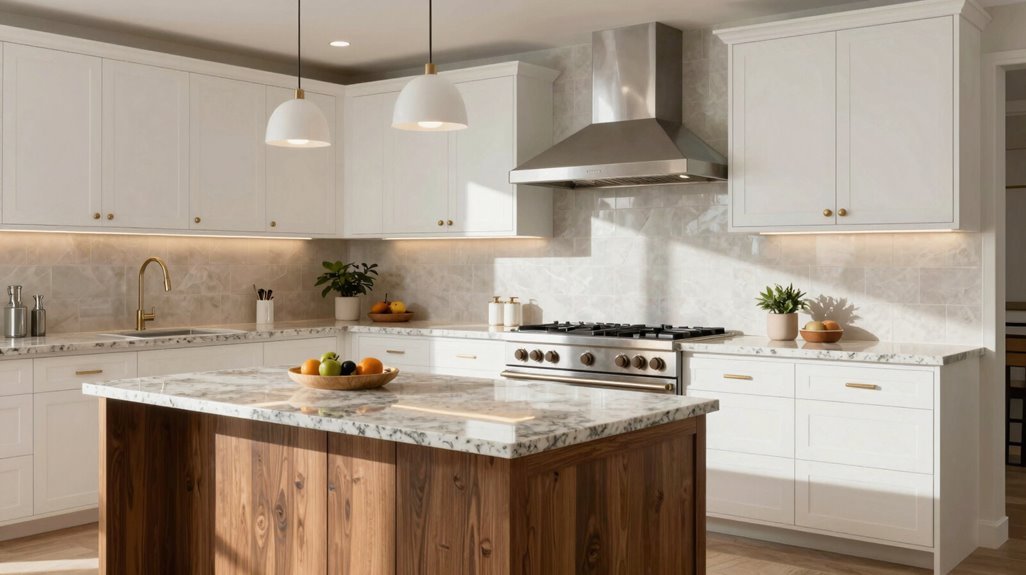
Where do you begin when your kitchen no longer functions for how you actually live? You start by assessing your current layout, noting what works and what doesn’t, tracking traffic patterns for 3-5 days to identify bottlenecks.
- Document your daily routine. Record meal preparation times, appliance usage frequency, and storage access patterns in a simple log.
- List your must-haves. Write 10-15 non-negotiable elements: specific appliances, storage capacity, or workflow requirements.
- Collect visual references. Gather 20-30 images representing your preferred style, noting cabinet colors, hardware finishes, and material combinations.
- Prioritize durability and performance. Specify commercial-grade appliances when cooking exceeds 5 meals weekly, selecting cabinetry with 3/4-inch plywood construction.
- Compile your guiding checklist. Organize findings into categories: layout parameters, appliance specifications, storage solutions, finishes, and overall design direction.
Map Your Layout and Work Zones
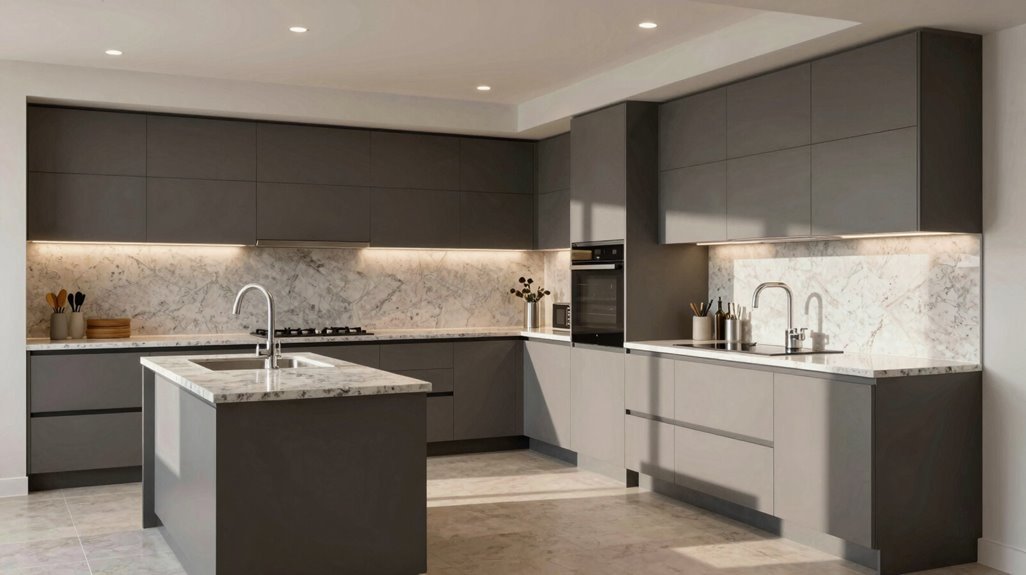
With your style defined and must-haves documented, you’re ready to arrange the physical space. Begin space planning with kitchen workflow in mind, positioning sink, refrigerator, and stove to form an efficient work triangle. Test kitchen configurations, U-shaped, L-shaped, galley, or single-wall, through overhead visualization before committing.
Map work zones for prep, cooking, and cleanup to minimize unnecessary steps. Verify island clearance of 48 inches between perimeter cabinets for comfortable traffic flow. Use space-planning apps or cabinet company renderers to verify dimensions, incorporating storage planning for accessible, adequate capacity.
Adapt your kitchen layout when structural, dimensional, or budget constraints demand flexibility. Integrate dining areas where square footage allows. Prioritize functional accuracy over aesthetic decisions; solid spatial organization prevents costly errors before you select materials.
Anchor the Design With Your Cabinetry Choice
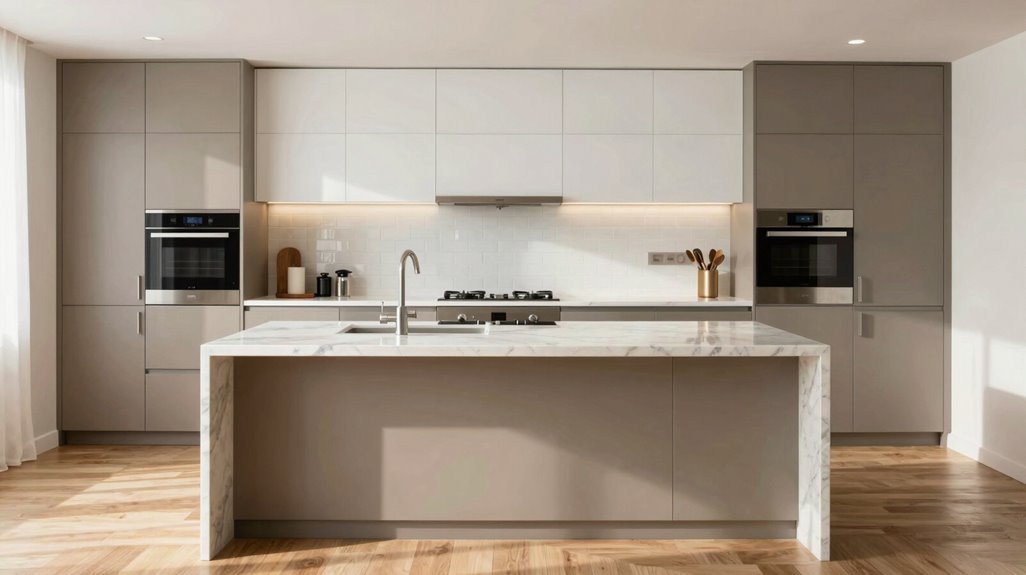
How do you ground an entire kitchen design before selecting a single countertop sample? You anchor everything with your cabinetry choice, the foundation that dictates every subsequent decision.
Your cabinet style must address your storage needs while establishing the design theme. You choose materials and finishes, natural wood or painted, that complement existing furnishings. You select a door style ranging from traditional raised panels to contemporary flat slabs. You prioritize sturdiness, then build your layout around appliance placement and workflow.
| Cabinetry Element | Decision Impact |
|---|---|
| Materials | Determines durability, cost, maintenance schedule |
| Finishes | Establishes warmth or coolness in the space |
| Door Style | Signals traditional, transitional, or contemporary intent |
| Layout | Allocates 24-36 inches per work zone minimum |
| Cohesiveness | Unifies ceiling height, lighting, and room scale |
You break uniform height with ceiling-height cabinets when scale permits, but you maintain visual harmony throughout.
Select Countertops, Then Backsplash, Then Flooring
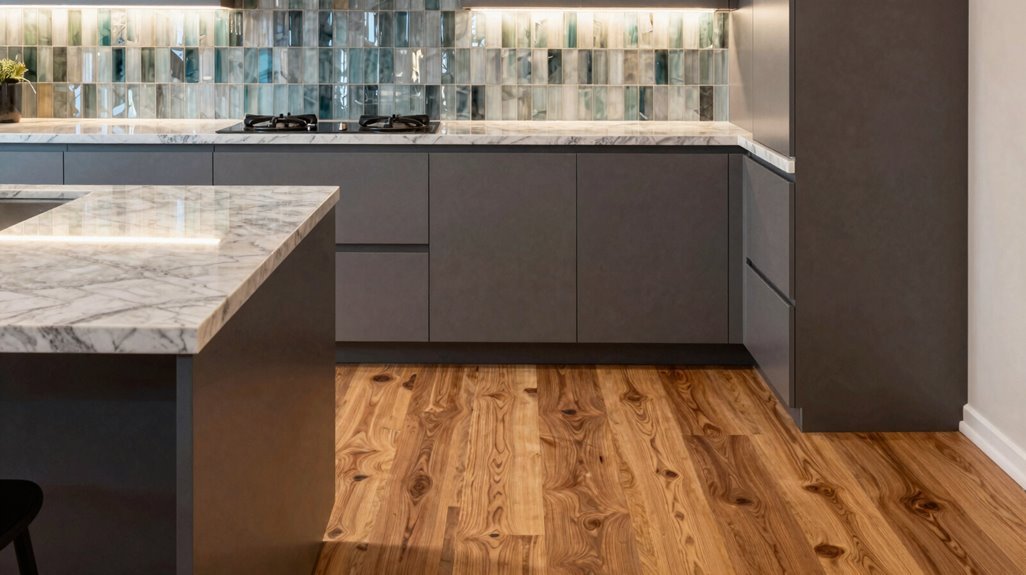
Why begin with countertops when you’ve already locked in your cabinetry? Because countertops bridge your cabinetry to the rest of your kitchen, establishing the visual foundation for everything that follows. You’ll choose between natural stone, with its organic color variation and dramatic veining, or quartz, offering consistent color and minimal maintenance demands.
Your selection process requires three deliberate steps:
- Decide if your countertops serve as the primary focal point or complement your cabinetry
- Verify material durability and maintenance requirements align with your daily lifestyle
- Let color harmony flow from cabinetry through backsplash to flooring
This sequence creates design cohesion. Your backsplash responds to countertop tones, while flooring grounds the complete palette. Each material choice reinforces the next, building a kitchen that functions practically and belongs to you.
Layer in Indulgences and Design for Change
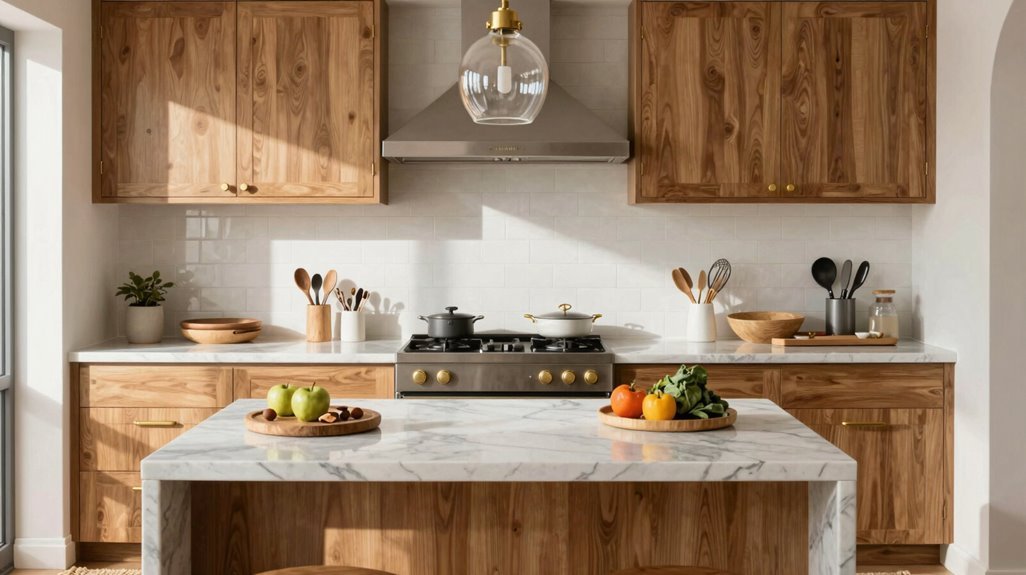
What separates a functional kitchen from one that genuinely serves your life? It’s the indulgences you weave through your kitchen remodel process.
Layer these personalizations deliberately. Install that pot filler over your range, add a hot water tap, or specify a second sink; these touches signal you’re home. Balance them against budget, making certain each selection drives value enhancement without weakening core performance.
Layer indulgences deliberately—pot fillers, hot taps, second sinks—balancing personal touches against budget and core performance.
Your design process must embrace adaptability. Build in flexible elements: swap-able counter stools, rotating artwork, seasonal textiles. These enable future updates without structural overhaul.
Accept that your evolving style will shift. Design spaces anticipating change, treating your kitchen as a living system. This mindset, welcoming growth rather than fearing it, raises livability and secures lasting value. You’re crafting belonging, built to change with you.





