Homeowners waste an estimated 400 square feet of functional space when garages sit idle, yet most conversions fail at the permit stage. You need a systematic approach that addresses zoning, structural loads, and HVAC integration before demolition begins.
The following seven strategies prioritize buildability, cost control, and code compliance.
What Permits and HVAC Cost for Garage Conversions?
How do you convert a garage into legal, livable space without costly missteps? You’ll start by checking permits and codes, confirming your property’s zoning allows garage conversions as accessory dwelling units. Contact your local building department immediately; they’ll verify ADU eligibility and outline electrical, insulation, and moisture requirements. Expect to address permits for panel upgrades and foundation repairs before proceeding.
Your HVAC selection directly impacts cost and comfort. Ductless mini-splits dominate high-end garage conversions, offering independent climate control without shared ductwork. Budget $3,000–$8,000 for these systems, depending on capacity and zones. Factor permitting fees, typically $500–$2,000, plus electrical runs and insulation meeting R-value codes.
Phased planning prevents delays: secure permits, resolve moisture issues, rough-in electrical, then install HVAC before finishing.
Convert Your Garage Into a Self-Contained Guest Suite
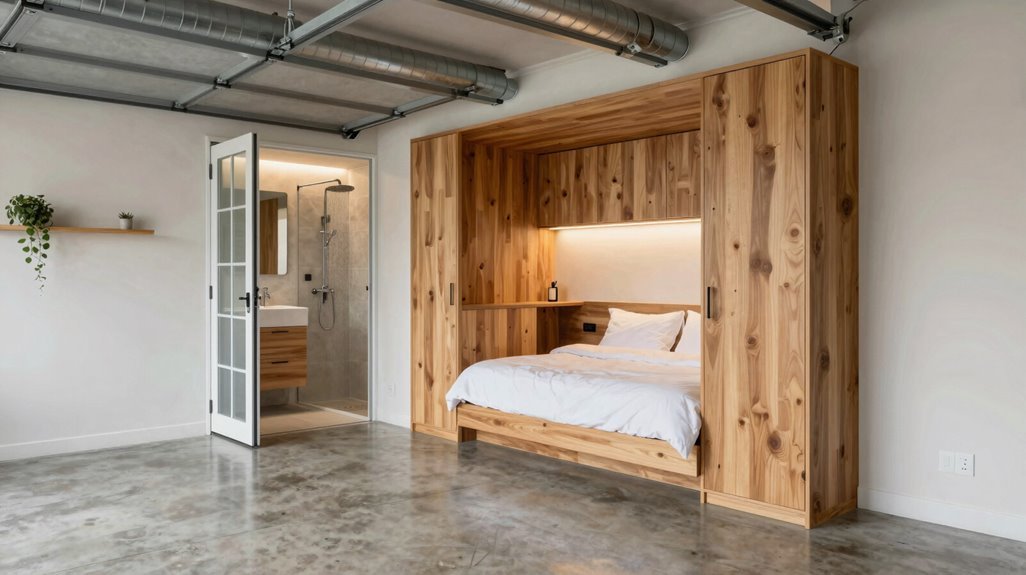
Why settle for occasional visitors when you can create a revenue-generating, self-contained guest suite? You turn your garage conversion into a legal ADU by securing permits first, then installing proper insulation and real flooring to eliminate any garage feel.
Design a private entry with transom lighting to boost curb appeal and welcome guests independently. Install a Murphy bed with built-in storage to maximize floor space for daytime living. Add a bathroom and compact kitchenette so visitors enjoy complete autonomy. Layer multiple lighting sources with light wall colors to expand visual square footage.
You run plumbing for the bathroom and kitchenette, verify HVAC capacity, and follow local ADU guidelines. This creates a rental-ready, self-contained guest suite that builds community connection while generating income.
Build a Home Office That Works in Garage Dimensions
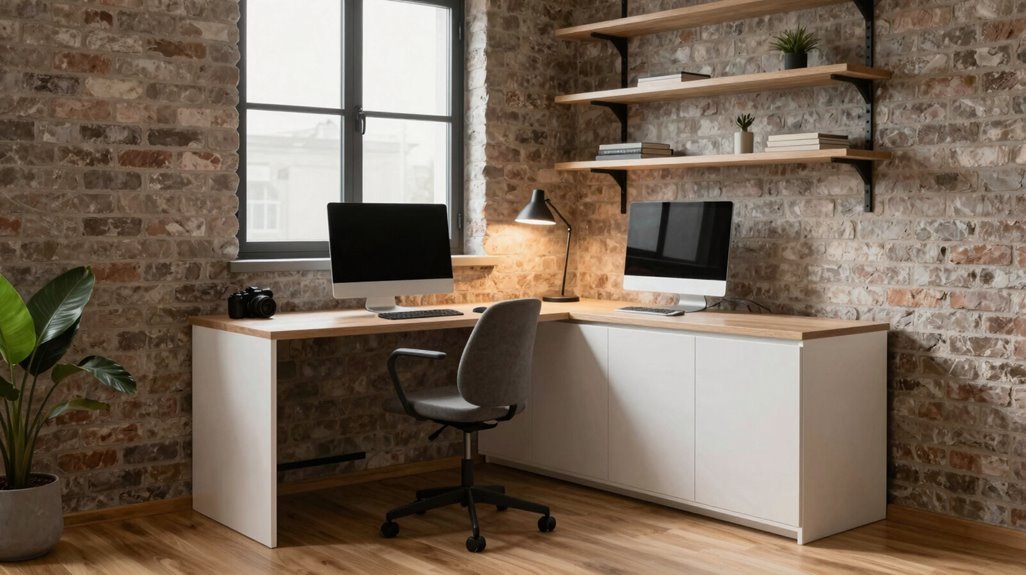
Since you’re working with a standard 20×20-foot or 20×24-foot garage footprint, you’ll need to prioritize every square inch through strategic furniture selection and vertical planning. Mount a space-saving desk that folds flat against the wall, freeing floor area when you’re offline.
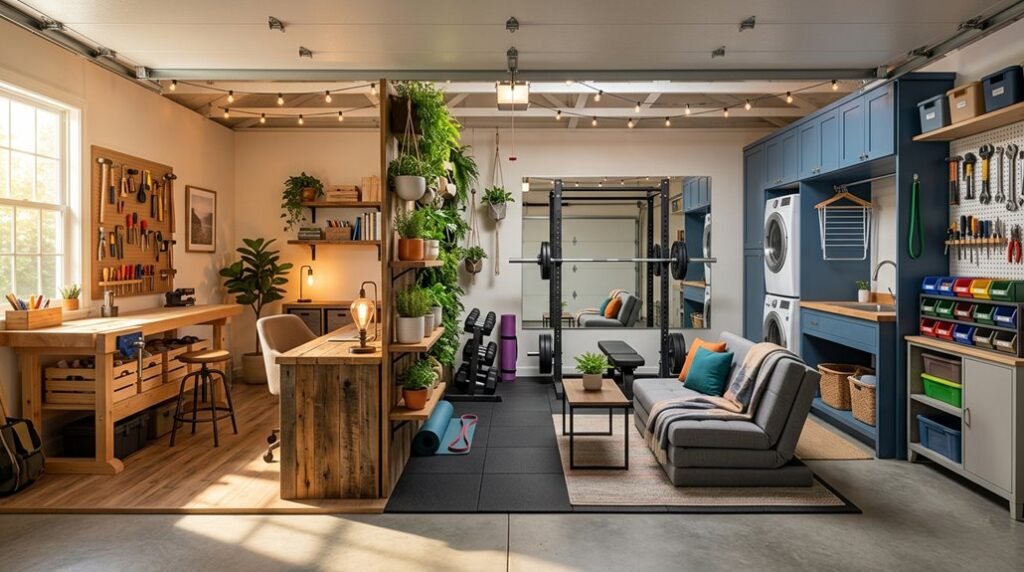
Install vertical storage; high shelves, wall-mounted cabinets, or pegboards keep supplies accessible without cluttering your workspace. Consider a wall bed with an attached desk, converting your home office into a flexible zone that serves daytime productivity and occasional overnight guests.
Layered lighting matters: combine overhead fixtures with an adjustable desk lamp to reduce eye strain during long hours. Finally, invest in proper insulation and a ductless mini-split for climate control, so your garage conversion remains comfortable through every season.
Create a Garage Gym With Proper Flooring and Climate Control
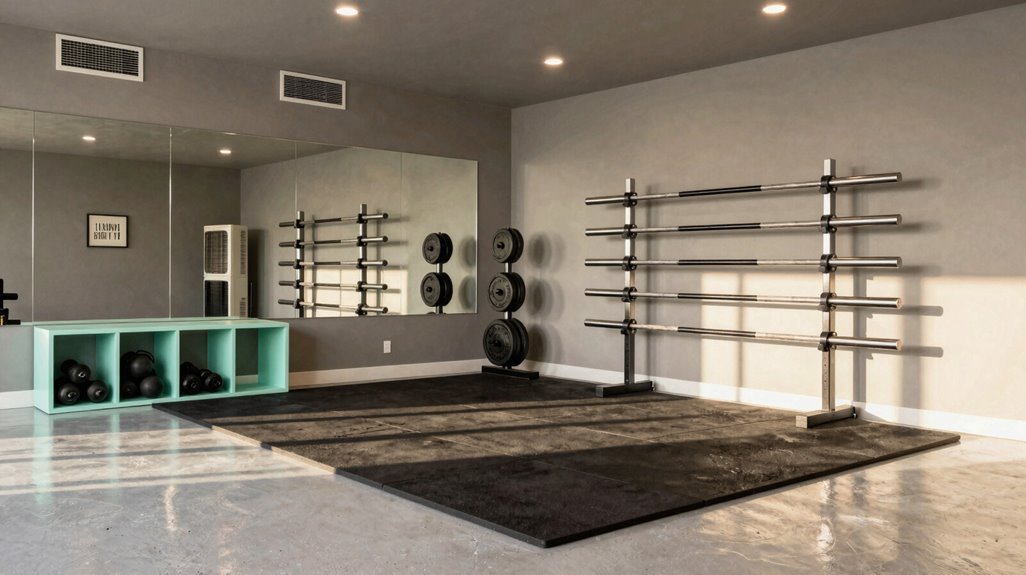
You’ll convert your garage into a functional training space by installing ¾-inch rubber flooring mats to cushion impacts, integrating a mini-split HVAC system for year-round temperature control between 65-75°F, and implementing wall-mounted racks with 24-inch depth clearance to maximize your 400-600 square feet of usable floor area.
Prioritize these three infrastructure elements before purchasing equipment, as they establish the non-negotiable foundation for safe, sustained workouts. Your storage solutions must accommodate 150-300 pounds of free weights per linear foot of rack space, making certain every item remains accessible without compromising movement patterns.
Rubber Flooring Essentials
Install rubber gym flooring as your foundation for a functional, injury-preventing home gym that protects both your body and your garage’s concrete slab. You’ll want interlocking tiles or rolled sheets with a seamless edge system, each offering distinct advantages for your specific layout. Interlocking tiles accommodate irregular dimensions, while rolled sheets cover larger areas with fewer joints.
Your installation demands moisture sealing beneath the rubber flooring to prevent concrete degradation and mold accumulation. Select a non-slip surface texture rated for high-impact activities, making certain of stability during explosive movements. Prioritize cushioning thickness, 3/8 to 3/4 inch, for adequate shock absorption when dropping loaded barbells.
- Evaluate your square footage, then calculate 5-10% overage for cuts and future repairs
- Test moisture levels; apply sealing compound if readings exceed 4 pounds per 1,000 square feet
- Schedule installation during 50-80°F conditions for ideal adhesive performance
- Establish weekly maintenance protocols: sweep debris, damp-mop with pH-neutral cleaner
Climate Control Systems
How do you turn an uninsulated garage into a year-round training environment? You start with insulation. Without it, you’re wasting money on climate control.
Install a ductless mini-split for independent heating and cooling. This system delivers energy efficiency without straining your home’s existing HVAC. You’ll control temperature precisely, protecting your flooring and equipment from damage.
Address humidity control through moisture prevention strategies. Add ventilation to circulate air and prevent condensation that warps rubber flooring and rusts weights.
Plan electrical planning early, mapping circuits for your mini-split, fans, and future equipment.
Your climate control system works with proper flooring to create a sustainable training space. When you insulate walls and ceiling, install efficient equipment, and manage moisture, you build a gym that welcomes you every day, every season.
Equipment Storage Solutions
The right storage system changes your garage gym from cluttered hazard to efficient training floor. You’ll maximize open floor space with strategic garage storage, installing wall racks for kettlebells and resistance bands at 48-inch heights. Modular cabinetry provides labeled storage for towels, gloves, and supplements within arm’s reach. Mount ceiling storage solutions for seasonal athletic gear storage, keeping 7 feet of clearance below.
Lay rubber gym flooring, 3/8-inch thick, over concrete to protect joints and equipment. Install a ductless mini-split for climate control, maintaining 65-75°F year-round. Address ventilation with exhaust fans exchanging 8 air changes hourly. Improve acoustics using foam panels on 30% of wall surfaces to reduce echo.
- Wall racks and modular cabinetry create vertical equipment organization, freeing 60-80 square feet of floor space for movement
- Labeled storage in athletic gear storage bins reduces pre-workout preparation time by 50%
- Ceiling storage solutions suspend 200-400 pound loads safely, protecting seasonal items from moisture damage
- Proper gym flooring, ventilation, and acoustics complete your conversion, creating a professional training environment you’ll use daily
Design a Creative Studio That Maximizes Natural Light
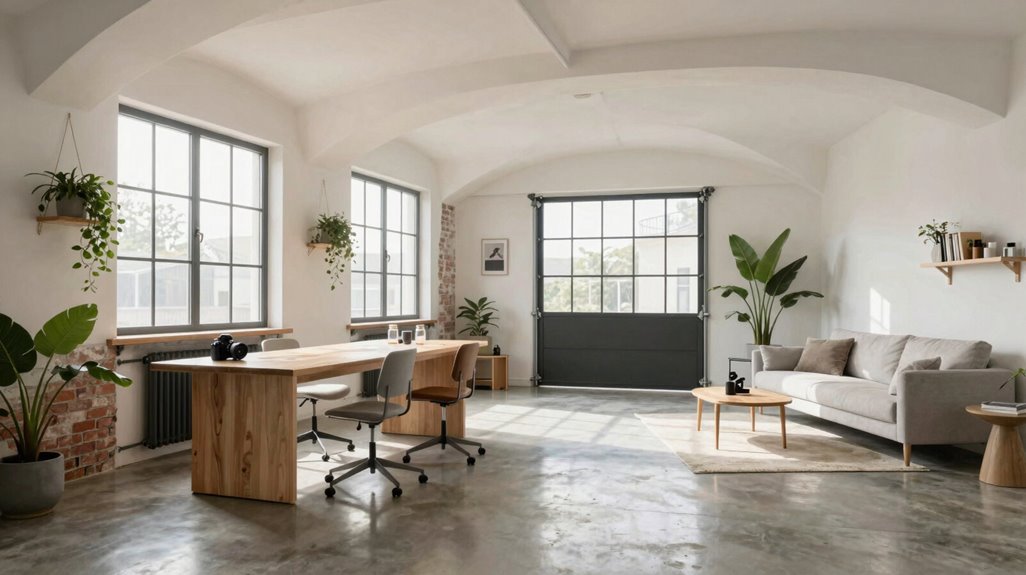
You need abundant, even lighting for detailed creative work, so install one or more 2×4 foot skylights with between-glazing blinds, or add clerestory windows measuring at least 12 inches in height along the south-facing wall.
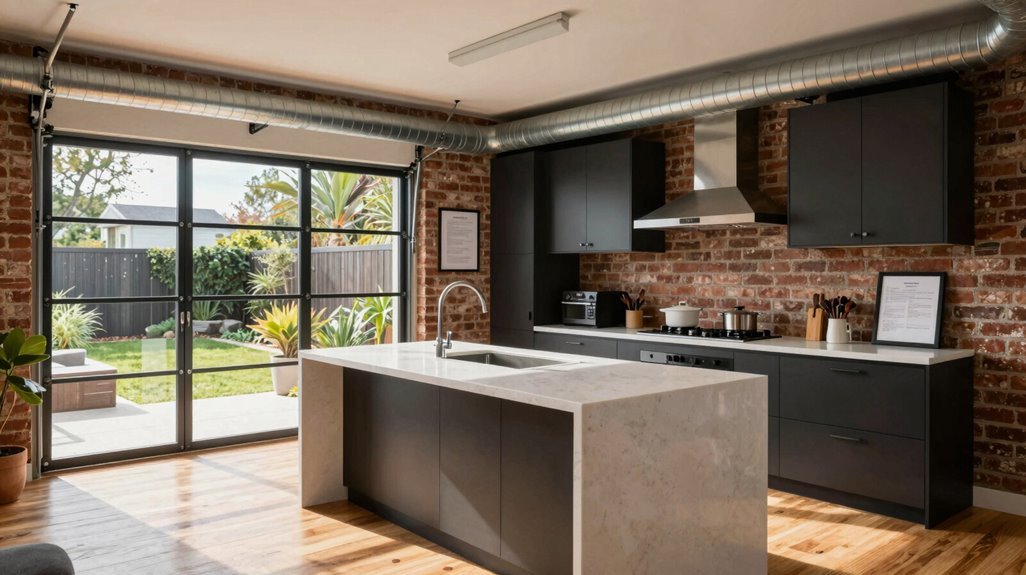
Replace your existing overhead or swing-out garage door with a full-glass, thermally broken panel system, making certain the glazing achieves a U-factor of 0.30 or lower for year-round efficiency. These upgrades, when combined, reduce your artificial lighting needs by 60-70% during daylight hours.
Skylight Installation Options
Where should you position a skylight to eliminate shadows across your workbench while capturing six to eight hours of usable daylight? You orient skylight installation north-facing for consistent, glare-free illumination throughout your workday.
You select double-glazing with low-emissivity coatings to maintain stable temperatures, reducing energy costs year-round. You integrate ventilation features, either through operable units or a paired roof vent, controlling humidity during intensive creative sessions.
You enhance natural light further by installing wall-mounted light shelves, which redirect daylight distribution deeper into your studio. You balance ambient light sources to eliminate contrast zones that strain your vision.
Position skylights 15-20% of floor area for optimal daylight penetration. Specify U-values below 1.2 W/m²K for thermal efficiency. Install automated rain sensors on ventilating units. Combine with clerestory windows for 360-degree illumination coverage.
Glass Door Upgrades
How effectively can a single structural change flood your studio with daylight? Glass door upgrades change your garage conversion into a luminous creative workspace.
- Install glass walls or glass door upgrades to capture natural light and forge an indoor-outdoor connection.
- Layer your lighting: combine transparency in design with skylight lighting, recessed fixtures, task lamps, and accent sources to eliminate glare.
- Address privacy: deploy privacy screens or strategic walls where visual access requires limitation.
- Control temperature: prioritize insulation and climate control through double- or triple-glazed panes, maintaining year-round thermal performance.
- Measure performance: specify U-values below 0.30 for glazing, integrate low-E coatings, and verify R-values in adjacent walls meet local code minimums.
Execute these steps, and your studio balances openness with function.
Add a Rental Suite or ADU Inside Your Garage
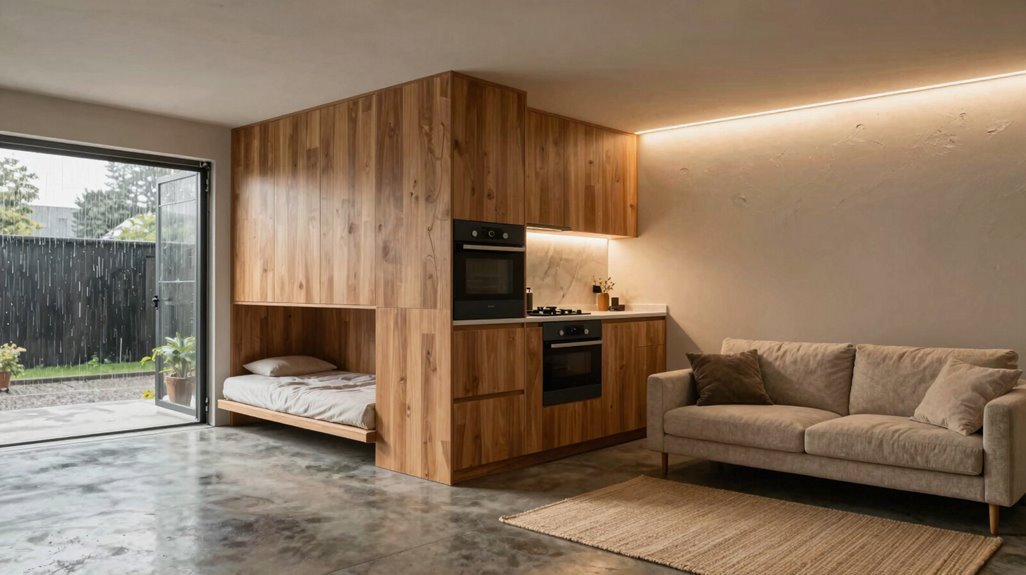
Why leave your garage empty when it could generate $1,200 to $3,000 monthly in rental income? You convert unused square footage into a self-contained ADU or rental suite, creating a space that belongs to someone else while belonging to your property portfolio.
Your empty garage isn’t dead space—it’s a $1,200-$3,000 monthly asset waiting to be unlocked.
Your garage conversion requires strategic planning, permits, plumbing, and HVAC installation, demanding timelines of 4-6 months with costs averaging $80-$150 per square foot. You maximize returns through design choices that establish an independent feel: private entrances, separate utility meters, and kitchenettes under 100 square feet.
- Install a private entrance with covered porch and landscaping to boost curb appeal by 15-20%
- Configure plumbing with 3/4-inch supply lines and 2-inch drainage for full bathroom functionality
- Integrate mini-split HVAC systems, achieving 18-25 SEER efficiency ratings at $1,500-$3,000 per unit
- Expect 80% cost recapture at resale, raising property value $50,000-$150,000 in most markets
Choose Space-Saving Furniture for Any Garage Conversion
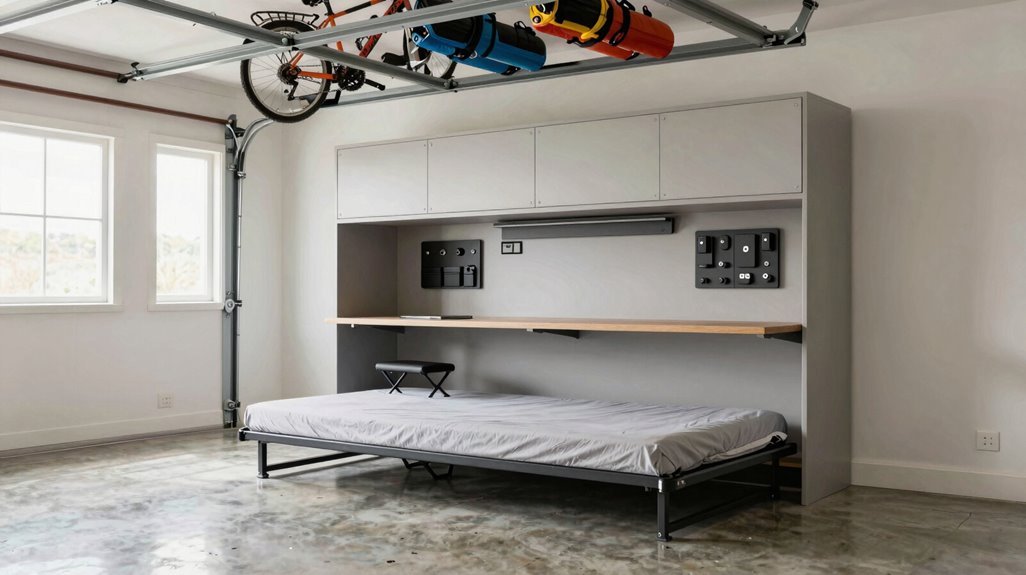
Once you’ve secured permits and roughed in utilities, your attention shifts to fitting livable function into 200-400 square feet. You need space-saving furniture that serves multiple purposes without crowding your garage conversion.
Consider these compact living solutions:
| Furniture Type | Function | Best For |
|---|---|---|
| Murphy bed with sofa | Sleep + seating | Daily use studios |
| Wall bed with desk | Sleep + workspace | Home offices |
| Convertible table | Dining + console | Guest suites |
Install a wall bed with built-in storage to reclaim 30-40 square feet daily. Resource Furniture crafts Italian transforming furniture, including expandable convertible tables shifting from coffee to eight-person dining surfaces in 10 seconds.
Schedule your free consultation. Designers measure your ADU, recommend specific pieces, and match finishes for cohesive flow. Your garage becomes livable, not cramped; every element earns its footprint.