
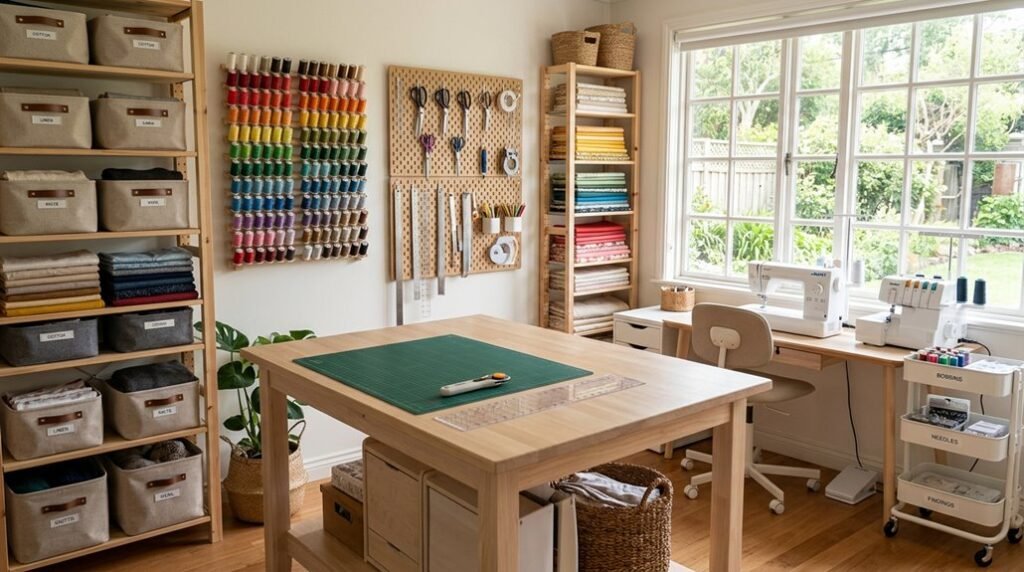
Your sewing room is a machine with rusted gears, and you’re here to oil them. You’ll sort every item into four categories: notions, yardage, scraps, and WIPs, within 90 minutes, then wipe surfaces with a 1:10 vinegar solution.
The floor clears first. Everything else follows.
Five zones wait: cutting, sewing, pressing, storage, and planning. Each demands 24-36 inches of dedicated space. You’ll build vertical storage at 60 inches height minimum, file patterns in 3-inch D-ring binders with 8-tab dividers, and run 15-minute resets every Sunday at 6 PM.
The first step determines whether your system holds or collapses within 30 days.
Clear the Clutter and Sort by Category
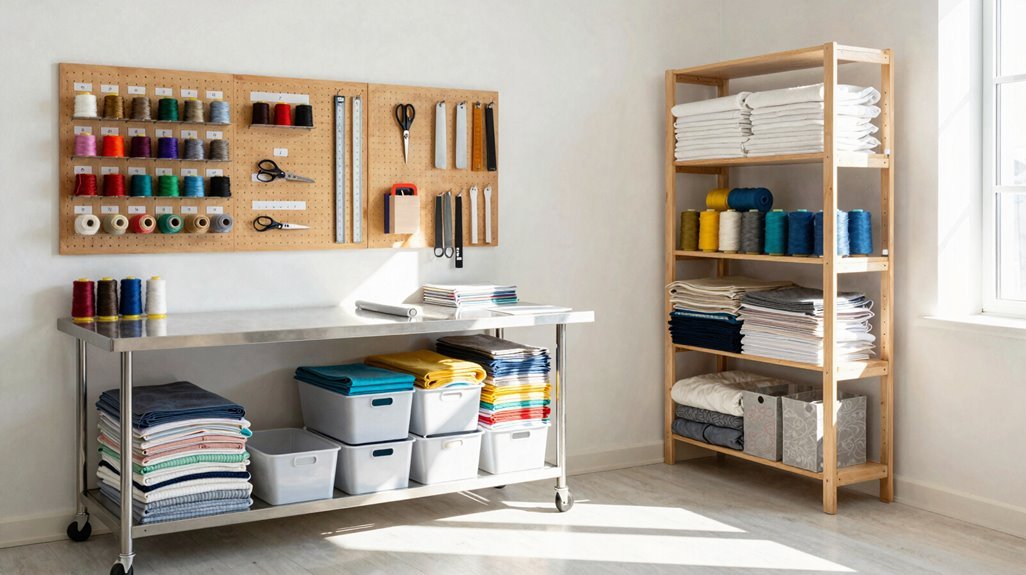
Where do you begin when your sewing room feels overwhelmed by years of accumulated supplies? You start by removing every item from your floor, clustering the clutter into four distinct piles: notions and tools, yardage, scraps, and WIPs. You wipe all surfaces, vacuum thoroughly, and create a blank canvas for effective organization.
Category sorting changes chaos into clarity. You fold all fabric by color and usage, creating visible, accessible stacks that speed up your workflow. You designate dedicated storage for notions in drawers, baskets, or labeled containers positioned within arm’s reach. You establish a specific home for unsorted scraps, perhaps a Clementine box, with a defined plan to prevent random scattering.
You store related items together; fabrics, threads, notions all have their place. Only current projects occupy your main workspace.
Map Your Sewing Room Into Five Work Zones
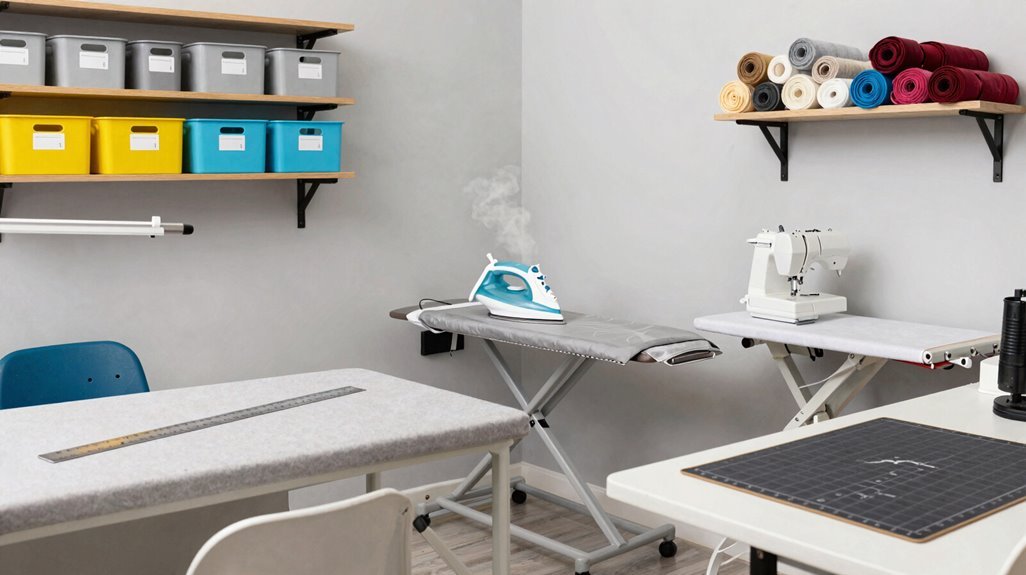
Every efficient sewing room operates through deliberate spatial design, not chance arrangement. You will divide your space into five work zones to create seamless workflow and eliminate redundant movement.
Zone 1 positions your sewing machine area with essential tools only: upright holder, pincushion, and clips basket. Zone 2 establishes your cutting table with vertical ruler storage, scissors stands, self-healing mat, and locking casters for mobility. Zone 3 turns walls into vertical storage using pegboard, thread racks, hooks, and mounted organizers. Zone 4 creates a self-contained ironing area with pressing station, clapper, tailor’s ham, and mini boards. Zone 5 houses supplies using shelving, clear containers, bins, and binders sorted by category.
This sewing room organization system makes certain every tool occupies its designated place, maximizing efficiency through intentional five work zones supported by strategic storage solutions.
Build a Height-Optimized Cutting Table (or Hack One)
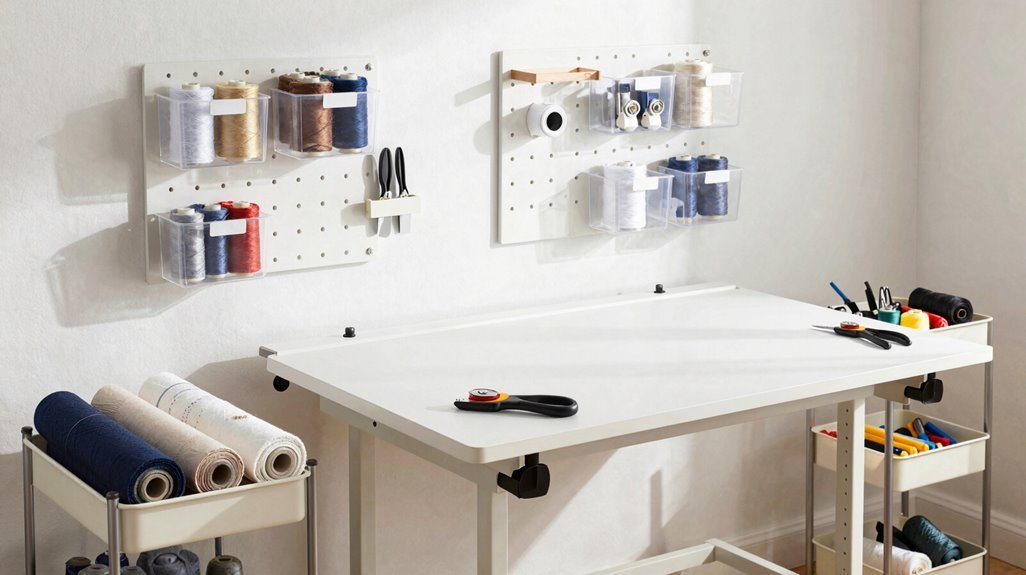
Once you’ve mapped your five work zones, you’ll turn your attention to Zone 2, where fabric becomes pattern pieces through precise, strain-free cutting. You’ll build or hack a heavy-duty table at ergonomic height, positioning the surface at your standing elbow level to eliminate back strain during extended cutting sessions. You’ll cover the entire surface with a self-healing cutting mat, protecting your investment while enabling cuts anywhere across the workspace.
You’ll install built-in cubbies and drawers for storage within table, creating designated homes for knife/rotary cutters, rulers, and pattern weights. You’ll add mobility with locking casters if your room serves multiple purposes. You’ll keep zone-based workflow by returning tools immediately after use, storing extraneous items elsewhere.
| Feature | Specification |
|---|---|
| Table height | Elbow level when standing |
| Mat coverage | Full surface, 36″ x 48″ minimum |
| Storage type | Built-in cubbies, drawers |
| Mobility | 4″ locking casters, 300 lb capacity |
| Tool organization | Rotary cutters, rulers, weights |
Store Fabric by Color, Designer, or Project
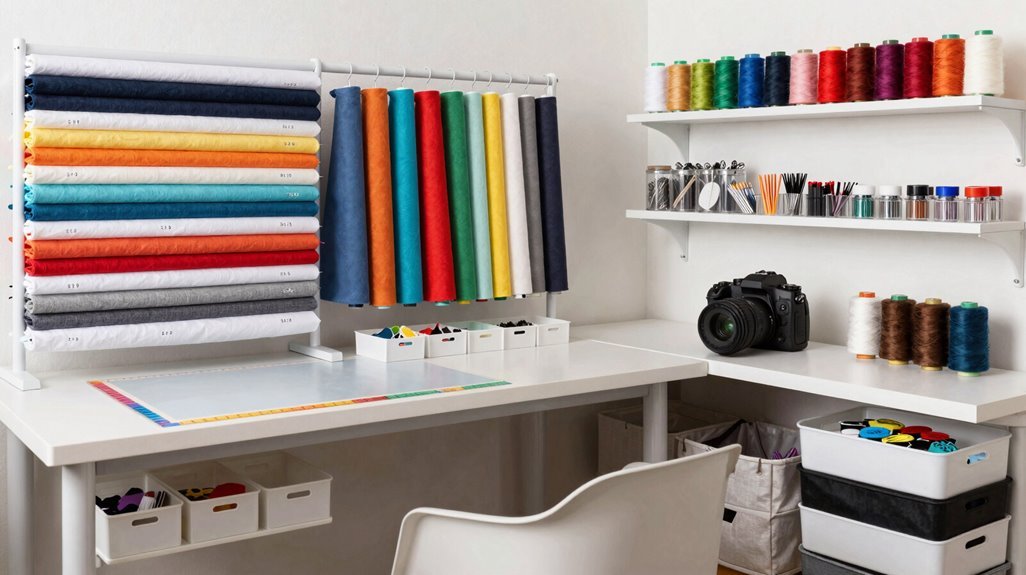
How do you decide which fabric organization system actually matches your workflow? You start by sorting your collection into three primary categories of organization: fabric by color, designer stash, or project-based groupings. Your color coordination preference determines whether you arrange storage bins from light to dark values, or group by manufacturer lines for cohesive collection building.
Group fabrics by color temperature (cool, warm, neutral) for immediate visual compatibility during project planning. Sort designer stash alphabetically or by release date to track collection completeness. Isolate active work-in-progress materials in dedicated project bags for quick access.
You protect investment pieces using clear containers that prevent dust accumulation while allowing full viewing fabric capabilities. Vertical folding methods maximize storage bins capacity, making certain every piece remains visible. Adjust your system quarterly, relocating frequently used selections to prime positioning, maintaining efficiency through continuous refinement.
Pick Clear Containers You Can Actually See Into
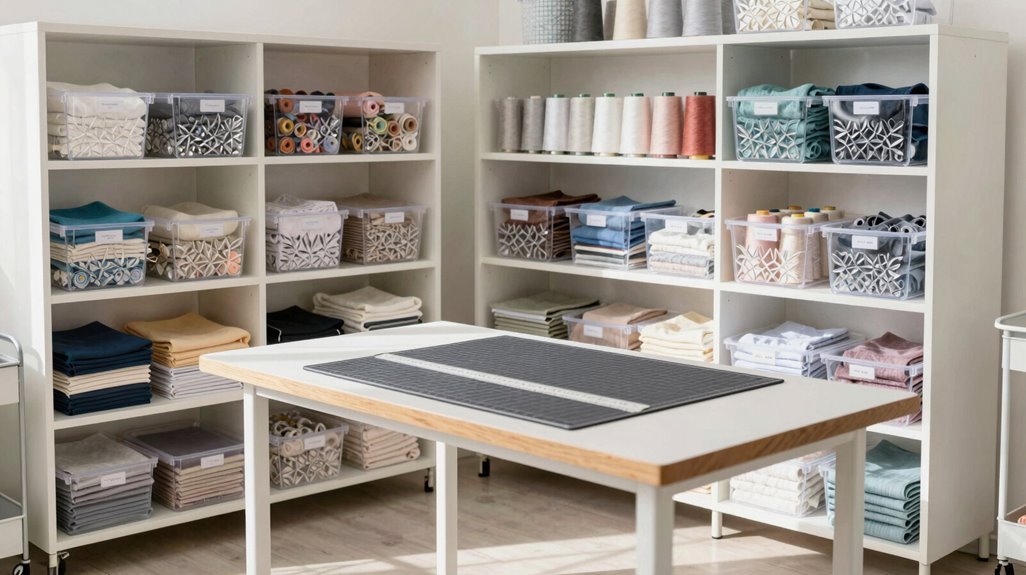
You’ll eliminate inventory guesswork when you swap opaque boxes for transparent bins, windowed lids, and see-through drawers that expose contents at a glance. Match container dimensions, typically 12″×12″×6″ for fabric bolts and 6″×6″×4″ for notions, to your shelving depth and project frequency, making sure retrieval takes under 10 seconds. Label each unit with content category, date stored, and quantity remaining to keep continuous visual accountability across your workflow.
Clear Bin Benefits
Clear bins turn your sewing room into a functional workspace where you can assess your entire inventory in seconds, not minutes. You’ll gain at-a-glance visibility, eliminating frantic searches through opaque boxes. Transparent containers let you spot that navy thread or floral remnant immediately, boosting your see-and-find efficiency.
Inventory awareness flourishes with clear storage. You’ll stop buying duplicate zippers you already own, saving money and storage space. Your fabrics stay visible, your notions accessible, your projects flowing.
Clear bins make contents easy to categorize by color, weight, or project type. Re-shelving after use becomes automatic, maintaining better organization without effort.
- Track supplies instantly, reducing search time from minutes to seconds
- Prevent duplicate purchases through continuous visual confirmation
- Maintain systematic order through straightforward content identification
Visibility Strategies
When your storage obscures your supplies, you’re forced to waste precious minutes unstacking bins and rummaging through drawers just to confirm what you own. You need visibility, and clear storage delivers exactly that.
Choose transparent bins for fabric scraps, yardage, and works-in-progress so you achieve true inventory visibility without lifting a lid. Position see-through organizers on open shelving for tools you grab hourly: scissors, rotary cutters, marking pens. This makes everything easy to see at a glance.
Slide pattern collections into clear binders or magazine holders for quick reference; you’ll spot the right envelope instantly. Label each container, but let transparency do the heavy lifting. Arrange contents by color, weight, or project phase.
Your organized sewing room becomes a command center where every material serves you, not hides from you.
Use Wall Space for Rulers, Thread, and Small Tools
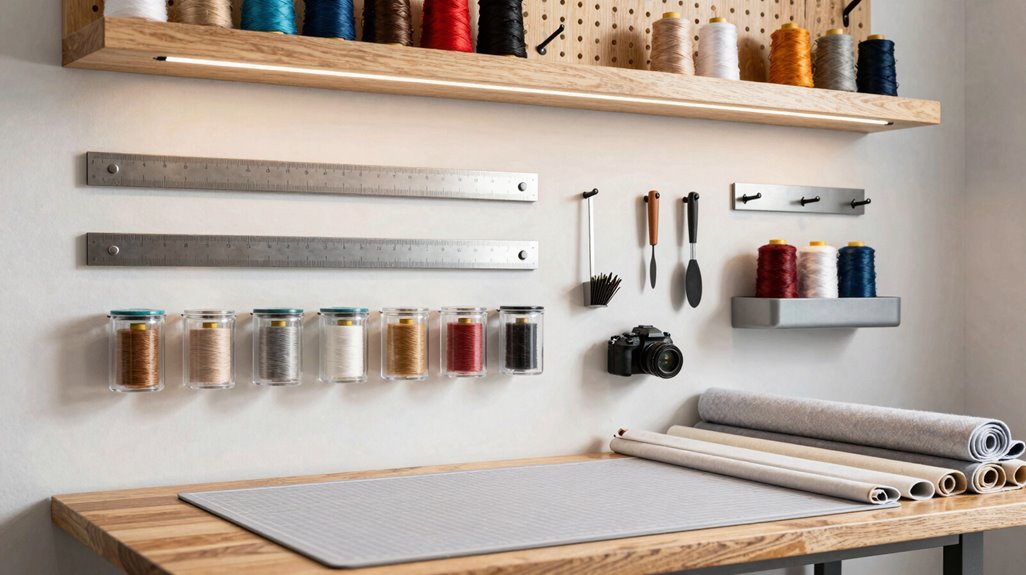
You’ve already cleared your surfaces with transparent containers, so now you’ll reclaim vertical real estate by mounting rods, hooks, and pegboards to store rulers, thread racks, and small tools within arm’s reach of your machine.
Position your most-used spools at eye level on wall-mounted racks, suspend rulers on binder clips or hooks for instant grab-and-go access, and outline tool zones on pegboard so every item has a designated, visible home. This vertical strategy eliminates drawer rummaging, reduces tabletop clutter by approximately 60%, and cuts your prep time before each project.
Vertical Storage Solutions
Where does your floor space disappear when rulers, thread spools, and small tools multiply? You’re witnessing a common problem that vertical storage solves immediately.
Mount a pegboard with 1/2 inch clearance using furring strips, then outline your tool locations directly on the board for systematic tool organization. Attach small clear bins for tiny notions.
Your wall storage strategy should include:
- A thread rack positioned near your machine for immediate color selection and tangle prevention
- Wall-mounted containers and hooks for rulers and frequently used implements
- Integrated shelving with lighting to separate daily-use items from long-term storage
This storage solution maximizes space efficiency through deliberate zoning. You reclaim valuable square footage while maintaining complete visibility. Thread racks, pegboard systems, and strategic shelving change dead wall space into functional, accessible workspace that supports your craft without compromise.
Quick Access Design
Vertical storage solves your space problems, but placement determines whether you’ll actually use what you’ve stowed. You need wall-mounted storage positioned within arm’s reach of your sewing table and cutting area to maintain quick access during active work sessions.
- Ruler Storage: Mount rods or hooks at eye level, 24-36 inches above your cutting area, assigning each ruler a designated spot for immediate retrieval without bending.
- Pegboard Installation: Install a 24″x36″ pegboard beside your sewing machine, outlining tool locations with permanent marker outlines. Store small items in clear, labeled bins attached with metal hooks.
- Thread Organization: Mount thread racks 12-18 inches from your sewing table, grouping spools by color family. Store overflow in labeled drawers beneath.
- Small Tool Placement: Position additional pegboard sections over pressing areas, using wall-mounted jars for notions, making certain of complete tool organization and maximum space efficiency.
Repurposed Organization Tools
Why spend money on specialized organizers when your walls already offer prime real estate for storage? You can remake your sewing room with repurposed organization tools that maximize wall space and eliminate surface clutter.
Mount thread racks near your pressing area for instant color matching, arranging spools by shade family for 15-second selection. Install ruler storage using curtain rods or binding clips suspended from hooks, keeping measuring tools visible and damage-free. Position a pegboard with outlined tool shadows above your workspace, making sure every item returns to its designated wall-mounted storage spot after use.
You’ll reclaim 40% of your desk surface by relocating small tools to vertical systems. Repurpose shower hooks for scissors, binder clips for patterns, and magnetic strips for pins. Your fabric storage stays accessible, your workflow stays uninterrupted, and your room joins the ranks of efficiently organized creative spaces.
File Paper Patterns and Printed PDFs in Labeled Binders
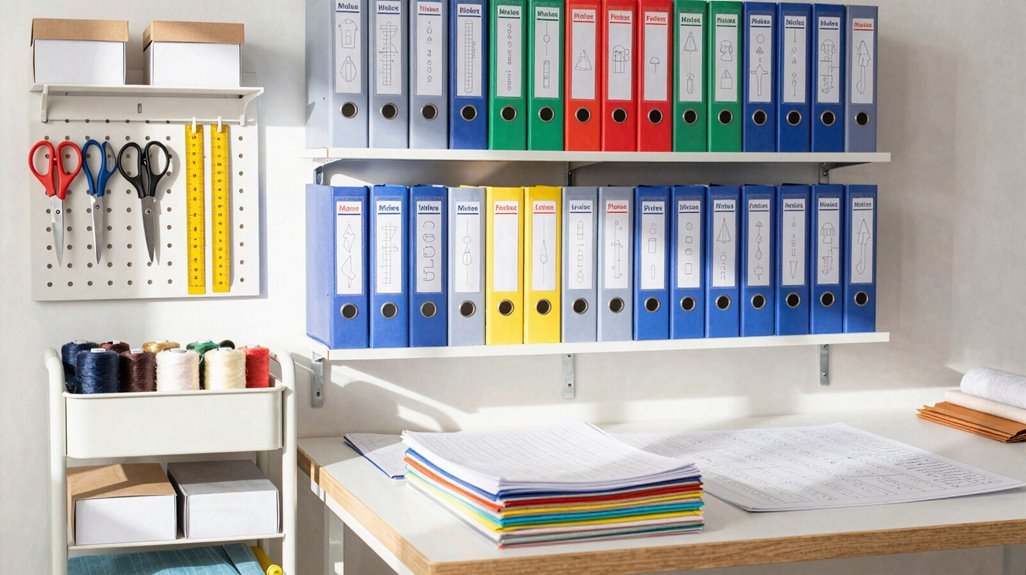
How do you currently locate a specific pattern when you need it? If you’re digging through drawers or piles, you’re losing precious sewing time. Implement binder organization using labeled binders to change your pattern storage into a streamlined system.
| Pattern Type | Storage Solution |
|---|---|
| Paper patterns | 3-ring binders with labeled tabs |
| Printed PDFs | Mini binders with page protectors |
| Magazine patterns | Magazine holders by designer |
| Backup files | Thumb drive or external hard drive |
| Copied instructions | Color-printed pages in binders |
You’ll achieve easy retrieval when you file paper patterns and printed PDFs by project or designer. Use mini binders with page protectors to view both sides of patterns instantly. Copy magazine patterns with a color printer, then donate the originals.
This project organization maximizes sewing room efficiency and keeps your creative momentum flowing.
Label Project Boxes for Instant Status Checks
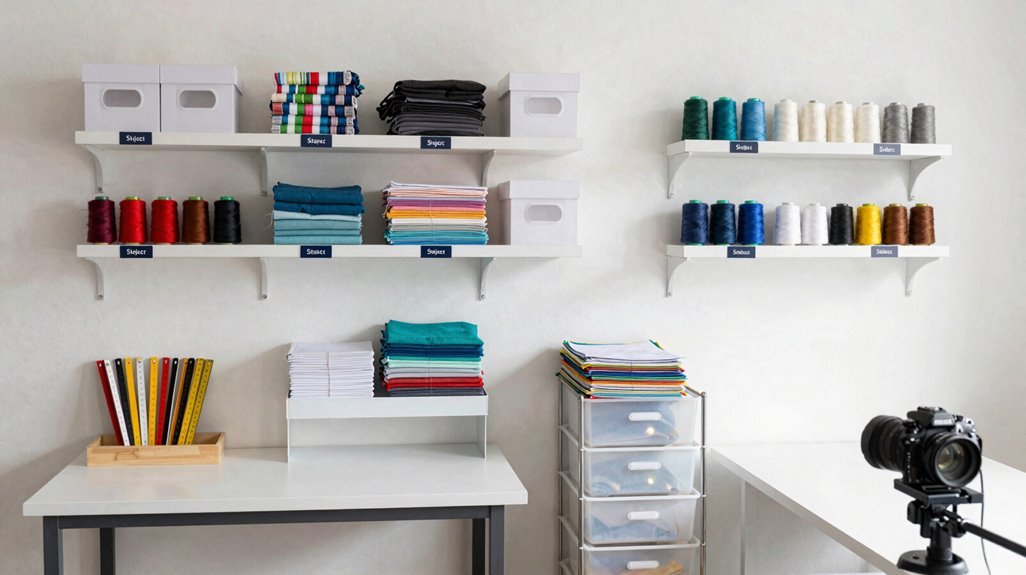
Where do you lose track of your works-in-progress? You’re not alone, scattered project boxes derail workflow efficiency, but systematic box labeling creates instant status checks.
Scattered project boxes derail workflow efficiency, but systematic box labeling creates instant status checks.
Start your sewing room organization by assigning clear containers to every active quilt, marking each with project name and current status: in-progress, planned, or queued. You’ll eliminate opening six boxes to find one border piece.
Implement these three labeling boxes strategies:
- Use uniform fonts, placement, and wording across all project boxes for rapid visual scanning during multi-project sessions
- Attach labeled pockets or adhesive tags to box fronts, keeping storage visible without lid removal
- Categorize by pattern complexity, deadline urgency, or required materials for predictable retrieval
Pair your labeled boxes with open shelving, and progress tracking becomes immediate. This box labeling system changes chaotic stacks into streamlined, accessible inventory.
Track Progress With a Simple Weekly Planner
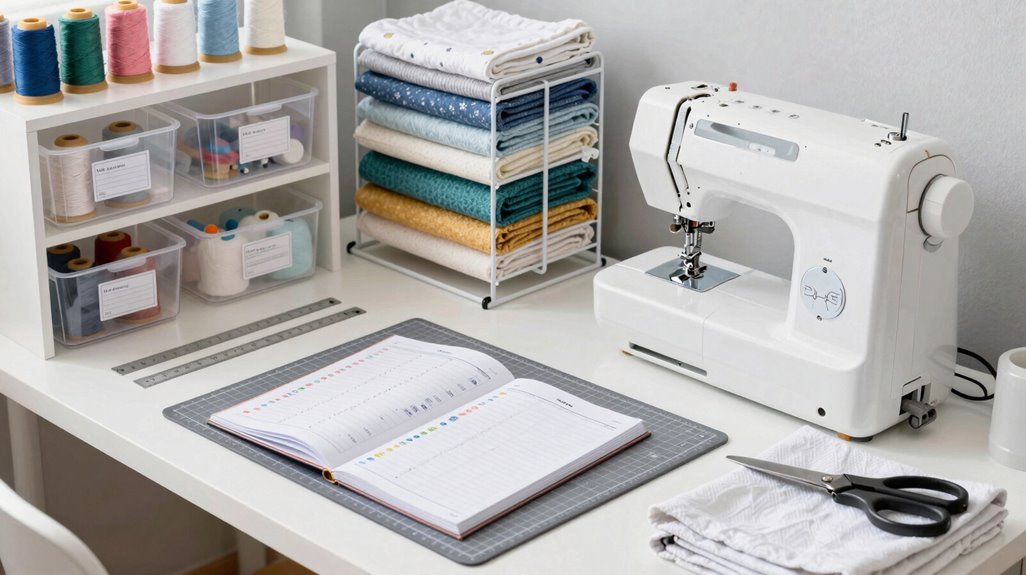
When do your sewing plans dissolve into unfinished fragments? You grab a free printable weekly planner to break down goals into daily tasks and track progress across seven days. You pair this planner with a clipboard at your cutting table, keeping project directions and checklists within arm’s reach.
You label each entry with project names and status markers, aligning your schedule with zone-based organization in your sewing room. You maintain clear distinctions between WIP items and planned projects, updating your planner during brief weekly reviews. You back up all progress records digitally through Evernote or cloud storage, preserving every detail of your project directions.
This system turns scattered intentions into measurable achievements, giving your sewing room organization the structure you need to complete what you start.
Run a 15-Minute Weekly Reset to Keep Order
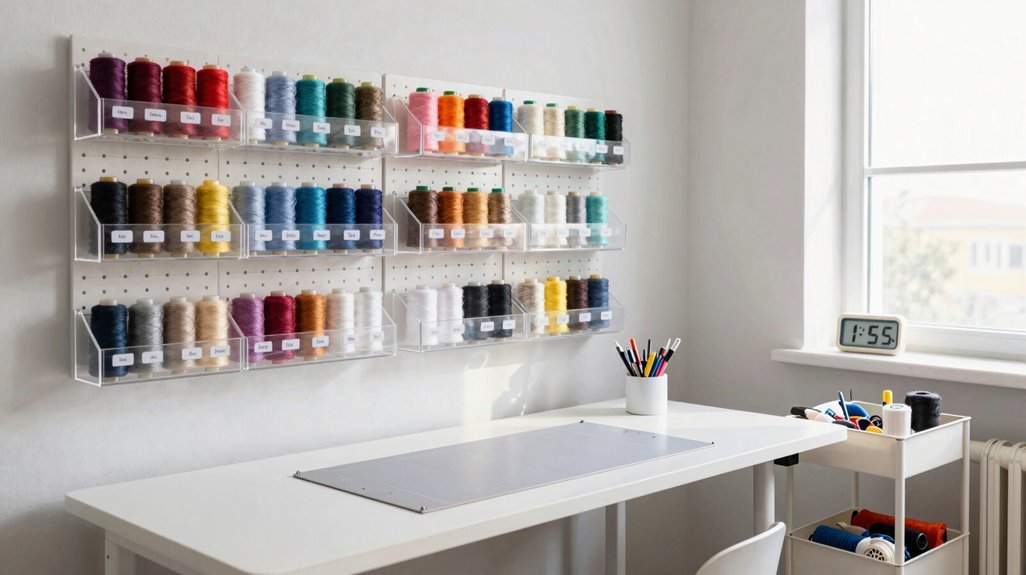
Why does your sewing space fall into disorder between projects? You abandon your sewing room organization mid-flow, leaving fabric piles, notions/tools, and WIPs scattered across every surface. A disciplined weekly reset prevents this disorder from compounding.
The real culprit behind sewing room chaos isn’t lack of time—it’s abandoned organization mid-project, when fabric piles and scattered notions quietly multiply.
Execute your reset with precision:
- Clear all horizontal surfaces, returning stray pins, thread spools, and scraps to their designated labeled storage locations
- Group disorder into categorical piles: yardage, scraps, active WIPs, and tools requiring reassignment
- Identify homeless items, flagging them for storage system expansion or destash elimination
This 15-minute ritual keeps craft space efficiency intact without overwhelming your schedule. You examine your labeled storage integrity, assess whether fabric piles demand a separate decluttering session, and confirm every notion retains its assigned home. Consistent practice changes tidying from burden to habit, keeping your workspace ready for use.





