Your ceiling’s untapped potential awaits structural intervention. You’ll convert this overlooked plane into a layered architectural feature using five measurable, replicable methods. Each approach delivers specific dimensional gains—typically 8 to 12 inches of recessed depth—and requires precise material calculations.
The following breakdown eliminates guesswork with material quantities, installation timeframes, and cost categories.
Start With Paint to Define Your Tray Ceiling’s Shape
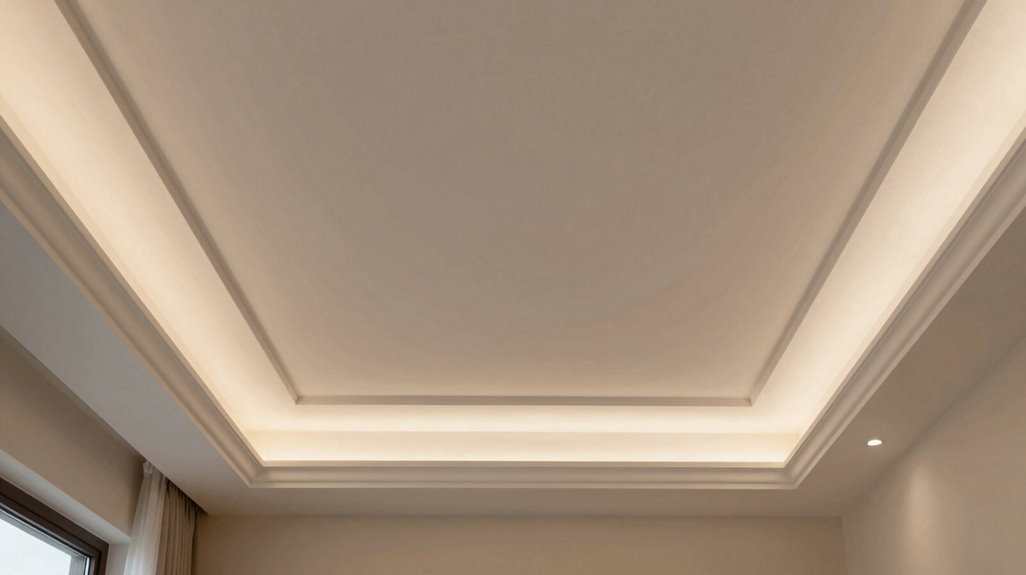
Why settle for a flat, forgettable ceiling when you can command the room’s architecture with strategic color placement? Your tray ceiling offers built-in geometry, and paint transforms it from background noise into deliberate design.
Apply these four approaches:
- Dark tray surface, unpainted sides: Coat the flat interior in charcoal or navy. This defines shape, creates contrast, and delivers a cozy atmosphere while preserving architectural detail on drop-down edges.
- Light tray or border: Use white or cream. You’ll expand perceived height and let structural elements speak clearly.
- 3D border only: Paint the recessed edge for layered depth without full commitment.
- Subtle inset: Choose pale blue or soft neutral. You’ll highlight the tray while maintaining a cohesive palette.
Your color choices directly manipulate depth and contrast, altering spatial perception with each brushstroke.
Add Dimension With Wood, Tin, or Fabric Textures
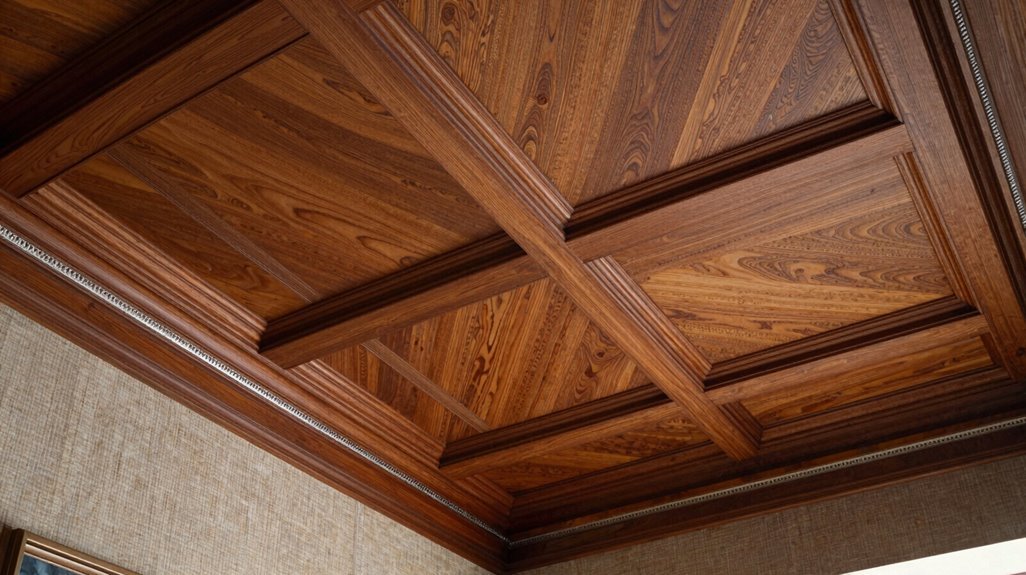
How will you turn your tray ceiling from a blank void into a layered architectural feature? You’ll add dimension through strategic texture placement, selecting materials that anchor your space within a cohesive design community.
Install real or faux wood beams across the recessed perimeter, creating rustic warmth that complements farmhouse, coastal, or transitional themes. Position tin accents on the highest flat surface, where embossed patterns introduce metallic shine and color variation spanning contemporary to old-world aesthetics. Generate texture contrast by pairing shiplap paneling with exposed metal beams, achieving industrial character through material opposition.
Consider the fabric option for upholstered trays, applying French toile or subtle woven patterns to establish tactile softness and intimate atmosphere. Complete the treatment with two-tone border emphasis, painting inner edges in contrasting wood tones to amplify dimensional depth and highlight your selected textures.
Layer in Lighting That Highlights the Recessed Depth
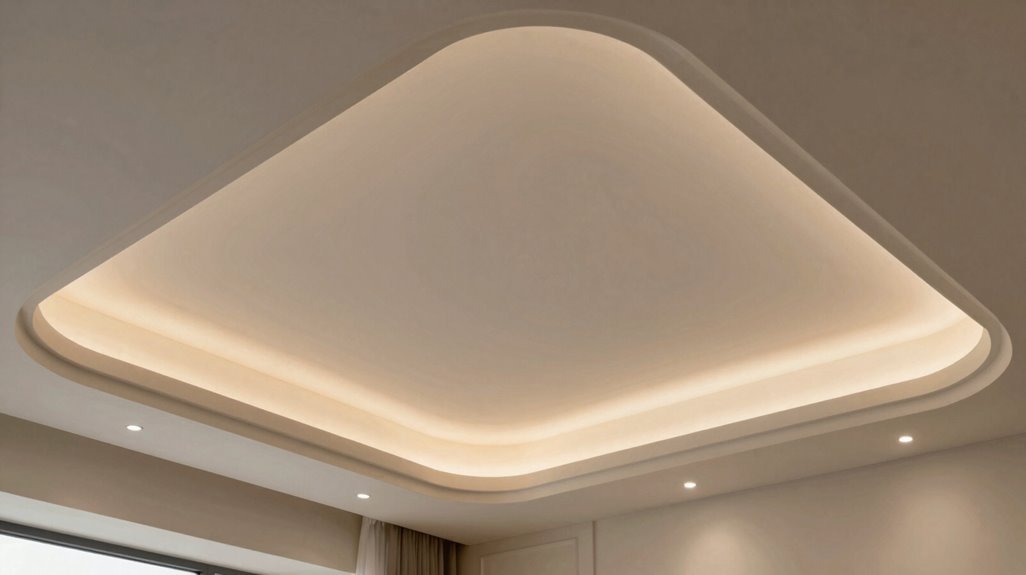
Where will you establish visual hierarchy within your tray ceiling’s recessed architecture? You’ll anchor this hierarchy through strategic lighting layers that define spatial boundaries and functional zones.
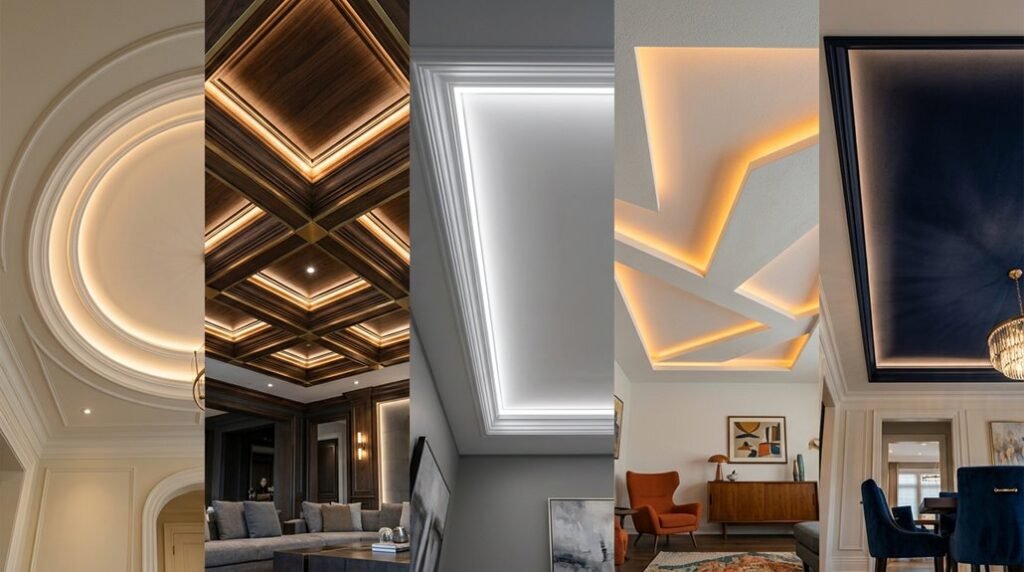
1. Install perimeter cove lighting. You’ll wrap LED rope or cove lighting along the tray’s inner border, casting an ambient glow that traces recessed depth and separates ceiling planes visually.
2. Center a pendant fixture. You’ll suspend one statement piece, 24-36 inches below peak height, to draw gaze upward and lock focal alignment after installation completes.
3. Layer recessed lighting internally. You’ll space fixtures 4-6 feet apart within the tray, delivering task and ambient illumination without flattening architectural dimension.
4. Select sources by aesthetic category.
| Style | Fixture Type | Application |
|---|---|---|
| Modern | LED flex strips | Continuous perimeter |
| Traditional | Crystal chandeliers | Central suspension |
You’ll achieve spaciousness through soft, shadowless distribution. Your tray ceilings become organized, measurable systems; lighting solves depth definition precisely.
Go Bold With Wallpaper, Stencils, or a Custom Mural
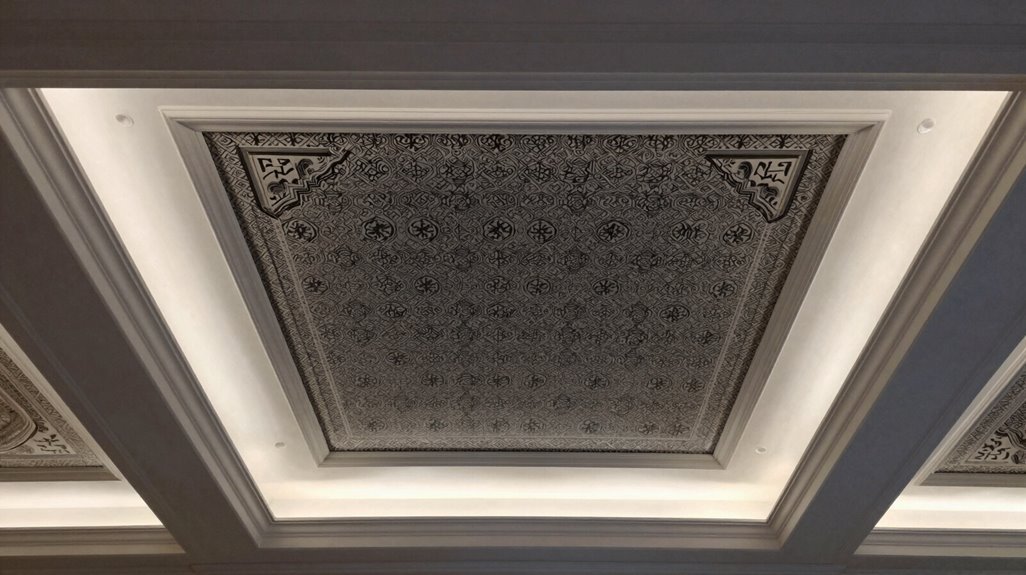
Once you’ve established your lighting architecture, you’ll shift focus to surface treatment, where the recessed plane becomes your canvas for controlled visual impact.
The recessed plane becomes your canvas for controlled visual impact.
- Apply wallpaper to the tray ceiling surface. Select metallic textures for retro-mod schemes or vintage floral patterns for granny-chic aesthetics.
- Execute stencils on recessed areas or vertical sides. Paint intricate designs without structural modifications.
- Install a mural for spatial expansion. Choose sky-themed or landscape scenes to generate openness and whimsy.
- Harmonize scale with room dimensions. Match pattern sizes to square footage and lighting intensity to prevent spatial overwhelm.
- Integrate lighting strategically. Pair wallpaper or mural applications with cove lighting or fixtures to amplify depth and focal emphasis on the tray ceiling.
Match Your Tray Ceiling Treatment to Your Room and Style
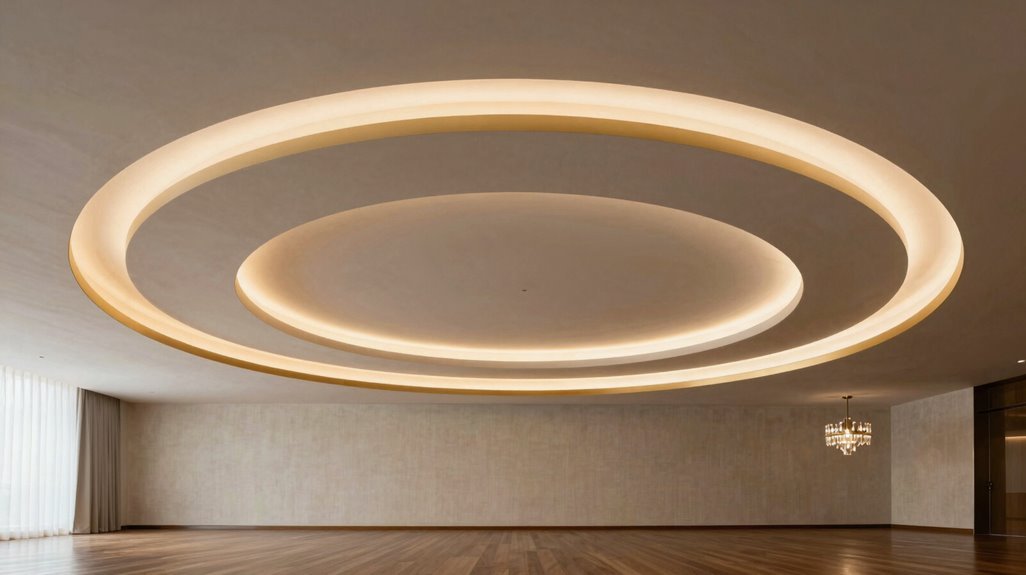
Why treat every tray ceiling identically when your room demands a tailored solution? You must align your tray ceiling treatment with your room style to achieve cohesive integration. In traditional spaces, you’ll apply light cream walls with painted trays and unpainted edges for softness, or select light blue for airy, gazebo-inspired atmospheres.
When your room contains prominent furniture, match the inner border color to your armoire, reducing visual competition. For formal aesthetics, install decorative crown molding along tray edges, or employ tin molding to amplify architectural drama. Contemporary spaces benefit from two-tone approaches; darker outer edges with lighter centers create dimension within modern silhouettes.
Evaluate wallpaper or paint against furniture scale and lighting. Your tray ceiling must remain a focused feature, not compete with existing focal points.