
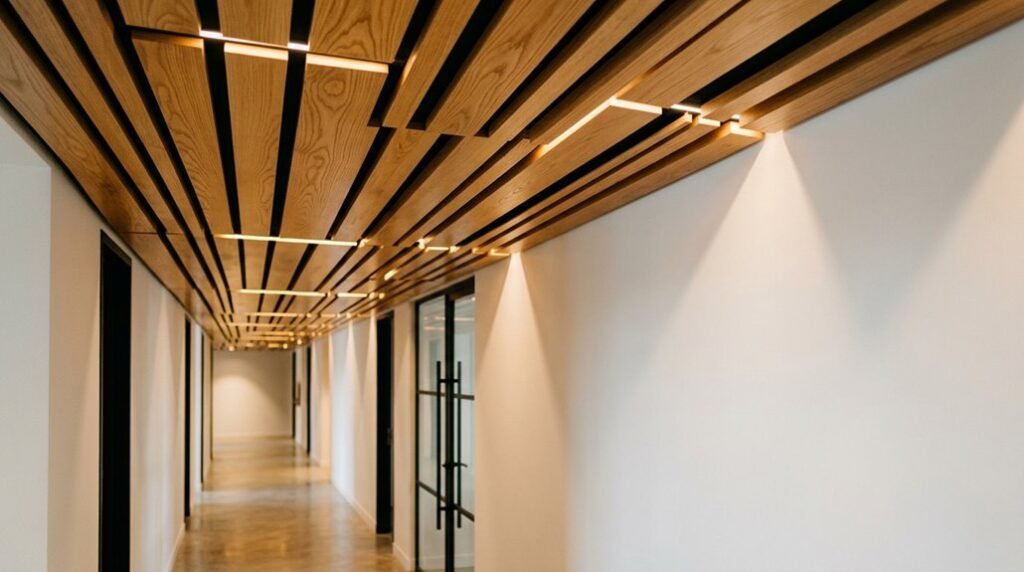
You probably don’t realize that ceiling-mounted wood slats can reduce ambient noise by up to 70% when properly spaced with acoustic backing, yet most installations fail because installers skip the 4-inch gap requirement between slats and structural elements.
Your project demands precise calculations: slat widths typically range from 1.5 to 3 inches, spacing varies from 0.5 to 2 inches, and material costs swing from $8 per square foot for laminate to $35 for solid hardwood.
Before you cut a single board, you’ll need to decide between five installation methods, each with distinct load-bearing requirements and lighting integration options.
Why Do Slat Ceilings Dominate Modern Design?
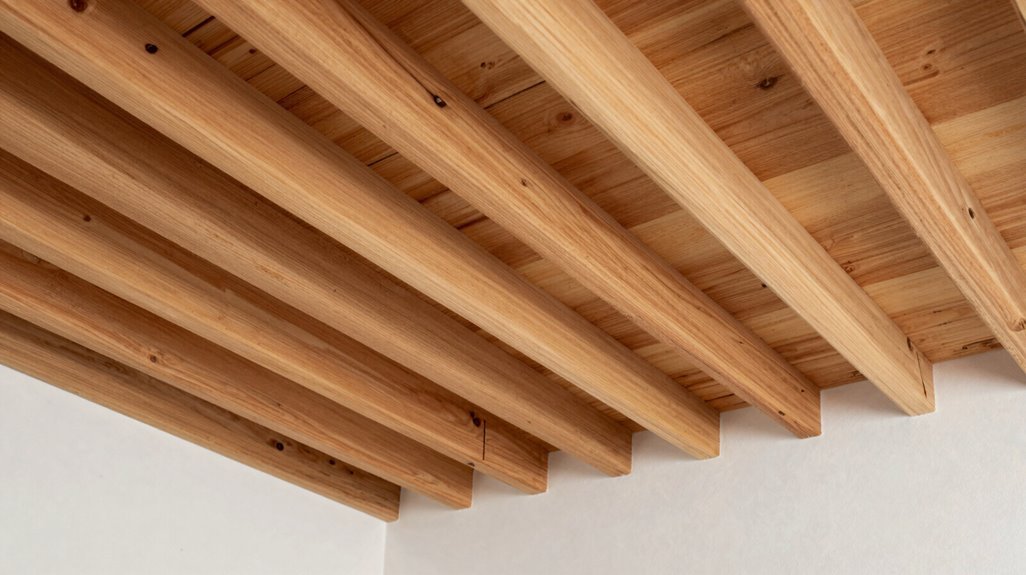
How did wood slat ceilings become the defining architectural feature across contemporary commercial and residential spaces? You recognize slat ceilings everywhere now, and you’re right to notice; they solve real design problems you’ve faced.
You gain a “fifth wall” that changes acoustics, lighting, and ambiance simultaneously. You customize slat width, finish, and color to control texture and visual rhythm precisely. You integrate hidden lighting between slats, achieving ambient illumination without masking wood grain. You conceal center seams with 2×3 beams or architectural features, maintaining continuous, clean sightlines.
You pair slat ceilings with minimalist, industrial, or spa-inspired aesthetics, adding warmth through natural material without heavy ornament. You belong to a movement prioritizing function and refined materiality. You install slat ceilings because they deliver measurable results: defined atmosphere, controlled light, and architectural coherence.
How Slat Ceilings Absorb Sound and Reduce Echo
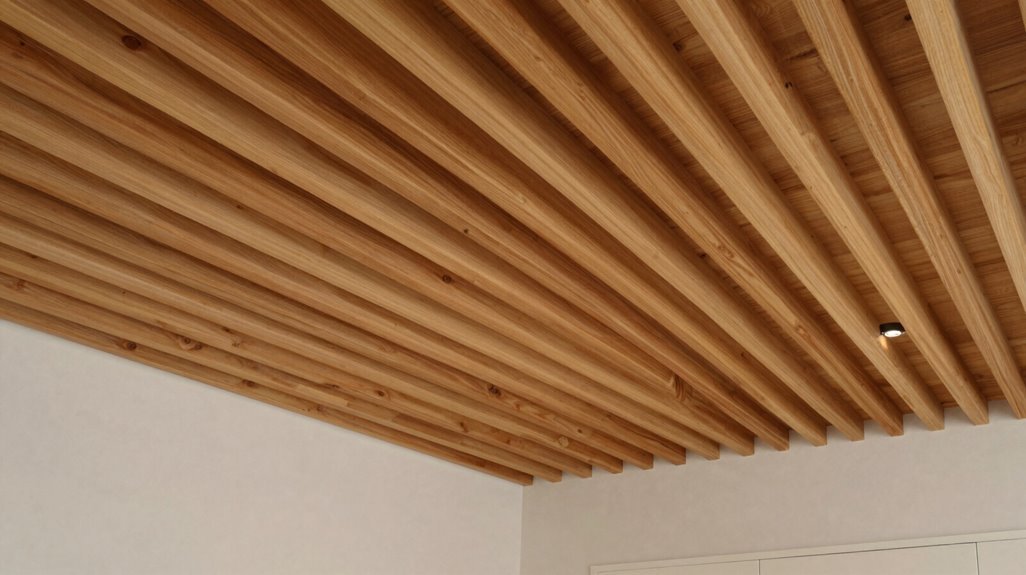
You control your room’s acoustics through deliberate slat spacing decisions, where wider gaps diffuse sound reflections and tighter configurations absorb mid-to-high frequencies. Material density directly shapes absorption coefficients, so you’ll match wood species and thicknesses to your specific reverberation targets. Master these variables, and you’ll change echo-prone spaces into balanced acoustic environments.
Sound Absorption Basics
Why does a room with hard surfaces feel harsh while one with wood slat ceilings sounds warmer? You’re experiencing acoustic absorption in action. Wood slat ceilings interrupt direct sound waves, diffusing energy across their surfaces and reducing echo that makes spaces feel cavernous and unwelcoming.
You’ll achieve optimal acoustic absorption through three core mechanisms:
- Slat materials and thickness control tonal warmth, with denser woods providing measured reverberation reduction
- Perforations and between-slat air channels scatter sound waves, eliminating flutter echoes
- Integration with soft furnishings creates multiple absorption pathways throughout your space
When you install these systems, you’re not just covering your ceiling; you’re engineering an acoustic envelope where conversations flow naturally and music resonates cleanly. Your room becomes somewhere people want to gather, stay, and return to.
Slat Spacing Impact
What determines whether your wood slat ceiling absorbs sound effectively or merely decorates the space? Slat spacing makes the critical difference.
Tighter gaps between slats reduce flutter echoes by limiting sound wave reflection, while wider gaps promote air movement and diffuse higher frequencies across your room. You achieve ideal acoustic control when spacing falls between 1/4 inch and 1 inch, depending on your slat depth.
Consider these spacing strategies:
- Standard spacing (1/4–1/2 inch): Maximizes absorption, minimizes reverberation
- Moderate spacing (1/2–3/4 inch): Balances absorption with diffusion
- Wide spacing (3/4–1 inch): Prioritizes high-frequency diffusion
You enhance mid-frequency performance through irregular spacing patterns or alternating slat widths. Avoid uniform spacing across your entire ceiling, which creates predictable acoustic blind spots. Pair your spacing decisions with appropriate backing materials to achieve measurable RT60 reduction in your space.
Material Density Matters
Spacing alone won’t optimize your acoustic performance if you ignore what’s behind the gaps. You need to select denser slats, typically ¾-inch thick solid wood or engineered cores, to maximize sound absorption. Thicker materials absorb more mid-to-high frequencies, reducing flutter echoes in rooms with flat, hard surfaces.
Consider these density factors:
- Choose solid wood profiles over thin veneer for superior acoustic mass
- Stagger irregular spacing patterns to scatter sound waves effectively
- Install perforated backers or soft insulation behind slats to boost absorption
Your ceiling height, room volume, and adjacent soft furnishings directly influence outcomes. Pair your slat system with complementary wall treatments for comprehensive acoustic control.
Test configurations before final installation, measuring reverberation times to confirm performance meets your specifications.
Real DIY Costs for Slat Ceiling Projects
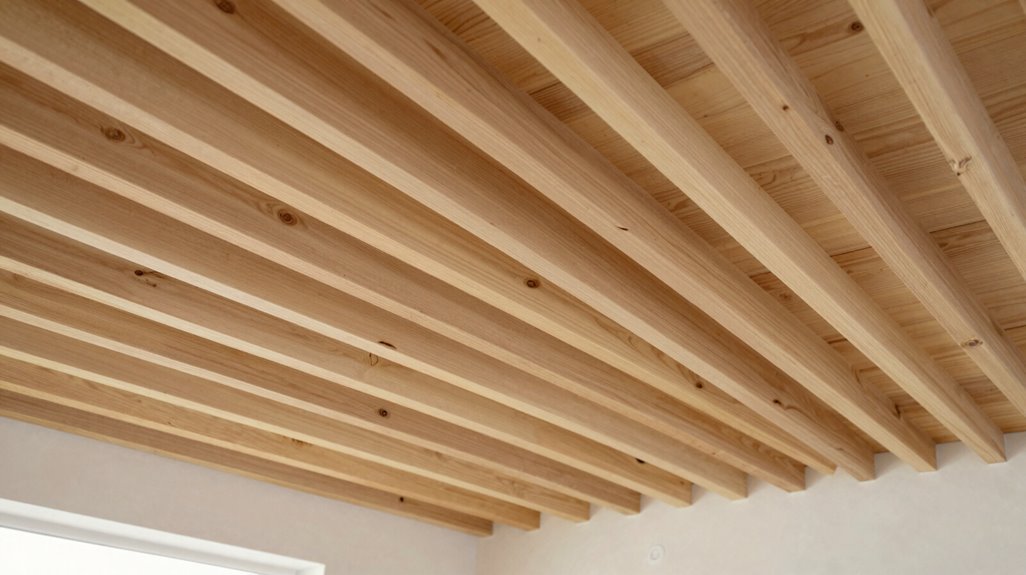
How much should you actually budget for a DIY slat ceiling? A real project totals about $400.44, breaking down as follows: wood slats run $331.84, screws cost $32.98, stain is $15.74, and sandpaper comes to $19.88. You’ll need 68 units of 2×2 boards for your slats, plus one spare board to maintain consistent 1.5-inch gaps during installation.
Before you start, remove or lower all lights and vents. Cut every board with your jigsaw beforehand; rework kills momentum and wastes material. Apply Varathane Special Walnut stain first, then build three sealant coats with light sanding between each layer. This prevents warping and delivers the smooth, professional finish you’re after.
Prep work done right means no surprises, no delays, and a ceiling that earns its place in your space.
Solid Wood vs. Veneer vs. Laminate: Picking Your Material
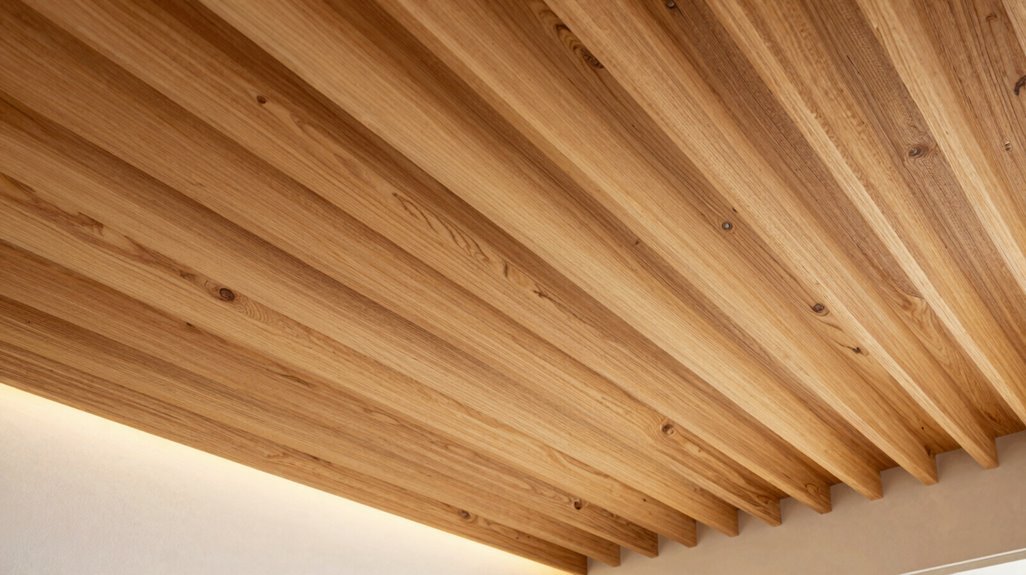
You’ll weigh material durability against your budget when selecting ceiling slats, recognizing that solid wood offers authentic grain but risks warping, while veneer provides stability with mid-range pricing, and laminate delivers the lowest cost with minimal maintenance needs.
Higher humidity environments demand you prioritize sealed solid wood or stabilized veneer over untreated laminate, guaranteeing acoustic performance and dimensional stability across 10 to 15 years of service. Consult the comparison below to map specific material costs, typically $8-15 per square foot for solid wood, $4-8 for veneer, and $2-5 for laminate, against your project’s durability requirements and environmental conditions.
Material Durability Comparison
Selecting the right material for your wood slat ceiling requires weighing authentic aesthetics against long-term performance, cost constraints, and environmental conditions. You must evaluate how each material withstands daily wear, moisture exposure, and structural demands over time.
Solid wood tolerates heavy structural loads and accepts multiple refinishing cycles, though you’ll monitor seasonal expansion gaps.
Veneer delivers authentic grain with reduced weight, yet you risk delamination if moisture penetrates edges or faces.
Laminates resist surface scratches and maintain dimensional stability, but you sacrifice sandability and genuine tactile warmth.
In humid installations, you’ll prioritize sealed veneers or laminates over untreated solid wood. Your climate zone, maintenance commitment, and load-bearing requirements determine optimal selection. Match material properties precisely to your ceiling’s functional demands.
Cost Factor Analysis
Material durability shapes your ceiling’s lifespan, yet your budget ultimately determines which option reaches your installation site. You face three distinct paths, each with measurable trade-offs in cost, weight, and performance.
1. Solid Wood
You pay $15-30 per square foot for authentic grain and decades of service. You must acclimate boards 72 hours minimum, and you will refinish every 5-7 years.
2. Veneer
You spend $8-18 per square foot. You gain humidity stability and reduced weight, but you rely on substrate integrity.
3. Laminate Slats
You invest $4-12 per square foot. You receive maximum moisture resistance and zero refinishing obligations. You sacrifice tactile warmth and visual depth.
Your installation timeline, structural load capacity, and maintenance tolerance dictate your selection. Choose based on quantifiable constraints, not aspirational aesthetics.
Five Spacing Patterns for Better Acoustics and Light
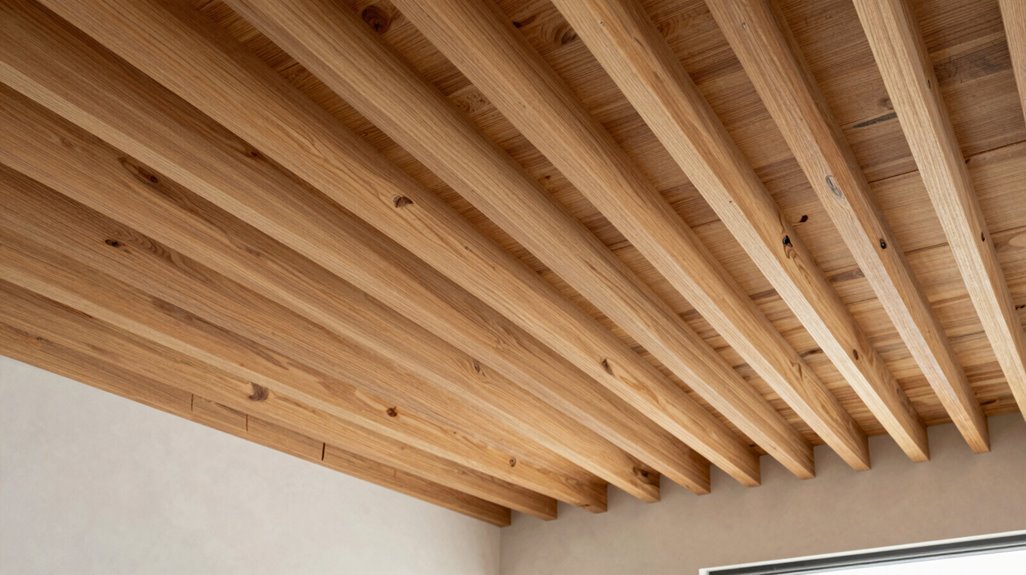
How do you balance sound control with natural illumination when every gap between slats serves two masters? You solve this by selecting spacing patterns that serve your room’s specific acoustic and lighting demands.
1.5-inch standard spacing delivers uniform rhythm for balanced diffusion across residential ceilings. Variable width gaps integrate LED strips between slats while preserving acoustic performance. Tight ¾-inch spacing enhances sound reflection for intimate, enclosed environments.
You achieve consistent results by using a spare board as your measuring guide, working from fixed references like faux beams or joists. Wider gaps increase air movement and openness; narrower gaps create controlled, reflective acoustics. When seams appear, you cover joints with 2×3 beams to maintain visual continuity. Slat wall panels follow identical spacing logic, extending your ceiling system onto vertical surfaces for cohesive spatial design.
How to Measure and Plan Your Slat Layout
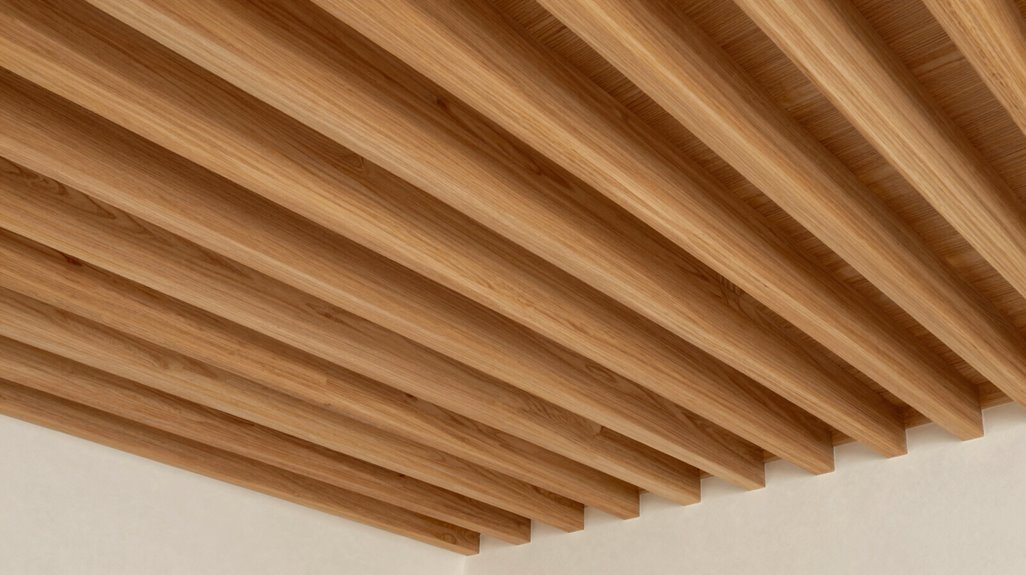
Before you cut a single board, you’ll spend twenty to forty minutes mapping your ceiling’s dimensions, structural supports, and visual seams, because precision at this stage eliminates costly mid-project corrections.
Measure your ceiling area by multiplying width by length, then divide by a single slat’s area to estimate your total count. Choose your slat direction; perpendicular to joists provides structural integrity, while custom axes create visual flow.
Decide between center-seam or offset patterns; center-seams with 2×3 beams hide meeting points and anchor tall ceilings with clean lines, while offsets distribute visual weight asymmetrically. Reserve one spare board as a spacing reference, maintaining approximately 1.5 inches between slats.
Locate studs with a finder, mark anchor points, and align main boards to these supports or faux beams. Your wood slat ceiling’s stability depends on this systematic preparation.
Essential Tools and Materials for a Clean Install
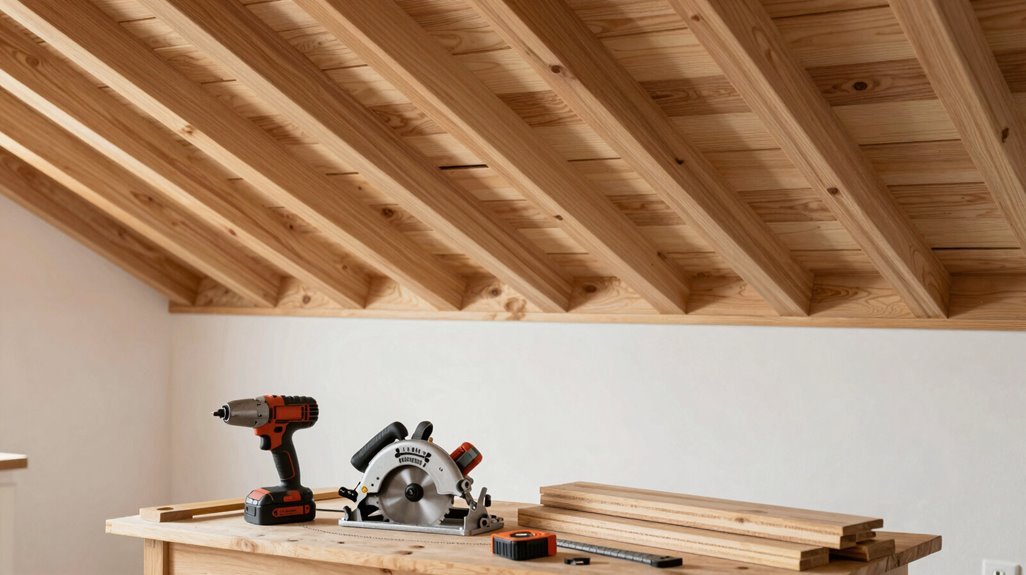
Where exactly will you start when the planning ends and the physical work begins? You’ll gather your essential toolkit first, because a clean wood ceiling installation demands precision from minute one.
Your core arsenal includes:
- A jigsaw for cutting 2×2 slats to exact length
- A stud finder to locate every joist for secure anchoring
- An air nailer or deck screws for reliable attachment
You’ll prep with 80-grit sandpaper, then finish with 220-grit between coats. Cut all boards before you lift anything overhead; measure twice, cut once. Use a spare board as your 1.5-inch spacing guide. Stain with Varathane Special Walnut, then seal with three coats of clear protectant.
Remove lights and vents first. Start from a fixed reference point, align with studs, and hide center seams behind 2×3 beams.
Installing Slats Over Popcorn Ceilings
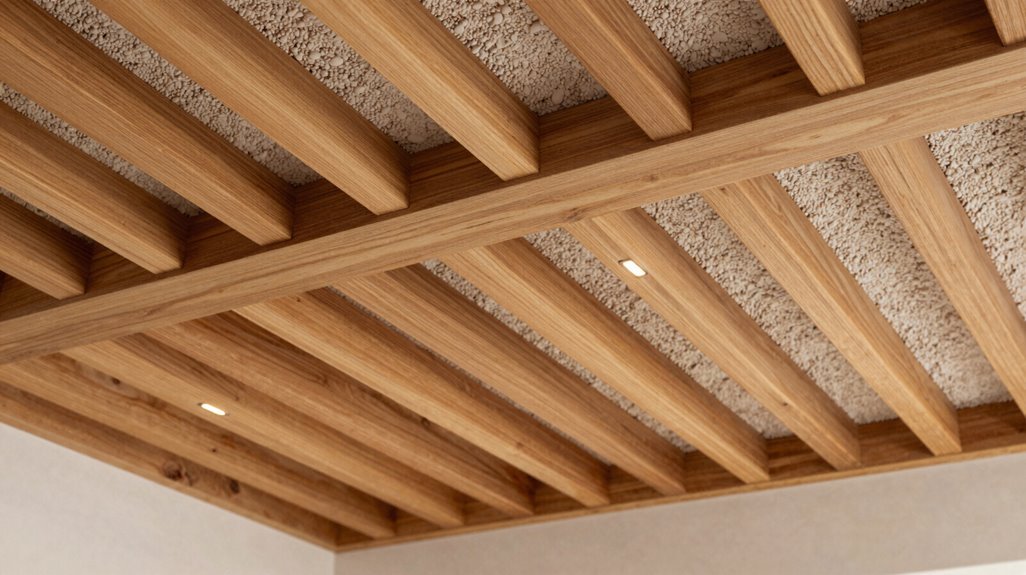
Since popcorn ceilings create an uneven surface that traditional methods can’t address directly, you’ll build a strategic base layer that turns this obstacle into a clean foundation. Install wood slats perpendicular to ceiling joists, starting from a central line or wall edge to keep consistent alignment across the entire wood ceiling surface. Remove or lower all light fixtures and vents prior to installation, preventing interference and enabling clean, precise cuts along slat edges.
Maintain approximately 1.5-inch gaps between slats using spacers and a spare board as your spacing guide. This helps with even distribution and adequate ventilation. Execute all cuts with a jigsaw for precision around irregular shapes, completing every cut before mounting to eliminate rework. Apply Varathane Special Walnut stain, followed by three sealant coats. This reduces warping and gives you a smooth, durable finish.
Adding Concealed Lighting to Your Slat Ceiling
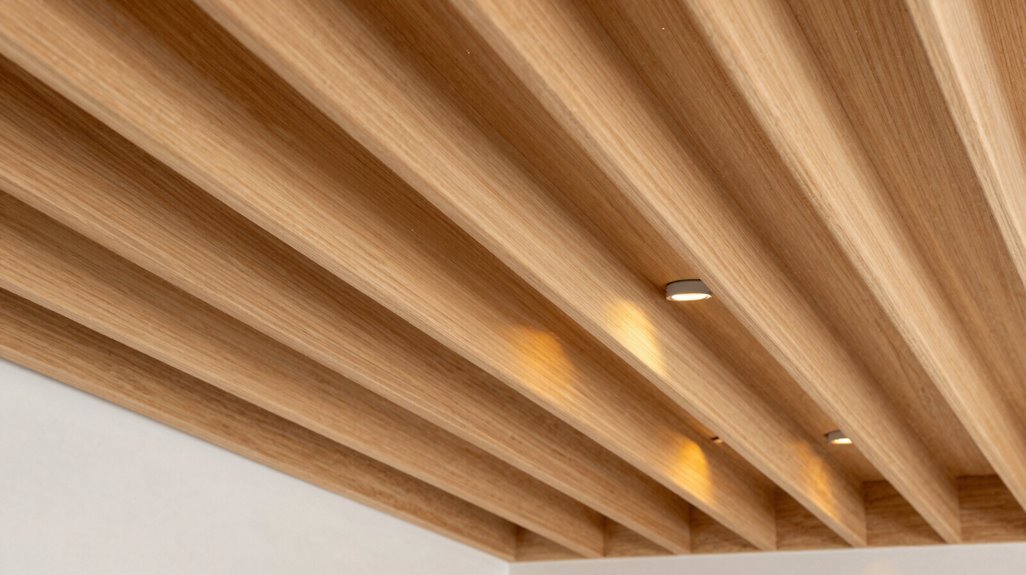
You’ll position hidden LED strips within the recessed channels between slats, making sure they’re fully concealed while casting even illumination across your ceiling surface. Install aluminum channels perpendicular to your slat orientation, securing them at consistent 16-inch intervals with proper wire management for seamless dimmer integration.
Your dimmer control options include standard wall switches, WiFi-enabled smart controls, or low-voltage rotary dimmers calibrated specifically for LED loads between 0-10 volts.
Hidden LED Strip Placement
How do you convert a standard wood slat ceiling into a layered lighting feature without visible fixtures? You’ll install hidden LED strips in the gaps between slats, creating continuous line lighting that enhances texture without exposed hardware.
Consider these placement strategies:
- Position strips within shallow grooves between slats to achieve soft, diffused illumination across your ceiling surface
- Select warm color temperatures between 2700K and 3000K to complement natural wood tones and eliminate harsh contrasts
- Maintain adequate ventilation by using low-heat LED strips and leaving thermal dissipation space behind your slats
Route power access near a wall, secure LED channels between slats, and conceal wiring with trim covers. You’re building precise, professional results through methodical execution, not guesswork.
Recessed Channel Installation
Where exactly should you position recessed channels to eliminate visible hardware while maximizing light output? You’ll route slim channels between wood slats, aligning them precisely with slat joints to hide light gaps and create uniform illumination across your ceiling.
Recessed channel installation demands exact measurements of board width, joint spacing, and channel depth. You’re making certain the lighting sits flush with the slat surface, avoiding protrusions that disrupt the clean aesthetic. Select low-profile, high-CRI LED strips with diffusers to prevent hot spots and achieve even distribution.
Plan access clearance above the ceiling for wiring, drivers, and heat dissipation. Check that your channels accommodate dimmable controls for future ambience adjustments. Measure twice, cut once, and verify channel placement before securing slats permanently.
Dimmer Control Options
Your recessed channels now sit flush and aligned, but static brightness limits their usefulness. You need dimmer control options that let you shift from task lighting to ambient glow without rewiring. Select 12–24V dimmable LED strips, verify compatibility with your chosen dimmer switch, and install drivers away from slat seams to eliminate buzz.
Pair trailing-edge dimmers with low-voltage strips for smooth, flicker-free adjustment from 100% to 5% output. Position wireless wall controls within 30 feet of receivers, or choose smart modules for app-based scheduling.
Test full range before closing channels; swap incompatible drivers immediately to avoid later demolition. Mount channels behind perforated backers to diffuse glare, and always cut power before connecting conductors. Your ceiling now responds to every hour of the day.
Which Wood Finish Matches Your Space?
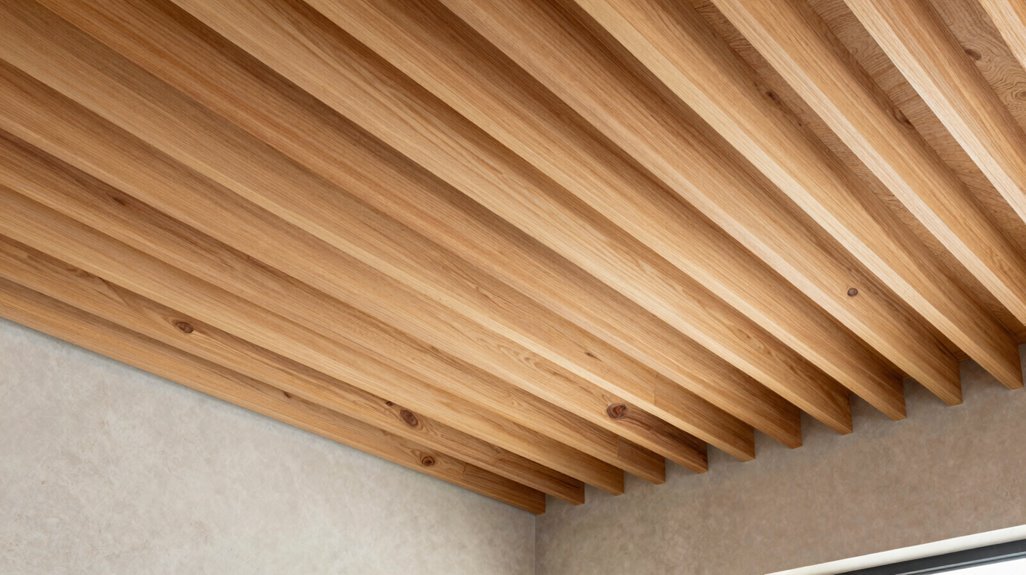
What finish you choose determines whether your wood slat ceiling dissolves into the background or commands attention as a defining architectural element. Finish options divide into three practical categories: natural stains, painted treatments, and clear sealants.
Stains like Varathane Special Walnut penetrate wood fibers, delivering warm, organic tones that complement residential spaces seeking cohesion. For commercial or contemporary environments, iron-ore paint creates bold, graphic statements against white walls.
You must sand boards with 80-grit paper, progress to 220-grit, apply stain, then seal with three coats, sanding lightly between each layer. If you preserve texture as priority, clear sealants protect grain while allowing natural color variation.
Your selection depends on existing flooring, wall treatments, and whether you desire the ceiling to recede or advance visually within the room’s hierarchy.
Installation Mistakes That Ruin Slat Ceilings (And How to Fix Them)
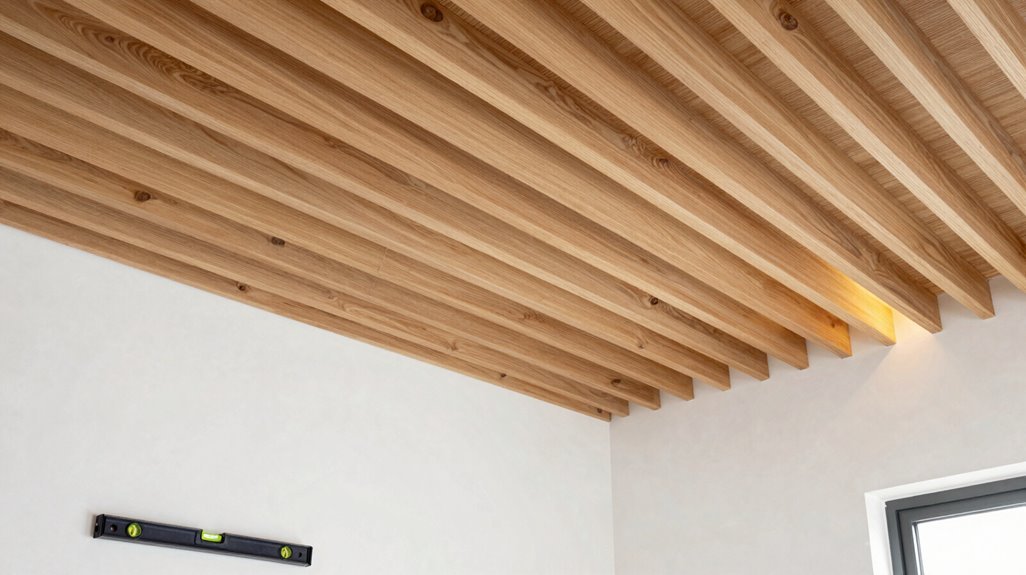
How often do slat ceilings fail not from poor materials, but from preventable errors during installation? You can avoid costly rework by recognizing these critical mistakes before you begin.
Inconsistent spacing ruins visual rhythm; use a spare board as your reference guide to maintain uniform gaps between every slat.
Humidity-induced warping destroys alignment; seal all surfaces and sand between coats, 80 grit initially, then 220 grit, to stabilize boards against moisture movement.
Seal every surface, sand between coats—80 grit, then 220—to lock out moisture before warping begins.
Improper fastening causes sagging; attach main boards to studs via faux beams, always using screws instead of nails for stronger long-span attachment.
Complete all cuts before installing boards, and lower or remove ceiling lights and vents beforehand to prevent accidental damage. Plan center seams carefully, concealing them with a 2×3 beam on tall ceilings where long slat ceilings meet.
Monthly Maintenance to Keep Slat Ceilings Looking New
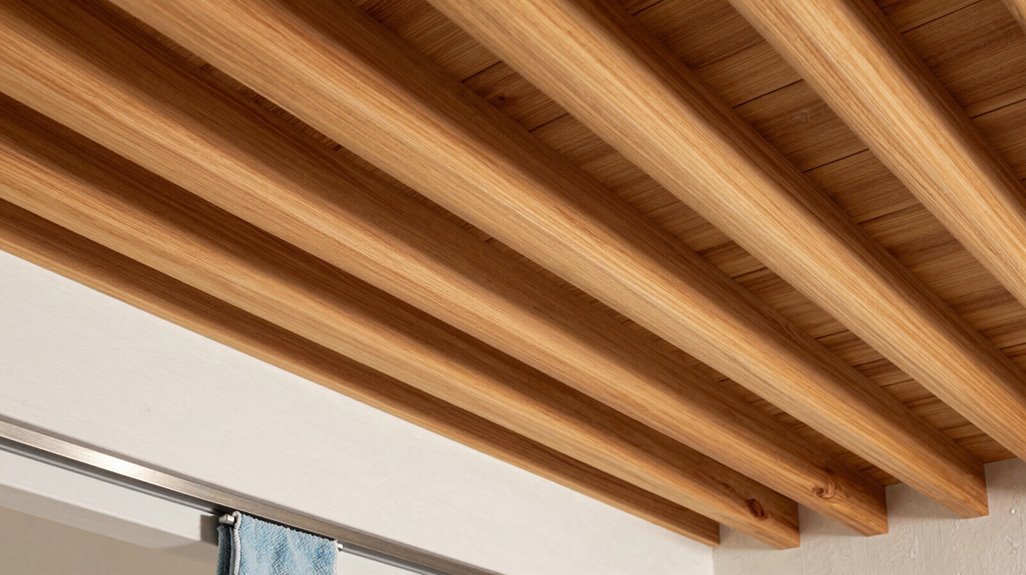
Why do wood slat ceilings lose their pristine appearance months after installation? Dust accumulates, sealants degrade, and fasteners loosen without consistent maintenance. You prevent this decline through systematic monthly care.
- Vacuum with a long-reach attachment and duster to remove dust buildup between slats, reaching gaps standard tools miss.
- Inspect yearly for warping, gaps, or loose screws around center seams and faux beams; tighten immediately to preserve alignment.
- Spot-clean using a soft, damp microfiber cloth only; harsh chemicals degrade stain and sealant permanently.
- Plan your routine: dust monthly, inspect annually, reseal when needed. Light-sand between sealant coats to prevent air bubbles and maintain smooth finishes.
This maintenance preserves color, acoustics, and structural integrity, keeping your installation looking professional for years to come.





