
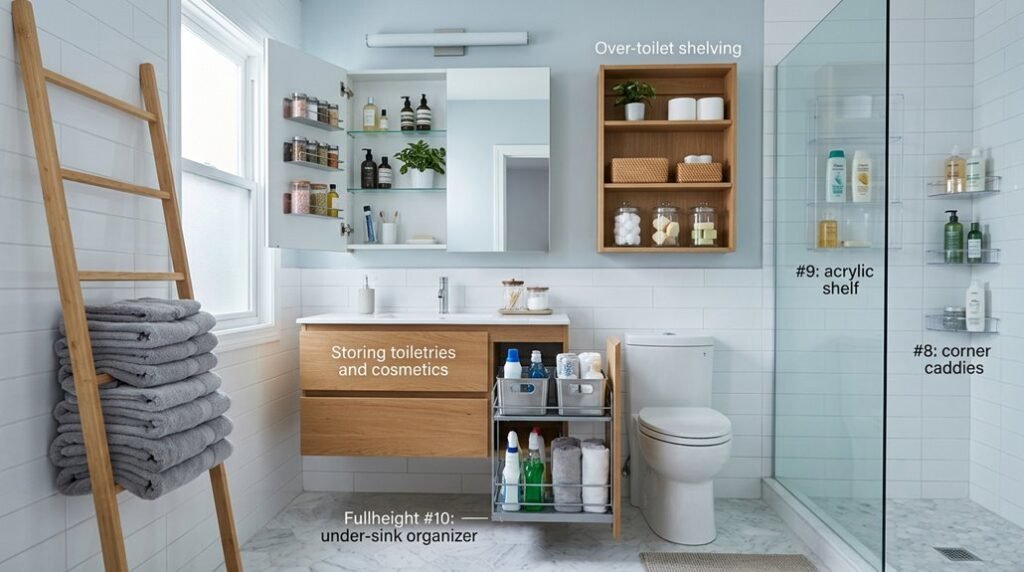
Your bathroom is a puzzle with missing pieces, and every square inch hides potential you haven’t discovered yet.
You need systems that measure up, literally, because 12 inches of wall space above your toilet can yield 24 inches of vertical storage.
You want solutions, not inspiration, and you’re about to get ten of them.
Small Bathroom Storage Ideas That Maximize Every Inch
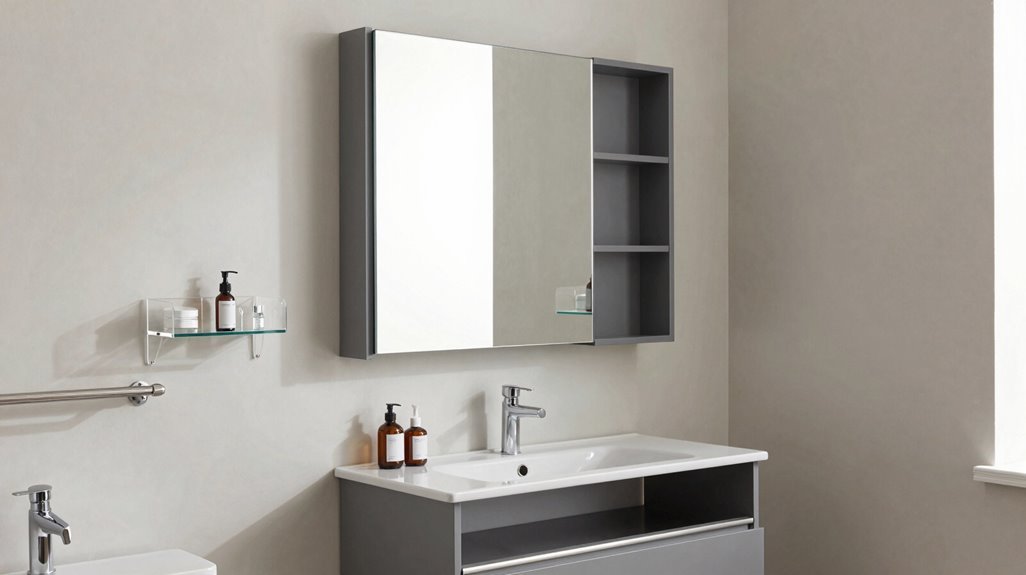
When you’re working with less than 40 square feet, every decision about storage becomes critical to your bathroom’s functionality. You need solutions that reclaim dead zones without crowding your movement.
Start with corner storage. Install triangular under-sink shelves or wall-mounted corner units that occupy 12-18 inches of vertical space, creating accessible zones for toiletries while preserving floor clearance. These units maximize airflow in moisture-prone environments.
Corner storage transforms wasted angles into functional zones, preserving precious floor space while keeping essentials within arm’s reach.
Add a rolling storage cart with lockable wheels, measuring 6-8 inches wide, to slide between fixtures. You’ll store daily essentials on three tiers, then tuck it away when cleaning. Select carts with rust-resistant coatings for longevity.
Mount wall hooks and suction racks at staggered heights—24, 36, and 48 inches—to hang towels and loofahs. Use clear, shallow drawer organizers under sinks, stacking bins vertically to double capacity.
Install Over-the-Toilet Shelves and Cabinets
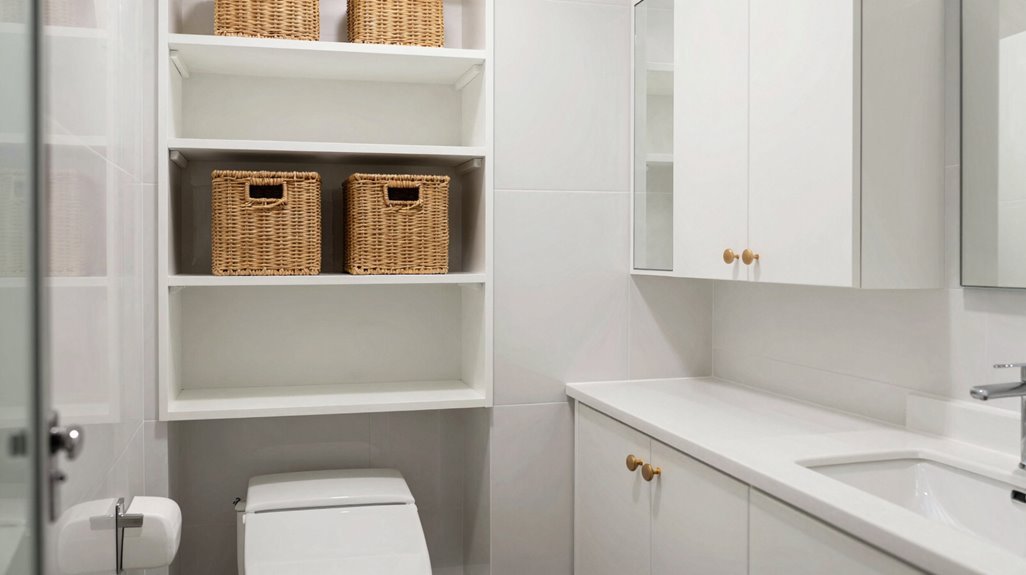
Why leave 24-30 inches of vertical wall space unused when your toilet tank creates a natural platform for storage? You’re sitting on untapped potential, literally. Install over-the-toilet shelving to reclaim this dead zone for towels, toiletries, and daily essentials.
Your over-the-toilet storage options break down into three practical categories:
- Wall-mounted cabinets with doors measuring 25-30 inches wide, concealing clutter behind white, natural, or mahogany finishes
- Open cubby systems offering immediate grab-and-go access for frequently used items
- Stem-mounted units attaching directly to wall studs for load-bearing capacity up to 50 pounds
You’ll need a drill, level, stud finder, and 30-45 minutes for proper installation. Secure anchoring prevents tipping hazards. Choose engineered wood for humidity resistance or solid wood for longevity.
Organize Under-Sink Cabinets With Pull-Out Drawers
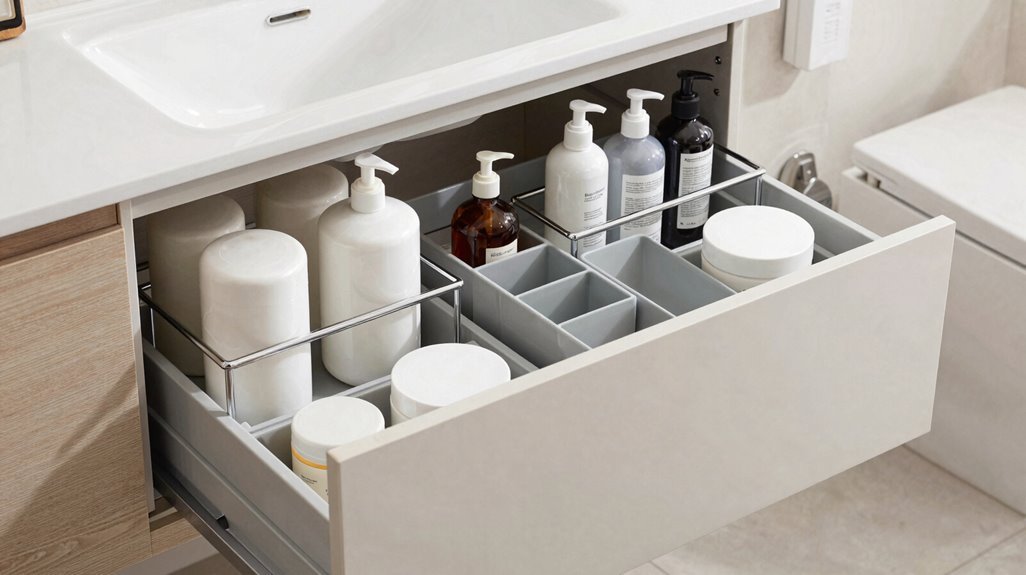
How often have you crouched, craned your neck, and fumbled blindly through cavernous under-sink cabinets only to knock over bottles and lose track of supplies? You’re not alone in this daily frustration, and pull-out drawers offer the structured solution your bathroom demands.
Install slim-depth pull-out units specifically engineered for standard under-sink widths, typically 18-24 inches, maximizing your under-sink storage without plumbing interference. Select models with ball-bearing slides and non-slip liners to prevent spills during extension.
Organize contents using clear, labeled bins separating sponges, sprays, and brushes into categorical zones. Stack inner bins vertically to create dedicated backup sections, reducing bulk by 40% while maintaining inventory visibility. This system changes chaotic cabinets into functional, maintainable spaces you’ll rely on daily.
Mount Storage Racks on the Back of Your Door
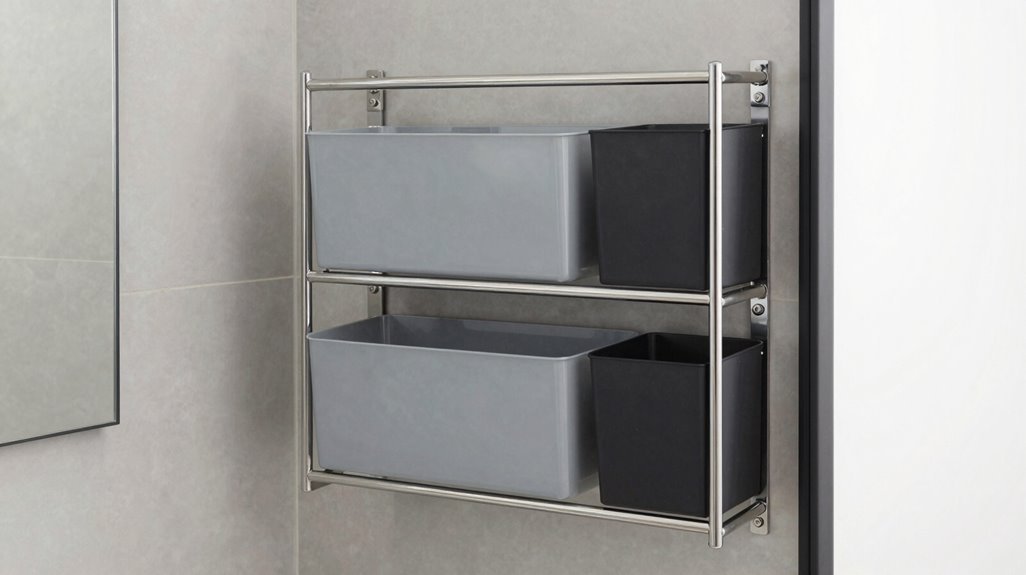
You can reclaim wasted door space by selecting from three primary door rack types: over-the-hook systems, screw-mounted brackets, or adhesive-backed organizers, each requiring distinct hanging hardware options including S-hooks, toggle bolts, or industrial-strength strips rated for 10-15 pounds. Match your hardware choice to your door material; hollow-core doors demand weight-distributing brackets, while solid wood accepts direct screw mounting. Always measure the 1⅜-inch clearance zone around existing hinges and handles.
Once installed, organize by category, assigning upper hooks for lightweight robes and lower tiers for heavier styling tools, maintaining 6-inch vertical spacing between storage zones to prevent item overlap and allow rapid retrieval.
Door Rack Types
What unused space hides behind your bathroom door? You can convert this overlooked zone into functional bathroom storage with the right door rack selection. Standard interior doors measuring 1-3/4 inches thick accommodate most mounting systems, converting vertical space into accessible organization without sacrificing floor area.
Consider these three proven door rack configurations:
Hook Systems: Five-hook variants, like the Oslo model, suspend towels and robes within immediate reach
Cubby Organizers: Slim leaning designs from West Elm create compartmentalized storage for toiletries and small essentials
Adjustable Shelving Units: Powder-coated metal or engineered wood racks with repositionable shelves accommodate bottles up to 12 inches tall
Verify door depth compatibility, handle clearance, and moisture-resistant finishes before purchasing. Foam-backed over-door options install without drilling, protecting door surfaces while supporting moderate loads.
Hanging Hardware Options
Once you’ve selected your door rack configuration, you’ll need reliable hanging hardware to secure it without damaging your door or walls. Over-door storage systems typically use foam-padded brackets that hook over the door edge, distributing weight evenly while protecting your finish.
For renters seeking non-permanent solutions, suction cup hooks attach to glass shower doors or tiled surfaces without tools, supporting 3-5 pounds each. These removable options leave zero residue when relocated.
Heavier organizers require reinforced mounting. Wall anchors support 15-20 pounds in drywall, while self-adhesive patches handle lighter racks up to 8 pounds on smooth surfaces.
When installing, measure your door clearance first. Select slim-profile racks under 4 inches deep with rounded edges to prevent fixture interference. The Oslo 5-Hook rack exemplifies this design, offering 5 decorative knobs in White/Natural for towels or loofahs.
Organizing by Category
Several distinct storage zones emerge when you mount racks on the back of your bathroom door, each serving a specific category of items. You create efficient door-mounted storage solutions by assigning specific products to designated hooks or shelves, eliminating clutter through systematic categorization.
Hang lightweight towels and washcloths on upper hooks for quick drying access. Store daily toiletries like brushes, combs, and small bottles in mesh or plastic organizer pockets. Reserve lower racks for backup supplies, including toilet paper rolls or cleaning products.
You should verify weight capacity before loading items, as standard racks support 5-10 pounds per tier. Check door thickness compatibility, typically 1⅜ inches, and select protective foam-padded variants to prevent surface damage. Choose suction or adhesive mounts for rental situations, avoiding permanent installation.
Add Floating Shelves to Empty Wall Space
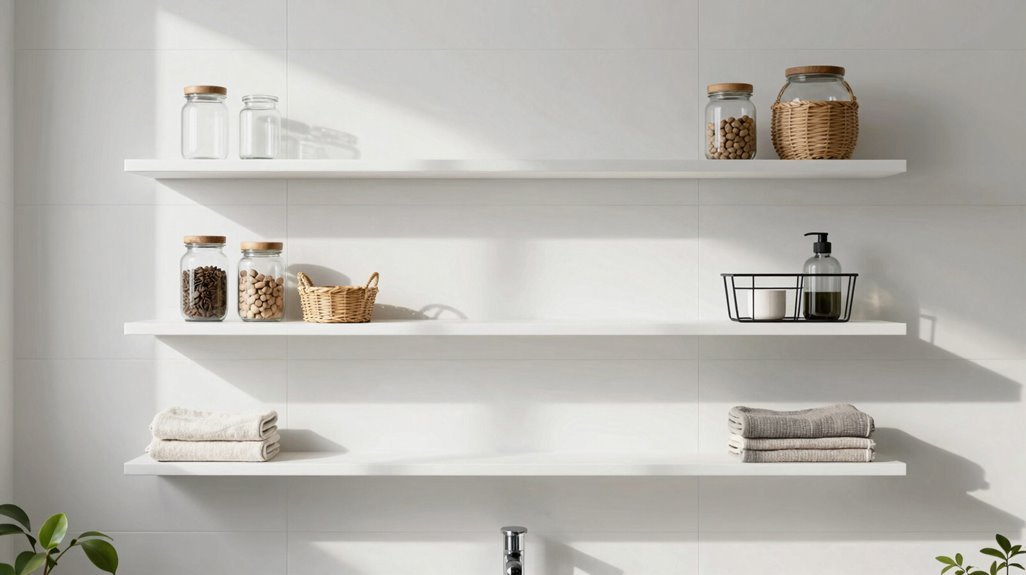
You’ll convert unused vertical real estate into functional storage by mounting floating shelves at strategic points, typically 12-18 inches above fixtures or 65-70 inches from the floor for ergonomic access. Select slim profiles, 4-6 inches deep, 24-36 inches wide, with moisture-resistant finishes like marine-grade polyurethane or powder-coated steel to withstand 60-80% humidity levels.
Style these surfaces with rolled towels (3-4 per shelf), small potted plants under 8 inches tall, or lidded containers holding daily essentials, making certain every item serves a practical purpose while maintaining 2-3 inches of clearance between objects for visual order.
Choose Strategic Wall Locations
Where exactly does your bathroom waste the most space? You likely overlook vertical zones above fixtures and in tight corners where wall shelves turn dead areas into functional storage. Strategic placement demands precise measurement of your available wall surfaces, typically 12-24 inches above sinks, toilets, and tubs where moisture exposure remains manageable.
Install wall shelves 18-22 inches above your vanity to capture daily essentials within arm’s reach. Deploy corner storage units in 90-degree angles where standard cabinetry fails to fit. Mount staggered shelves at 8-inch vertical intervals to create tiered organization zones.
You must secure each shelf with wall anchors rated for 25-50 pounds, selecting bamboo or powder-coated steel for humidity resistance. Pair your installation with coordinating hooks to establish unified, expandable storage systems that reclaim every usable inch.
Select Slim Shelf Designs
Three to five floating shelves turn empty wall expanses into vertical storage corridors without consuming a single square foot of floor space. You’ll maximize this shelving by mounting units at staggered heights, typically 12, 24, and 36 inches apart, to create accessible tiers for daily essentials.
Select moisture-resistant materials like sealed bamboo, powder-coated steel, or marine-grade plywood. Secure each shelf with wall anchors rated for 50+ pounds, matching fastener types to your substrate: toggle bolts for plaster, masonry bits for tile.
Install triangular corner shelves, such as IKEA’s Rågrund, around plumbing voids to reclaim 8-12 inches of dead space. Pair your shelving with clear, labeled containers to maintain visibility and reduce retrieval time. This systematic approach yields 15-20 linear feet of additional storage space in the average 5×8 bathroom.
Style With Functional Decor
The floating shelves you install above the sink or in forgotten corners turn dead wall space into dual-purpose storage and display zones, keeping daily essentials within arm’s reach while your floor remains completely clear. You create open storage that integrates seamlessly with your existing over-the-toilet units, building layered functionality without visual clutter.
Install moisture-rated floating shelves with proper wall anchors, confirming 15-25 pound weight capacity per shelf. Arrange skincare, small towels, and candles across two to three tiers, establishing designated zones for daily routines. Select sealed wood or metal finishes, preventing warping in humid conditions for 5-10 year durability.
You complete installation in under 45 minutes using minimal tools. This affordable upgrade delivers immediate, practical results for organized, accessible bathroom storage.
Slide Slim Storage Carts Into Narrow Gaps
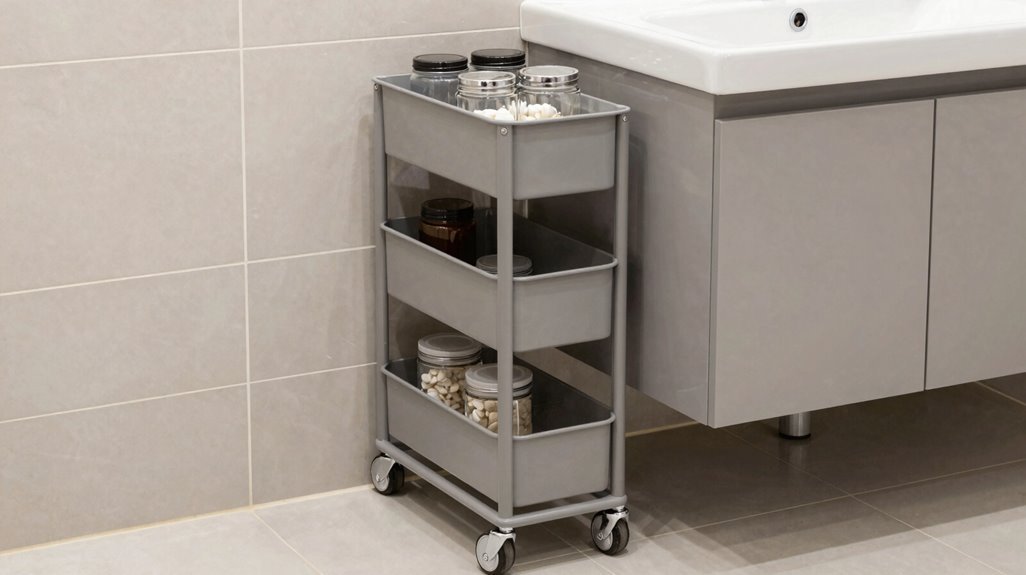
Why let 4-to-6-inch gaps between your toilet and vanity go unused when you can reclaim that vertical real estate with purpose-built storage? You slide slim storage carts into narrow gaps, turning dead zones into functional territory without expanding your footprint.
Select carts with 4-to-6-inch widths, small wheels, and shallow shelves that maneuver through tight clearances between fixtures. Prioritize epoxy-coated steel or aluminum construction to resist moisture damage and corrosion. Verify these features: slotted trays for drainage, locking wheels for stability, and open-back designs preventing water accumulation.
Position carts beside toilets, between vanities, or adjacent to cabinets for accessible storage of cleaning supplies and toiletries. Pair these units with corner or under-sink configurations to maximize otherwise wasted spaces, creating systematic storage without structural modifications.
Clear Countertops With Tiered Trays and Organizers
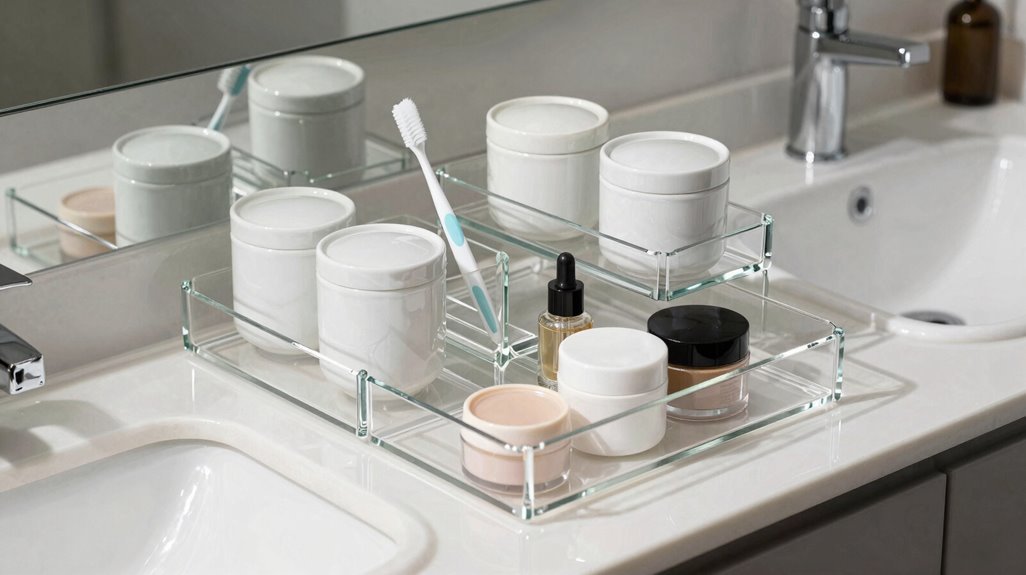
You’ll clear your countertops by selecting tiered tray types that match your bathroom’s dimensions and daily inventory, such as 4-inch-tall Yamazaki-style shelves with 8–10 inches of depth that stack cosmetics, skincare, and toothbrushes into vertical zones without crowding your sink area.
When you use clear acrylic or coordinated metal finishes, you’ll identify contents instantly, track expiration dates efficiently, and maintain a unified aesthetic across your countertop. If you position these organizers under shallow vanity rims or adjacent to faucets, you’ll reclaim primary surface space while keeping essential items visible, accessible, and categorized for streamlined morning routines.
Tiered Tray Types
Where exactly does clutter accumulate first in your bathroom? You know it’s the countertop, and tiered trays solve this directly. These storage ideas maximize vertical space by stacking multiple levels in one footprint, typically 6-12 inches wide, using clear acrylic or glass for instant visibility.
You’ll find three essential types:
- Clear acrylic trays let you identify contents immediately, eliminating the search time that creates surface chaos
- Slim-profile organizers, measuring 4-6 inches deep, squeeze into tight corners and over-sink zones where moisture collects
- Ventilated designs with 2-3mm gaps between tiers promote airflow, preventing mold in 85%+ humidity conditions
Pair your tiered trays with labeled containers in matching finishes, chrome, wood, or acrylic, to unify your space functionally and visually.
Vertical Space Use
How quickly does a bathroom countertop disappear beneath daily essentials? You reclaim that surface by deploying tiered trays, which exploit vertical space in compact footprints.
- Stack tiered trays with clear, shallow bins to view contents instantly while preserving airflow, reducing moisture accumulation.
- Install over-the-sink or over-the-toilet shelving units, typically 20 inches high or less, positioning daily-use items within arm’s reach without protrusion.
- Roll slim, open-wire tiered carts into tight gaps, delivering multiple storage levels without congestion.
- Coordinate tiered trays with matching organizers: identical finishes, consistent hardware, to unify appearance while maximizing vertical space and eliminating countertop clutter. This systematic approach turns cramped quarters into functional, accessible storage environments.
Daily Essentials Display
A clutter-free countertop begins with strategic placement of your most-used items, not their elimination. You’ll maximize your bathroom organization by implementing tiered trays and organizers that turn chaotic surfaces into functional countertop displays.
Stack a compact 3-tier system to corral toothpaste, brushes, and skincare within minimal square footage. Select transparent containers for instant product identification without rummaging. Pair slim, stackable trays with matching finishes, metal or glass, to maintain visual cohesion on small vanities.
Prioritize shallow, low-profile organizers that preserve airflow and reduce visual bulk. Your countertop display should serve daily routines, not hinder them. With deliberate tiered placement, you’ll reclaim precious surface area while keeping essentials accessible. This approach delivers practical bathroom organization without sacrificing the streamlined aesthetic you want in your space.
Divide Drawer Space With Adjustable Organizers
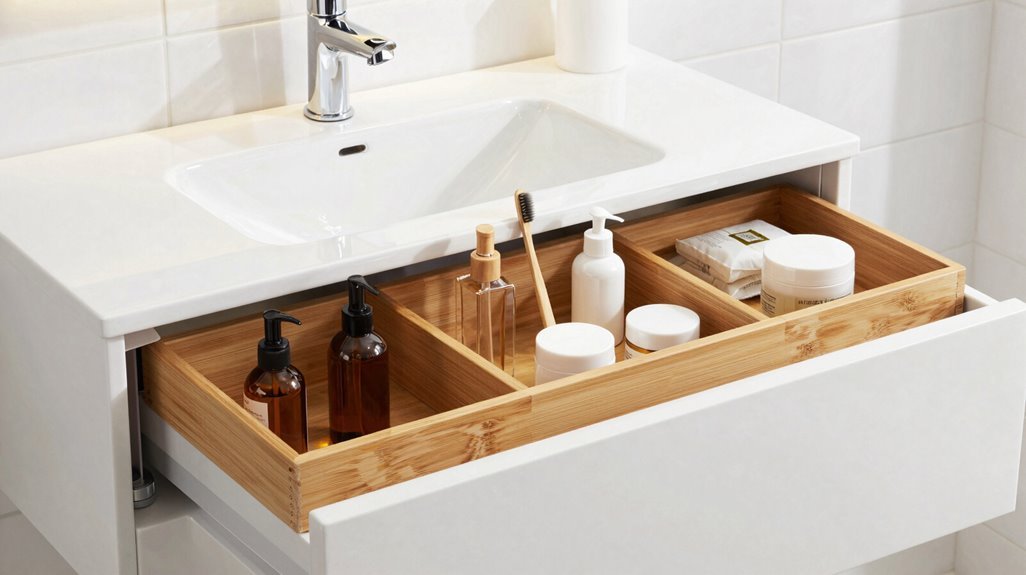
Why let your bathroom drawers devolve into chaotic jumbles of tubes, bottles, and tools when adjustable organizers offer a systematic fix?
Drawer dividers turn single drawers into multiple customizable compartments, separating skincare, hair products, makeup, and tools for immediate access. You’ll maximize every inch with modular, expandable sections fitting 2-inch shallow inserts or 6-inch deep compartments. Clear or semi-clear adjustable organizers eliminate rummaging, letting you inventory contents instantly.
Install non-slip feet or lips to prevent shifting during daily use. Structure your staged layout by frequency: position daily essentials forward, reserve rear sections for backups, and rotate seasonally without disruption. This methodical approach converts cluttered drawers into functional, efficient storage systems you’ll maintain with ease.
Add Tension Caddies to Shower Corners
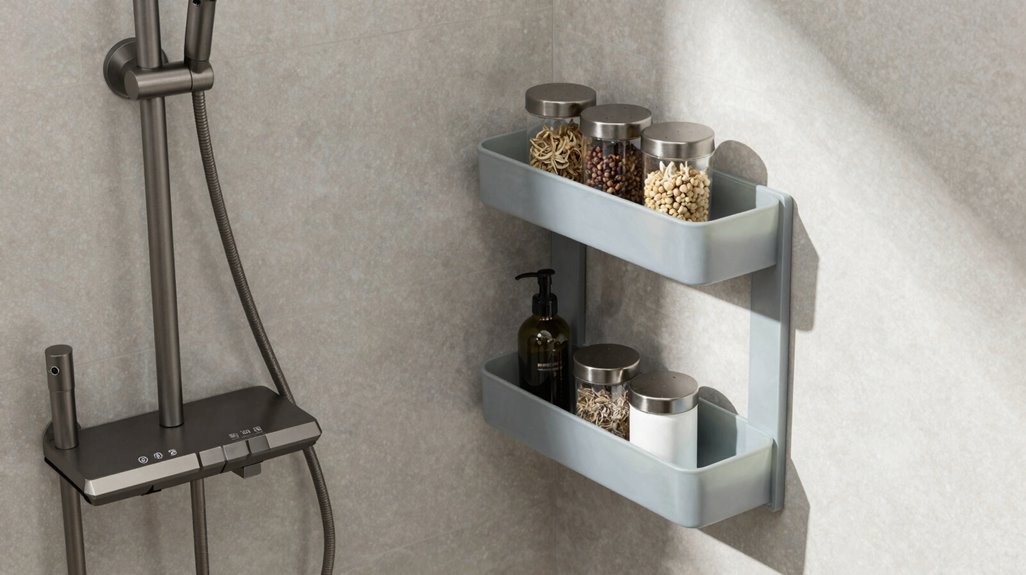
Where do you store shampoo, conditioner, and body wash when built-in ledges hold three bottles maximum and your household uses twelve? You install tension caddies in shower corners, converting dead vertical space into functional storage without drilling a single hole.
When your shower ledge holds three bottles but your household needs twelve, tension caddies turn empty corners into storage—no tools, no drilling, no damage.
These spring-loaded systems grip tile or fiberglass corners using adjustable pressure rods, typically spanning 5 to 9 feet in height. You extend the pole, twist to lock, and create instant shelving in under three minutes.
Multiple slim shelves stack vertically, holding 6 to 8 bottles per tier. Rust-proof aluminum or coated steel withstands constant humidity. Slotted trays drain water, preventing mold and soap scum buildup.
You maximize every inch of shower corners while keeping essentials accessible. When you move, you simply untwist and pack. No damage, no deposit deductions, no problem.
Choose Mirrors and Furniture With Built-In Storage
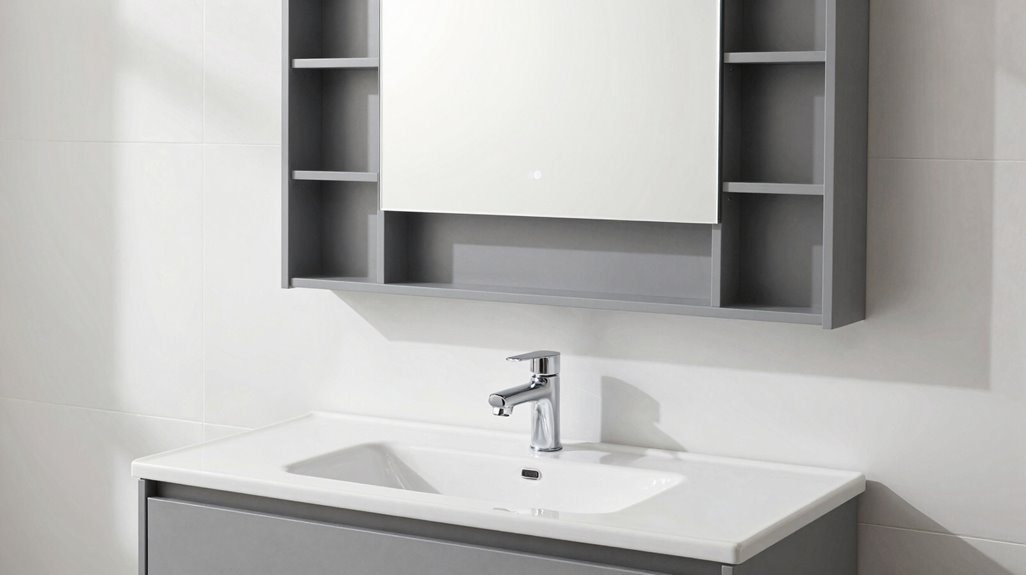
How do you reclaim wall space when every square inch counts? You choose mirrors with built-in storage and furniture that works harder.
- Install mirror cabinets with concealed compartments. These units free wall space while hiding shelves behind reflective surfaces. Select models with adjustable shelves, moisture-resistant frames, and 4-6 inch depths for toiletries.
- Mount over-the-toilet cabinets. These vertical solutions add 12-18 inches of storage without floor footprint.
- Specify vanities with integrated drawers. Deep compartments organize skincare, cleaning supplies, and linens.
- Consider compact sets with mirrored backs. Corner shelves maintain slim 8-10 inch profiles while doubling capacity.
- Upgrade to mirrors with built-in lighting and USB ports. This adds functionality without expanding furniture footprint.
Your bathroom changes when every element stores, reflects, and serves multiple purposes simultaneously.





