
You’re standing before an empty fireplace recess, and you need a hearth that won’t crack, shift, or combust. Most failures start with the wrong base thickness or incompatible materials, but you can avoid these errors by following a systematic, three-stage process. The first decision you face isn’t aesthetic; it’s structural.
Assess Your Fireplace Hearth Type and Prep the Installation Area
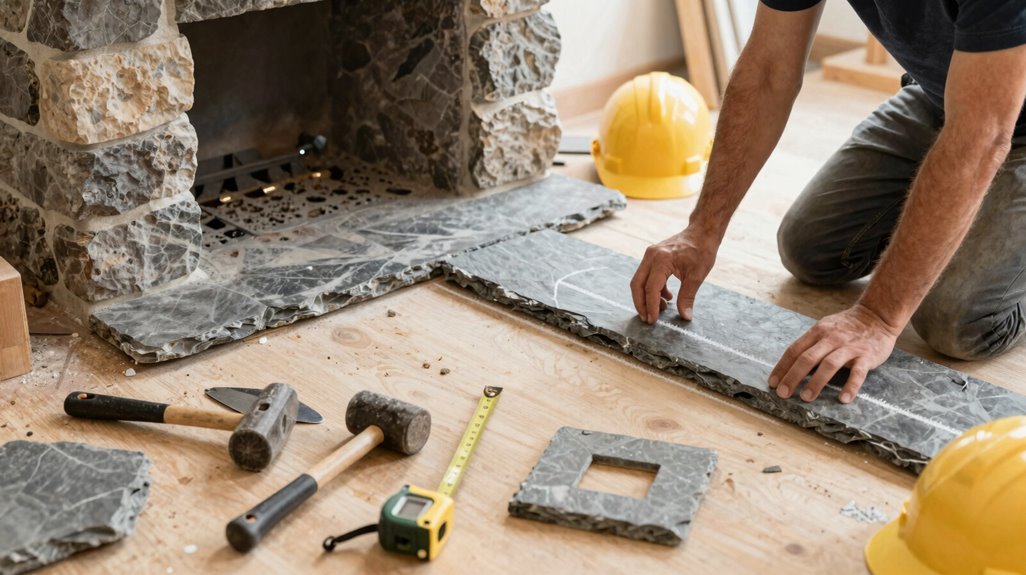
Where do you begin with a hearth installation? You’ll start by identifying your hearth type, since this determines your entire approach.
For an open fire, you’ll need a constructional hearth with a concrete base measuring at least 250 millimeters thick. Wood-burners or eco-burners may use decorative hearths instead.
When you’ve determined your requirements, you’ll prep the area by removing skirting boards within 150 millimeters of the fireplace. This provides proper clearance and installation safety.
You’ll verify that your surface is clean and dry, checking with a spirit level for absolute flatness. Non-flammable surroundings are mandatory, so you’ll assess adjacent materials against local building codes.
Protect your workspace with tarps to contain debris while maintaining a clean and dry surface throughout the process.
Build a Level Subfloor Base for Your Chosen Hearth Material
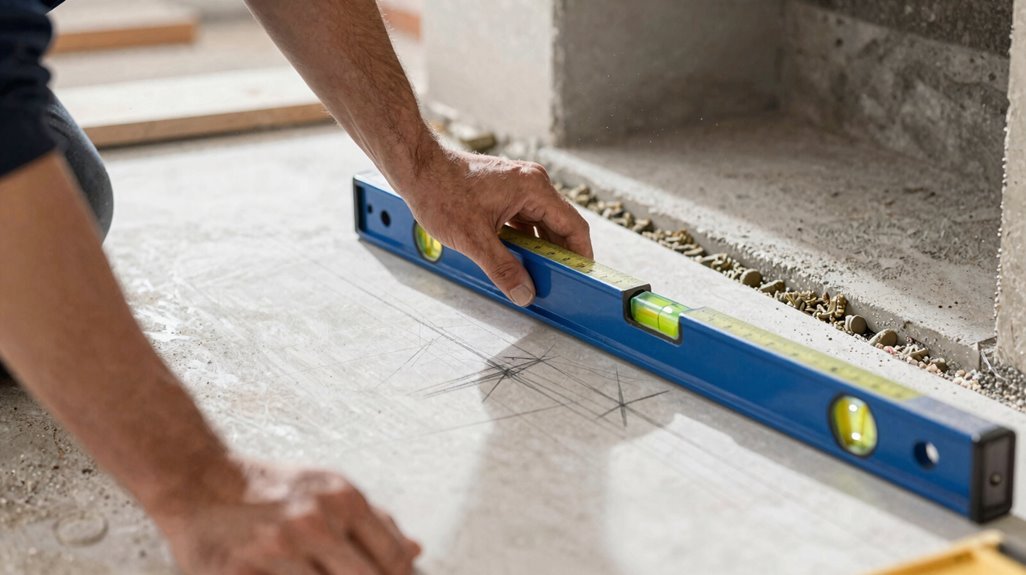
How do you guarantee your hearth won’t crack or shift over time? You’ll build a level subfloor that creates the solid foundation your work deserves.
Start by inspecting your substrate for low spots, dips, and uneven corners that sabotage stability. Mix self-leveling patch to raise depressed areas, pouring it first on the low side, then smoothing with your trowel’s flat edge. Work systematically across guide marks you’ve established for reference, making certain of uniform thickness.
Once the patching/leveling mix sets completely, scrape bumps with a wire brush to achieve a flat surface ready for the next layer. Check for absolute levelness across your layout before proceeding. Apply tile adhesive evenly, then secure backer board over this prepared base. Your measured preparation now supports every hearth material you’ll install with confidence.
Install, Cure, and Seal the Hearth for Safe Long-Term Use
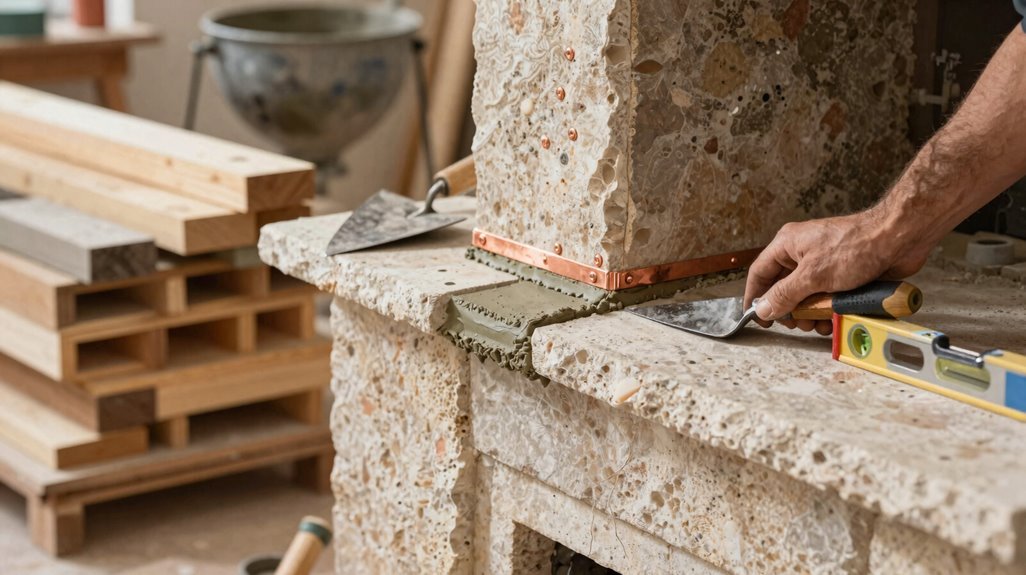
Why risk months of preparation for a weak finish? You’ve built your cement backer board base, and now you’ll secure your fireplace hearth properly. Spread tile adhesive evenly across the level surface, pressing tiles firmly into place. Maintain 5 mm expansion gaps at all edges to prevent cracking from thermal stress.
Allow 24 hours curing time before any disturbance. Next, proceed with grouting using quality tile mastic, working diagonally across joints. After grouting and filling gaps completely, wait 48 hours minimum before lighting fires or placing weight on the hearth.
Finally, apply heatproof mastic to all expansion gaps for flexibility under temperature changes. Complete the job with appropriate sealant for your specific material, stone, tile, or brick, to protect against moisture damage and staining throughout years of safe, reliable use.





