
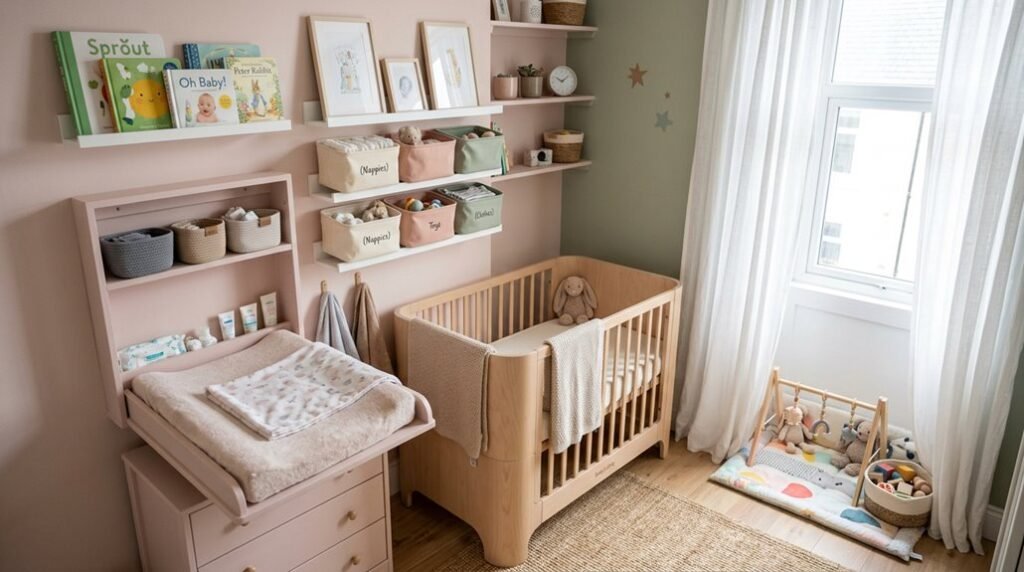
Most parents lose 30% of usable floor space to inefficient furniture placement before the baby arrives. You can reclaim that space through strategic vertical storage, multi-functional pieces, and precise spatial measurements. The following ten methods will turn your compact nursery into an organized, efficient environment.
Plan Your Small Nursery Layout First
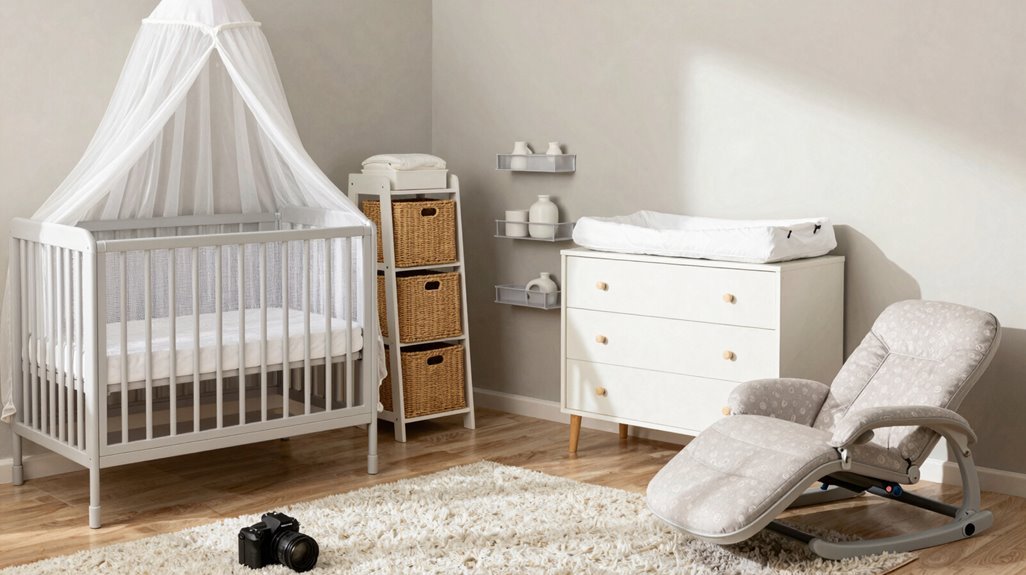
Before you paint a single wall or buy any furniture, you’ll map out your nursery’s entire footprint, because careful planning prevents costly mistakes and cramped quarters.
Grab graph paper, measure your walls precisely, and sketch a scale layout showing door swings, windows, and outlets. You’re not just placing furniture; you’re engineering safety clearances of 3+ feet around the crib, making sure there’s emergency access, and mapping sightlines for supervision. Planning this way reveals where built-in storage fits vertically, under windows, or in awkward corners you’d otherwise waste.
List every function the room must serve: sleeping, changing, feeding, clothing storage. You’ll prioritize based on daily use frequency, not Pinterest aesthetics. Select pieces that accommodate growth, such as a dresser with removable changing topper, convertible seating, and adjustable shelving. Your layout must flex through toddler years without complete reconfiguration, because you’re building a system, not a stage set.
Measure for a Mini Crib or Bassinet That Fits
Where exactly will you place the crib when every inch counts? You need precise measurements before you buy anything.
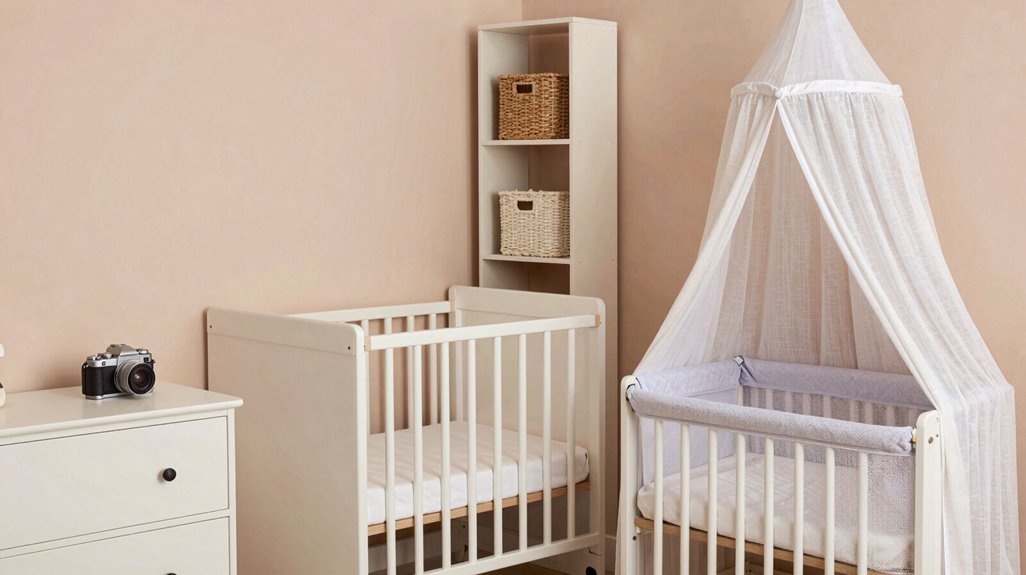
Mini crib dimensions typically run 24 inches wide by 38 inches long, giving you a compact footprint without sacrificing safety. Compare these numbers to your available floor space, subtracting clearance for door swings and walking paths.
A mini crib’s 24-by-38-inch footprint demands precise measurement against your actual floor space, minus door clearance and walking paths.
When bassinet size becomes your temporary solution, plan your transition timeline. Most babies outgrow bassinets by four months, so you’ll need that mini crib ready.
Your space planning must center on the sleep area first. Position the crib, then layer in wall-mounted storage and floating shelves above to reclaim vertical territory. This creates your safe sleep setup while preserving floor area for movement.
Check every furniture spec against your room dimensions. You’ll avoid costly mistakes, and your nursery will function from day one.
Tuck the Crib Into a Corner to Free Up Center Space
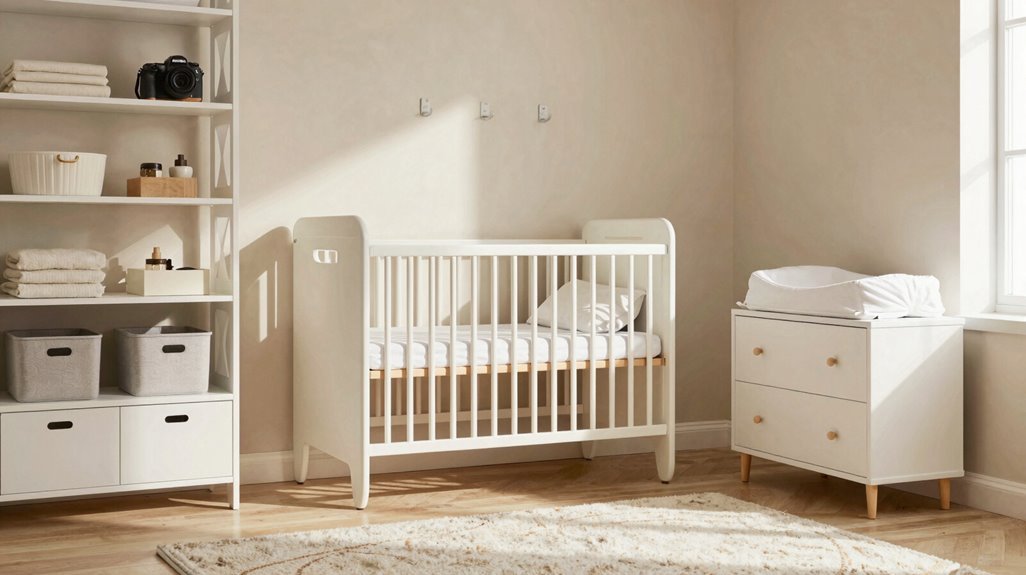
Once you’ve locked in your crib dimensions, you need to decide where this sleep station actually lands. You tuck the corner crib into two adjoining walls, immediately reclaiming 30-40% of your floor area for circulation. This space-saving maneuver establishes an open center where you supervise, soothe, and move without obstruction.
You position the crib away from windows, radiators, and cord hazards, maintaining 36 inches of clear access on the exposed sides. You remove closet doors or reconfigure nearby storage, converting that footprint into usable floor space adjacent to your compact nursery anchor.
You install wall-mounted storage and floating shelves above and beside the corner crib, eliminating surface clutter. You build outward from this fixed point, applying a restrained framework that treats organization as a solvable spatial equation with measurable outcomes.
Use Multi-Functional Furniture for Changing and Storage
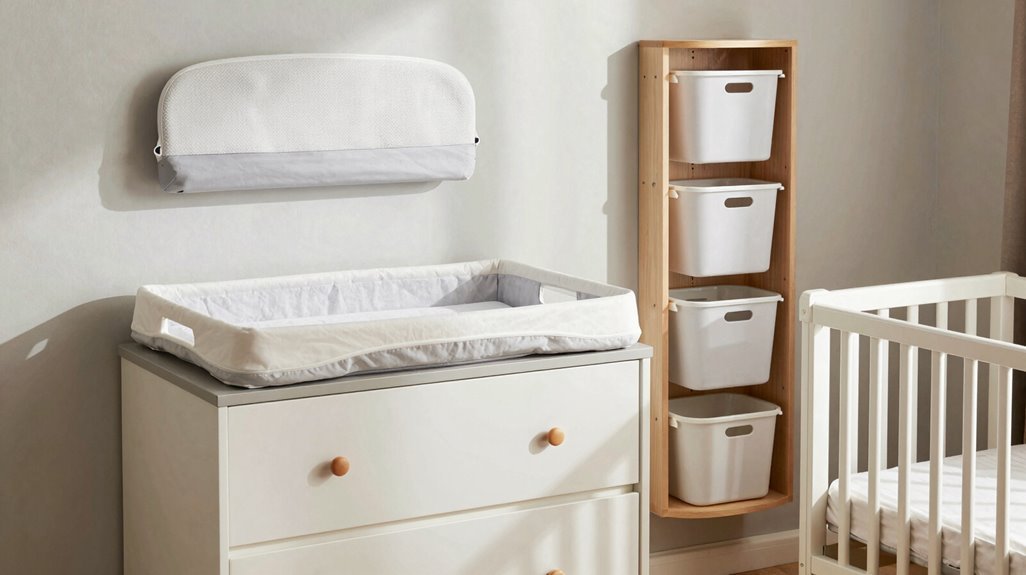
Two pieces of furniture consume the same floor space as one when you select multi-functional furniture engineered for dual-purpose operation. You reclaim precious square footage by combining functions into single units.
- Install a dresser topper to convert any standard dresser into a changing station. You eliminate a standalone table while maintaining full storage capacity below.
- Select a crib, changing table combo featuring under-storage shelving. You keep diapers, wipes, and creams within 24-inch reach without adding cabinets.
- Invest in a convertible crib transitioning to toddler bed. You postpone replacement purchases for 36–48 months, preserving space and budget.
- Position the changing pad atop a compact dresser instead of dedicating floor area to a separate changing station. You free 6–10 square feet immediately.
Prioritize pieces serving multiple consecutive life stages.
Maximize Small Nursery Storage on Walls and in Closets
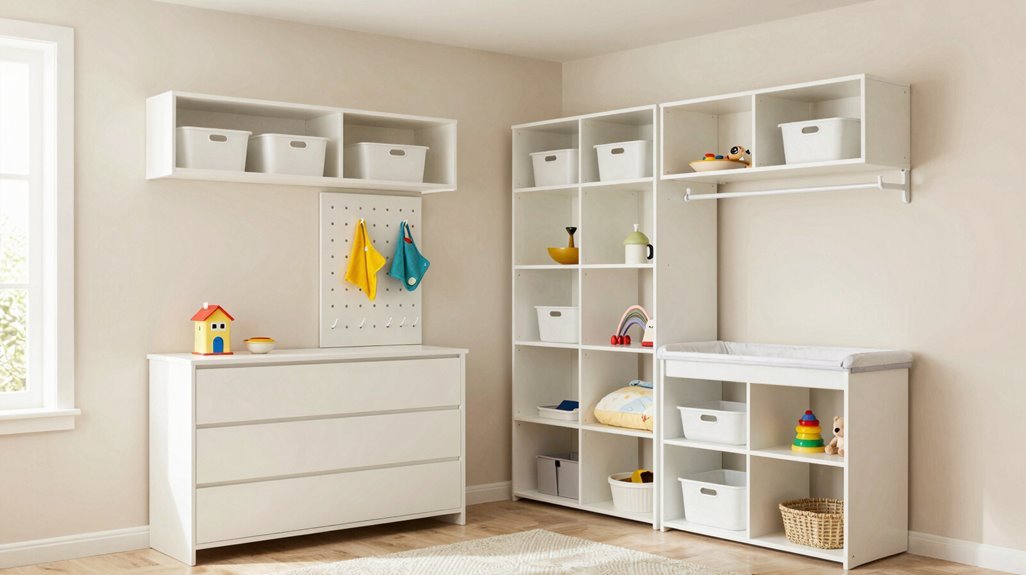
You will reclaim critical floor space by mounting floating shelves, pegboards, and wall-mounted organizers at strategic heights between 48 and 60 inches, keeping diapers, wipes, and creams within arm’s reach while maintaining clear circulation paths.
Your closet requires systematic retrofitting: install secondary tension rods at 30-inch intervals, deploy modular dividers sized 12 by 12 inches for clothing categories, and integrate built-in shelving units measuring 16 inches deep to accommodate current wardrobes and three upcoming sizes.
These vertical and concealed storage interventions change underutilized surfaces into high-capacity systems without expanding your nursery’s physical footprint.
Wall-Mounted Storage Solutions
Where exactly does the clutter accumulate when every square foot serves multiple purposes? You reclaim that territory with wall-mounted storage, turning bare surfaces into functional zones.
Install pegboards above changing stations to corral diapers, wipes, and ointments within arm’s reach. Mount floating shelves at staggered heights to create vertical storage for books, toys, and small bins without sacrificing floor space. Secure every component with wall anchors rated for at least 50 pounds, drilling directly into studs for maximum stability. Position hooks and rails beside the crib for swaddles and burp cloths, maintaining clear sightlines for safe supervision.
You maximize capacity by layering solutions: pegboards for daily essentials, floating shelves for decorative storage, and tension rods for hanging organizers. This systematic approach delivers accessible, clutter-free functionality.
Closet Organization Systems
How precisely can you turn a cramped closet into a command center for infant care? You install a second or third tension rod to maximize vertical storage, separating sizes within the hanging space. You add shelving or stackable bins to keep upcoming clothing accessible and organized by size. You attach closet dividers on the rod to separate newborn, 0-3 months, and 3-6 month categories, reducing outfit hunting time during care.
You remove doors where feasible to create a doorless closet, gaining extra usable space for a changing station or dresser area when width is limited. You utilize over-the-door pocket storage and hanging organizers to expand diapering storage without sacrificing floor area.
| Before | During | After |
|---|---|---|
| Piles of mixed sizes | Sorted by closet dividers | Instant size identification |
| Single rod, wasted height | Double tension rods installed | Vertical storage maximized |
| Cluttered floor space | Doorless closet conversion | Dedicated diapering station |
Vertical Space Strategies
When floor space measures less than 80 square feet, your walls become the primary storage infrastructure. You install wall-mounted shelves at 48-60 inches height, positioning diapers, wipes, and swaddles within 24-inch arm’s reach. You mount floating shelves 12 inches above changing stations, storing 3-4 woven baskets containing 6-9 small clothing items each.
You add pegboards measuring 24×36 inches behind changing areas, organizing 15-20 small items using 8-12 hooks and 4-6 small bins. You utilize over-the-door organizers with 8-12 clear pockets, reclaiming 2-3 cubic feet of closet space for blankets, hats, and toys. You implement tension rod storage at 36-inch and 60-inch heights, suspending 4-6 fabric bins to divide clothing by 3-month size increments and seasonal categories.
Swap Closet Doors for Curtains to Reclaim Floor Space
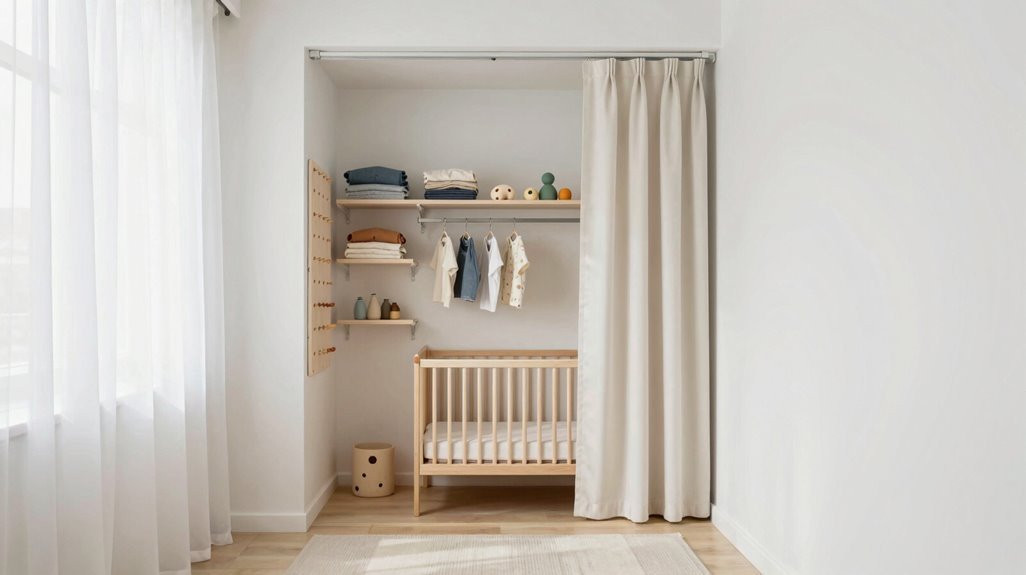
You’ll gain immediate floor space by replacing bulky closet doors with curtains, but you must measure your opening precisely. Record the width at three points (top, middle, bottom) and add 4-6 inches for overlap, then select a rod extending 3-5 inches beyond each side. Install your hardware at least 2 inches above the frame, using wall anchors rated for 20-30 pounds if you lack studs, and allow 30-45 minutes for complete mounting. Choose floor-length panels with grommets or back-tabs for smooth operation. Your finished installation maximizes accessibility while eliminating swing clearance entirely.
Hanging Curtain Benefits
Where exactly does a small nursery lose usable square footage? You lose it to swinging closet doors, rigid partitions, and bulky hardware that intrude on every movement. You reclaim it with curtains.
You install lightweight, non-obstructive curtains on a ceiling-mounted track to eliminate door swing zones entirely. You gain 10-15 square feet of functional floor area.
You use curtains as a space-saving room divider to separate sleep and play zones without permanent walls. You select light-filtering fabrics that transmit 60-70% natural daylight while blocking direct sightlines for privacy. You coordinate colors with your existing palette to visually expand perceived dimensions.
You avoid heavy blackout panels for closet applications; you layer them separately if needed. You measure track length at 1.5 times opening width for proper stack-back clearance. You complete installation in under 90 minutes with standard tools.
Measuring For Fit
The benefits of hanging curtains only materialize when your measurements eliminate guesswork. You’re converting a cramped nursery into functional hide-away storage, so precision matters.
Begin your fit measurement at the closet’s outer frame edges. Record the exact wall space width; this determines your curtain rod length. Add 4-6 inches beyond each side for full coverage when curtains draw back. Your rod must clear the opening completely, preventing fabric bunching that blocks access to tiny garments.
Measure vertically from floor to ceiling, accounting for baseboards. Position the rod 1-2 inches below ceiling height to maximize usable wall space beneath. Calculate panel width at 2-2.5 times the opening width for proper fullness.
Check adjacent furniture clearance: your curtains need 3-4 inches of swing space. Recheck measurements twice before purchasing hardware.
Installation Tips
Swapping closet doors for curtains requires methodical execution to reclaim floor space without compromising function.
1. Execute Proper Rod Placement
Mount your hardware 4-6 inches above the door frame, extending 3-5 inches beyond the opening width. This provides full coverage while preventing fabric interference with stored items.
2. Select Appropriate Materials
Choose lightweight, neutral-toned closet curtains to maximize light reflection. Sheer or semi-sheer fabrics diffuse daylight, creating visual openness without sacrificing concealment.
3. Secure Structural Support
Install wall anchors rated for 20+ pounds, even with lightweight panels. Test stability before finalizing curtain installation.
4. Verify Functional Clearance
Confirm 12-inch minimum clearance from hanging rods to diapering zones. Space optimization demands unobstructed access during 3:00 AM changes.
5. Finalize Adjustment Protocol
Hem curtains to floor-skimming length, allowing smooth traffic flow. Verify panels glide effortlessly, eliminating snags that compromise daily efficiency.
Choose Light Colors to Visually Expand the Room
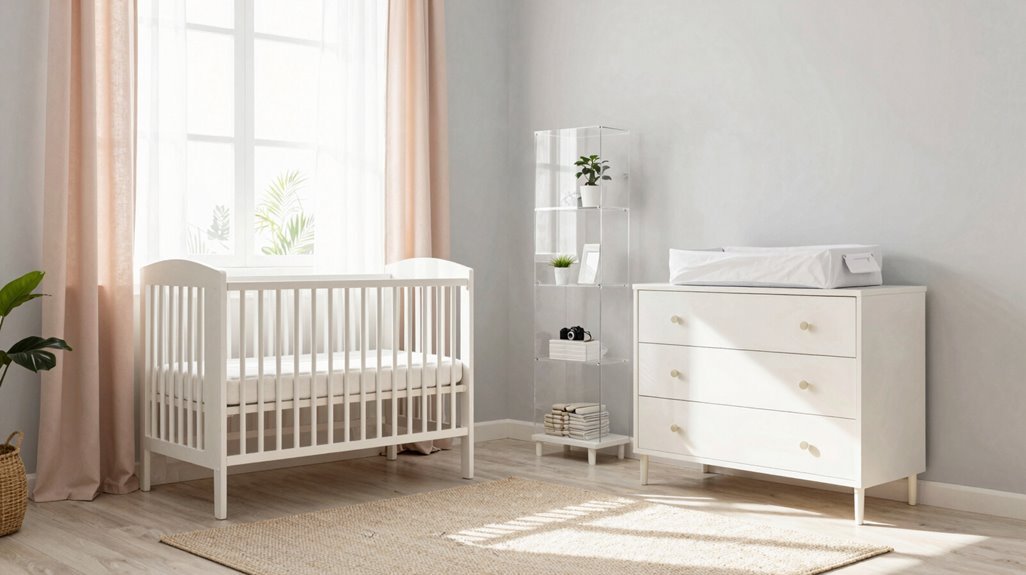
Paint selection fundamentally determines spatial perception in compact nurseries measuring under 100 square feet. You need light colors to achieve visual expansion, turning cramped quarters into breathable sanctuaries. Pale pastels, mint, blush, buttercream, inject personality without compressing your square footage. Light-reflecting colors, specifically those with LRV values exceeding 70, bounce both natural and artificial illumination, doubling perceived dimensions.
Your small nursery decor strategy must prioritize restraint. Apply these principles:
- Select white, gray, or beige as your foundational palette
- Reserve bold hues for accessories under 12 inches in dimension
- Specify eggshell or satin finishes to amplify reflectivity
- Test 2-foot paint samples under varying light conditions before committing
Neutral backdrops accommodate evolving needs, eliminating repainting costs at 18-month intervals. You control spatial perception through deliberate chromatic decisions.
Add Wall Lighting to Save Floor Space
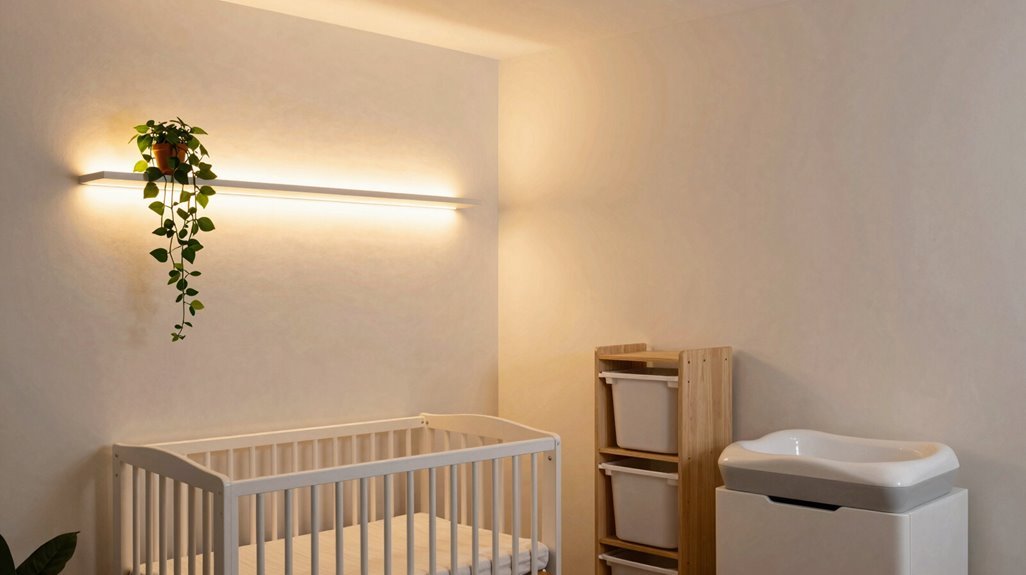
You should install wall-mounted lamps with dimmable LED bulbs, rated at 2700K to 3000K color temperature, to eliminate floor lamp footprints of 12-18 inches in diameter while providing 200-400 lumens for nursing visibility. Position these fixtures 48-60 inches above the floor, within 24-36 inches of your nursing chair and changing station, to create task lighting zones without consuming 2-4 square feet of surface area per table lamp.
Pair your wall lighting system with blackout curtains featuring 100% light-blocking polyester lining, installed 6-12 inches beyond window frame edges, to achieve complete photoperiod control that supports circadian rhythm development and spatial perception expansion.
Wall Lamp Benefits
Where exactly should you place lighting when every square inch of floor space must remain clear? You mount your wall lamp strategically, solving this puzzle with purpose and precision.
A wall lamp delivers targeted lighting without consuming valuable square footage, making it an essential space-saving solution for compact nurseries. You gain immediate, practical advantages:
- You reclaim floor and surface areas for movement, storage, and essential caregiving equipment
- You adjust ambient lighting levels for nighttime feeds, reducing harsh overhead glare
- You eliminate cord hazards, positioning wiring beyond infant reach for enhanced safety
- You establish layered illumination around cribs and changing stations without visual clutter
Your wall-mounted selections merge function with restraint, respecting both spatial limits and nightly routines. You’re building efficiency into every decision, creating order through deliberate placement and measured specification.
Blackout Curtain Pairing
How do you synchronize light control when external glare battles your infant’s sleep schedule? You install blackout curtains paired with wall-mounted lighting to reclaim every square inch.
1. Select space-saving window treatments. You choose blackout curtains that block 99% of external light, eliminating floor lamp dependence. These compact solutions outperform bulky alternatives in rooms under 100 square feet.
2. Mount hardware strategically. You install slim curtain rods 4-6 inches above window frames, maximizing vertical wall space for shelving or artwork.
3. Layer your lighting. You add dimmable lighting on walls; sconces or swing-arm fixtures provide 10-100% brightness adjustment without consuming floor area.
This pairing reduces ambient light to 0.5 lux during naps, supports 20-minute faster sleep onset, and maintains clear pathways for nighttime navigation. You optimize function without sacrificing square footage.
Add a Rolling Cart for Flexible Supply Storage
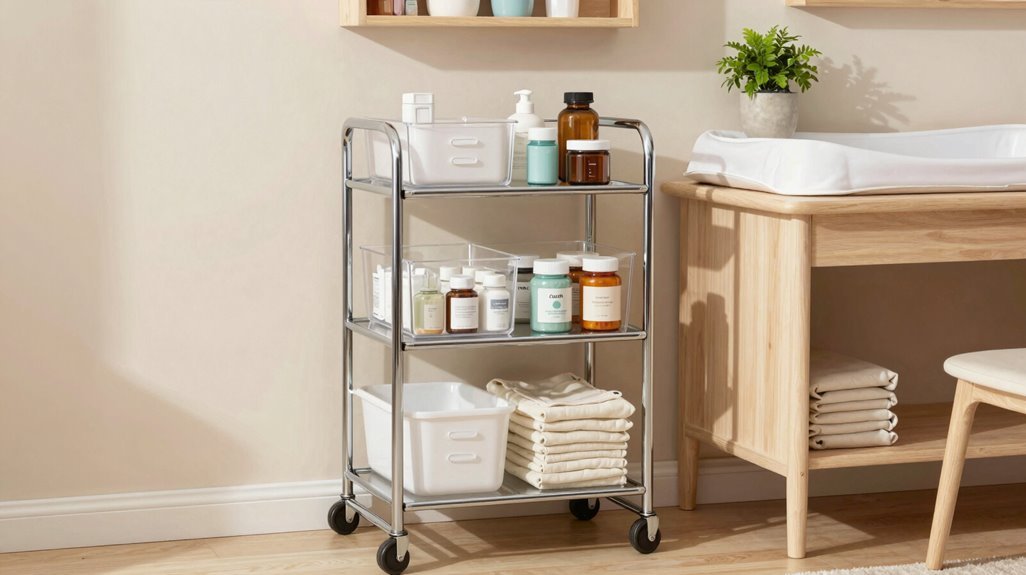
A rolling cart turns tight nursery corners into efficient, mobile command centers for daily care routines. You’ll maximize every inch with flexible storage that adapts to your evolving needs. Position your rolling cart beside the nursing chair or changing area, creating a portable diapering station that keeps essentials within arm’s reach.
Optimize your nursery organization with these strategic approaches:
- Select a three-tier cart, assigning the top shelf to diapers, the middle to wipes and creams, and the bottom to backup supplies
- Choose compact storage with smooth-rolling casters, allowing 360-degree maneuverability without floor damage
- Establish distinct care zones by dedicating each tier to specific activities: diapering, feeding, or soothing
- Purge and reorganize weekly, maintaining visible inventory and removing unnecessary items
Babyproof Your Small Nursery Without Adding Bulk
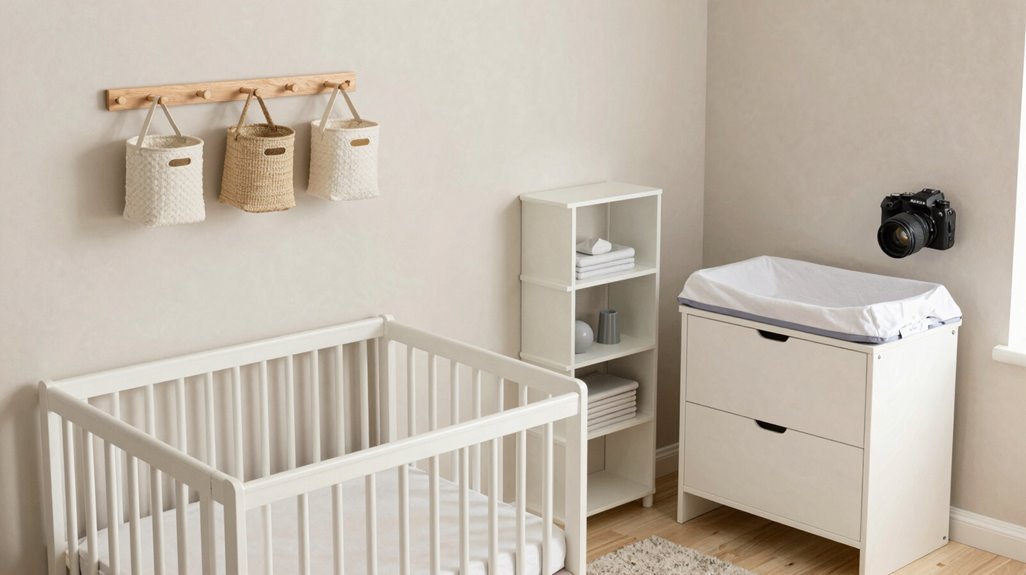
Why sacrifice precious square footage when strategic safeguards can protect your baby without cluttering the room? You can babyproof effectively by choosing cordless blinds, eliminating strangulation hazards while maintaining clean sightlines.
Install outlet covers and working smoke detectors; these require zero floor space. Mount wall-mounted shelves and vertical storage systems to raise essentials, keeping dangerous items beyond reach. Slide under-crib organizers beneath the mattress frame for hidden supply storage.
Convert your dresser with a dresser changing top, combining two functions in one footprint. Remove closet doors to create open, supervised zones. Employ over-the-door hooks and back-of-door organizers for diapers and garments. You belong to a community of smart parents who prioritize safety through spatial efficiency, not excess.





