
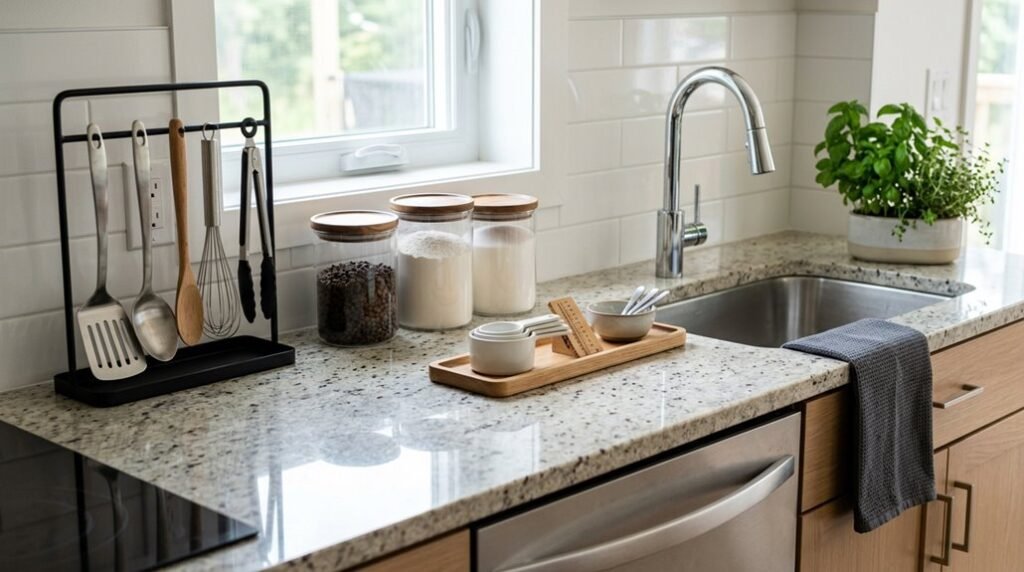
You need clear counters to cook efficiently, yet most kitchens accumulate clutter that blocks workflow and wastes prep space. Start by eliminating non-essentials, then map zones, select dual-purpose storage, and install vertical solutions; each step builds on the last to create a system you will maintain without daily struggle.
The first move determines whether your results last six months or six days.
Clear Your Counters: Sort What Stays and What Goes
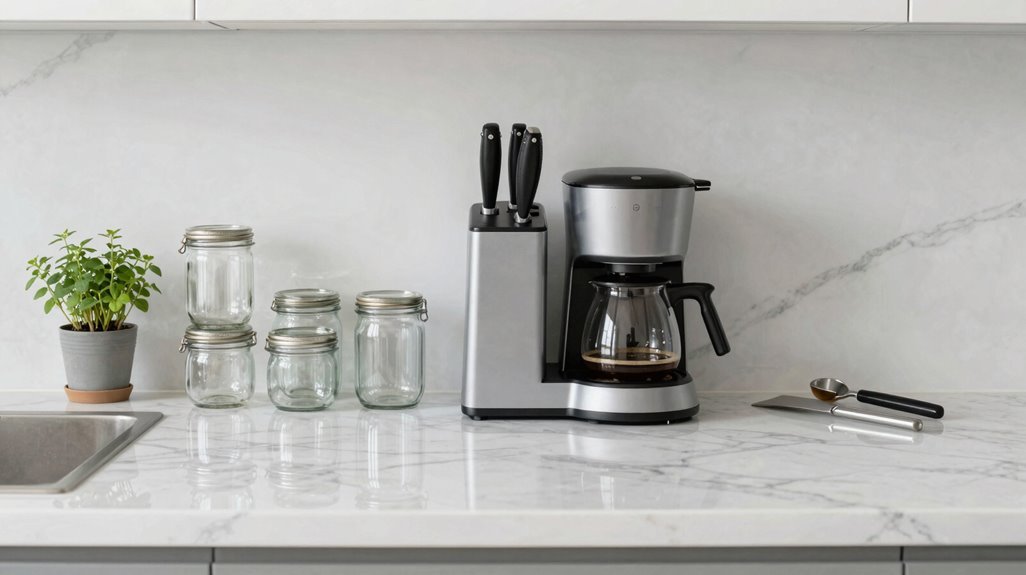
Where should you begin when your kitchen counters have become a catch-all for mail, appliances, and forgotten groceries? You start at one end and work your way around, creating three distinct piles: keep, relocate, and discard. Grab wire baskets or containers to hold these temporary piles, keeping your decluttering sweep organized and contained.
Countertop organization demands you evaluate every item against your daily cooking needs. That bread maker you used twice? It doesn’t belong here. The coffee maker you touch every morning? That’s a keeper.
As you sort, visualize your kitchen zones; cooking, prep, and appliance areas, to guide each item’s eventual home.
Once you’ve cleared the surfaces, scrub them with scented cleaner and light a candle. Then commit to the one-in-one-out rule, re-evaluating weekly what earns its place on your counters.
Map Your Kitchen Zones for Cooking and Prep
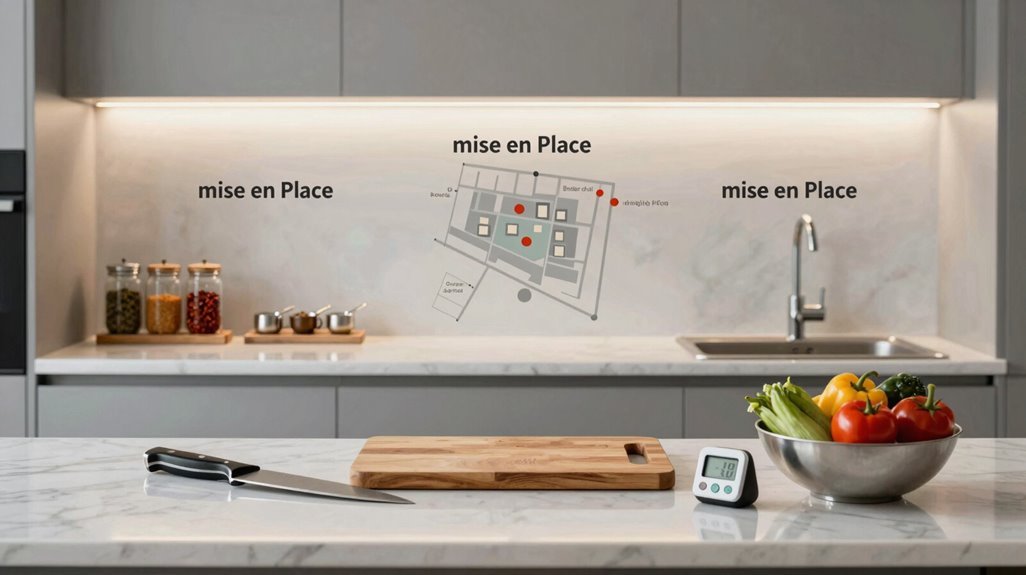
After you’ve cleared the counters, you’ll divide your kitchen into zones that match how you actually cook, not how you imagine you might someday cook. Place dish soap and hand cream within 12 inches of your sink zone. Position oils and spices 18 inches from your stove’s front burners. Reserve a 24-inch backsplash zone for small items on leaning vintage trays.
Your counter organization depends on these measured distances: keep daily-use items within arm’s length, approximately 24-30 inches from your primary prep area. Designate a 36-inch minimum prep area between your sink and stove for uninterrupted workflow. Group related items using ceramic footed bowls, canisters, or bread boxes to create cohesive visual units. Balance open storage with concealed baskets and glass jars to maintain accessible, tidy surfaces.
Pick Containers That Store and Look Good
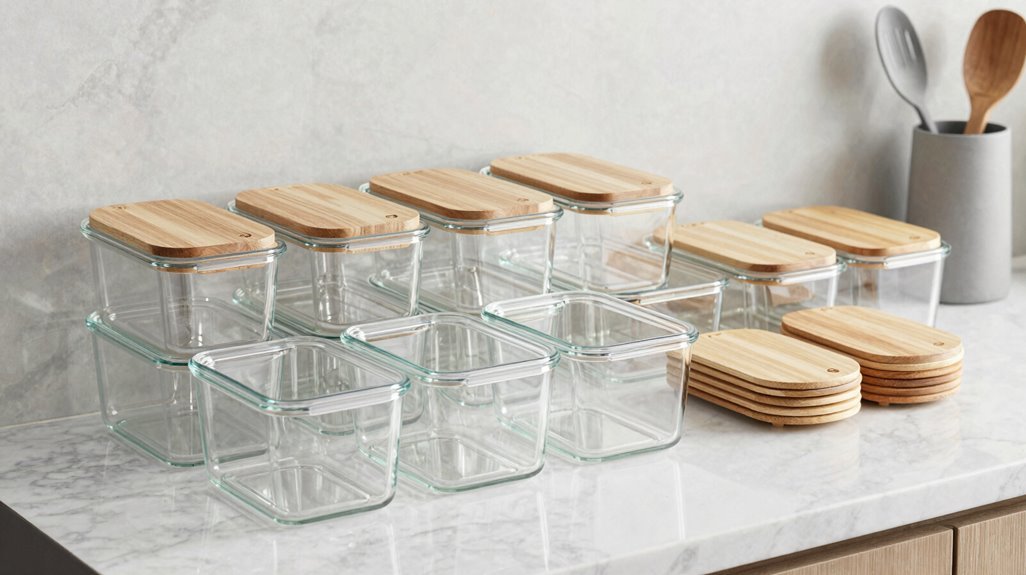
How do you keep essentials within reach without surrendering your counters to visual chaos? You select decorative containers that serve as storage solutions, creating a cohesive display throughout your workspace.
You’ll turn function into form with these five container strategies:
- Use dual-purpose vessels: Place a ceramic footed compote for daily-use items, and position a marble tray to corral salt, peppers, and a trim cutting block behind your cutting board.
- Employ enclosed storage: Add a bread box for bakery goods, reducing visible clutter while maintaining visual unity.
- Repurpose vintage finds: Convert a silver champagne bucket into a utensil holder, and organize coffee pods, stirrers, and sweeteners in a French canister set.
- Prioritize accessibility: Store frequently used items in clear containers near prep areas, and lean vintage trays against backsplashes for small objects.
- Balance aesthetics with utility: Group items into cohesive units, preserving open counter space with pieces that support daily use.
Use Walls and Backsplash When Cabinets Are Full
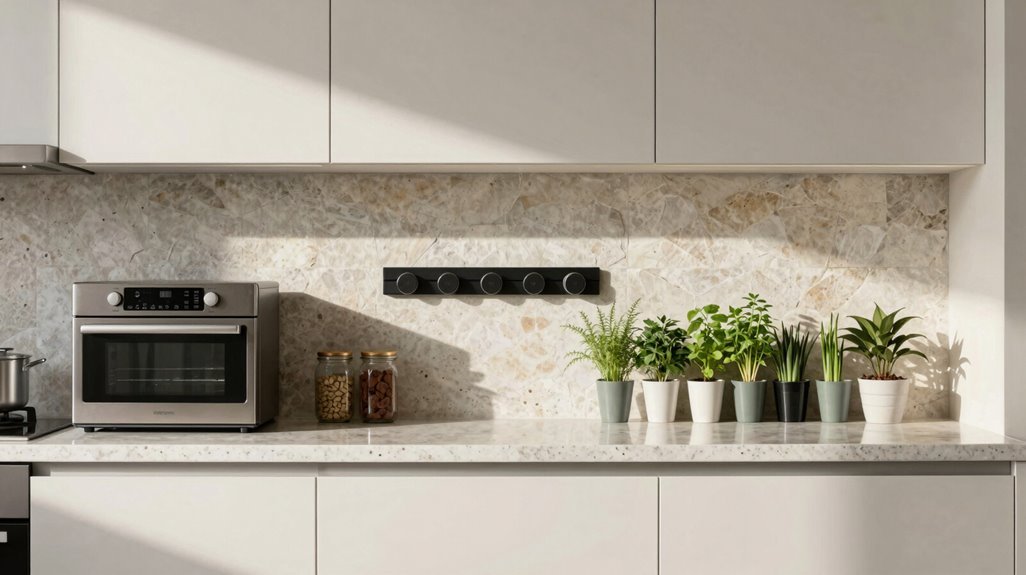
When cabinet shelves reach capacity, you’ll reclaim significant square footage by redirecting storage upward onto walls and backsplashes. Wall-mounted organization turns vertical surfaces into functional storage corridors, offsetting full cabinets without encroaching on limited counter space.
Reclaim square footage by redirecting storage upward onto walls and backsplashes when cabinets reach capacity.
Implement backsplash storage by leaning vintage trays against tiled surfaces for immediate access to odds and ends. Mount containers within arm’s reach of cooking, prep, and appliance zones to establish designated retrieval points. This spatial zoning prevents counter spillover and keeps workflow efficiency intact.
Incorporate decorative yet functional elements; marmalade jars, enameled caddies, and wire racks preserve aesthetic cohesion while serving utilitarian purposes. Each mounted unit must correspond to a specific task zone, so items return to predetermined positions.
You’ll achieve measurable counter clutter reduction when vertical systems absorb items that previously occupied horizontal surfaces, keeping operational clarity throughout daily kitchen activities.
Keep Kitchen Counters Clear With Daily Habits
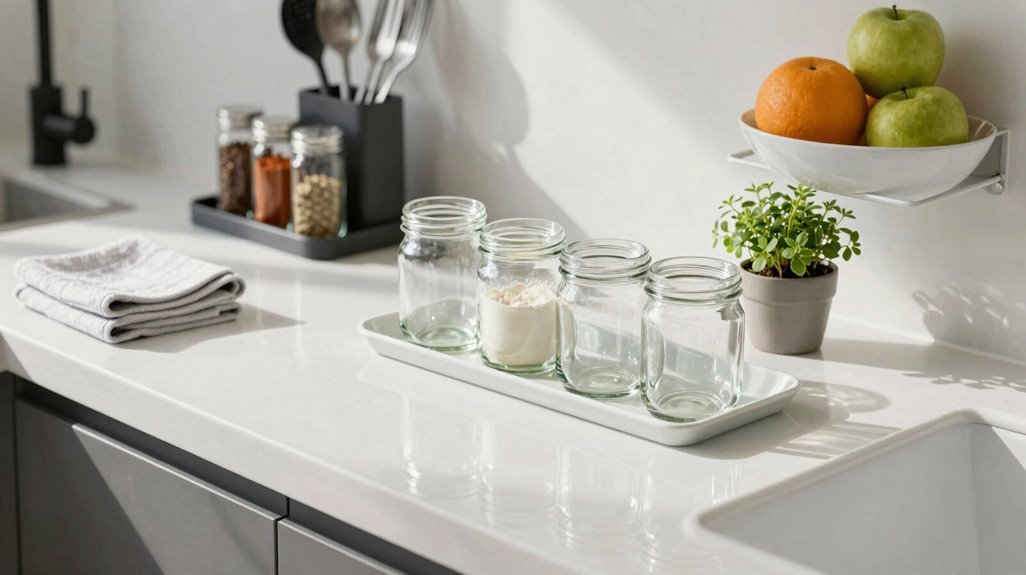
Vertical storage solutions create physical infrastructure, but sustaining clear counters requires behavioral systems you’ll execute daily. You’ll build counter organization through deliberate decluttering routines that change chaotic surfaces into functional workspaces your household maintains together.
Establish three daily habits: remove misplaced items within 10 minutes of meal completion, wipe surfaces using your designated zone system, and apply the one-in-one-out rule when introducing new appliances or decor containers.
| Habit | Time Required | Emotional Outcome |
|---|---|---|
| Morning counter sweep | 5 minutes | Reduced anxiety about unexpected guests |
| Post-meal reset | 10 minutes | Shared accomplishment with family members |
| Evening zone check | 5 minutes | Control over your domestic environment |
You’ll designate specific zones, 25% decorative and 75% functional, keeping daily-use items within arm’s reach. Store remaining items behind closed doors, maintaining wire baskets for temporary groupings during active decluttering sessions.





