
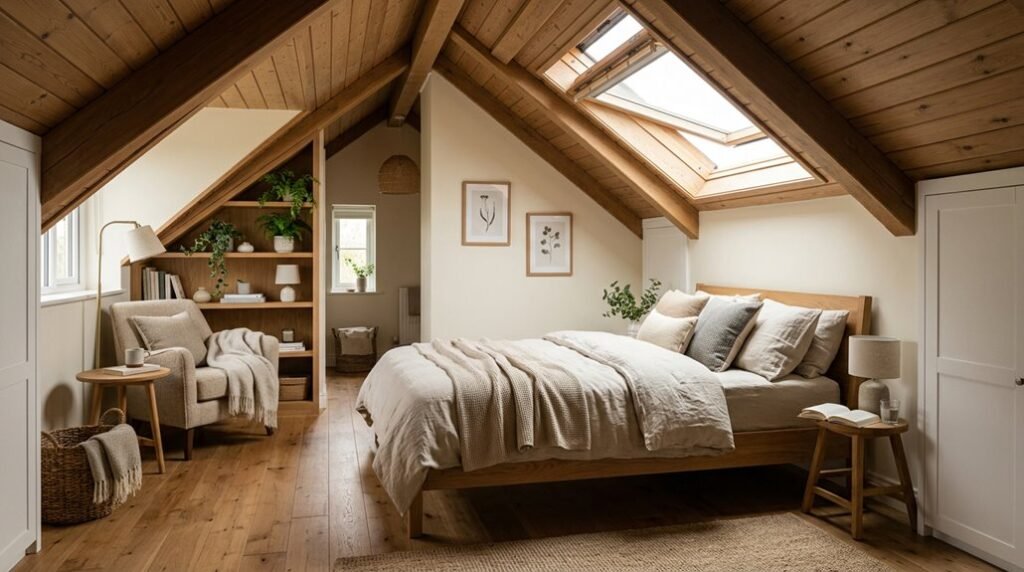
Your sloped ceiling bedroom presents a spatial puzzle that demands precise measurement, strategic furniture placement, and calculated lighting design. You will need to decide within 48 hours whether to emphasize or minimize those angles, as this choice dictates every subsequent decision from paint sheen to bed orientation.
The following ten techniques turn architectural constraints into functional advantages.
Should You Embrace or Camouflage Your Sloped Ceiling?
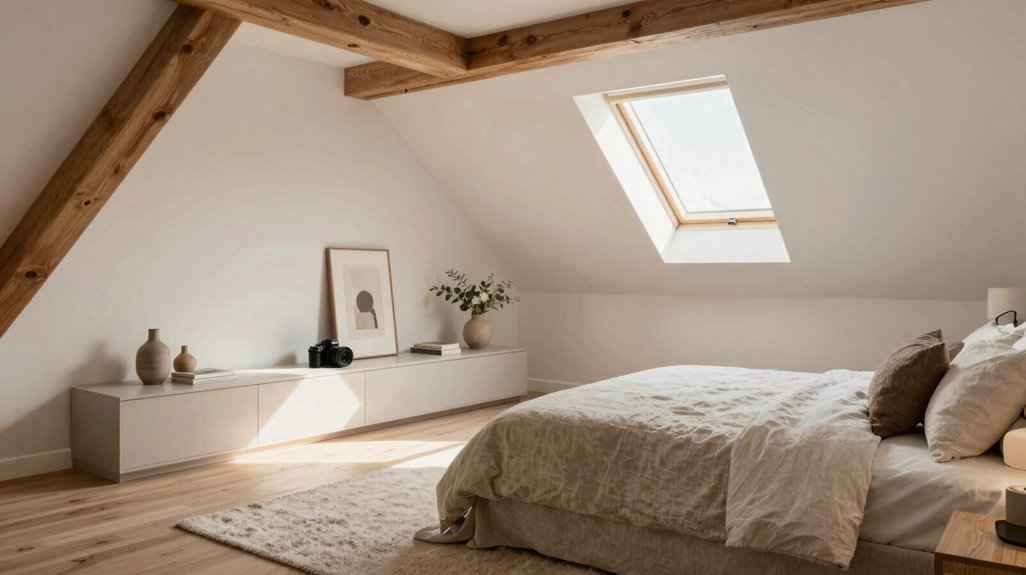
Whether you tackle your sloped ceiling head-on or blend it into the background depends on three measurable factors: ceiling height (minimum 7 feet at the tallest point), structural pitch angle (typically 30° to 60°), and your room’s square footage.
1. When to Embrace the Angle
You’ll add character and drama by turning slopes into standout features. Apply bold paint to one sloped surface as a striking wall, keep remaining walls neutral, and install built-ins following the roofline for integrated storage.
Layer ambient, task, and accent lighting to highlight architectural features without glare.
2. When to Camouflage
In constrained spaces below 120 square feet with pitches exceeding 45°, you’ll downplay dominant angles. Apply uniform, light-reflective paint across all surfaces, and position lower-profile furniture to minimize visual interruption.
3. The Hybrid Approach
Selectively emphasize one angle as your standout wall while subduing others through color and scale.
Where to Place Your Bed in a Sloped Ceiling Bedroom
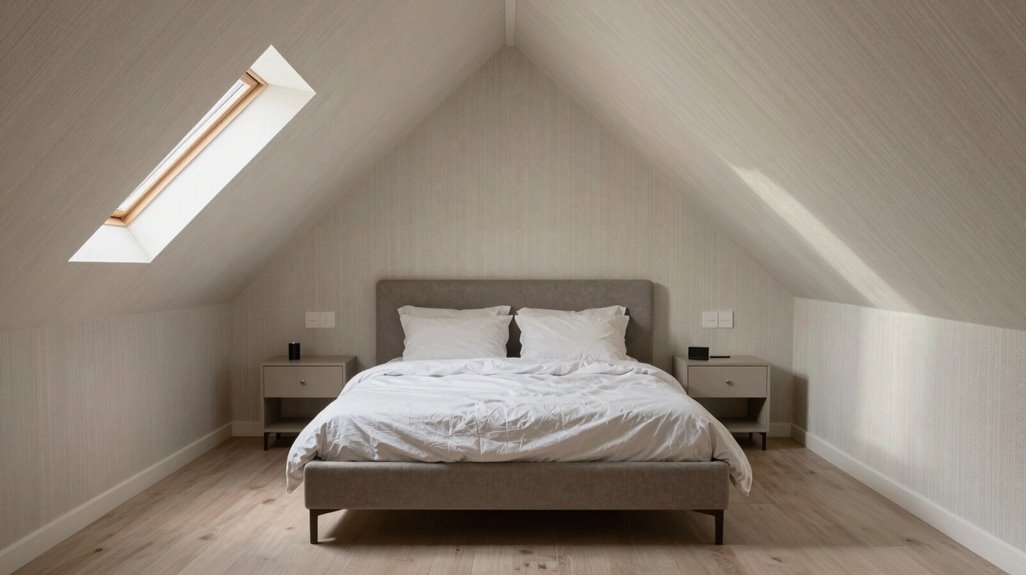
Where exactly should you position your bed when angled surfaces constrain your vertical space? You’ll prioritize bed placement against the wall with maximum ceiling height, maintaining 30+ inches of clear headroom above your headboard while keeping an unobstructed sightline across the room.
Consider perpendicular orientation under higher slopes to create architectural emphasis through built-in headboard effects. Select low-profile frames, 12–14 inches tall, to maximize under-slope clearance and prevent spatial crowding. Align headboards with vertical wall sections to stabilize visual composition. For severely angled sloped ceilings, use floating platforms with recessed storage headboards to preserve ceiling lines without obstruction.
| Placement Zone | Emotional Response | Practical Outcome |
|---|---|---|
| Highest wall center | Security, stability | Unrestricted movement, clear sightlines |
| Perpendicular to slope | Creative control | Architectural feature integration |
| Low-slope avoidance | Relief from pressure | Eliminated head bump risk |
| Platform base selection | Efficient competence | 12–14″ optimized clearance |
| Recessed headboard zone | Calm order | Storage without visual weight |
Map Ceiling Heights Before Buying Furniture
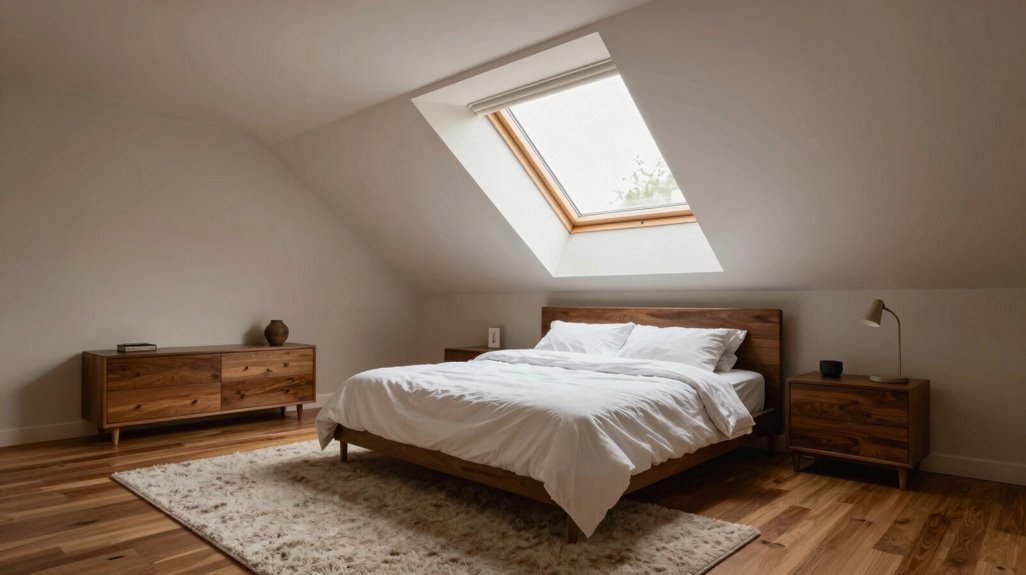
How precisely will you assign furniture to each wall when your ceiling rises and falls unpredictably? You start by measuring ceiling heights at multiple points along each wall, recording the highest peak and lowest knee walls, so you’ll know exactly where full-height pieces fit and where slopes demand compromises.
Use these measurements to build a height map, then test furniture layouts on paper before you buy. This prevents costly mismatches between your pieces and the architecture you have.
- Measure peak and knee wall heights on every wall, marking zones below 5 feet as dead space
- Align your bed with the tallest clearance wall to protect headboard space
- Create a measured grid to pre-validate scale and proportion before purchase
Choose Low-Profile Pieces That Fit Under Slopes
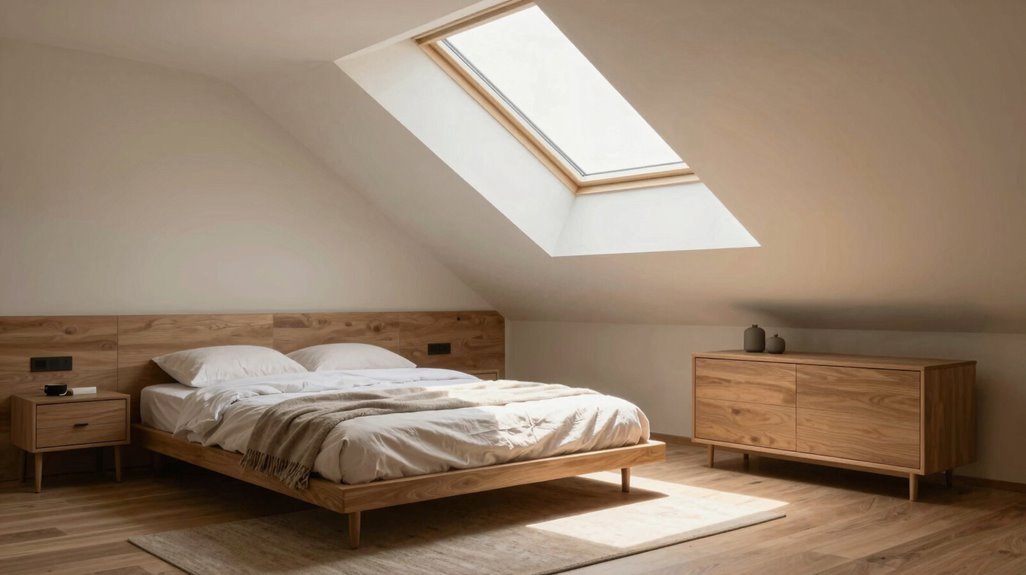
Why fight the architecture when you can work with it? Low-profile furniture shifts your battle with sloped ceilings into a strategic victory.
1. Select Appropriate Bed Frames
Platform beds, measuring 12-14 inches high, slide easily under higher slopes while preserving 6+ feet of vertical clearance for movement. Position headboards against your tallest wall, typically 8+ feet, to ground the room visually and maximize usable floor area.
2. Specify Storage Heights
Restrict dressers to 30 inches maximum height, positioning them in zones with 7+ feet clearance. Reserve floor cushions and storage ottomans, 18 inches high, exclusively for eaves below 5 feet where standing proves impossible.
3. Implement Slope-Following Built-ins
Construct shallow storage, 12-16 inches deep, tracking roof angles to capture vertical space without compressing headroom below 4 feet.
Map your height measurements first, then assign each furniture category to its designated ceiling zone.
Turn Dead Zones Into Cozy Nooks and Storage
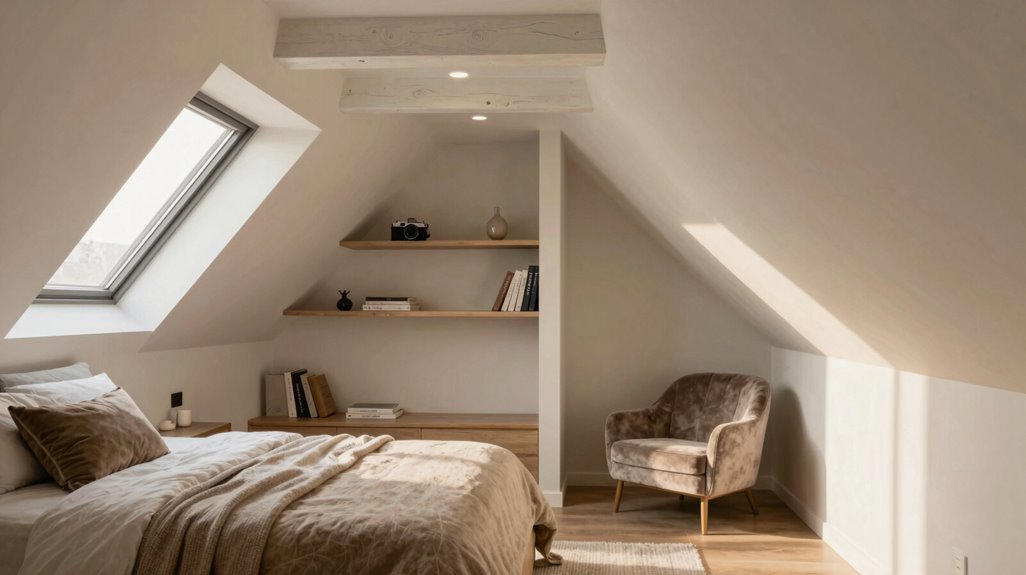
What if every awkward angle you’ve cursed could become your room’s most functional feature? You’ll change dead zones under your sloped ceiling by mapping ceiling heights first, marking areas below 5 feet where standing proves impossible. These pockets demand repurposing.
Install built-in drawers or low seating in sub-5-foot stretches, creating 18-inch deep storage that follows your roofline precisely. Position cushions, 12-inch slim side tables, and task lighting to establish reading nooks without floor-space sacrifice. Mount shallow, high-inclination cabinet doors along eaves, maximizing cubic footage while maintaining 36-inch clearance paths.
Add vertical cube organizers aligned to slope angles, and layer ambient, task, and accent lighting throughout. You’ll eliminate visual clutter, brighten awkward pockets, and make every dead zone feel deliberately planned rather than wasted.
Build Custom-Looking Storage Without Custom Prices
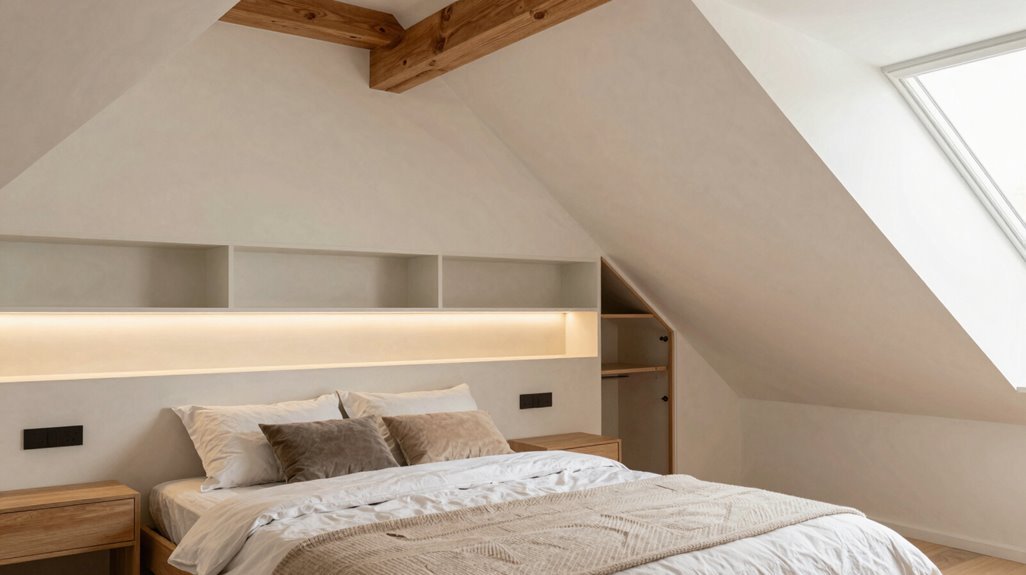
You’ll turn awkward ceiling angles into practical storage by combining affordable IKEA modifications with targeted dead zone conversion. Start with 30-inch MALM dressers positioned under your steepest slopes to preserve headroom while creating visual alignment with roof angles.
Then exploit your eave cavities and knee walls with customized drawer inserts that turn otherwise useless triangles into 12-inch deep storage volumes for linens and seasonal items.
IKEA Hacks That Work
Transforming awkward angled walls into seamless storage demands strategic adaptation of modular systems, not expensive custom millwork. You’ll master sloped ceiling challenges by deploying proven IKEA hacks that integrate PAX wardrobes and ALGOT systems into your architecture. These modular units align with your ceiling’s geometry, creating built-in aesthetics at fractional cost.
Position your tallest PAX sections, measuring 236cm, against maximum ceiling heights of 240-270cm, then step down to 150cm units beneath 180cm slopes. Install recessed toe-kick panels, 10-12cm deep, to eliminate visual gaps between floor and cabinet bases. Combine flat-wall shelving with angled wall accents, maintaining 90cm minimum circulation paths for functional access.
Your modular investment, typically $800-$2,400 versus $8,000+ custom alternatives, delivers equivalent visual integration through strategic configuration and minimal trim modifications.
Dead Zone Drawers
After positioning your modular wardrobes against the tallest ceiling sections, you’re left with triangular dead zones beneath the eaves where standard furniture can’t function. You reclaim this dead space by installing shallow, modular drawer units, 12 to 18 inches deep, that follow your sloped ceiling’s angle without crowding the room.
First, measure available height at multiple points to determine drawer depth and clearance, making certain full-extension slides fit above head height in tallest sections. Second, select laminated plywood or MDF with soft-close hardware for durability and a clean, built-in appearance. Third, blend drawers with surrounding built-ins or window seats to create cohesive, custom-looking cabinetry.
This approach maximizes usable storage without sacrificing floor area, delivers systematic organization, and proves you belong among homeowners who solve spatial challenges through measured, practical intervention.
Paint Colors That Flatter: or Flatten: Your Angles

Why does one sloped ceiling feel cramped while another feels architecturally striking? The difference lies in your strategic use of colors.
- Push the sloped plane back with deep, cool treatments like navy or emerald, creating measurable height contrast against adjacent light walls
- Anchor the highest slope with a high-contrast headboard wall, turning the ceiling line into a deliberate design element
- Unite awkward angles with one saturated tone on the sloped ceiling itself, signaling intention rather than limitation
You’ll keep non-sloped surfaces in lighter neutrals, establishing calmer backdrops for furniture placement. Select matte or eggshell finishes exclusively; gloss exaggerates glare and fractures the visual line. You’re not disguising the architecture; you’re directing the eye through calculated color relationships that reframe constraint as character.
Layer Three Lighting Types for Sloped Bedrooms
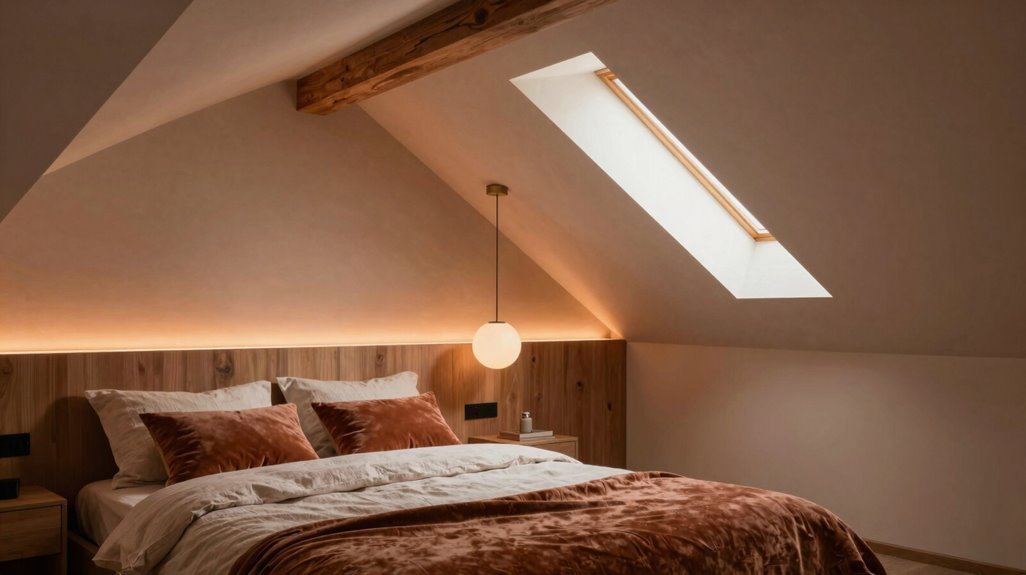
Strategic color placement reshapes how your eye travels through angled space, but without proper illumination, those calculated tones disappear into shadow by evening. You’ll master layered lighting to solve this architectural challenge.
1. Ambient Layer
Install recessed fixtures along your roofline, spacing them 4-6 feet apart to track the slope. This distributes even base illumination while highlighting structural angles.
2. Task Layer
Mount track lighting 18-24 inches from sloped walls, directing adjustable heads toward reading nooks or artwork. Maintain 7-foot clearance in circulation paths.
3. Accent Layer
Position dimmer-controlled wall washers to modulate intensity, preventing glare where ceiling height drops below 8 feet.
4. Natural Integration
Supplement dormer windows with sheer treatments filtered at 30-50% opacity, preserving brightness without thermal loss.
| Layer | Fixture Type | Mounting Height | Control Type |
|---|---|---|---|
| Ambient | Recessed | Following slope | Standard switch |
| Task | Track | 7-9 feet | Dimmer |
| Accent | Wall wash | 5-6 feet | Dimmer |
Storage Solutions That Follow Your Roofline
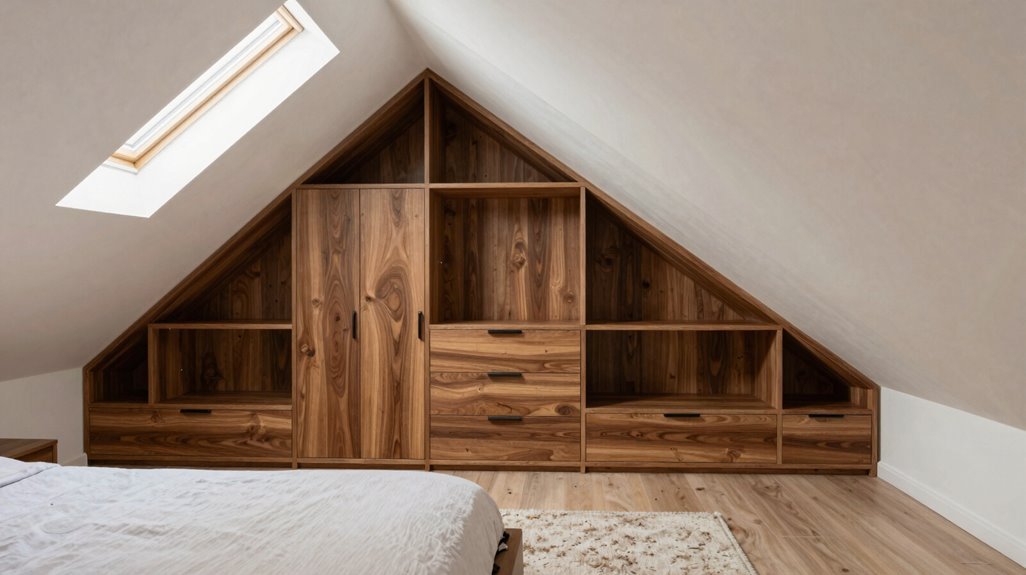
Where will your belongings live when walls refuse to stand at right angles? You claim every inch of your sloped ceiling bedroom with storage solutions that mirror your roof’s geometry, turning awkward angles into functional territory.
Install hanging wardrobes along your highest slope, then tuck drawers under eaves to preserve floor area. Deploy low- to mid-height units, 30 to 36 inches tall, under steeper pitches to protect sightlines and proportions. Convert dead zones below 5 feet into shallow drawers or pull-out bins for complete spatial utilization.
You align shelving with your slope on adjacent flat walls, using modular cubes or adjustable panels for flexible vertical organization. You integrate angled dressers and window-seat storage that track your roofline, maximizing capacity without sacrificing usable floor space.
Soften Sloped Ceilings With Textures and Textiles
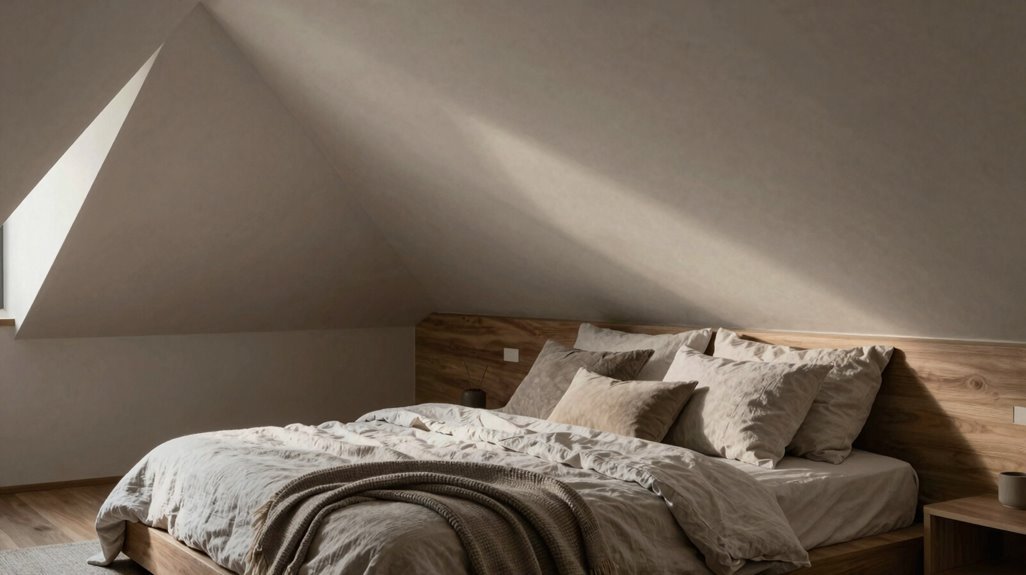
Once your storage systems map to your roof’s angles, you’ll address the other challenge sloped ceilings present: hard surfaces that amplify sound and create visual severity. You’ll soften sloped ceilings with textures and textiles through five systematic approaches.
- Select tactile fabrics. Deploy velvets, bouclés, and woven throws in low headroom zones to introduce physical warmth where you need it most.
- Layer systematically. Combine matte wall coverings with fabric-rich furnishings to blunt sharp angles and establish contained, cozy zones.
- Scale rugs strategically. Position oversized, plush area rugs to counteract vertical height variations and eliminate confinement.
- Calibrate color by elevation. Specify light, reflective textiles for upper slopes; assign deeper, warmer tones to lower nooks for directional depth.
- Install textile barriers. Mount fabric panels or sheer drapes on sloped walls to absorb reflections and generate intimate, acoustically dampened enclosure.





