
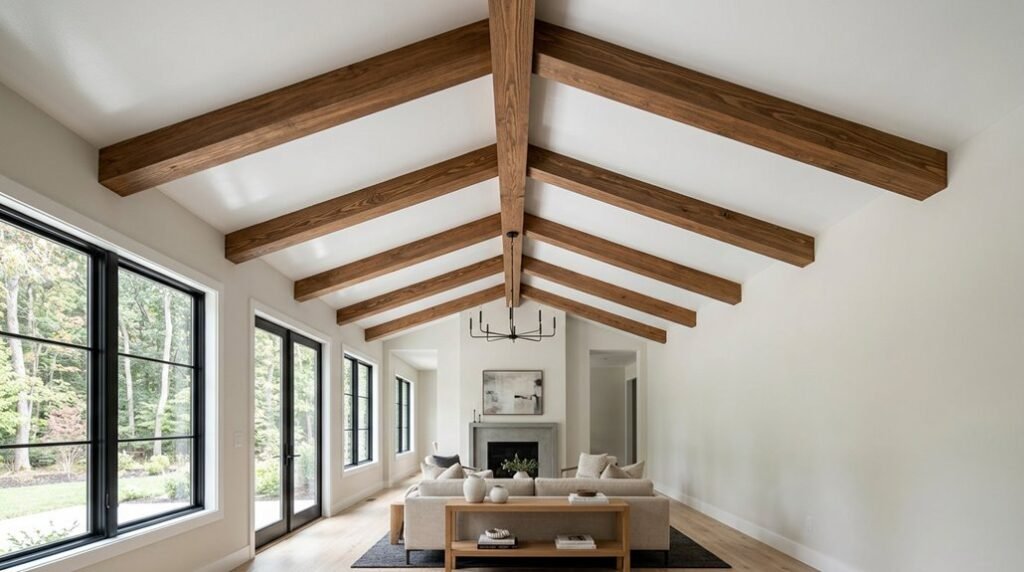
Faux wood beams deliver structural impact at 1/5 the weight of solid timber, with hollow polyurethane cores spanning 8-16 feet unsupported. Choose 4-6 inch height profiles for 8-foot ceilings, 6-8 inches for 9-10 feet, and 8-10 inches for vaulted spaces above 12 feet.
Your installation demands precise spacing: 18-24 inches from parallel walls, 30-36 inches between beam centers, with decorative straps every 24 inches concealing mounting hardware. The following ten applications address specific spatial problems, each with measured drawings, material specifications, and coordination requirements for lighting, HVAC, and adjacent finishes.
Choose the Right Faux Wood Beams for Your Space
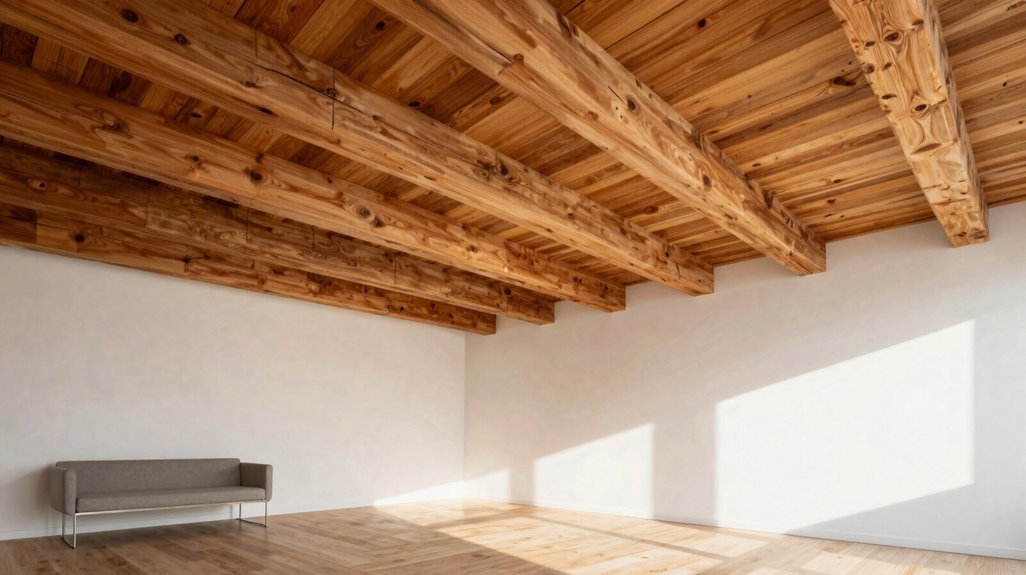
Why begin with guesswork when selecting faux wood beams demands precise evaluation of material, dimensions, and finish? You’ll want lightweight, hollow beams crafted from high-density polyurethane, which simplifies installation and reduces structural load compared to solid wood alternatives.
Select foam or polyurethane options molded directly from actual wood specimens. These replicate authentic grain patterns, knots, and sawn marks with remarkable precision. Your finishes, paint, stain, or whitewash, must coordinate with existing trim elements to establish visual continuity throughout your space.
For modern interiors, use beams to introduce architectural rhythm across extended ceiling spans, counterbalancing hard surfaces like stone, metal, and glass. Size and spacing require methodical calculation: larger beams positioned at wider intervals generate perceived ceiling height and spatial expansion. Measure carefully, match finishes deliberately, and install confidently.
Frame Kitchen Doorways With Rustic Faux Wood Beams
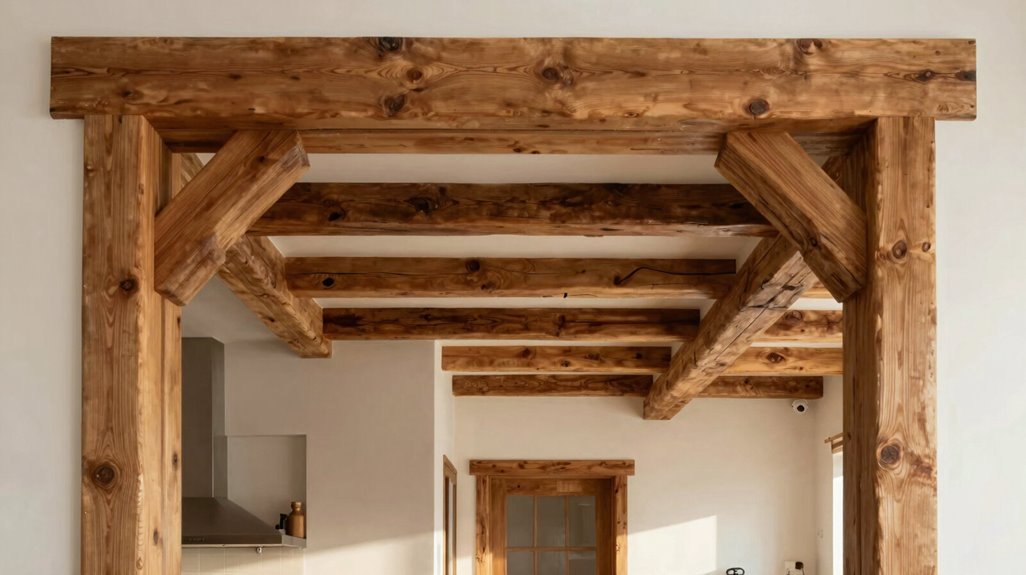
Frame your kitchen doorway with rustic faux wood beams, like the Old Tuscan in Brunette, to create a deliberate shift between modern appliances and old-world warmth. This technique demands you balance contemporary cabinetry with aged wood aesthetics, making sure the entryway functions as both passage and focal point.
You’ll achieve structural visual weight without load-bearing requirements, turning a standard 32-36 inch opening into a categorized design element that enhances spatial organization.
Rustic Entryway Charm
How do you create instant architectural character without structural overhaul? You frame your kitchen doorway with rustic faux wood beams.
- Select your material. Choose lightweight polyurethane beams, such as Old Tuscan Faux Wood Beam in Brunette, measuring 4-6 inches wide.
- Position for maximum entryway charm. Install vertical beams flanking the doorway, topped with a horizontal header beam.
- Secure efficiently. Mount using construction adhesive and finishing nails; complete installation within 2-3 hours.
- Define your threshold. This framing creates visual emphasis at room transitions, marking boundaries without walls.
You achieve farmhouse aesthetic appeal through decorative, non-structural application. Your kitchen welcomes guests with old-fashioned warmth, contrasting rustic texture against contemporary cabinetry. The result delivers a warm, inviting atmosphere through calculated architectural detail.
Modern Contrast Balance
You can extend this doorway-framing technique beyond rustic entryways to create deliberate tension between old and new materials. Frame your kitchen doorways with faux wood beams to establish immediate visual contrast against sleek cabinetry, stainless appliances, and minimal hardware.
The warm Brunette finish of an Old Tuscan Faux Wood Beam anchors adjacent spaces while directing traffic flow through deliberate sightlines. You define distinct zones without structural modifications, employing texture and depth as primary organizational tools.
This application demonstrates how decorative transitions generate architectural interest within contemporary frameworks. Your result combines scalable craftsmanship with modern utility, achieving cohesive spatial definition through controlled material opposition. The technique satisfies practical requirements for boundary creation while preserving open-concept adaptability. You turn passageways into intentional design statements using dimensional contrast.
Warm Welcome Appeal
| Beam Style | Application Purpose |
|---|---|
| Brunette Old Tuscan | Framing entryways with high contrast |
| Brushed Magnolia | Harmonizing with lighter wood tones |
| Stained Old Tuscan | Matching medium interior palettes |
| Custom Width 4-8″ | Sizing to doorway proportions |
| U-Channel Design | Concealing wiring, simplifying install |
You select materials that synchronize with existing wood tones. You measure opening dimensions precisely, adding 6-12 inches of beam extension beyond the frame for visual weight. You mount brackets every 24 inches. You finish in under four hours.
Anchor Modern Stairways With Dark Faux Wood Beams
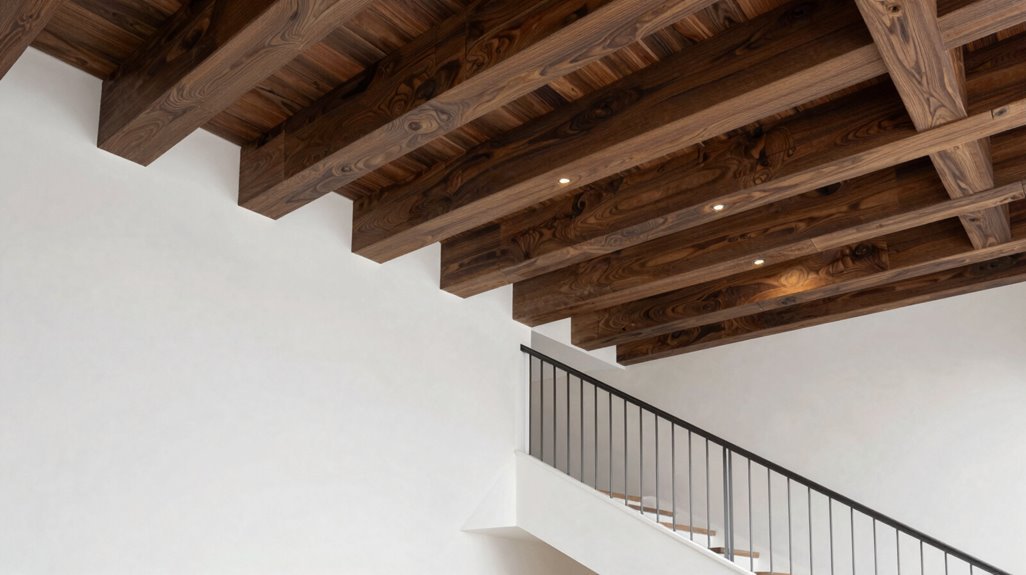
You’ll create visual drama by installing dark faux wood beams, such as Magnolia’s Fresh Coffee finish, directly above your stairway to establish immediate architectural focus. Coordinate these beam tones with your ceiling color and existing dark elements to execute a cohesive color strategy throughout the vertical space. Balance this depth against lighter furnishings, like a tan leather sofa positioned nearby, so your stairway grounds the room without overwhelming adjacent zones.
Visual Drama Creation
How can a single architectural element command attention across multiple levels of your home? You create visual drama by installing dark faux wood beams around your modern stairway, shifting vertical circulation into a gallery-like experience. You extend these beams across ceilings on every floor, establishing immediate cohesion.
You position Magnolia Faux Wood Beams in Fresh Coffee to frame the stairwell, then pair them with light brown leather seating below. This contrast anchors your central feature while directing movement through the space. You shape room architecture through strategic beam placement, grouping furniture around the stairway’s gravitational pull. Your vertical spaces become striking features, not transition(al) afterthoughts.
Faux wood beams deliver this change without structural load concerns, letting you engineer drama precisely where people travel most.
Color Cohesion Strategy
Where does visual unity actually originate when you’re connecting multiple floors? You’ll find it in deliberate color cohesion between your stairway and ceiling beams.
- Match your dark faux wood beams to your stair treads. Select identical finishes, Espresso Brown or Fresh Coffee, to unify vertical and horizontal planes.
- Extend this hue family to all trim elements. When beams, stairs, and moldings share one coordinated palette, you create smooth visual flow.
- Ground open stairwells strategically. Dark beams add necessary warmth to contemporary airy layouts, preventing spatial disconnect.
- Leverage continuity for emphasis. Your staircase becomes the intentional focal point when architectural elements echo one another through precise color matching.
This systematic approach turns transitional spaces into integrated design statements. You’re not decorating; you’re engineering visual coherence through calculated beam placement and disciplined color cohesion.
Furniture Contrast Balance
Color cohesion establishes your foundation, but structural impact demands deliberate contrast between your beams and surrounding furnishings. You’ll anchor your modern stairway by installing dark faux wood beams, specifically the Magnolia Faux Wood Beam in Fresh Coffee, matching your ceiling beams for continuity. This beam color consistency across architectural elements unifies zones within your open-plan layout, creating a unified space that feels deliberately planned.
Next, position a light brown leather sofa beneath or adjacent to your stairway. This furniture contrast amplifies the visual weight of your dark beams, directing attention to your stairway’s structural role. You’re not merely decorating; you’re orchestrating deliberate tension between fixed elements and movable pieces. The result is a balanced composition where beams define spatial boundaries while furnishings complete the layered, finished environment you want to inhabit.
Conceal Curtain Rods in Vaulted Ceilings With Faux Wood Beams
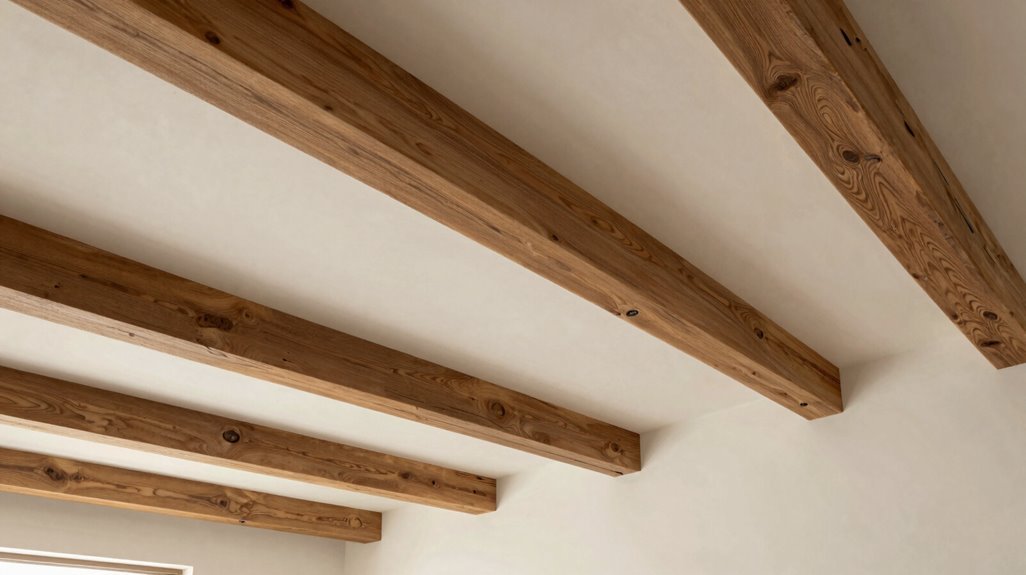
Because vaulted ceilings often leave curtain hardware exposed and visually disruptive, you’ll want to integrate your window treatments directly into the architectural framework using hollow faux wood beams. You’ll slide standard curtain rods inside the beam cavity, securing brackets to ceiling joists through pre-drilled access holes. Select beams measuring 4-6 inches wide, 6-8 inches deep, with lengths spanning 6-12 feet to accommodate typical window banks.
The Dock Wood Quick Ship Beam installs in 2-3 hours per 10-foot section, requiring only basic carpentry tools. You’ll maintain 3-4 inches of clearance between rod and beam interior so curtains move smoothly. This method eliminates ceiling penetrations, preserves insulation barriers, and creates continuous sight lines from peak to sill. Your space gains unified proportion without visible hardware breaking the vertical plane.
Create Spa-Like Bathrooms With Short Faux Wood Beams
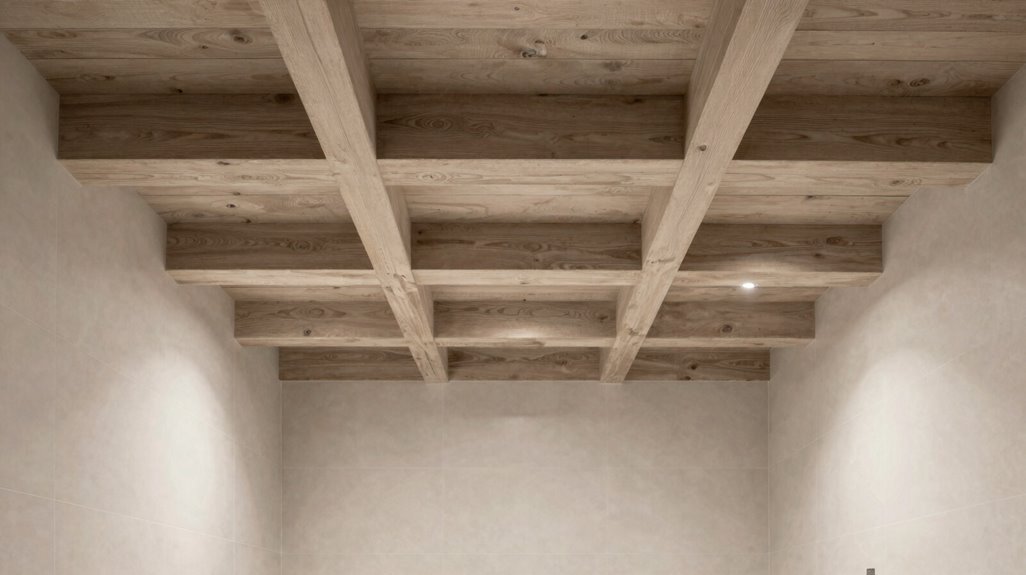
You can turn your bathroom into a functional retreat by installing short faux wood beams that control scale without compressing the room’s proportions. Position these beams to frame existing architectural features, such as tub alcoves or shower vaults. They should measure 4 to 6 feet in length for standard 8-foot ceilings.
Select distressed textures, like Magnolia Faux Wood Beams, to introduce tactile warmth while maintaining the waterproof, low-maintenance performance required in moisture-prone environments.
Bathroom Retreat Design
A compact bathroom demands proportionate architectural elements that deliver visual impact without spatial encroachment. You install short faux wood beams to craft an intimate bathroom retreat design that changes utilitarian spaces into sanctuary-like environments. Select Magnolia Faux Wood Beams with distressed textures, and you’ll generate immediate warmth through visual depth and tactile interest. You customize your installation using paint, stain, or whitewash finishes to synchronize with existing trim and fixtures, guaranteeing cohesive integration.
Pair your beams with dimmable lighting and neutral wall treatments to amplify the spa-like atmosphere your family deserves.
| Beam Finish | Ambiance Effect |
|---|---|
| Whitewash | Airy, coastal calm |
| Natural Stain | Rustic, grounded warmth |
| Charcoal Paint | Modern, sophisticated depth |
| Honey Oak | Traditional, welcoming glow |
You achieve proportion through shorter beam lengths, maintaining structural presence without ceiling compression. Your bathroom becomes a daily departure point.
Scale and Placement
Compact bathrooms demand precise spatial calculations, and your beam placement determines whether the ceiling feels expansive or confined. You must prioritize scale and placement when selecting faux wood beams for spa-like environments.
Measurement Guidelines for Bathroom Beams:
| Ceiling Height | Maximum Beam Depth | Recommended Length |
|---|---|---|
| 8 feet | 4 inches | 4-6 feet |
| 9 feet | 6 inches | 5-7 feet |
| 10+ feet | 8 inches | 6-8 feet |
Install beams perpendicular to your longest wall to create visual width. Position them 18-24 inches from ceiling edges, maintaining 30-36 inches between parallel beams. You preserve headroom while establishing architectural rhythm.
Select shorter beams, typically 4-6 feet, to define bathing zones without fragmenting the space. Anchor beams directly into ceiling joists, using decorative straps at 24-inch intervals. This method secures structural integrity while delivering the retreat atmosphere you seek.
Distressed Texture Appeal
Serenity emerges when distressed textures turn ordinary surfaces into tactile retreats, and you’ll achieve this effect through calculated material selection.
- Select Magnolia Faux Wood Beams with distressed texture finish for your bathroom ceiling installation.
- Specify beam lengths between 24-48 inches to maintain proper scale in standard 8-foot ceiling heights.
- Apply beams in parallel runs spaced 18-24 inches apart, creating rhythmic visual intervals.
- Pair distressed short beams with recessed lighting positioned 12 inches from beam edges.
- Coordinate with matte tile or honed stone surfaces in neutral palettes.
The distressed texture conceals humidity-related wear, sustaining your spa aesthetic through years of steam exposure. You’ll preserve visual warmth without maintenance concerns. This systematic approach delivers predictable, resort-caliber results in residential bath environments.
Hang Pendant Lights Between Exposed Faux Wood Beams
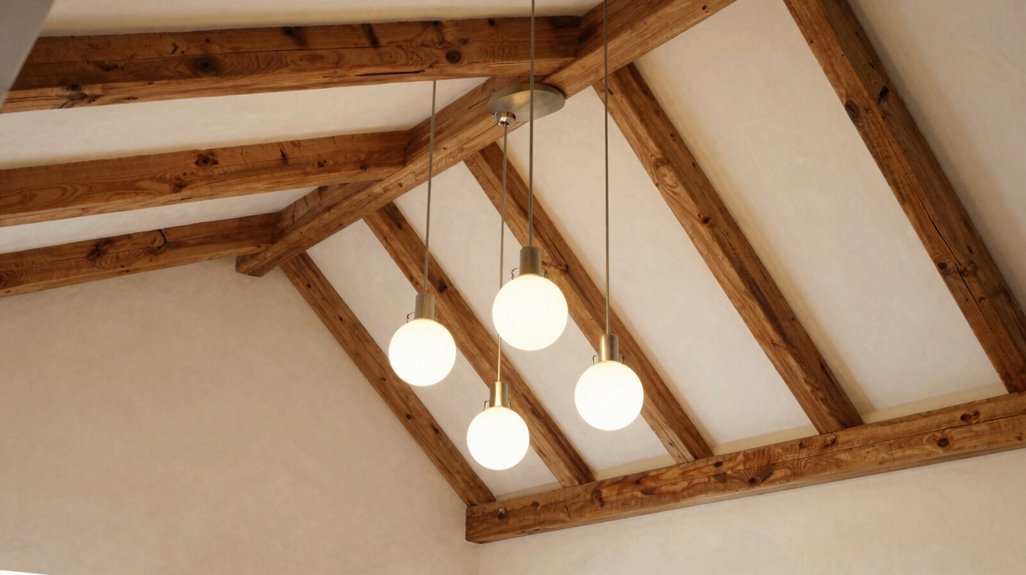
How exactly do pendant lights change the space between your faux wood beams? You create a defined lighting focal point that enhances architectural lines without distracting from the beam design. The faux wood beams frame your pendant lights, guiding eye movement along the ceiling and emphasizing depth and dimensionality in the room.
You balance vertical height with task lighting when you position fixtures between beams over dining tables or islands. Select pendant lights that complement your beam finishes, espresso brown or whitewash, to maintain cohesive color and texture throughout the space.
This configuration performs optimally with vaulted or coffered ceilings, adding layered illumination while retaining the decorative impact of your faux wood beams. You achieve functional lighting and structural emphasis simultaneously through this strategic placement.
Curve Faux Wood Beams to Accent Rounded Ceilings
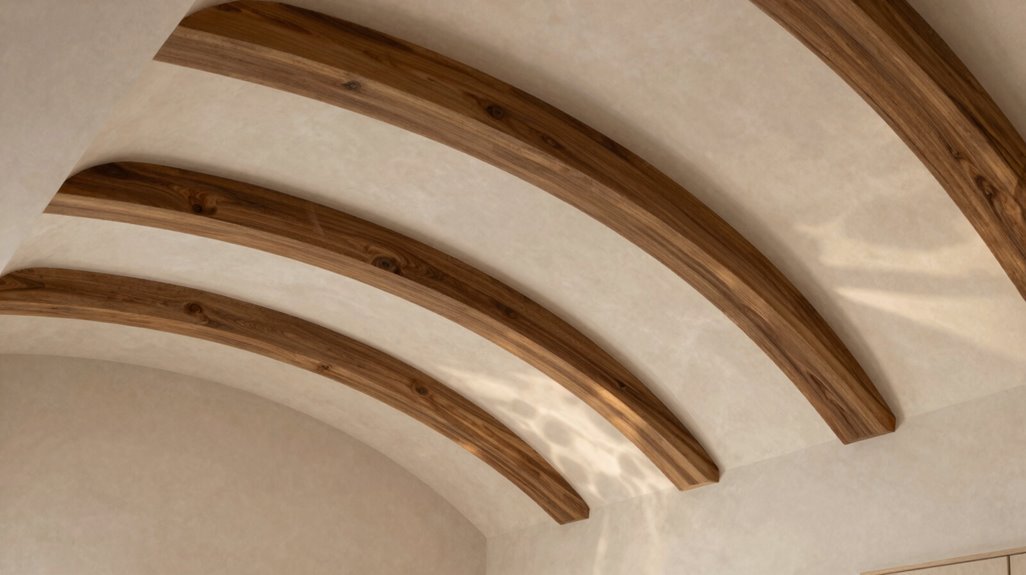
You followed straight lines with pendant lighting, now you’ll master curves to match rounded ceiling architecture. Curved beams trace your ceiling’s natural arc, building continuity where flat materials would fail. You’ll install foam or polyurethane curved beams directly onto curved joists, securing them with adhesive and screws every 24 inches. Rounded ceilings gain definition without weight, as these hollow channels follow your plaster’s exact radius.
You paint, stain, or whitewash to match existing trim, completing the integration in one afternoon. Pair your curved beams with recessed lighting positioned at 30-degree angles to emphasize the ceiling’s sweep. The result honors your space’s unique geometry, rewarding the architectural risk you’ve taken with a finished, considered appearance.
| Curved Beam Placement | Visual Effect |
|---|---|
| Following ceiling radius | Seamless architectural continuity |
| Perpendicular to walls | Enhanced spatial definition |
| Layered concentric rings | Focal point creation |
| Parallel to longest curve | Maximized geometric emphasis |
Visually Lower Tall Ceilings With Strategic Faux Wood Beams
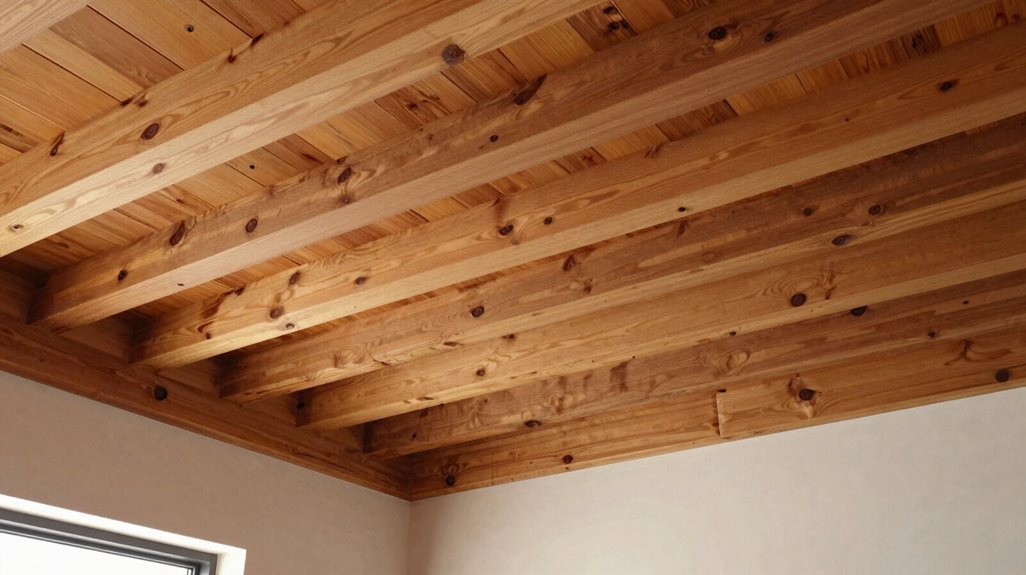
Where does all that vertical space go when you need intimacy instead of grandeur? You reclaim it with faux wood beams that reshape ceiling height perception through deliberate visual compression.
Select darker beam colors and tight, even spacing to create downward visual weight. Install short beams across the ceiling’s width, breaking vertical planes into manageable horizontal segments. Run beams lengthwise along the room’s longest dimension to accelerate the downshift effect. Apply high-contrast pairings, dark beams against light walls, to sharpen ceiling boundaries and reinforce lowered perception.
For vaulted configurations, you deploy lighter-toned beams to preserve openness while adding architectural depth. These approaches convert excessive height into contained, welcoming proportion, giving you control over spatial psychology without structural modification.
Unify Open Floor Plans With Continuous Faux Wood Beam Trim
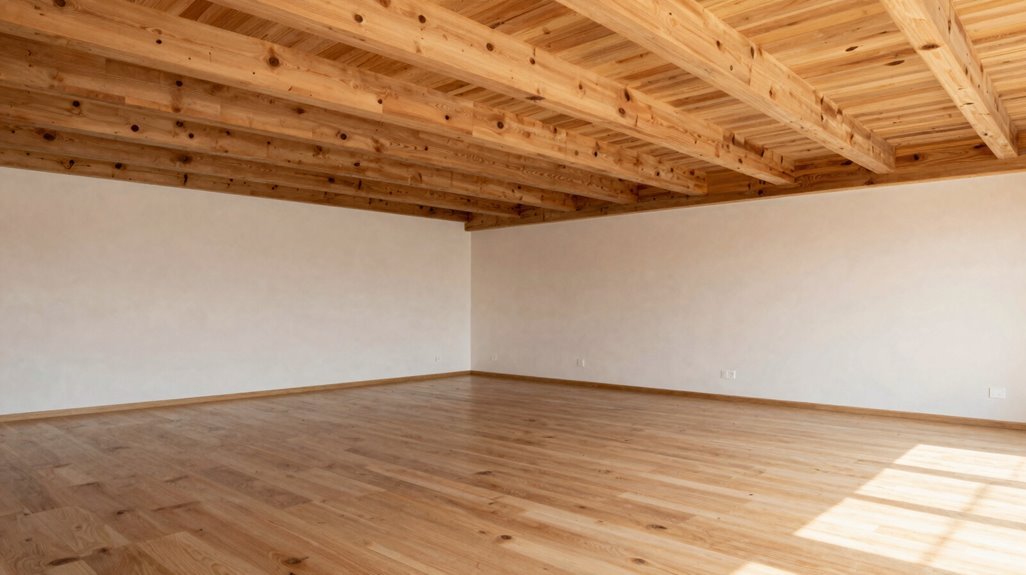
Open floor plans fragment easily without deliberate visual anchors, and continuous faux wood beam trim solves this by threading a single architectural element across disjointed zones. You install continuous beams along the longest room dimension, typically spanning 20 to 40 feet, to elongate your space and boost perceived height by 12 to 18 inches visually.
You choose finishes, paint, stain, or whitewash, to match existing trim, so your beams blend with adjacent walls or stand apart by design. You conceal mounting hardware inside hollow beam interiors, maintaining clean, uninterrupted trim lines across living, dining, and kitchen zones.
For maximum cohesion in open floor plans, you align beam spacing at 4 to 6 feet intervals, creating rhythmic ceiling continuity. The result: a unified architectural statement that turns scattered areas into one coherent, welcoming environment.
Extend Faux Wood Beams Onto Covered Outdoor Spaces
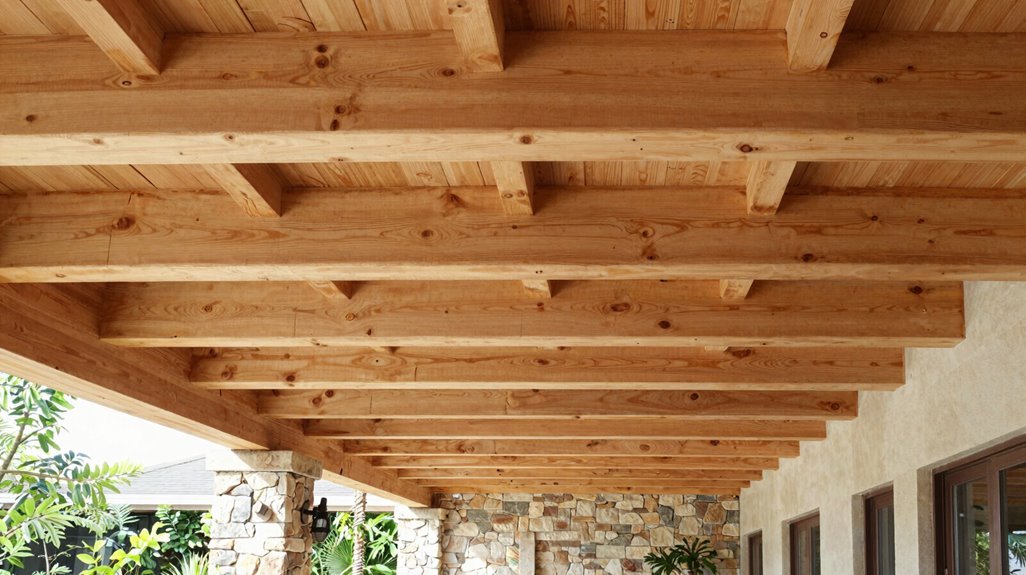
How do you maintain architectural cohesion when your living space flows seamlessly into the outdoors? You extend your faux wood beam treatment onto covered exterior spaces, creating visual continuity that unifies your entire property.
High-density polyurethane beams withstand exterior conditions without warping, cracking, fading, or pest damage. You install them using the same methods: measure spacing from mounting strips, secure hollow shells with appropriate screws or adhesive, and finish with paint or stain matching your exterior trim.
Your porch columns and ceilings become opportunities to reinforce curb appeal through continuous beam motifs. Consider products like Old Tuscan Faux Wood Beams in Fresh Coffee for porch or overhang applications. You’re not just decorating; you’re establishing a cohesive design language that welcomes everyone who approaches your home.





