
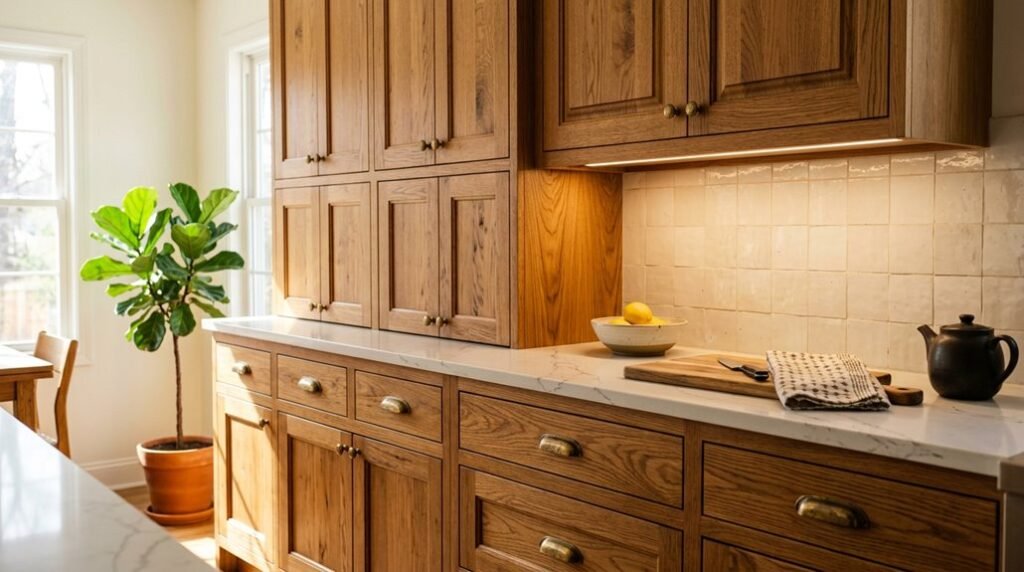
Your oak cabinets present a solvable design problem, not a renovation dead end. You will update them through five structural modifications, three finish decisions, and four proven color palettes. You need specific measurements: 18–24 inch backsplash extensions, 1/8-inch grout lines, 2700K LED temperatures.
You must choose between painting, staining, or preserving natural grain based on your cabinet condition and kitchen light levels. The following sections provide exact specifications, material comparisons, and budget breakdowns for each approach. You will find your solution in the details ahead.
5 Structural Changes That Instantly Modernize Oak Cabinets
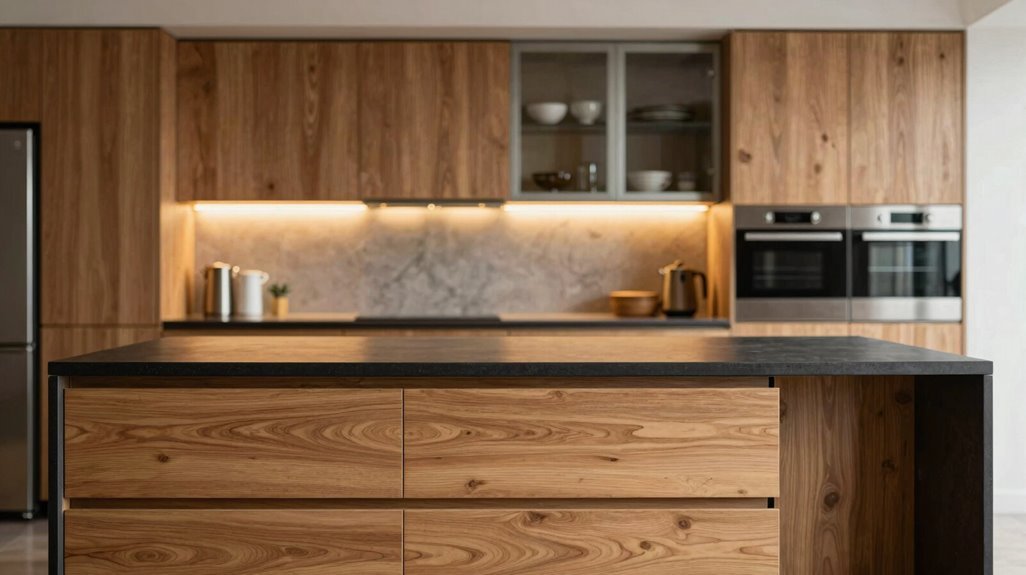
How do you update dated oak cabinets without a full renovation? You start with structural changes that deliver immediate visual impact.
1. Replace Door Profiles
Swap dated cathedral or raised-panel doors for shaker doors ($13–$60 each) or slab doors for minimalist appeal. Total door-only costs run $500–$4,000.
2. Apply Strategic Paint
Modernize oak with shellac-based stain-blocking primer to stop tannin bleed, then spray for smooth, factory-quality finish.
3. Create Two-Tone Cabinets
Paint uppers white or sage while keeping oak lowers; this balances warmth with contemporary style.
4. Remove Ornate Trim
Strip heavy crown molding and decorative elements to reduce visual weight and emphasize clean lines.
5. Execute Hardware Changes
Update pulls and hinges first, then coordinate wall colors to support your new cabinet aesthetic.
Grain Decisions: When to Paint, Stain, or Keep Oak Natural
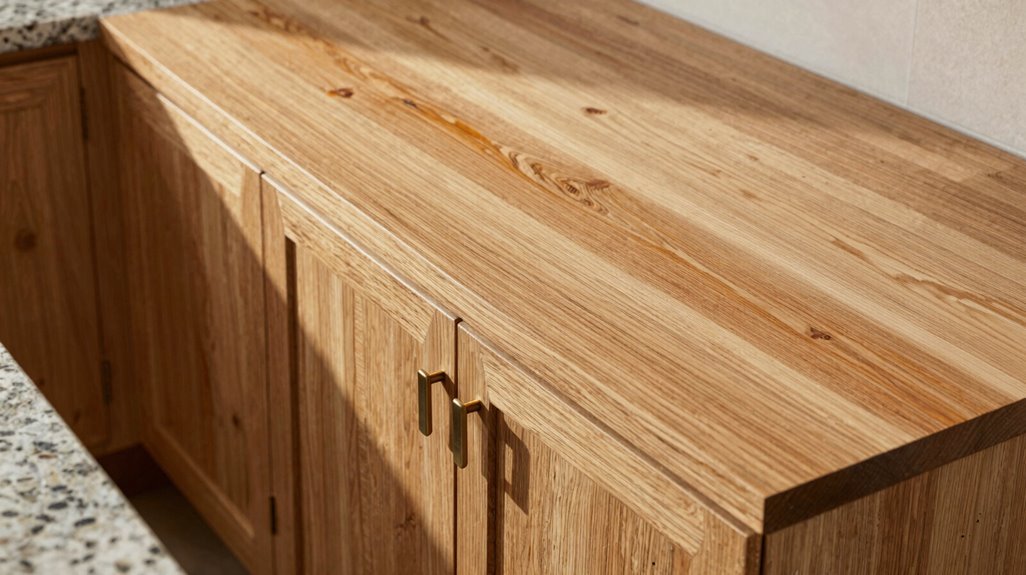
Once you’ve tackled structural updates, you’re left with a decision that’ll dictate your kitchen’s final look: how to handle oak’s prominent grain. Your stain vs paint choice depends on your tolerance for texture. Staining preserves grain visibility, celebrating oak’s natural character, while painting masks grain but demands extensive prep: sanding, filling, and applying shellac-based primer to block tannin bleed.
If you keep natural oak, coordinate surrounding elements. Wall color, countertops, and hardware modernize the space without obscuring the wood’s texture. For highly textured oak cabinets, painting risks awkward results; grain consideration prevents costly mistakes.
Two-tone ideas offer compromise. Pair painted uppers (white or sage) with oak lowers, managing grain visibility while achieving contemporary balance. This approach honors the wood where it matters, concealing it where texture overwhelms.
4 Color Palettes That Make Oak Cabinets Look Intentional
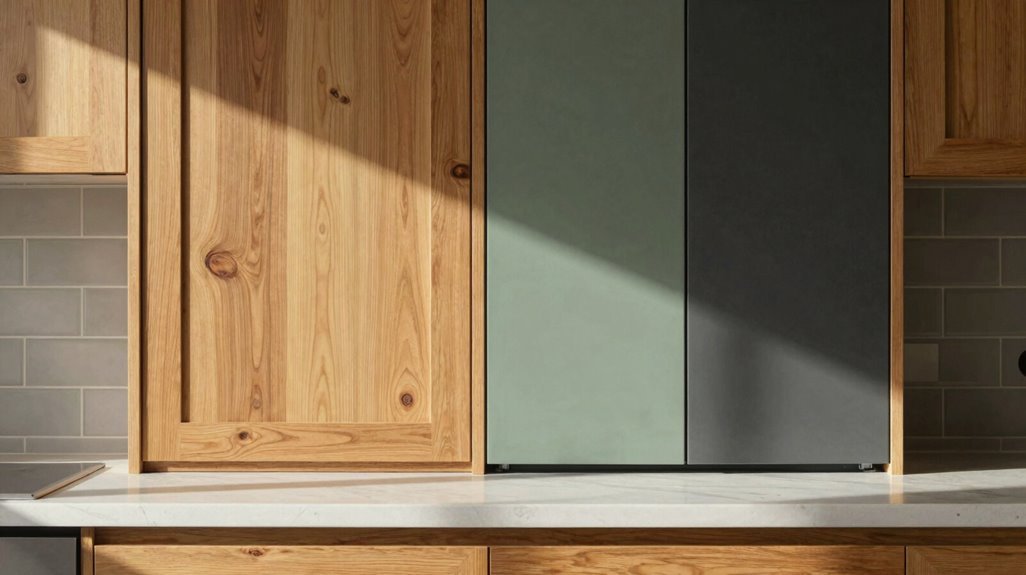
You can transform dated oak into an intentional design statement by deploying strategic color palettes. These include classic contrast pairings that juxtapose light uppers alongside warm oak lowers, subtle warmth tones that harmonize wall colors with the wood’s natural undertones, and affordable trend updates that incorporate current materials without full replacement costs. Each palette requires precise coordination between cabinet finishes, wall treatments, countertops, and hardware selections to achieve results that work together.
Your first step involves evaluating your existing oak tone, measuring your kitchen’s square footage and natural light levels. Then select the appropriate palette category based on your renovation timeline and budget constraints.
Classic Contrast Pairings
Why do oak cabinets often read as dated rather than deliberate? You solve this through classic contrast pairings that anchor your kitchen in purposeful design.
- Execute a two-tone strategy: Paint your upper cabinets white or sage, keeping oak cabinets below for balanced visual weight.
- Install 36-inch white subway tile backsplash: This creates crisp vertical lines that frame your oak cabinets without competing.
- Select quartz countertops in white or off-white with subtle veining: These surfaces provide necessary contrast while harmonizing with oak’s warmth.
- Add warm metallic hardware: Choose brushed brass or bronze cabinet pulls to unify the palette.
- Ground with concrete-look accents: Pair your quartz countertops with black-accented lighting fixtures for architectural definition.
These five elements shift oak cabinets from incidental to central, giving you a kitchen that feels considered rather than inherited.
Subtle Warmth Tones
Classic contrast pairings establish visual structure, but color temperature determines whether your oak cabinets feel intentional or accidental. You need warm undertones to neutralize oak’s orange cast and create cohesion.
1. Select wall colors with subtle warmth. Paint walls in Balboa Mist or Neutral Ground, warm whites that harmonize with oak’s natural grain. Avoid cool grays, blues, or purples, which amplify unwanted orange tones and create visual discord.
2. Implement a two-tone scheme. Install upper cabinets in white or sage green, keeping oak lowers. This balances brightness against wood grain, modernizing your kitchen without full replacement.
3. Layer complementary finishes. Add champagne bronze hardware, warm lighting fixtures, and tan or taupe countertops. These elements reinforce subtle warmth throughout the space, helping your oak cabinets read as deliberate design choices rather than dated remnants.
Affordable Trend Updates
How can you modernize oak cabinets without replacing them entirely? You achieve affordable updates through strategic color palettes that make oak look intentional, not dated.
Evaluate your oak’s grain texture first. If grain runs highly textured, paint masks unevenness; staining preserves natural wood tone. Choose based on your cabinet condition.
Apply two-tone oak combinations: paint upper cabinets white or sage, keep oak lowers. This balances warmth with contemporary style in one weekend project.
Select surfaces that coordinate: install white or off-white quartz countertops, add soft taupe subway tile backsplashes, or choose laminate countertops with bold black accents. These affordable updates soften oak’s inherent warmth.
Paint walls in neutral colors with warm undertones: creams, beiges, warm greens. These tones minimize orange undertones in oak, creating visual cohesion.
Update hardware finishes to champagne bronze, gold, or brass. Layer under-cabinet, pendant, and recessed lighting. Lighting impact determines whether your oak reads updated or outdated.
Best Countertops for Oak Cabinets: 6 Materials Compared
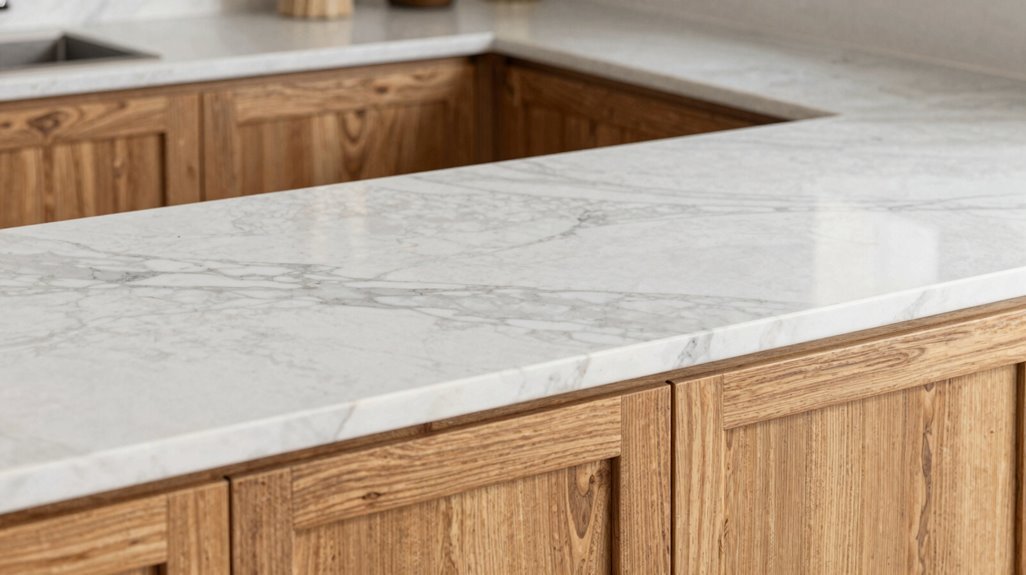
When you’re ready to replace your countertops, you’ll face six primary material options, each delivering distinct performance characteristics, price points, and visual effects against oak cabinetry.
1. Quartz: Install white quartz with subtle veining to modernize honey oak cabinets without clashing with their warmth.
2. Granite: Select black granite for dramatic durability. You’ll need lighter decor to prevent visual heaviness.
3. Laminate: Choose laminate that fits your budget and simulates stone. Coordinate slab backsplashes for cohesive results.
4. Concrete-look materials: Apply honed, matte surfaces that complement textured oak without overpowering grain patterns.
5. Soapstone: Specify authentic or simulated soapstone for sophisticated contrast.
6. Engineered stone alternatives: Evaluate composite materials balancing cost and performance.
Critical avoidance: Never pair warm beige or yellow undertones with honey oak. These amplify unwanted orange tones and overwhelm your cabinet color.
Backsplash Ideas That Calm (or Highlight) Your Oak Cabinets
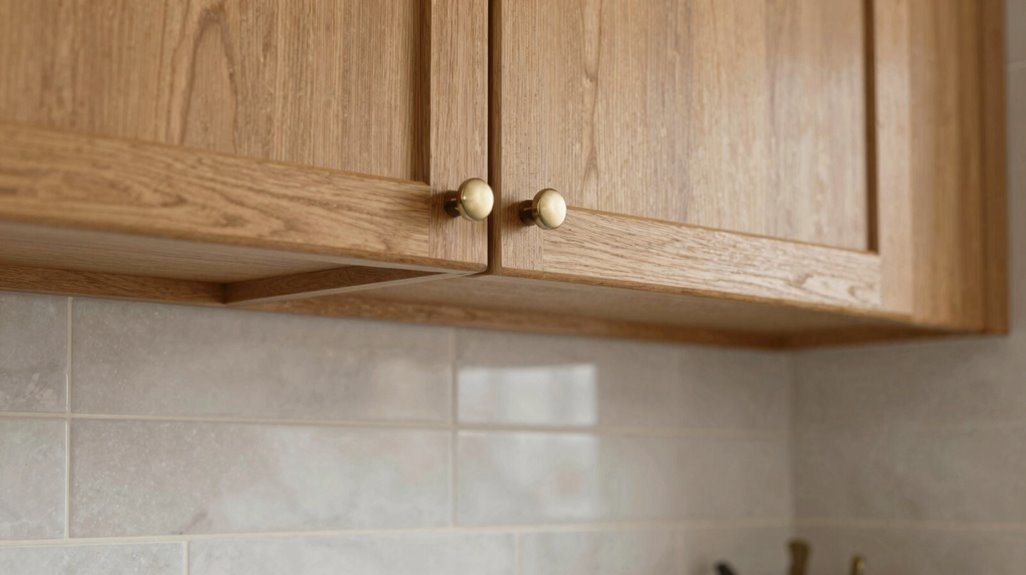
You’ll select your backsplash based on three strategic factors: neutral tile choices that temper oak’s warmth, bold contrast options that create visual hierarchy, and texture-pattern balance that prevents monotony.
White subway tile with contrasting grout anchors traditional schemes, while cream or warm gray tiles soften transitions without competing for attention. Consider Zellige tiles for irregular texture in Japandi spaces, or extend your countertop material to the ceiling for a seamless, modern slab installation.
Neutral Tile Choices
Where should you start when oak cabinets dominate your kitchen’s visual field? You begin with neutral tile selections that establish equilibrium without competing for attention.
White subway tile remains your foundational choice. You install 3-by-6-inch or 4-by-12-inch formats in running bond patterns. You select grout color strategically: lighter shades brighten honey oak, while darker charcoal grounds the composition.
Slab backsplash installations extend 18-24 inches from countertop to ceiling. You specify porcelain or quartz slabs in warm gray or cream tones. This continuous surface minimizes visual breaks, creating cohesion with kitchen cabinets.
Grout specifications determine final impact. You apply 1/16-inch joints for seamless appearance, or 1/8-inch for defined geometry. You seal grout within 72 hours of installation.
These measured selections change oak kitchen cabinets from dominant feature to integrated element within your composed space.
Bold Contrast Options
How do you change oak cabinets from overwhelming presence to intentional focal point? You embrace bold contrast options that command attention with calculated precision.
You have three distinct approaches when selecting Oak kitchen cabinets ideas for your home. First, pair white tile with dark grout to create sharp definition that frames your oak cabinets dramatically. Second, substitute bright white with cream-toned tile or warm gray tiles to neutralize orange undertones while maintaining contrast. Third, apply contrasting grout in lighter shades against darker tiles to reverse the visual hierarchy.
| Contrast Strategy | Tile Selection | Grout Application |
|---|---|---|
| Classic Definition | White subway tile | Dark grout, 1/8-inch spacing |
| Warm Neutralization | Cream-toned tile | Matching warm grout |
| Contemporary Edge | Warm gray tiles | Contrasting grout, 1/16-inch spacing |
| Maximum Impact | Matte black tile | White contrasting grout |
Texture and Pattern Balance
Contrast fixes your cabinets in space, but texture and pattern control how they breathe within it. You need cooler-toned tile to balance your oak cabinets’ warmth, and white subway tile with contrasting grout creates timeless results. Choose your grout color deliberately: warm creams or warm grays soften transitions against golden oak, while darker options sharpen definition.
For texture, zellige or handmade tiles add irregular surfaces that suit Japandi-inspired kitchens. These imperfect edges catch light differently than machine-made alternatives. Geometric or hex patterns influence perceived room size, so scale your backsplash pattern to avoid overwhelming oak grain. Small spaces demand simpler layouts.
Consider full-height slab backsplashes that extend countertop material to the ceiling. This creates cohesive, modern statements without competing elements. Your backsplash texture should complement, not fight, your oak cabinets’ natural character.
Hardware and Lighting: The Jewelry That Updates Oak Cabinets
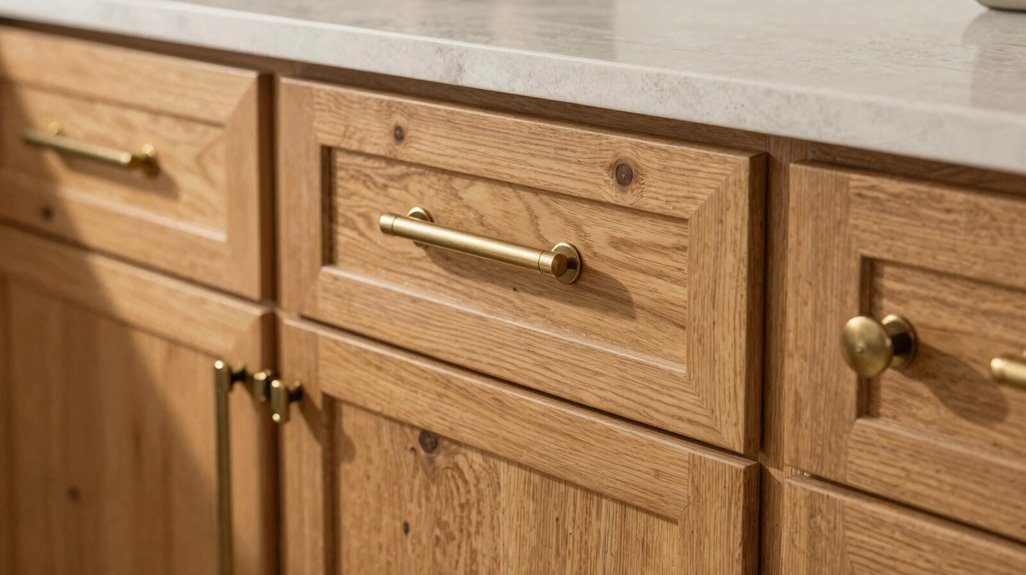
First, you’ll select hardware and lighting that functions as spatial jewelry: discrete elements that reframe oak cabinets without structural modification.
| Update Type | Specification |
|---|---|
| Primary Hardware | champagne bronze or brass knobs, 1.25–1.5 inch diameter |
| Pull Length | 5–8 inches for drawers, proportional to door width |
| Under-Cabinet Lighting | LED strips, 4000K–5000K temperature, 24-inch spacing |
| Pendant Fixtures | 30–36 inches above counter, warm metal finishes |
| Recessed Lighting | 4-inch housings, 4000K, 4–6 feet on center |
You’ll install these updates within 2–4 hours using basic tools. Champagne bronze hardware creates immediate contrast against oak grain, while brass introduces heritage warmth without dated orange undertones.
Layer your lighting deliberately: task illumination eliminates shadow zones, ambient fixtures establish even distribution, and accent pendants define functional areas. These discrete interventions cost $150–$600 total, offering measurable change without cabinet removal.
Budget-Friendly Updates That Rival Full Renovations
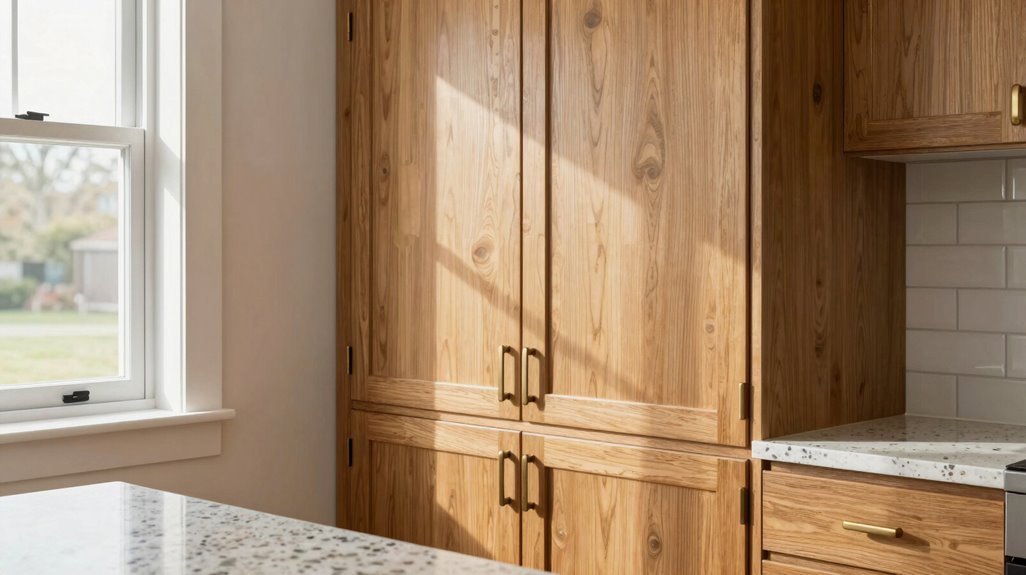
Where should you allocate limited funds when oak cabinets demand transformation without demolition? Start with your cabinet doors. Replace raised panels with slab or slim Shaker profiles for $500–$4,000, or flip existing doors for a zero-cost Shaker aesthetic. This single change redefines your kitchen’s visual anchor.
Paint upper cabinets white or sage while keeping oak lowers. This two-tone strategy modernizes your space, balances warmth, and costs less than full replacement. Pair this with a modern backsplash: white subway tile with warm grout or textured zellige, to unify your surfaces.
Upgrade hardware ($200–$800) and add layered lighting for immediate impact. If your budget allows, install laminate countertops to complete the transformation. These coordinated moves deliver a budget-conscious upgrade rivaling $25,000 renovations for one-third the cost.
Oak Cabinet Transformations: Real Budgets, Real Results
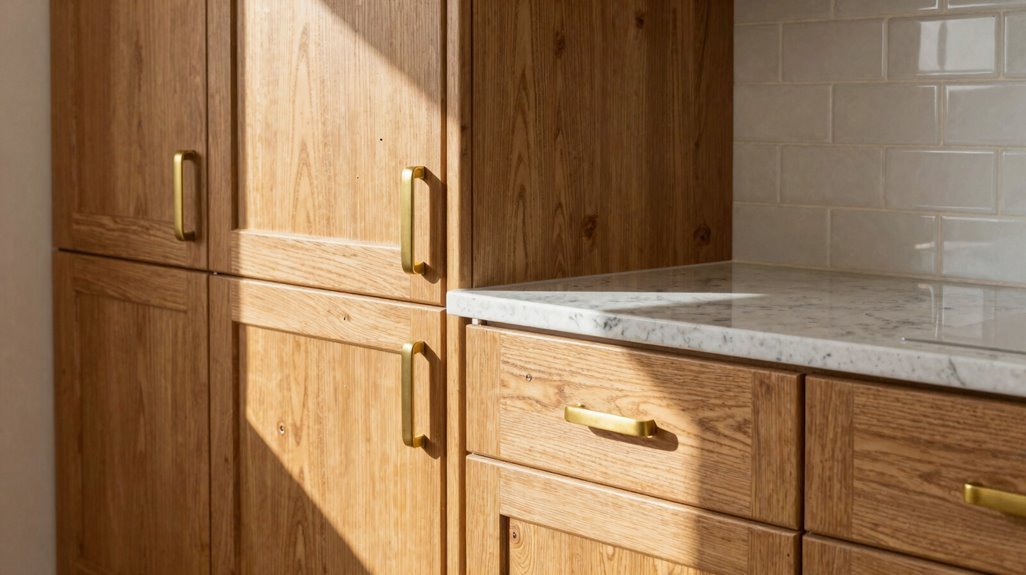
How much change can you realistically achieve with $500 versus $12,000? You can stage your oak cabinets refresh across three tiers, matching budget to impact without gutting your kitchen.
Quick wins ($200–$2,000): Apply whitewash/oak contrast, swap hardware upgrades to warm metals, and update lighting for immediate modernizing.
DIY paint route ($500–$2,000): Block tannin bleed with shellac-based primer, then brush or roll White Dove, Sea Salt, Hale Navy, or Urbane Bronze.
Professional spray finish ($3,000–$8,000): Achieve factory-smooth results on oak cabinets that brushing cannot replicate.
Two-tone schemes: Paint uppers white or sage, keep oak lowers natural, a 2026 standard for visual depth.
Structural tier ($500–$12,000): Replace slab or shaker doors at $13–$60 each, completing your budget refresh with maximum permanence.





