
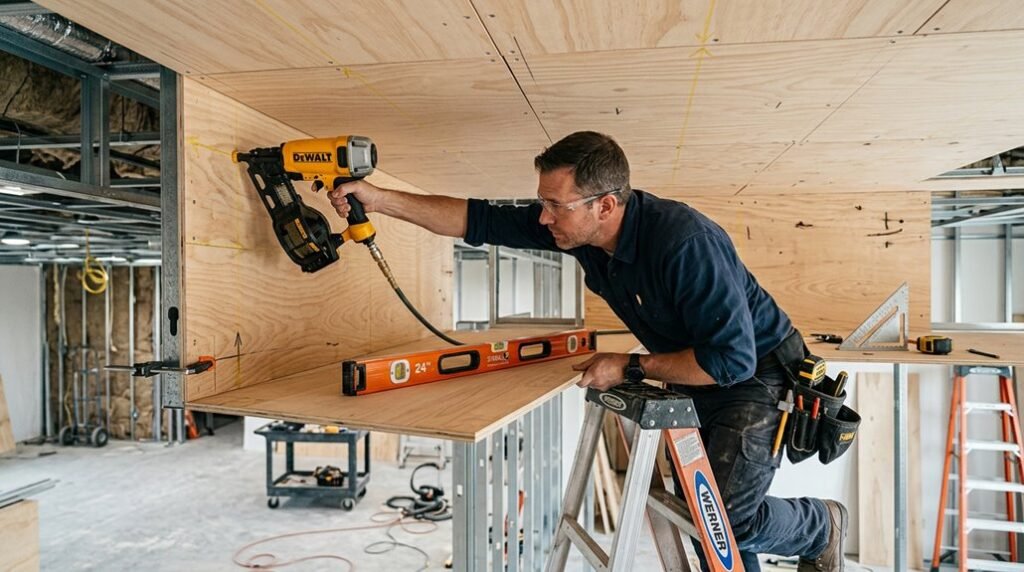
Installing a plywood ceiling is like assembling a puzzle where every piece must bear weight, align precisely, and endure for decades. You will measure twice, cut once, and secure each panel with calculated force. The process demands structural verification, material selection, and methodical fastening, but one misstep risks sagging seams or catastrophic failure.
Before you lift your first panel, you must understand load distribution, acclimation periods, and screw patterns. Your ceiling’s integrity depends on what happens next.
Check Your Ceiling’s Weight Capacity First
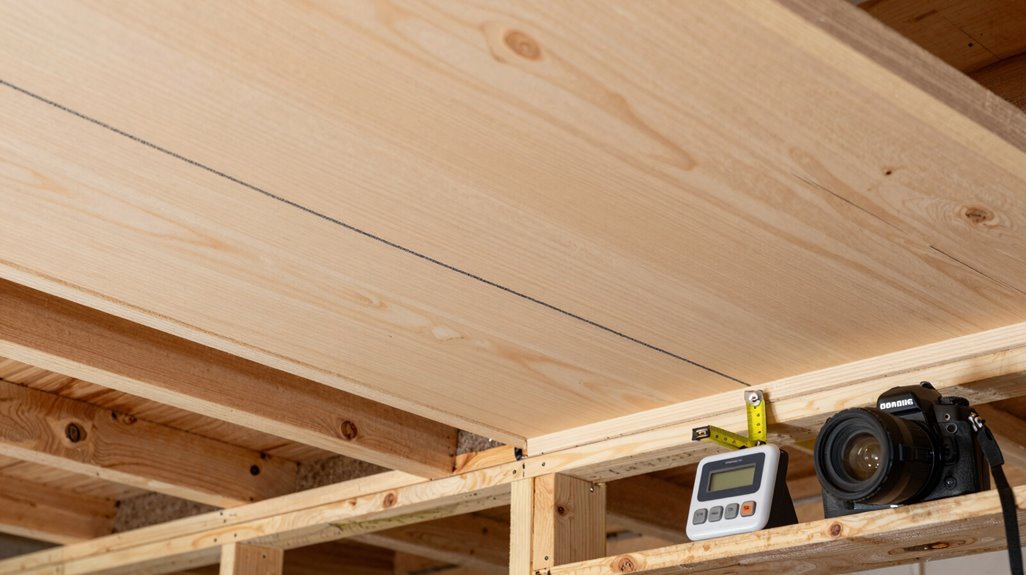
Structural integrity comes first: verify your ceiling can bear the load before lifting a single sheet.
Before you lift a single sheet, you must determine whether your ceiling structure can handle the load you’re about to add. You’re joining a community of builders who know that structural integrity comes first, and you’re about to learn why.
1. Assess Your Ceiling Load
Your ceiling load includes existing drywall, insulation, and mechanical systems. Add 1/4-inch plywood plus trim, and you’ve increased mass considerably. Verify your trusses or joists, typically spaced 24 inches on center, can bear this combined weight.
2. Calculate Weight Capacity
Consult local building codes, and contact a structural engineer if calculations exceed your expertise. You’re not cutting corners; you’re building correctly alongside others who value safety.
3. Secure Attachment Methods
Fasten plywood with 1 1/2-inch screws at edges and long staples at braced center points. Loose pieces signal inadequate fastening, not imminent collapse; reattach promptly to maintain integrity.
Plan Your Plywood Ceiling Layout to Hide Seams
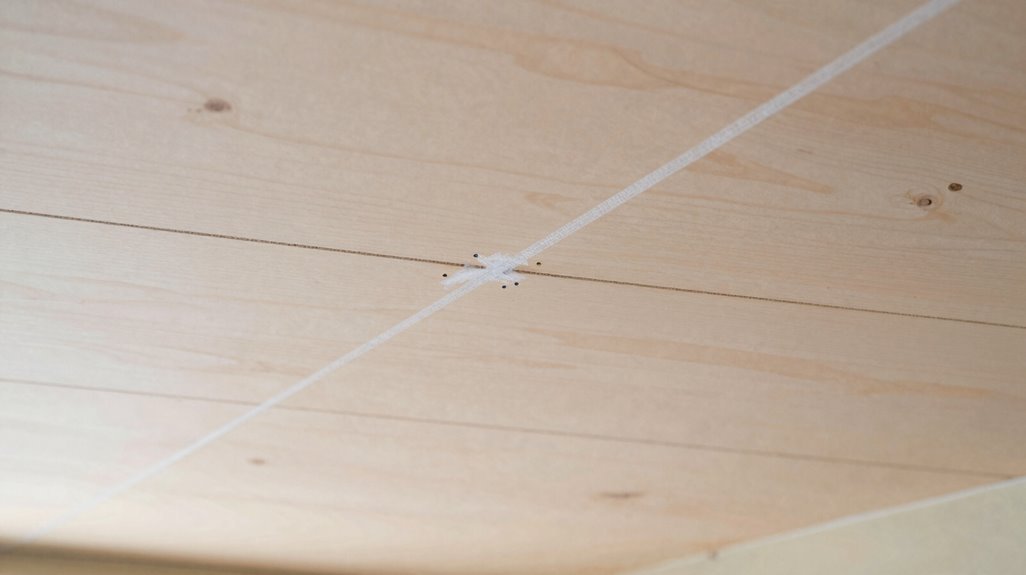
You’ll begin by measuring your space precisely, recording length, width, and diagonal dimensions to establish your plywood sheet orientation and seam placement strategy. Next, you’ll locate and mark every truss position on the ceiling surface, typically spaced 24 inches on-center, using a stud finder and chalk lines to create a visible grid that guides your layout. These two preparatory steps determine whether your seams align with structural support and remain hidden by subsequent trim installation.
Measuring Your Space
Starting with precise measurements prevents costly mistakes and guarantees your plywood ceiling layout conceals seams effectively. You’ll map your space using 4 ft by 8 ft sheets, centering them on trusses so end pieces match, cutting waste dramatically. Record length and width measurements at multiple points; ceilings aren’t perfectly square. Establish layout alignment from a central reference, like a kitchen window, running one straight row across to anchor everything.
For long rooms, stagger boards relative to joists so screw lines hit solid framing every time. Account for a 1/2 inch cut allowance and 1/8–1/4 inch expansion gaps between sheets. Use quarters or nickels as spacers for consistent, even seams. Before cutting anything, acclimate your plywood ceiling materials for 48 hours minimum, store them flat on bearers, and seal all edges against moisture warping.
Marking Truss Locations
Once you’ve confirmed your measurements, mark truss locations on the ceiling before cutting any plywood, since hidden seams depend on edges landing squarely on solid framing. Locate truss centers and edges using a stud finder or detection method, then transfer these references precisely.
Snap chalk lines across the ceiling to establish layout alignment, keeping your sheet edges parallel or perpendicular to trusses for minimal waste and clean joints. Center your starting row on a fixed reference point, like a kitchen window, and measure outward to verify that opposing wall pieces match in width.
Position butt seams away from light boxes and obstacles. Your layout alignment determines whether seams disappear or scream for attention, so double-check every mark before lifting a single sheet.
Pick Plywood Grades That Work for Ceilings
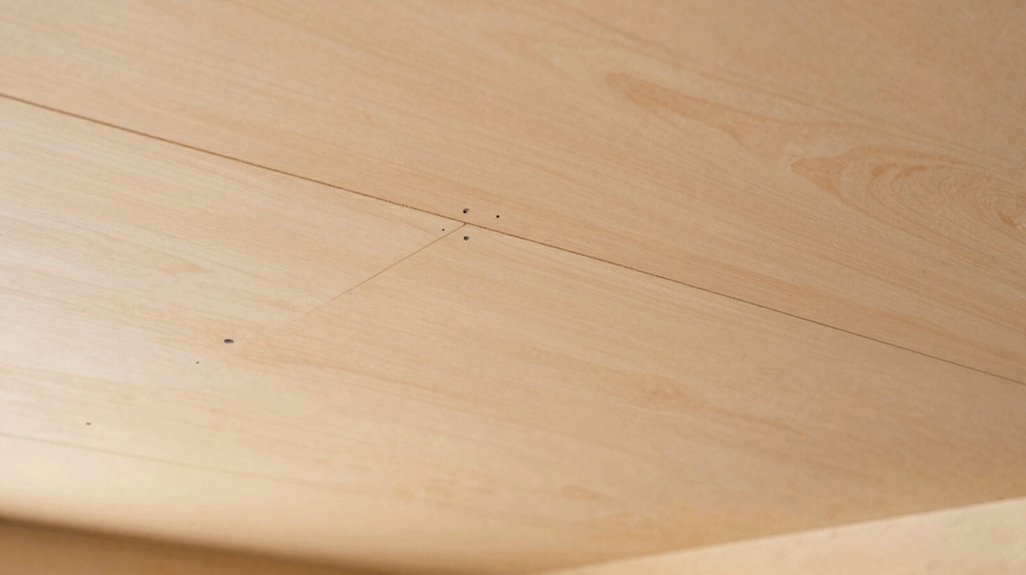
You’ll evaluate plywood grades across three critical dimensions: structural integrity, which determines load-bearing capacity and fastener retention; visual appearance, where A-grade faces minimize defects while B-grade permits minor patches; and budget constraints, which may steer you toward 1/4-inch underlayment (luan) at roughly half the cost of birch.
Match your selection to ceiling exposure conditions, since exterior applications require edge-sealing with clear hard-wax oil to prevent moisture absorption and subsequent warping. Inspect sheets locally for color consistency, as pink or red tonal variations often signal inferior adhesive quality or inconsistent manufacturing batches.
Structural Integrity Considerations
Because your ceiling must bear its own weight without sagging or failing, you’ll need to evaluate plywood grades with structural demands in mind before you make any purchase. Thin plywood sheets, typically 1/4 inch or thinner, reduce dead load but require precise fastening into joists.
You’ll space fasteners every 6 to 8 inches along edges, hitting structural members to prevent pull-through. Where no framing exists, install bracing between joists to create anchor points.
Exterior or cabinet-grade plywood minimizes internal voids that weaken panels. Align all seams with joists or trusses to maximize fastener bite and limit movement.
| Structural Element | Requirement |
|---|---|
| Joist spacing | 12 inches on-center, or per local code |
| Fastener penetration | Minimum 1 inch into solid framing |
| Bracing placement | Every 24 to 32 inches where joists are absent |
Visual Appearance Grades
What separates a professional-looking plywood ceiling from a patchwork disappointment? You’ve got to pick plywood grades that minimize surface defects from the start.
For ceilings, you’ll want A/B or B/C grade panels where faces stay visible. These grades limit knot size, resin pockets, and rough patches that telegraph through paint or clear finishes. C or D grades work for hidden areas, but don’t mix wildly different grades on exposed surfaces; you’ll spot the seams instantly.
Check edges carefully before buying. Grades with fewer mineral streaks and voids near edges improve edge alignment dramatically, reducing gapping and finish headaches. Consistent face quality across all sheets matters more than you’d think; even small variations in surface smoothness create noticeable patches under ceiling lighting.
Inspect each panel in good light, reject sheets with edge damage, and you’ll avoid the rework that derails weekend projects.
Budget-Friendly Selections
Most plywood ceiling projects stay within reach when you prioritize material selection over premium branding. You’ll save considerably by choosing 1/4 inch plywood underlayment, commonly called luan, instead of pricier birch alternatives. Inspect sheets locally for consistent coloring, avoiding pink or red tinted grades that signal lower quality.
Rip standard 8 ft by 4 ft sheets into narrow planks to minimize waste and control material costs across large ceiling installations.
| Budget Strategy | Cost Impact |
|---|---|
| Use luan underlayment | Reduces material cost 40-60% |
| Rip sheets into planks | Cuts waste, lowers total square footage needed |
| Apply clear coat or stain | Eliminates premium finishing expenses |
Finish with Minwax Polycrylic or basic stains to achieve durable, attractive results without additional spending. Your budget-friendly ceiling installation delivers professional appearance through smart planning, not expensive materials.
Cut and Sand Plywood Panels Before Lifting
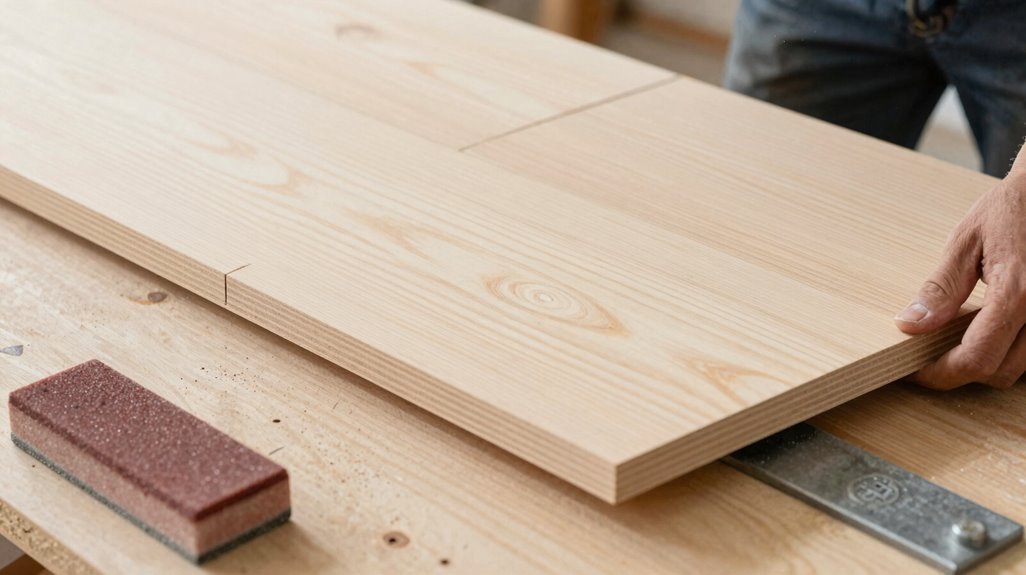
Cutting and sanding your plywood before lifting it overhead makes a difficult ceiling installation a manageable, two-person job. You’ll rip 4 ft by 8 ft plywood sheets into narrower planks, typically 8 inches wide, reducing weight and improving maneuverability in tight spaces.
Before cutting planks, acclimate your plywood for 48 hours minimum, storing it horizontally on bearers to prevent bowing. Locate ceiling studs with a stud finder, then determine board direction relative to joists to optimize your layout. After trimming, you’ll sand edges immediately using sandpaper or a corner sander, sealing and smoothing each cut to eliminate splinters.
This preparation guarantees tight, clean joints when you assemble panels overhead, preventing gaps that compromise structural integrity and visual finish.
Fasten Plywood to Joists Without Sagging
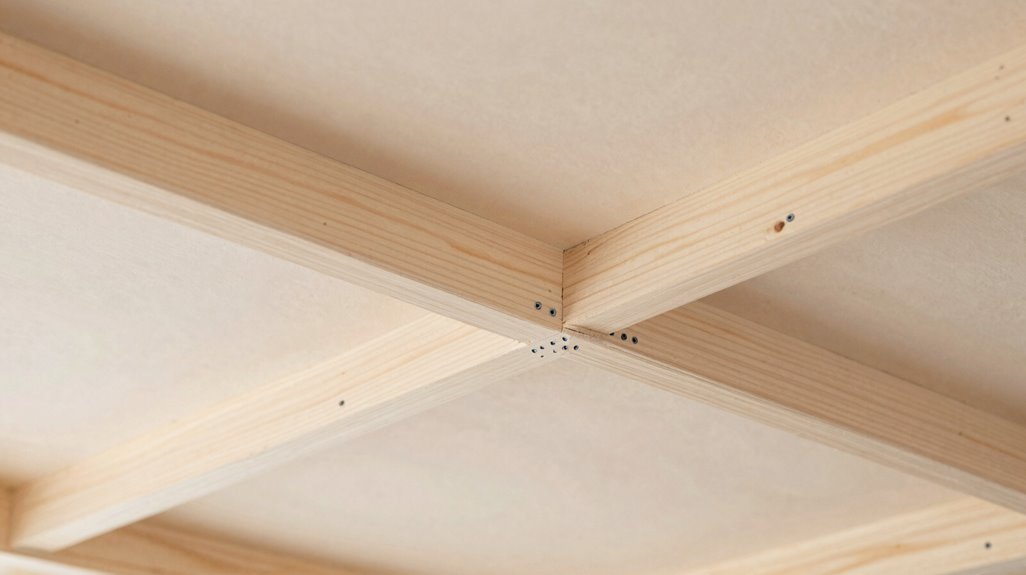
With your panels cut, sanded, and ready, you’ll now secure them to ceiling joists in a way that prevents sagging over time. Mark joist positions first, then align each panel and drive screws from the center outward to pull edges tight against the framing.
You’ll use two screws per edge into existing joists, with a helper pressing the center flat to stop sagging during installation. Apply 1 1/2 inch screws along outer edges, and add long staples or backing bracing at the center to distribute weight and minimize deflection.
Where no framing exists, install scrap 2×4 bracing to create secure attachment points for screws and reduce sag risk. Maintain consistent 1/8 to 1/4 inch gaps between sheets, using spacers during fastening to prevent bowing and help even load transfer to the joists.
Cut Around Lights and Vents Without Ugly Gaps
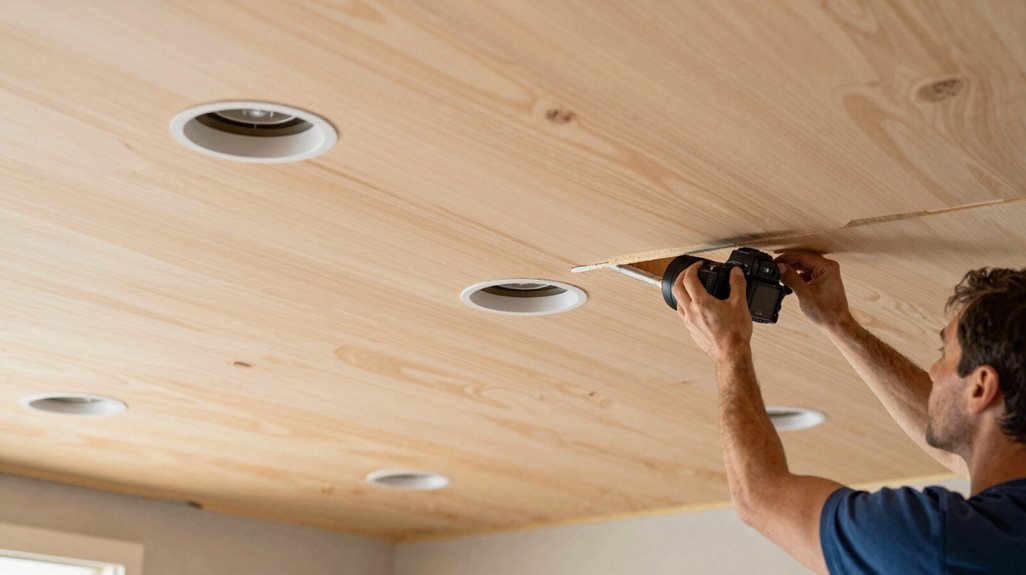
Where exactly should you begin when plywood meets obstacles overhead? Start with a pencil outline around each light box, tracing precisely so your jigsaw follows the mark without wandering. You’ll leave a clean edge now, then trim edge details after mounting.
For vents, scribe a cut-to-fit line along the framing, using a Dremel or jigsaw for tight clearance. Don’t force larger openings; accuracy prevents gaps.
After securing each panel, trim edge areas around openings until plywood sits flush with fixtures. Use quadrant spacers to maintain consistent gaps around irregular shapes, keeping seals even across your ceiling plane.
Apply caulk sparingly between cut edges and openings. This fills micro-gaps, reduces air leakage, and avoids bulky seams that draw the eye. Your ceiling stays tight, professional, and gap-free.
Trim Your Plywood Ceiling Seams Like a Pro
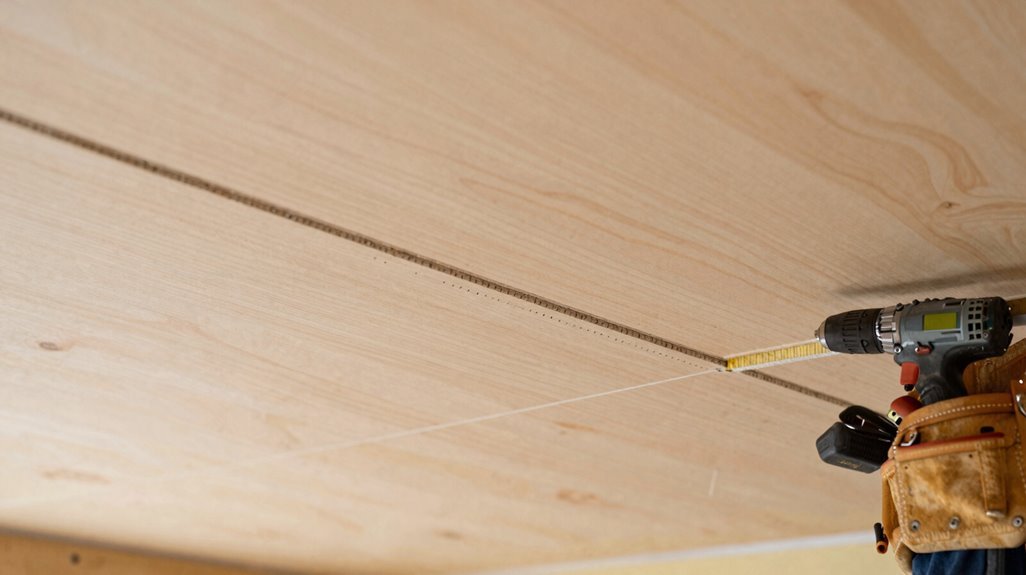
The right trim strategy turns raw plywood edges into a finished ceiling system you’ll actually want to look at. You’ll cover seams between plywood sheets with precision-placed trim boards, creating visual continuity across your ceiling plane.
| Trim Location | Board Size | Purpose |
|---|---|---|
| Outer corners | 1×3 | Clean edge termination |
| Bottom seams | 1×4 | Conceal plywood seams |
| Light boxes | 1×3 or 1×4 | Maintain uniform appearance |
Align each trim piece directly over plywood seams, then nail or brad-nail into studs or bracing behind. Paint your trim before installation; you’ll avoid brushing against fresh plywood surfaces and eliminate touch-up work.
For minor gaps between boards, apply caulk to reduce air leakage and tighten seam appearance. After installation, inspect trim alignment around each light box, adjusting as needed to preserve consistent sight lines across your finished ceiling system.
Finish With Paint, Stain, or Clear Coat
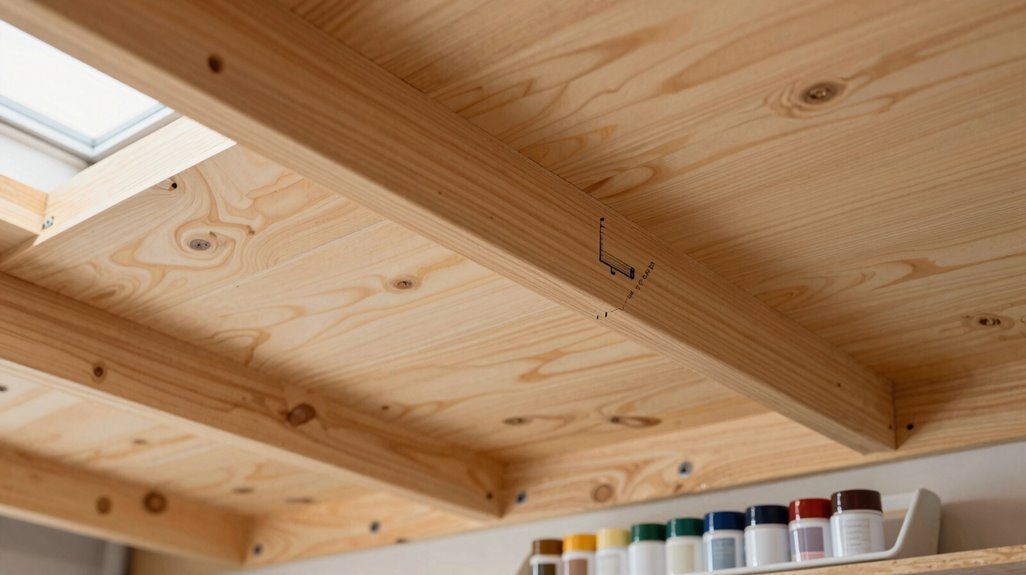
How do you want your plywood ceiling to look when the work’s done? You have three solid paths: painting, stain, or clear coat. Here’s how to execute each.
1. Painting
Caulk gaps and seams first. Prime the surface, then apply satin or semi-gloss paint. This finish cleans easily and reflects light evenly.
2. Stain
Apply pre-stain conditioner to prevent blotching. Choose your tone; Weathered Oak with Early American creates warmth. Wipe excess after 5-10 minutes.
3. Clear Coat
Use Minwax Polycrylic to preserve natural grain without color change. Plan for edge touch-ups after any final adjustments.
Seam Strategy
Paint gaps brown before assembly to mimic tongue-and-groove, or leave open for rustic texture.
| Finish | Prep Time | Dry Time | Maintenance |
|---|---|---|---|
| Paint | 2 hrs | 4 hrs/touch, 24 hrs/recoat | Wipe clean |
| Stain | 1.5 hrs | 24 hrs before topcoat | Re-oil yearly |
| Clear Coat | 1 hr | 2 hrs/touch, 24 hrs/recoat | Buff scratches |
Select based on your tolerance for upkeep and your desired aesthetic outcome.





