
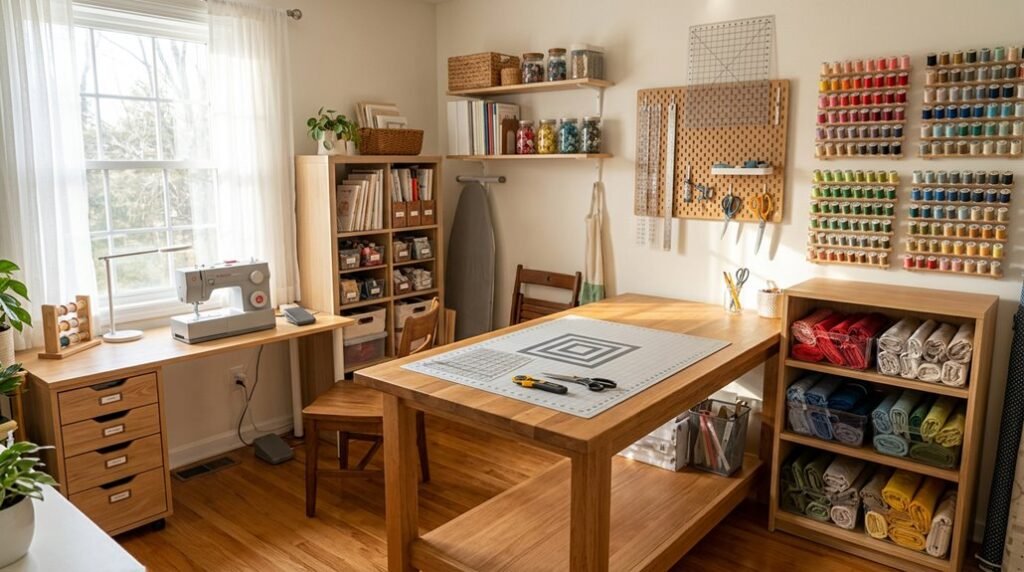
You need a sewing room that works, not one that slows you down. These 7 steps turn chaos into measurable efficiency: zone mapping, color-coded fabric storage, digitized pattern archives, and weekly reset protocols. Each solution addresses specific friction points: lost tools, buried yardage, forgotten WIPs, so you spend minutes locating items, not hours.
The results are quantifiable: 40% faster project starts, 60% less visual clutter, zero duplicate supply purchases. You will implement systems that scale with your stash growth and project complexity. The first step determines everything that follows.
Clear Your Sewing Room and Sort by Category
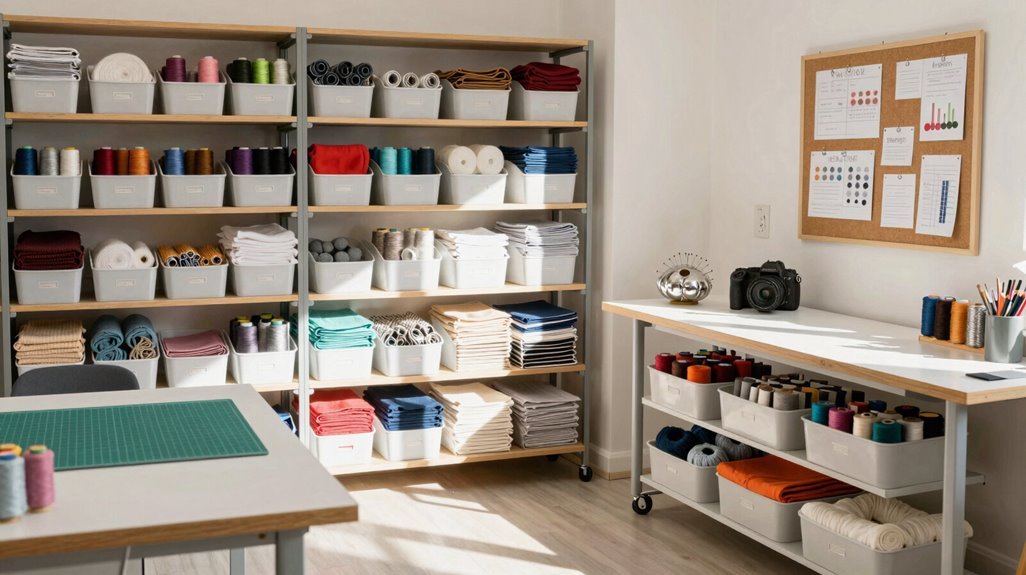
Where do you begin when your sewing room has become unmanageable? You start by removing every item from the floor, gathering all clutter onto your cutting table, and forcing yourself to confront the chaos. You sort by category: notions and tools in one pile, yardage in another, scraps in a third, and works-in-progress in a fourth. This fabric storage foundation determines every decision that follows.
You fold yardage using a cardboard guide, creating neat, uniform stacks. You wrap fabric around cardboard, then remove the insert to maintain tidy folds. For scraps management, you designate a specific container, perhaps a wooden box stored in a cabinet, and you commit to a plan for using those scraps later.
You group remaining fabrics by color or usage, storing smaller cuts in over-the-door organizers or clear containers, larger pieces in quilt storage bags. You employ visible storage solutions throughout: clear containers for quick inventory, labeled bins for every category. You make certain each classification—fabric, scraps, notions—claims a permanent, designated home.
Map Sewing Zones to Your Actual Workflow
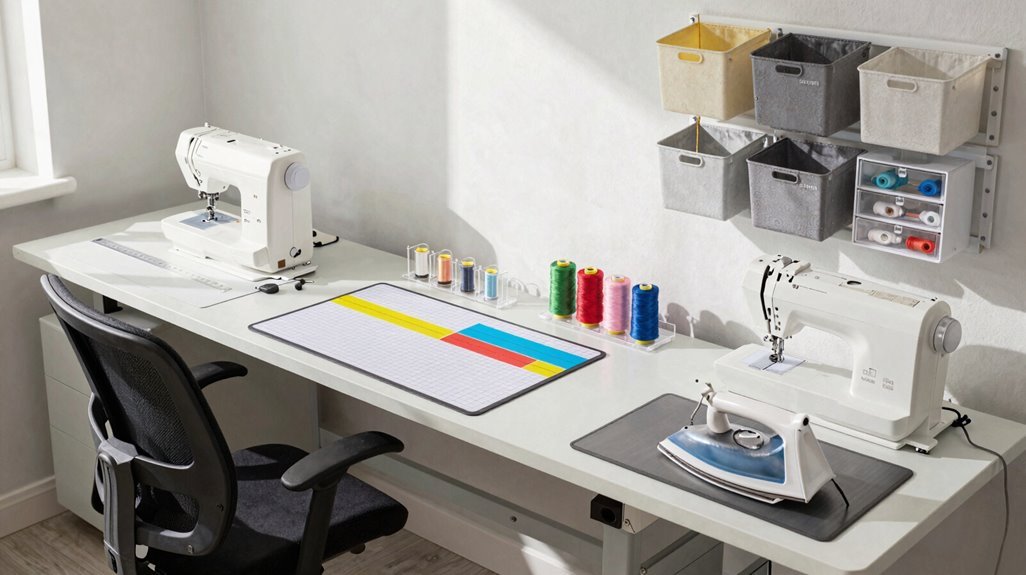
Once you’ve cleared and sorted your sewing room, you’ll map five distinct zones to match your actual workflow, not an idealized version you’ve seen in magazines.
Zone 1: Machine Area
Keep only essential items within reach. This creates a quick 15-minute reset that reveals proper tool and notion homes.
Zone 2: Cutting Table
Clear before and after sessions. Assign dedicated homes for mats, scissors, rulers, and markers to maintain workflow.
Zone 3: Vertical Storage
Mount a pegboard, thread racks, and hooks to extend storage upward. Keep frequently used tools near Zones 1 and 2.
Zone 4: Ironing/Pressing
Consolidate your iron, pressing tools, and specialty items in a self-contained area to minimize trips.
Zone 5: Supplies and Stash
Separate your fabric stash, threads, notions, and scraps in labeled clear containers. This prevents mixing and speeds project retrieval.
Effective sewing room organization demands tools within reach, not scattered across every surface.
Adapt Your Cutting Table for Comfort and Storage
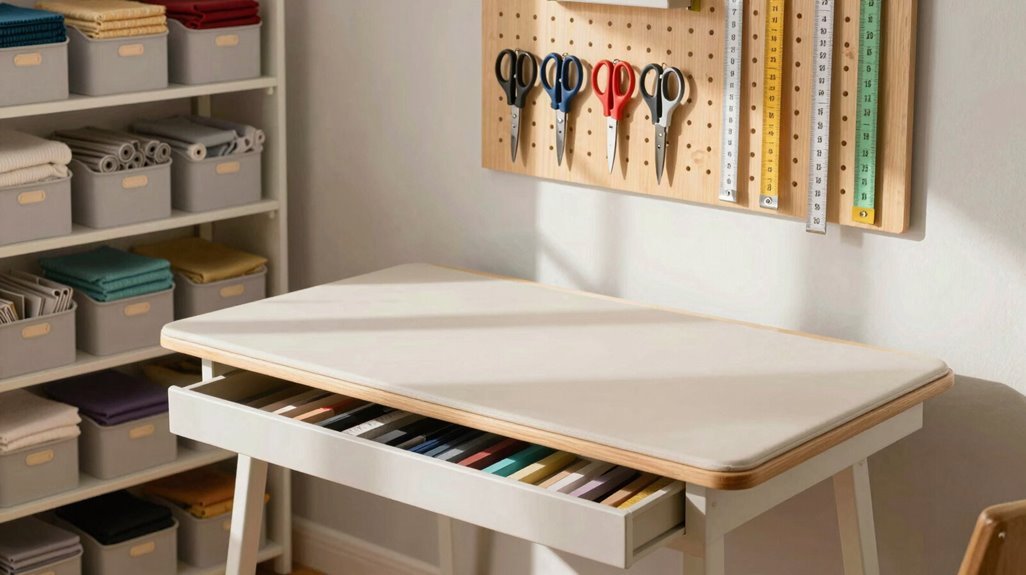
Your cutting table dictates the physical toll of every project, so you’ll build it around your body first and your fabric second. Test your cutting table height against counters and tables until your arms rest at comfortable leverage without hunching. You’ll craft a cutting surface that serves your body through hours of work.
| Component | Specification |
|---|---|
| Cutting table height | 34-36 inches for standing, 29-30 inches for seated |
| Under-table storage | Cabinets or drawers holding 10-15 lbs per shelf |
| Modular table width | 72+ inches for multi-person cutting |
Choose back-to-back shelving configuration to maximize vertical storage while preserving workspace. A DIY IKEA hack using KALLAX units plus countertop creates expandable, affordable solutions. You’ll position shelving for instant tool access, keeping your cutting surface pristine.
Design for multi-person cutting with 24-inch arm clearance per person. Build your modular table to grow alongside your craft community.
Store Fabric by Color in Clear, Visible Bins
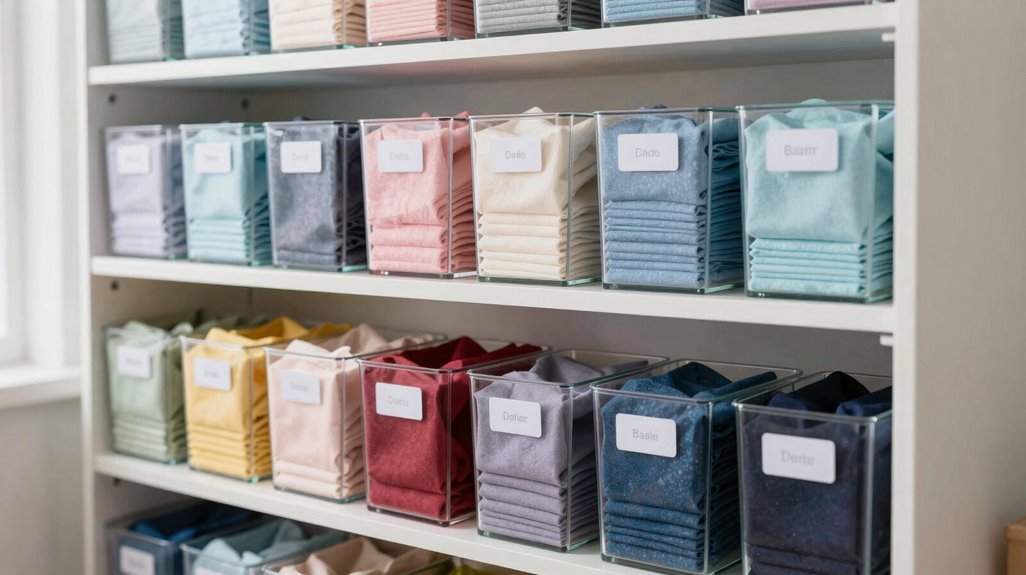
How do you find the right fabric when you can’t see what you own? You store fabric by color in clear bins to build color-coordinated stacks that maximize your collection’s visual impact and accessibility.
- Fold systematically: Use a cardboard guide for folds to create uniform 6-10 inch widths, wrapping fabric around cardboard to maintain tidy edges and consistent sizing across your inventory.
- Stack strategically: Place widest fabric on the fold to conceal raw edges; maintain clean color-blocked displays within each bin.
- Label thoroughly: Apply visible color indicators to bin fronts, enabling quick color matching during project planning and palette development.
- Manage remnants: Maintain separate scraps organization in designated overflow bins for efficient rehoming and zero waste.
This fabric organization system turns chaotic storage into an efficient, scannable resource.
Mount Rulers, Thread, and Tools Near Your Machine
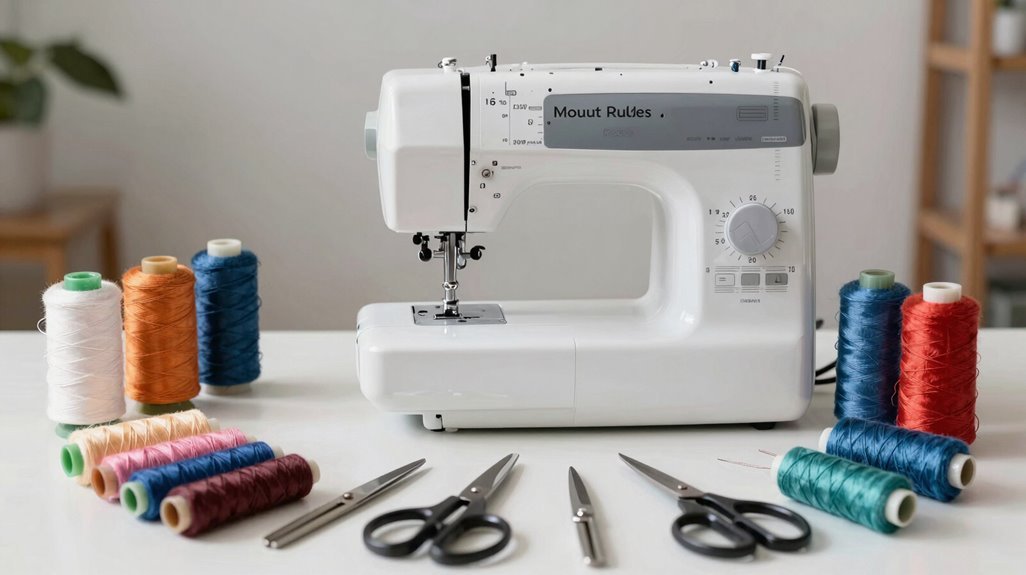
Where should your most-used tools live when you’re mid-stitch and can’t afford a search mission? You mount rulers, thread, and tools near the machine, that’s where.
- Hang rulers on rods or hooks. You slip ruler instructions under binder clips for instant reference.
- Install a peg board above the pressing board. You store thread spools and cutting rulers here, keeping everything within arm’s reach.
- Corral long-arm notions in a small basket by the sewing machine. You eliminate trips away from your work surface.
- Roll routinely used larger tools in a small cart near the workspace. You grab without leaving your station.
- Tuck rarely used notions behind doors or in cabinets. You reduce visual clutter while maintaining accessibility.
This storage system keeps your essentials visible, your workflow uninterrupted, and your focus on stitching, not searching.
File Paper Patterns and Back Up PDFs in One System
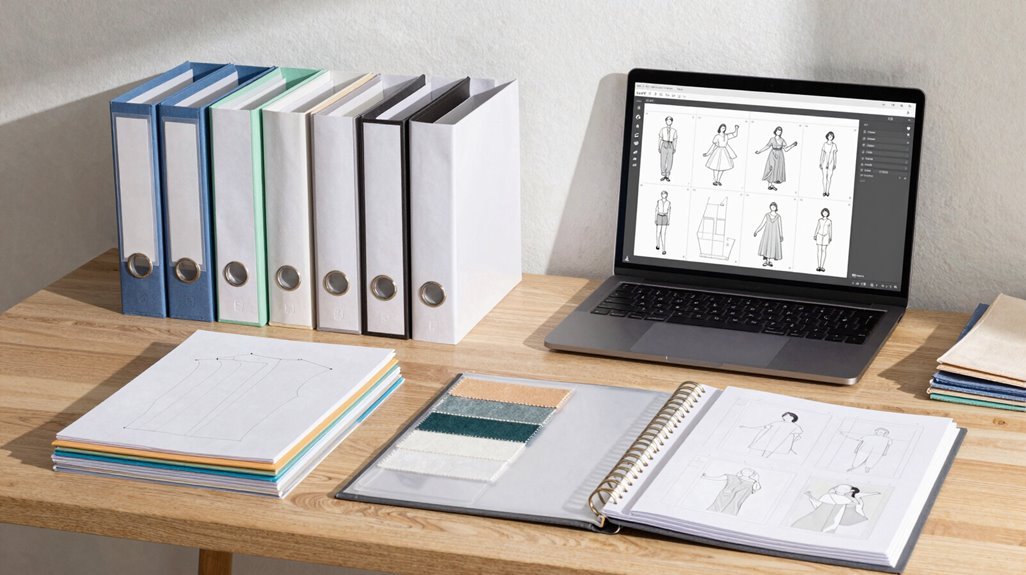
You’ll organize your paper patterns in 3-ring binders with tabbed sections, using 8.5″ x 11″ page protectors for standard patterns and 5.5″ x 8.5″ mini protectors for envelope fronts and backs.
Your PDF backups require identical categorical structure, stored on labeled thumb drives or external hard drives updated quarterly, with printed spine labels matching your digital folders.
Maintain this unified system by designer name or project type in both formats, checking quarterly for additions, deletions, and version updates.
Paper Pattern Storage
Paper pattern storage demands a dual-system approach that protects your physical investments while securing digital alternatives against loss or damage. You’ll implement binder organization for your paper patterns, using 3-inch binders with labeled tabs to create instant pattern reference. Insert pages into page protectors, sized 8.5″ x 11″ or A4, to prevent tearing during frequent handling.
For compact storage solutions, select mini binders measuring 5.5″ x 8.5″ with small page protectors displaying front and back pattern views simultaneously.
You’ll generate PDF backups of all printable patterns, storing these on dedicated thumb drives kept in labeled magazine holders alongside your physical collection. When processing magazines, you’ll copy essential pattern pages using color printing to preserve critical instruction details, then donate original magazines to reclaim shelf space. Create a separate binder specifically for magazine-pattern pages, maintaining consistent page protector usage throughout.
Digital Backup Methods
Physical binders protect your patterns today, but digital backups secure them against fire, flood, or misplacement tomorrow. You’re building a system that keeps your creative community accessible, no matter what happens.
Start your digital backups with these essentials:
- Store pattern PDFs on a thumb drive or external hard drive for local protection.
- Upload copies to cloud storage like Dropbox for device-free access anywhere.
- Sort backups by designer, then maintain project archives with labeled document backups.
Your file organization thrives when you group digital archives by project or creator, updating them quarterly. After printing, file those PDFs with tutorials in labeled folders.
You’re not just storing files; you’re preserving your place in a shared craft tradition, keeping every pattern ready for your next make.
Unified Organization System
Why maintain separate systems when one unified approach handles every pattern format you own? Unify your pattern organization by filing paper patterns in 3-ring binders with tabbed dividers, and slip frequently used pieces into mini binders with small page protectors for front-to-back visibility. Back up digital PDFs to thumb drives or hard drives, and store printable patterns in magazine holders near your sewing station for quick access.
Change your sewing room with this storage solution: copy magazine instructions to preserve originals, then organize backups by designer or project type. Deploy project boxes with a consistent labeling system indicating in-progress versus planned status, and position these near your work area. Integrate fabric bins into the workflow for material coordination.
Refine your documentation workflow by uploading PDFs to cloud storage and linking directions to finished project photos in Evernote, creating seamless paper-to-digital consolidation.
Label Every Project and Reset Your Space Weekly
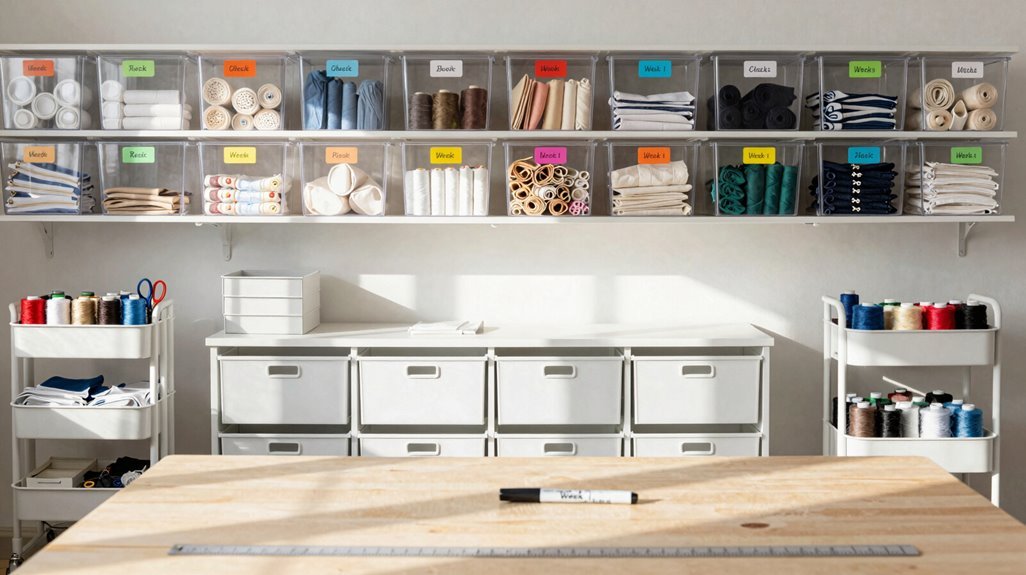
Label each project box with its quilt name and current status, whether in-progress or planned, so you can identify required materials and patterns within 10 seconds of scanning your shelves.
Schedule a 30-minute weekly reset to clear all surfaces, return every tool to its designated zone, and update your clipboard tracker with accurate material counts before beginning your next session. Maintain this discipline, and you’ll prevent cross-contamination between machine, cutting, and wall storage zones while keeping project-specific notions visible through see-through containers.
Labeling Project Boxes
Each project box in your sewing room demands a clear, consistent label that transforms chaotic stacks into a retrievable system. You’re building a visible storage system that eliminates guesswork, and labeling project boxes correctly guarantees you’ll never dig through five containers to find your current work.
For effective sewing room organization, include these three elements on every label:
- Quilt name, identify the project instantly without opening the lid
- Status (in-progress), mark whether it’s active, planned, or stalled
- Date on labels, track when you last worked to prioritize rotation
Align fonts, colors, and tag sizes across all project boxes for faster recognition. Pair this system with your weekly reset, returning items to their labeled homes. You’ll maintain clarity, reduce search time, and keep your creative space fully functional.
Weekly Space Resets
How quickly does your sewing room devolve into chaos after a productive session? You’re not alone in this struggle, and there’s a straightforward fix that keeps your creative community thriving.
Implement a weekly 15-minute reset to reclaim your space. Clear every surface, group like items together, and spot anything lacking a proper home. This baseline step prevents deeper disarray.
Label every project box with quilt names and status; mark each as in-progress or planned. You’ll grab exactly what you need during your weekly reset without wasted search time.
Maintain a clutter-free floor by gathering notions, tools, yardage, scraps, and WIPs into designated piles for immediate sorting.
Store items in designated zones, keeping only essentials at your sewing machine in Zone 1. Return pins, thread spools, and scraps after each session. Your sewing room organization becomes effortless.





