
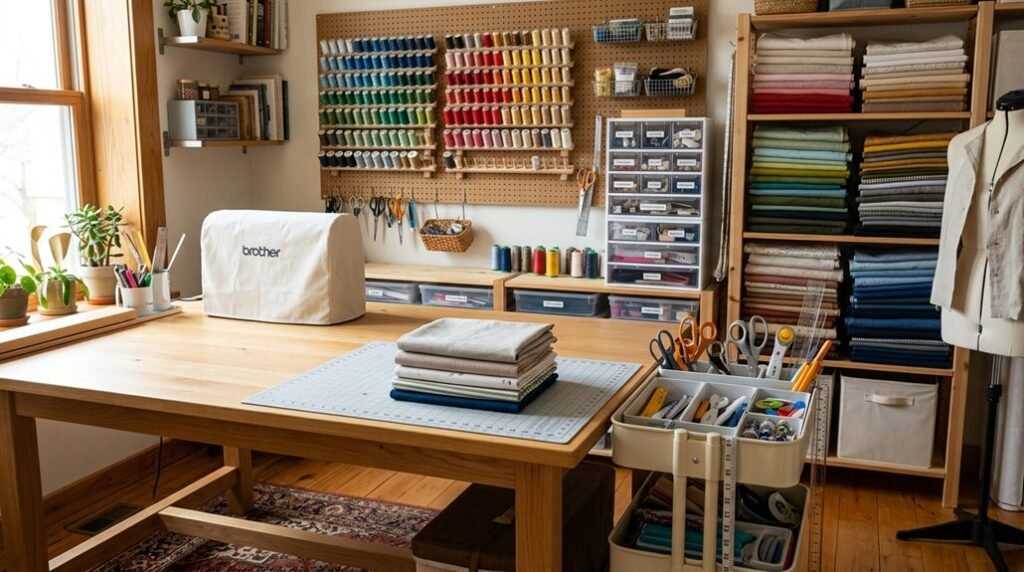
Your sewing room isn’t working, and you know it. You’ve spent 20 minutes hunting for pinking shears while a half-finished hem sits abandoned. The fabric you bought last March remains buried under pattern envelopes, and you’ve bought three seam rippers because the first two vanished into the chaos.
You need a system that matches how you actually sew, not another Pinterest fantasy with wicker baskets. These five steps will give you measurable results in under two hours.
Start Your Sewing Room Organization With a Complete Space Reset
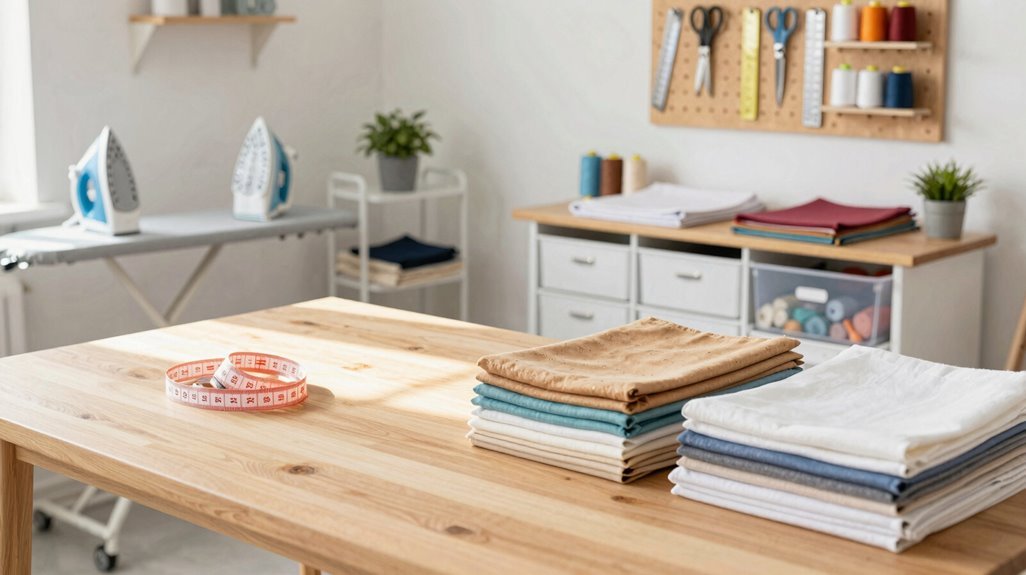
Where do you begin when your sewing room feels overwhelming? You start with a 15-minute complete reset.
- Set a timer and clear surfaces completely. Put like with like.
- Identify items without homes, then establish rough tool storage for immediate accessibility.
- Separate working from stash supplies; keep essentials at your machine, move excess to designated areas.
- Empty walkways, then categorize items into labeled zones.
- Designate upright tool holders, pincushions, and clip baskets for your machine area.
This space reset creates instant functionality. You’ll see what requires deeper fabric destash later.
| Action | Timeframe | Result |
|---|---|---|
| Surface clearing | 5 minutes | Visible workspace |
| Categorizing | 7 minutes | Rough zones established |
| Tool placement | 3 minutes | Immediate accessibility achieved |
Your sewing room organization begins with momentum, not perfection.
Zone Your Sewing Room by How You Actually Move Through Projects
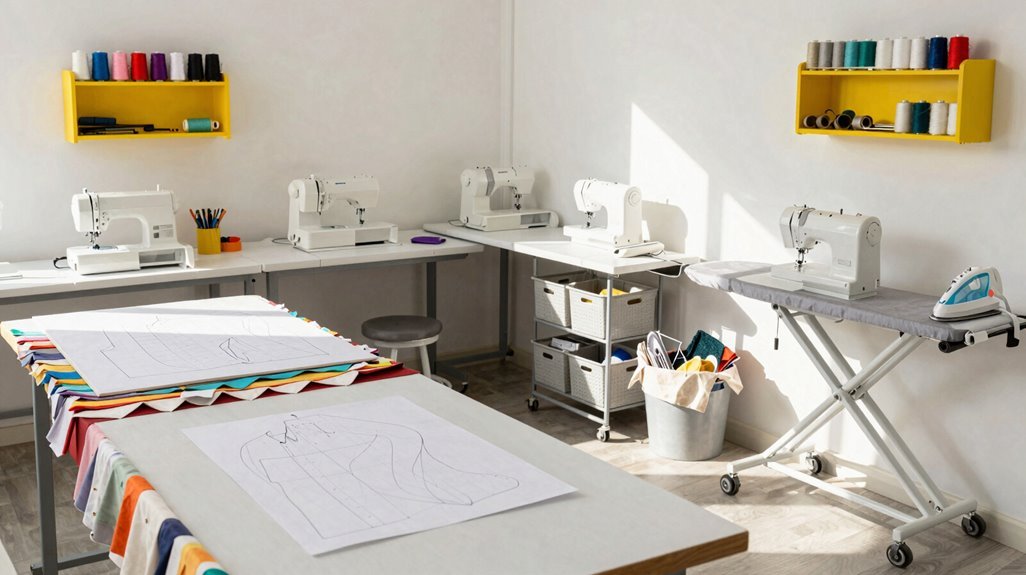
How does your body actually move when you’re mid-project? Effective sewing room organization maps zones to your natural workflow, eliminating wasted steps and mental friction.
Zone 1: Machine Area
Keep only essentials within arm’s reach. Position an upright tool holder beside your machine for immediate access to seam rippers, snips, and bobbins during active stitching.
Zone 2: Cutting Table
Clear this surface before and after every session. Mount a vertical rack nearby to store cutting mats, rulers, and rotary cutters vertically, recovering 40% of horizontal workspace.
Zone 3: Wall Storage
Install pegboard, hooks, and thread racks between Zones 1 and 2. This vertical system frees floor space while positioning frequently used notions exactly where you transition between tasks.
Zone 4: Ironing/Pressing Zone
Create a self-contained station with pressing board, clapper, and tailor’s ham positioned to minimize cross-room trips.
Zone 5: Fabric Storage
House materials in clearly labeled containers with transparent fronts, establishing dedicated homes that prevent mixing and accelerate project starts.
Store Fabric, Scraps, and Tools by Access Frequency
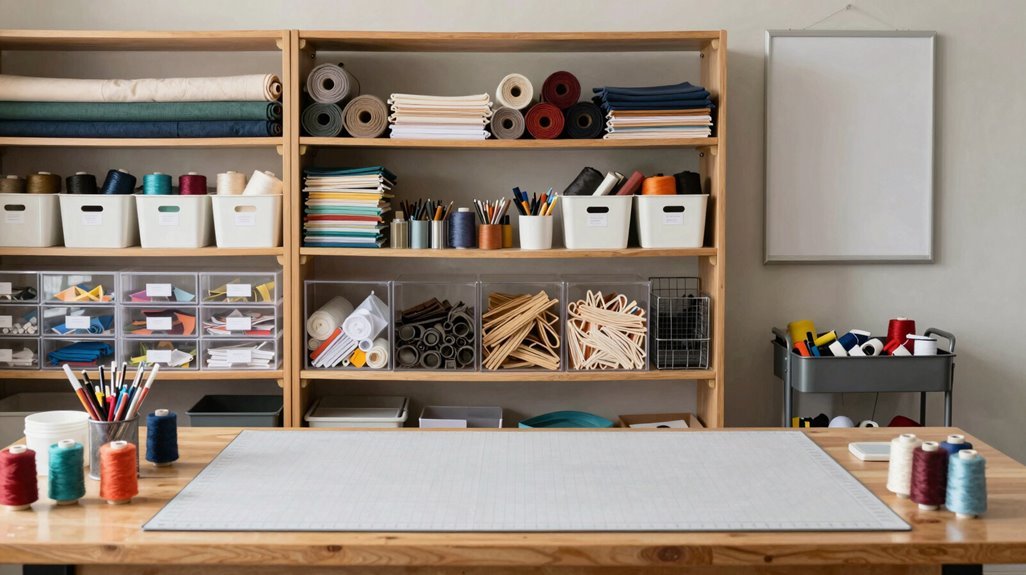
Why let your most-used supplies hide behind rarely touched materials? You deserve an organized sewing room that works with your natural flow, not against it.
Prioritize fabric storage by access frequency, placing daily-use materials in easy reach while storing seasonal or specialty pieces higher or farther back. You’ll streamline every project when your system matches your actual habits.
- Implement clear containers with labeling so you identify contents instantly, eliminating time wasted opening multiple bins during color grouping or storage by project decisions.
- Establish a dedicated scraps area using color-sorted jars or bins, keeping small yardage visible for quick insertion into future work.
- Position sewing tools nearby your main fabric zone, making sure thread, notions, and cutters sit within arm’s reach to maintain uninterrupted workflow.
Keep Daily-Use Tools Visible and Within Arm’s Reach
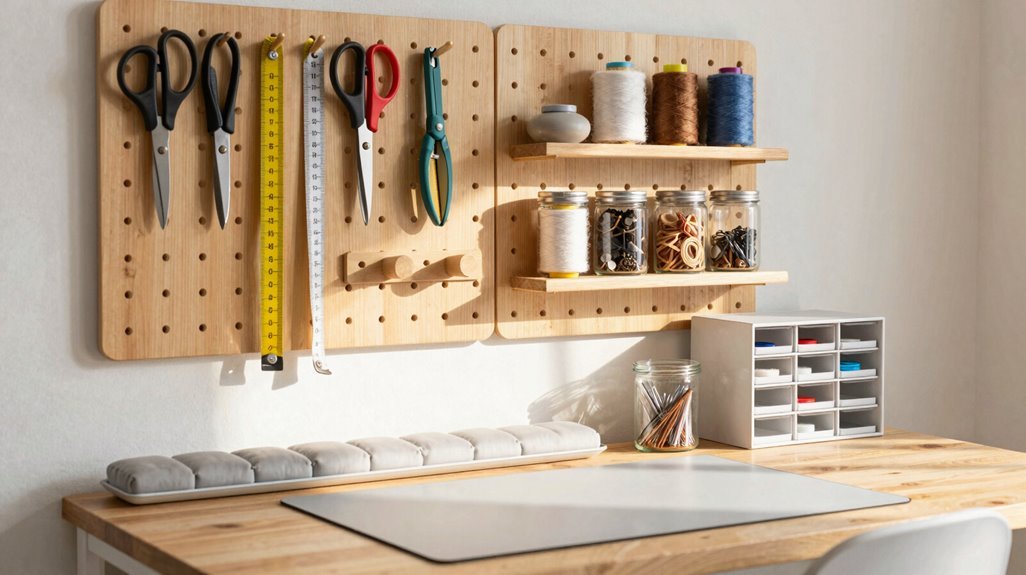
Your fabric and scraps are now sorted by frequency, but disorganized tools will still slow you down mid-project. Effective sewing room organization demands strategic tool accessibility, placing daily-use tools where your hands already travel.
Mount a peg board above your pressing board, storing tools like thread, cutting rulers, and rotary cutters within reach. This vertical system keeps essentials visible during pressing tasks. Position upright scissor stands and a pincushion directly at your sewing machine area for instant cutting access. Tuck longarm notions in a small basket beside your machine, eliminating search time.
Place a compact cart adjacent to your workspace for larger, routinely used items, making easy access possible without cluttering surfaces. Hide rarely used notions behind cabinet doors, keeping workflow efficiency paramount. Your setup now supports smooth movement between tasks.
Label Projects and Build a Reset Habit That Sticks
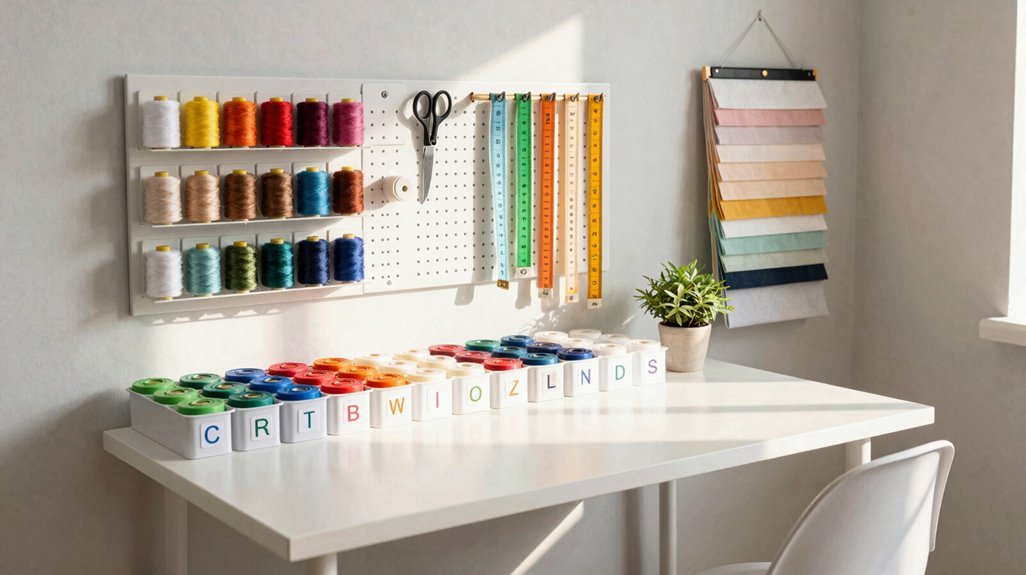
Where do your half-finished blocks disappear when you set them aside? Without proper labeling, your WIPs vanish into chaos, and you lose hours searching through unmarked boxes. You need systems that keep projects visible, retrievable, and current.
Implement this three-step protocol:
- Label every project with its quilt name and status (in-progress, planned), then place items in labeled boxes or bins on designated shelves
- Pair physical labels with a digital trail, storing PDF pattern names and statuses in cloud storage for instant cross-reference
- Establish a weekly routine to reset your space: update project labels, return materials to their homes, and relocate new supplies to proper zones
Your organization depends on this repetition. Commit to the reset, and you’ll spend less time managing clutter, more time sewing.





