
Your front porch ceiling is the unsung hero of your home’s first impression, silently guarding against rain, sun, and time while framing every arrival. You’ll need to navigate material choices, ventilation math, and fastening sequences that separate a five-year fix from a fifty-year solution.
The difference between a sagging, mildew-stained mess and a crisp, durable overhead comes down to decisions you make before lifting a single board. This guide maps each step with precise measurements, climate-specific materials, and installation sequences that protect your investment. Start here, and you’ll finish with a ceiling that outlasts your mortgage.
Choose Your Porch Ceiling Material: Beadboard, V-Groove, or Aluminum
Since you’ll spend years looking up at this surface, selecting the right porch ceiling material demands careful evaluation of durability, aesthetics, and maintenance requirements. You’re choosing among three proven porch ceiling materials: beadboard, v-groove, and aluminum.
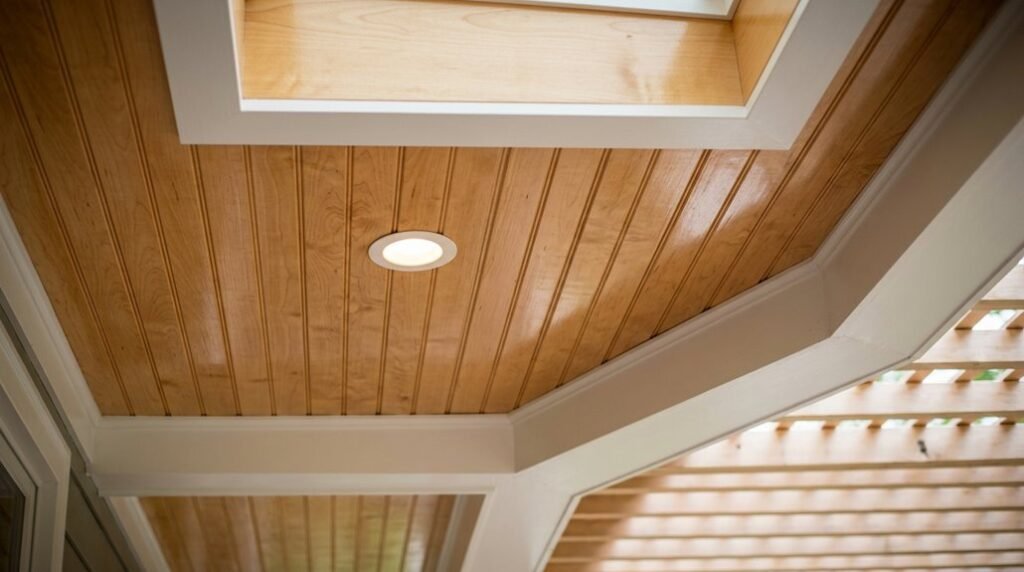
- Beadboard: You’ll install individual panels featuring distinctive vertical grooves, creating a classic, traditional appearance that welcomes neighbors home.
- V-Groove: You’ll lock tongue-and-groove boards together, achieving continuous, smooth surfaces with visible V-shaped grooves between boards.
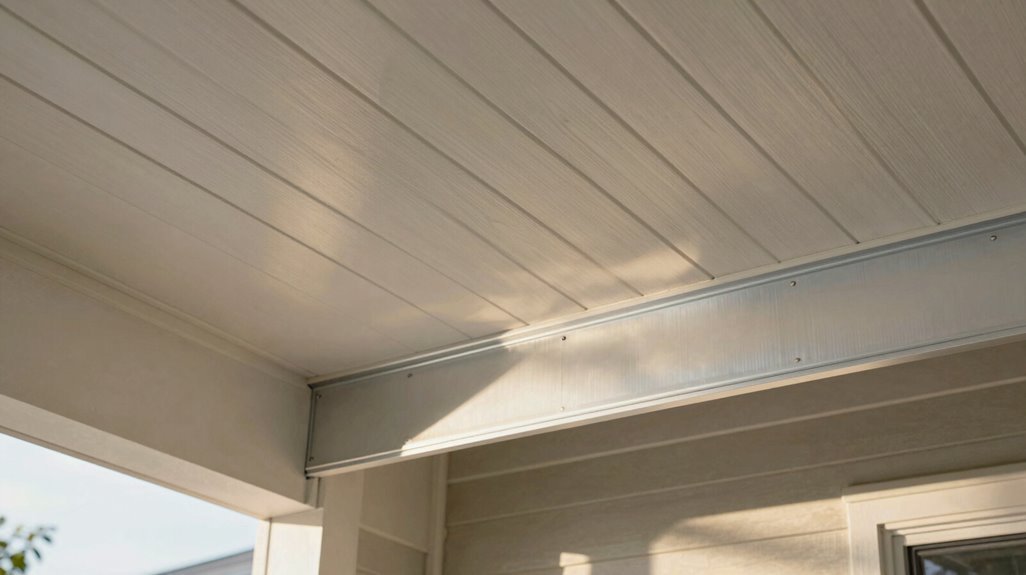
- Aluminum: You’ll mount lightweight, weather-resistant panels that repel pests and demand minimal upkeep.
When deciding, you’ll weigh board width, panel alignment (perpendicular versus long-direction), and joint placement to reduce visible seams. You’ll paint or stain any option, though aluminum delivers superior durability against warping in damp conditions.
Match Your Porch Ceiling to Your Climate
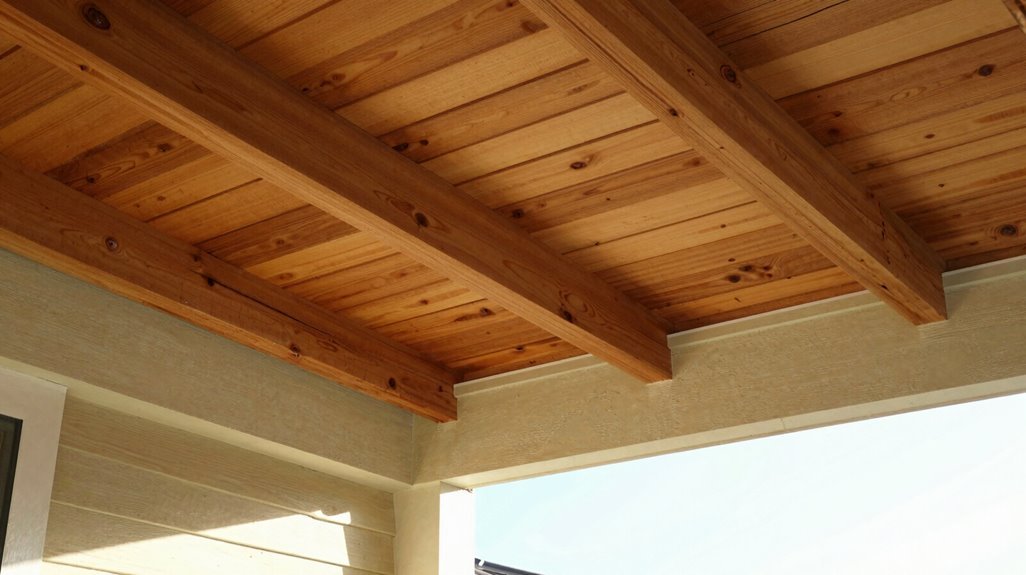
Where you live determines which porch ceiling material will survive the next decade, so you’ll evaluate your local weather patterns before making a selection. Climate compatibility isn’t optional: it’s structural protection. For hot, humid regions, you’ll choose vinyl or aluminum soffit to prevent warping. In coastal areas, you’ll install corrosion-resistant fiber cement or aluminum to withstand salt-air deterioration. Moisture management demands intentional ventilation: eave soffit vents, drip edges, and breathable panel spacing prevent humidity-driven mold and rot.
Consider these climate-specific strategies:
- Install beadboard or PVC with integrated vent channels in wet climates
- Specify light-colored, reflective finishes for sun-exposed porch ceilings in southern zones
- Seal all penetration points with corrosion-rated fasteners in marine environments
Your porch ceiling investment lasts twenty years when you match materials to environmental stressors.
Calculate Your Porch Ceiling Materials and Budget
How do you prevent a mid-project supply run that derails your timeline? You master materials calculation before lifting a single tool.
Start your porch ceiling planning by measuring length and width, accounting for irregular shapes. Determine your panel count, then add 15% for cuts, mistakes, waste, and budgeting realities. Choose your soffit starter: F-channel for new construction, J-channel for remodeling.
Calculate board direction carefully. Short runs mean fewer cuts but more butt joints; long runs reduce joints but complicate alignment.
For short-direction installation, divide length by board width to find rows. For long-direction, divide total square footage by board width. Always add 15% extra.
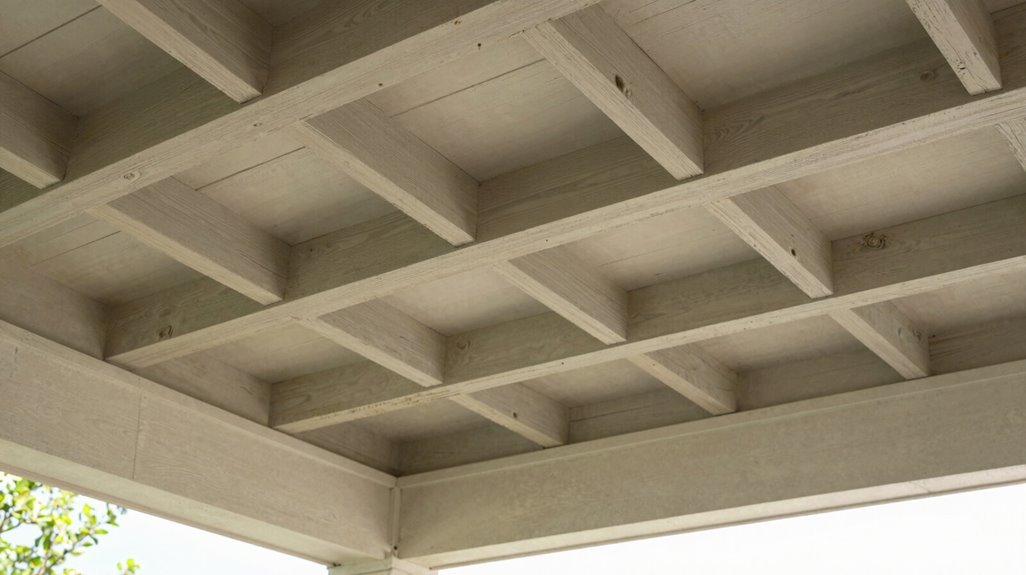
Check joist spacing now. Wider than 24 inches on center requires 1×2 strapping in a 12-inch pattern for proper support.
Check Your Framing and Ventilation First
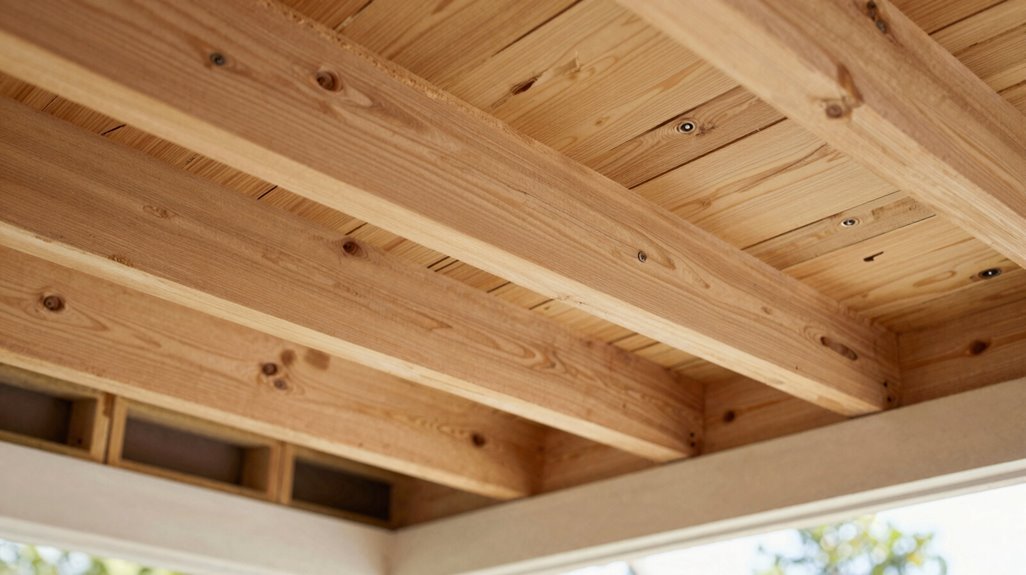
Before you install any ceiling materials, you must confirm your porch framing’s structural integrity and ventilation adequacy. Check the joist spacing, making sure it’s no more than 24 inches on center, and address any moisture or leak issues immediately. Proper assessment now prevents costly repairs and material failure later.
Framing Condition Check
Because a failed ceiling installation often traces back to overlooked framing issues, you’ll need to inspect your porch structure methodically before purchasing a single board. Start by confirming your joists run no more than 24 inches on center; if they’re wider, you’ll install 1×2 strapping in a perpendicular 12-inch pattern across them. Scan for roof leaks now, because water damage destroys new finishes fast.
Your moisture control and ventilation assessment matters here. Isolate humidity sources before they warp your materials. Use a stud finder to locate hidden joists, then mark each with a chalk line for precise nailing guides.
- Remove vinyl soffit or coverings, but leave painted plywood intact
- Add strapping when joist spacing exceeds 24 inches on center
- Clean the surface completely before panel installation
Ventilation Requirements
Once you’ve confirmed your framing can support the load, you’ll turn your attention to airflow design, the factor that determines whether your ceiling lasts 5 years or 50. Proper porch ventilation isn’t optional; it’s your primary defense against costly moisture control failures.
Start by inspecting your joist spacing. Verify solid joists sit no more than 24 inches on center, or install 1×2 strapping in a 12-inch perpendicular pattern when spans exceed this. Check for roof leaks before adding any materials; moisture intrusion warps panels fast.
Plan soffit vents beneath your ceiling to create continuous airflow, reducing humidity buildup that causes mold and rot. Never seal existing ventilation paths.
Finally, confirm your chosen materials, beadboard, vinyl, or aluminum soffit, carry exterior ratings compatible with your ventilation strategy.
Structural Integrity Assessment
Why risk a ceiling collapse when you can verify your framing in under an hour? Start by checking your joists are spaced no more than 24 inches on center. If they’re wider, you’ll add 1×2 strapping in a 12-inch perpendicular pattern across the existing joists.
Inspect for roof leaks now, because water damage behind your soffit ruins everything later. Clean the surface completely, removing vinyl soffit or coverings to expose solid mounting points.
- Verify joist spacing and add strapping when gaps exceed 24 inches
- Inspect for leaks, clean surfaces, and remove old coverings
- Confirm ventilation paths remain open, adding soffit vents with beaded or vinyl panels
In moisture-prone environments, you’ll select corrosion-resistant fasteners. Plan two-person installation on longer spans, and never block existing ventilation; you’re protecting your investment, not just installing a ceiling.
Plan Your Porch Ceiling Layout Direction
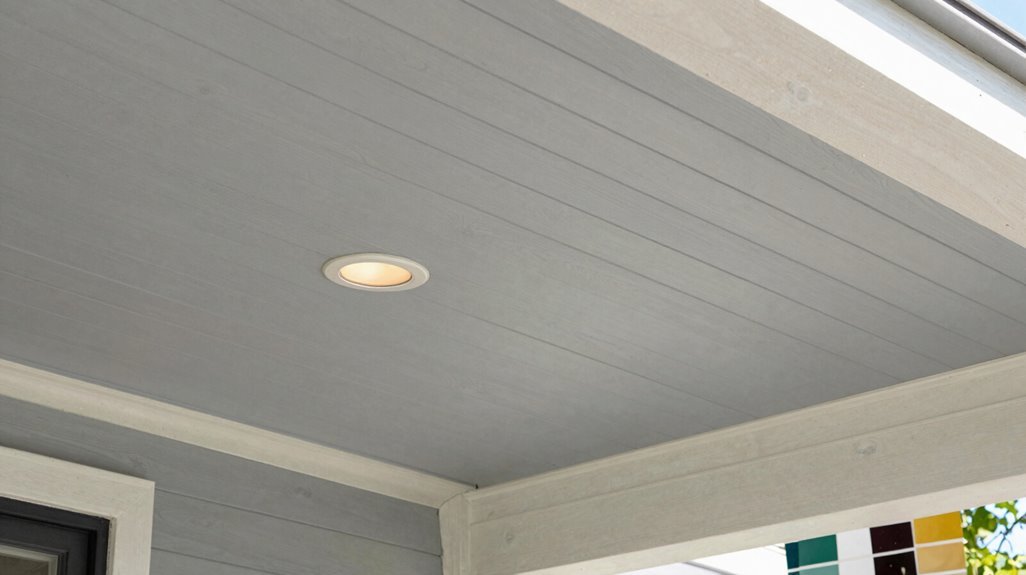
Before you cut a single board, you’ll need to lock down your ceiling layout direction, since this decision determines every subsequent measurement, cut, and joint placement.
Choose your porch ceiling direction based on two primary options: run boards parallel to the long dimension for fewer cuts and simpler alignment, or orient them along the short direction to minimize butt joints and create visual depth.
For tongue and groove installations, perpendicular placement to your porch opening emphasizes width, while longitudinal installation elongates the space.
Measure your porch length and width precisely, noting irregular shapes and obstacles. Calculate total rows based on actual board width, then add 15% additional material for cuts and waste contingency.
Start your first row 3/4 inch from the porch edge to accommodate trim coverage. Mark your final row for custom trimming.
Stretch a string line across long spans to maintain straight, consistent rows. Plan end joint offsets between adjacent rows to create a continuous, professional appearance without visible seams.
Your layout choices now prevent costly errors later.
Cut and Fit Your Porch Ceiling Panels
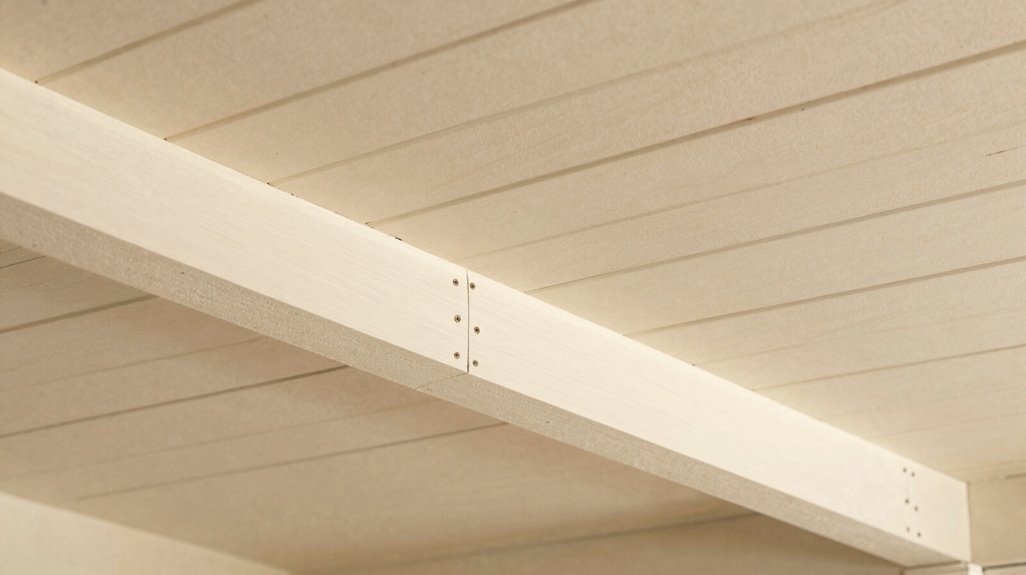
Where exactly do you begin when it’s time to turn raw panels into a precise, fitted ceiling?
Where exactly do you begin when it’s time to turn raw panels into a precise, fitted ceiling?
You’ll start by measuring your porch ceiling panels to match your porch length, marking each piece to account for obstructions like light fixtures or beams. Grab your saw or metal snips, and cut carefully for an accurate fit.
Your soffit installation demands attention to starting position. Set your first panel 3/4 inch from the porch edge, allowing room for trim coverage while making certain your final row sits flush against the opposite side.
Mark and cut panels to length before lifting them into place. Insert each panel into its receiver, then nail the opposite end through the groove. Seat rows tightly using a mallet and grooved push block.
For trimming and fitting, check alignment with a string line. Pre-cut edges for painting surrounding framing before your trim installation, and miter-cut final row ends to required length.
Install Tongue-and-Groove Porch Ceilings
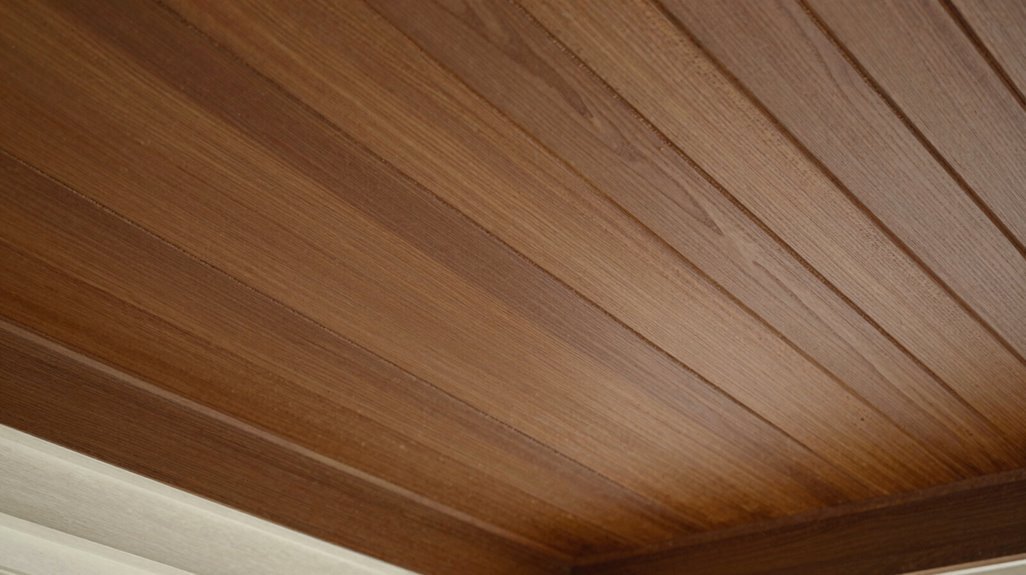
Before you install tongue-and-groove porch ceilings, you’ll need to map your layout, measure your space precisely, and account for material expansion so your boards align correctly from the first row. You’ll cut each board to length, checking that tongues slide fully into grooves without forcing, while leaving your 3/4-inch perimeter gap for trim coverage and offsetting end joints by at least two joist spaces.
Then you’ll fasten with 15- or 16-gauge nails driven through the tongue at a 45-degree angle, spacing fasteners every 8 inches and hiding the final row’s nails to maintain clean sightlines across your ceiling surface.
Pre-Installation Planning
How do you guarantee your tongue-and-groove porch ceilings last decades without warping, sagging, or water damage? You start with meticulous pre-installation planning.
Begin by inspecting your porch framing, confirming joists sit no more than 24 inches on center, and sealing every roof leak before proceeding. Select your soffit installation method: F-channel for new builds; J-channel for remodels, securing it firmly beneath framing.
For material estimates, you’ll need to:
- Measure length and width with precision
- Account for irregular shapes and obstructions
- Add 15% extra stock for cuts and waste
Mark joist locations clearly with chalk lines. Position your first row 3/4 inch from the porch edge for trim coverage, and square those end cuts now. This preparation creates the foundation your ceiling deserves.
Cutting and Fitting
Why risk a crooked ceiling when precise marking and cutting sets every row straight? You’ll measure each vinyl soffit panel to match your porch length, accounting for angles and obstructions. Mark with a pencil, cut with a saw or metal snips, and label every piece before installation. Insert the soffit into the receiver, then nail the opposite end into the rafter. Your first panel must stay straight; it guides every subsequent row.
| Cutting Task | Tool Required |
|---|---|
| Length cuts | Circular saw |
| Angle cuts | Miter saw |
| Notching around obstructions | Metal snips |
| Final row trimming | Table saw |
Seat each row tightly using a mallet and grooved push block. Offset end joints in subsequent rows, keeping them 12 inches from previous joints. For cutting and fitting success, maintain 16-inch nail spacing to prevent gaps. Trim the final row precisely, then install perimeter trim after pre-painting edges. Your porch ceiling installation depends on these measured steps.
Fastening Techniques
With your panels cut and fitted, you’re ready to secure tongue-and-groove boards that create a seamless, interlocking ceiling surface.
Locate and mark each joist with a chalk line, then position your first full-length board 3/4 inch from the porch edge for trim coverage. Fit each tongue-and-groove board into the previous groove, seating tightly with a grooved push block to preserve alignment. Drive 15-gauge fasteners through the tongue at 16 inches on center, keeping nails 1/2 inch from edges to prevent splitting.
Mark joist locations clearly before fastening begins. Space fasteners precisely at 16-inch intervals for structural integrity. Offset end joints between rows for professional appearance.
End the first row 3/4 inch short, trimming pieces to fit. Protect joints with grooved blocks during hammering, and pre-cut perimeter trim for neat edges.
Install Aluminum Soffit Porch Ceilings
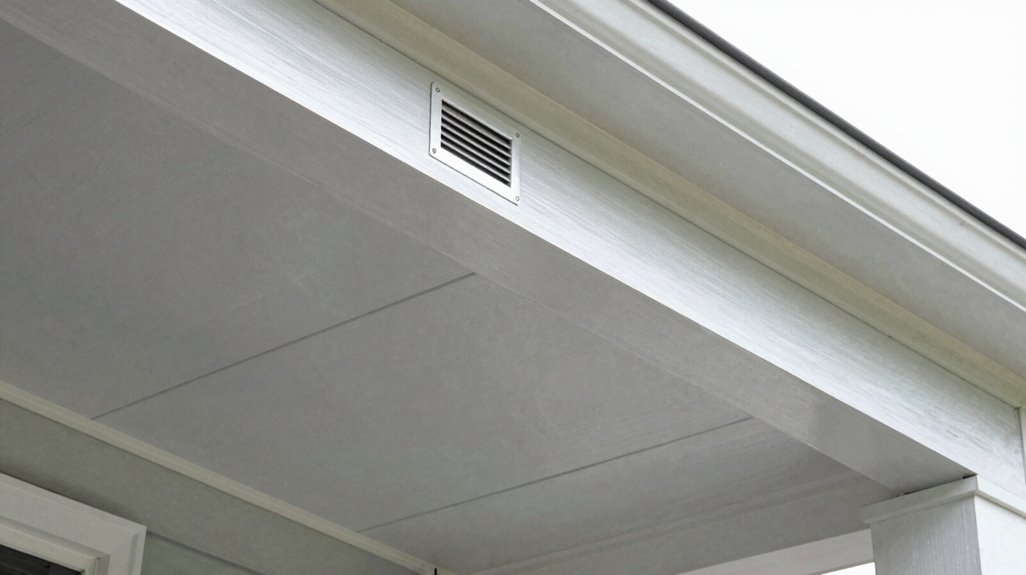
Installing aluminum soffit on your porch ceiling gives you durable weather protection, pest control, and a polished appearance that complements your home’s exterior. You’ll begin your porch soffit installation by measuring dimensions precisely, marking aluminum soffit panels, and cutting with metal snips or a saw. Clean surfaces thoroughly, and remove old trim to create a bare, stable base.
Select J-channel for remodeling projects or F-channel for new construction, then fasten panels to framing with staples or nails at 16-inch intervals. Wear protective gloves against sharp edges, and avoid bad weather that compromises grip and panel fit. For long spans, account for expansion, and seal all joints with caulk to block moisture.
| Component | Purpose | Specification |
|---|---|---|
| J-channel | Remodeling starter | Receives panel edges |
| F-channel | New construction | Secures to framing |
| Staples/nails | Fastening | 16-inch spacing |
| Metal snips | Cutting panels | Clean, precise edges |
| Caulk/sealant | Moisture protection | Applied at joints |
Ventilate Above Your Porch Ceiling Before You Install
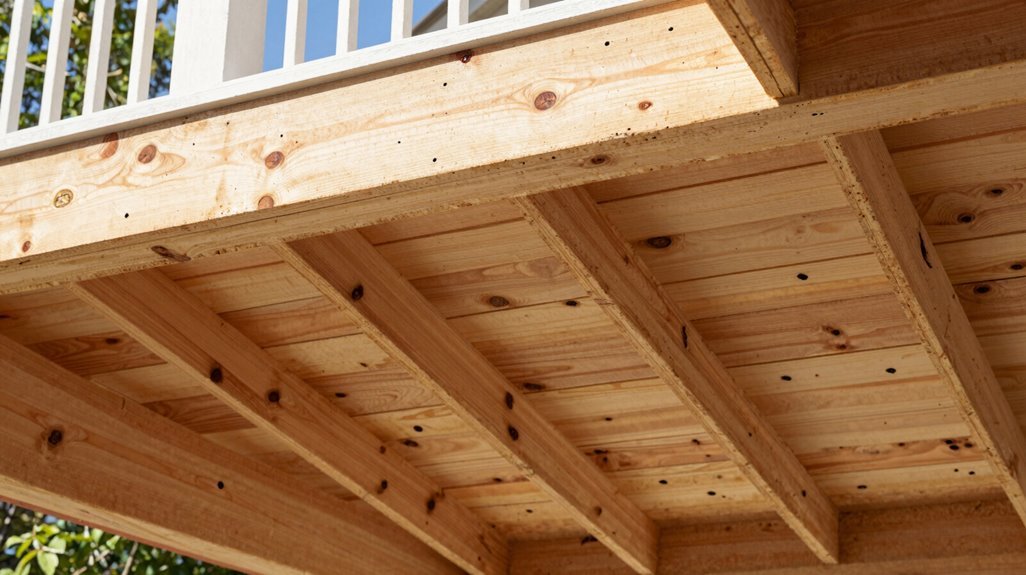
Where should you begin with your porch ceiling project? Start with ventilation above your porch ceiling before you install any materials. You’ll prevent moisture buildup, mold growth, and structural damage in high-humidity environments by planning this critical step first.
Map unobstructed venting paths using soffit vents, roof vents, or ridge-soffit combinations to maintain continuous airflow. Consider these integration strategies:
- Install perforated panels or hidden soffit vents that blend with beadboard finishes
- Confirm ventilation components don’t compromise fire blocking, insulation, or structural integrity
- Include a moisture barrier with seasonal expansion gaps around vents for lasting trim fit
Your porch ceiling assembly demands this systematic approach. Proper ventilation protects your investment, satisfies code requirements, and creates the polished, professional result your home deserves.
Center Lights in Patterned Porch Ceilings
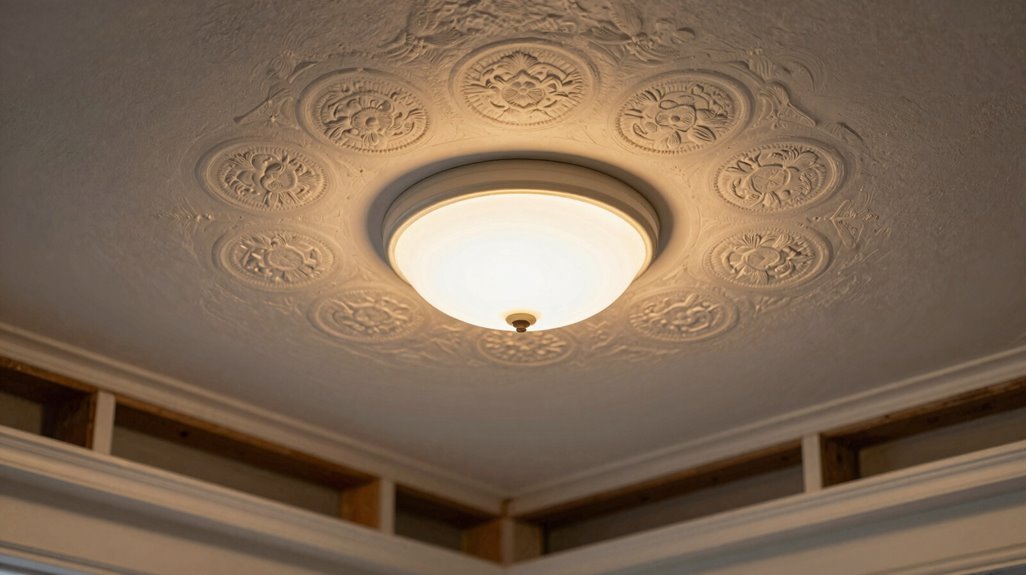
Once you’ve established proper airflow above the ceiling, turn your attention to how lighting interacts with your panel layout. Your porch ceiling deserves lighting that gives a sense of purpose, not accident, and proper light placement creates the cohesion that makes guests feel welcome.
Align fixtures vertically with panel centers to maintain visual balance. In a nine-panel layout with full-width middle panels, place primary lights centrally to create focal points and symmetrical illumination. When panels are ripped for pattern, use a string line or grid template to keep spacing consistent across rows.
| Panel Configuration | Light Positioning Strategy |
|---|---|
| Full-width center panels | Center fixtures in middle panels |
| Ripped narrow panels | Maintain equal spacing with grid templates |
| Mixed-width layout | Match fixture size to panel proportion |
Mark light centers on substrate before installation, then verify sightlines from seating areas to confirm optimal distribution and glare control. Choose fixture size, brightness, and beam spread that complement panel widths without overpowering them.
Paint or Stain Your Porch Ceiling for Durability
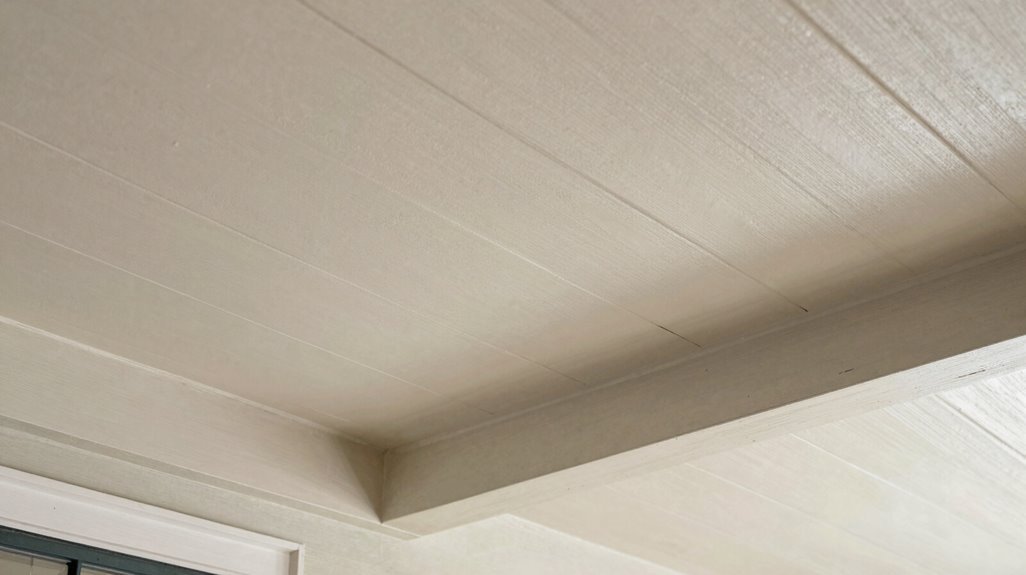
Why leave your porch ceiling vulnerable to the elements when a proper finish extends its service life by years? You protect your investment by selecting porch ceiling finishes engineered for your specific climate and material. Paint creates a moisture-blocking shield, while stain preserves natural wood character with breathable protection.
Apply exterior enamel formulated with UV inhibitors and mildew prevention additives for beadboard or tongue-and-groove installations requiring washable, durable surfaces. Select semi-solid stains with integrated mildewcide when you want grain visibility plus weather resistance in high-humidity regions. Condition pre-primed or pre-stained boards with matching topcoats to maintain uniform sealing and color consistency across all boards.
You achieve maximum longevity by cleaning surfaces thoroughly, applying finishes in mild dry conditions between 50-85°F, and allowing 24-48 hour cure times between coats.
Trim Out Your Porch Ceiling Edges
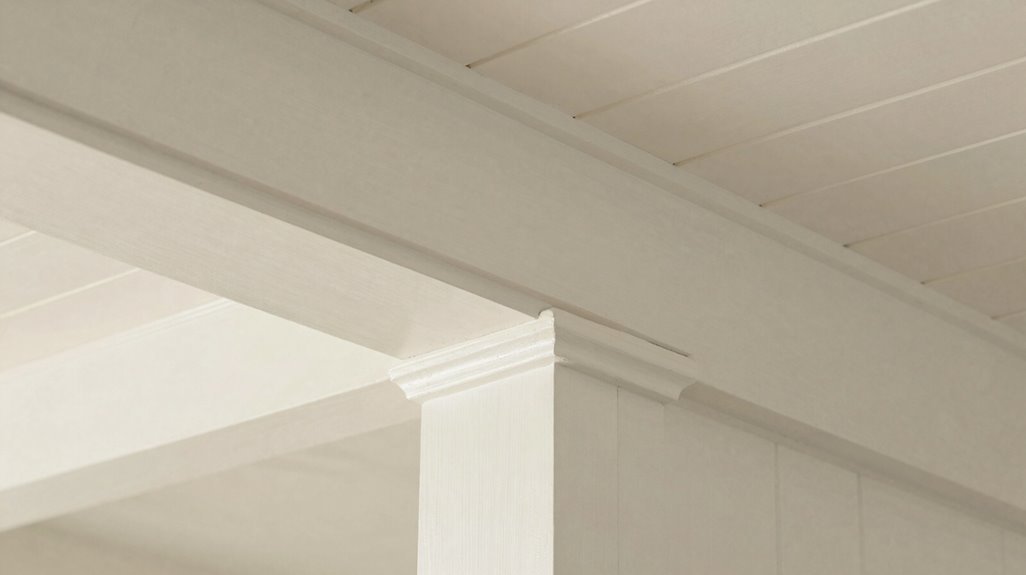
How do you turn raw panel edges into a professional, weather-resistant boundary? You install porch ceiling trim after seating all soffit panels, creating that clean boundary you’ve been envisioning. You’ll use 15-gauge nails for secure fastening, making certain nothing shifts during the process.
Pre-cut your perimeter trim on saw horses before mounting. Verify alignment with first and final rows to avoid surprises overhead. Hardi 1×4 trim works exceptionally well around ceiling edges, enclosing joints while providing a sturdy, paint-ready border that conceals uneven cuts. Cut with a miter saw for precise lengths and square corners.
| Trim Component | Function |
|---|---|
| Perimeter trim | Creates clean ceiling-to-framing boundary |
| Hardi 1×4 trim | Encloses joints, hides uneven cuts |
| Miter-cut corners | Provides precise, square alignment |
| Sealed edge trim | Protects against moisture damage |
Fasten trim last to prevent panel shifting. Seal and paint edge trim with your ceiling for cohesive protection.
Maintain Your Porch Ceiling Year-Round
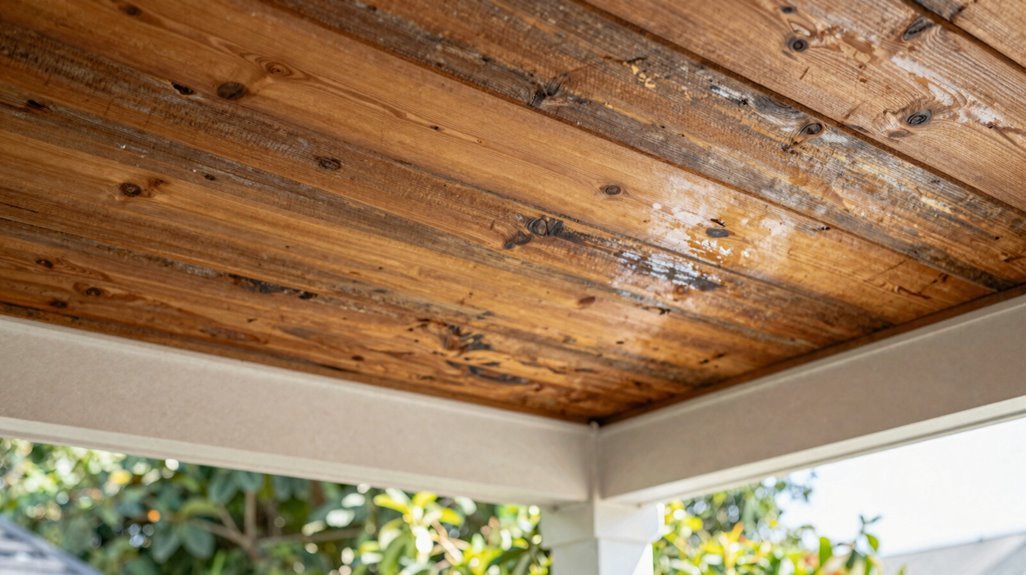
You’ll protect your investment by establishing a seasonal inspection routine every spring and fall, checking for moisture intrusion, loose fasteners, and surface degradation before minor issues escalate. Prevent warping, mold growth, and paint failure through proper ventilation, humidity control, and prompt gutter maintenance that directs water away from soffit edges.
Clean your ceiling surfaces quarterly using appropriate methods: mild detergent for vinyl, specialized wood cleaner for beadboard, and soft-bristle brushes to avoid scratching aluminum finishes.
Seasonal Inspection Routine
Because your porch ceiling faces constant exposure to sun, moisture, and temperature swings, you can’t treat porch ceiling maintenance as an afterthought. You establish a seasonal inspection routine, scheduling checks twice yearly: spring after winter moisture and fall before heavy rains. You examine joints, caulking, and finish integrity, addressing concerns promptly. You integrate moisture prevention into every step, watching for mold, peeling paint, or water intrusion after storms to stop rot before it spreads.
You complete these critical tasks:
- Clean debris and verify ventilation pathways remain unobstructed, ensuring skylights and fixtures stay sealed and watertight
- Re-seal and touch up paint or stain every 2–5 years, adjusting frequency for harsh climates or high-humidity coastal regions
- Align gutters and roof drainage to prevent cascade damage onto your ceiling surface
Moisture Prevention Tips
Where moisture lingers, your porch ceiling suffers, so you implement a multi-layer defense strategy before problems take hold.
You select moisture-resistant materials: vinyl, PVC soffit, or treated wood with sealants, to combat swelling and rot in humid climates. You make sure there is adequate ventilation above the ceiling, preventing trapped humidity that breeds mold and degrades paint.
You install a continuous moisture barrier behind ceiling panels in high-rain regions, blocking water migration at its source. You secure everything with corrosion-resistant fasteners; stainless steel or galvanized, to eliminate rust risks in damp conditions.
You inspect quarterly for roof leaks, repairing intrusion within 48 hours. Small breaches compromise structural integrity within 12-24 months. Your proactive moisture prevention preserves the porch you’ve built, protecting your investment through every season.
Surface Cleaning Methods
How often do you inspect your porch ceiling for the grime that accelerates deterioration? Porch ceiling cleaning forms the backbone of effective outdoor maintenance, especially when you’re protecting your investment in humid climates where moisture accumulates rapidly.
Implement these proven surface cleaning methods:
Mix mild detergent with water, then scrub painted or beaded surfaces using a soft-bristle brush or sponge to lift dirt without causing scratches. Wipe aluminum soffits with non-abrasive cloths exclusively, avoiding harsh cleaners that permanently dull metallic finishes. Complete mildew prevention by rinsing with clean water, then allowing 24-48 hours drying time before re-exposure.
Schedule seasonal cleanings every three months to inspect joints, trim, and fasteners. You’ll spot loose nails, peeling paint, and water intrusion early, preventing costly repairs and extending your ceiling’s service life substantially.
Fix Porch Ceiling Installation Mistakes Early
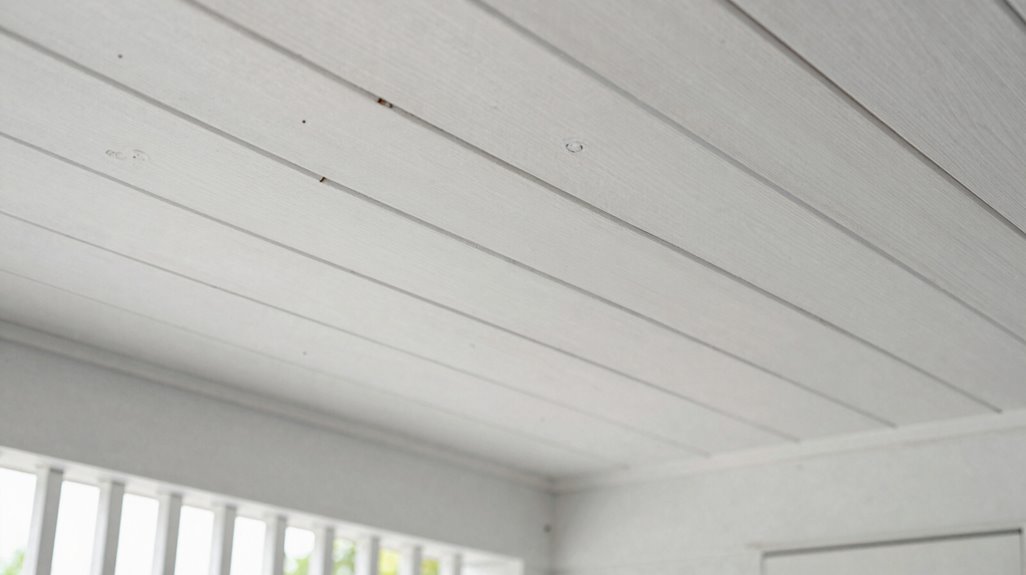
Why wait until you’re staring at sagging panels and misaligned seams? Fix porch ceiling installation mistakes early, and you’ll join the homeowners who take pride in craftsmanship that’s done right.
Start your project by verifying solid framing with joists spaced no more than 24 inches on center. If spans exceed this, add 1×2 strapping in a 12-inch perpendicular pattern over existing joists to prevent deflection. Remove old trim and vinyl soffit to expose clean, straight surfaces for new soffit panels.
Begin the first soffit row 3/4 inch from the porch edge, allowing trim coverage while maintaining uniform edges. Fasten soffit panels with 2-inch, 15-gauge nails per joist, nailing the groove for secure hold. Offset end joints for a smooth appearance. Use string lines to verify straight runs, seat rows tightly with grooved push blocks, and pre-cut edges for painting framing to eliminate visible gaps.
Why Upgrade Your Porch Ceiling?

Once you’ve corrected installation errors and secured your framing, you’re positioned to evaluate what your porch ceiling actually delivers.
Upgrading changes your exterior into a space you’ll proudly share with neighbors. Consider how aluminum soffit delivers measurable improvements:
Upgrading your porch ceiling transforms your exterior into a space worth sharing, with aluminum soffit delivering protection, pest deterrence, and lasting curb appeal.
- Weather protection that guards against moisture damage and structural decay
- Pest deterrence blocking insects, rodents, and nesting birds
- Curb appeal through clean lines and customizable color finishes
You’ve invested time in proper installation technique; measuring length and width, accounting for irregular shapes, spacing fasteners at 16-inch intervals. Now you’re maximizing that effort. New construction demands F-channel; remodeling requires J-channel. Both secure panels that maintain appearance through seasonal expansion and contraction.
Your porch ceiling becomes an asset, not an afterthought. Choose finishes matching your home’s character. Perform annual inspections, clearing debris from vented panels. This upgrade protects your investment while signaling you belong in a well-maintained community.





