
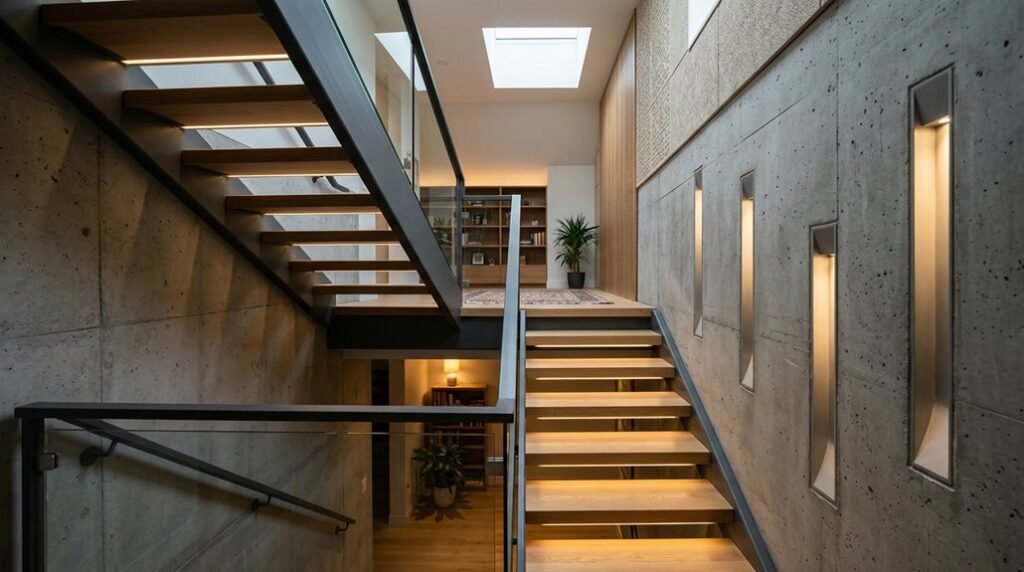
Your basement stairwell swallows 60% of available light before it reaches the bottom tread, yet you treat this vertical shaft as an afterthought while planning kitchens and living rooms. You need measurable solutions: lumens, reflectance values, and clearance codes that prevent injury.
The seven strategies ahead break your dark descent into solvable components: layered illumination, surface optimization, structural safety, and spatial repurposing. Each comes with specific dimensions, material specifications, and installation sequences you can execute without architectural consultation. You will find exact mounting heights, paint sheen percentages, and railing spacing requirements in the sections that follow.
Light Your Basement Stairwell in Layers
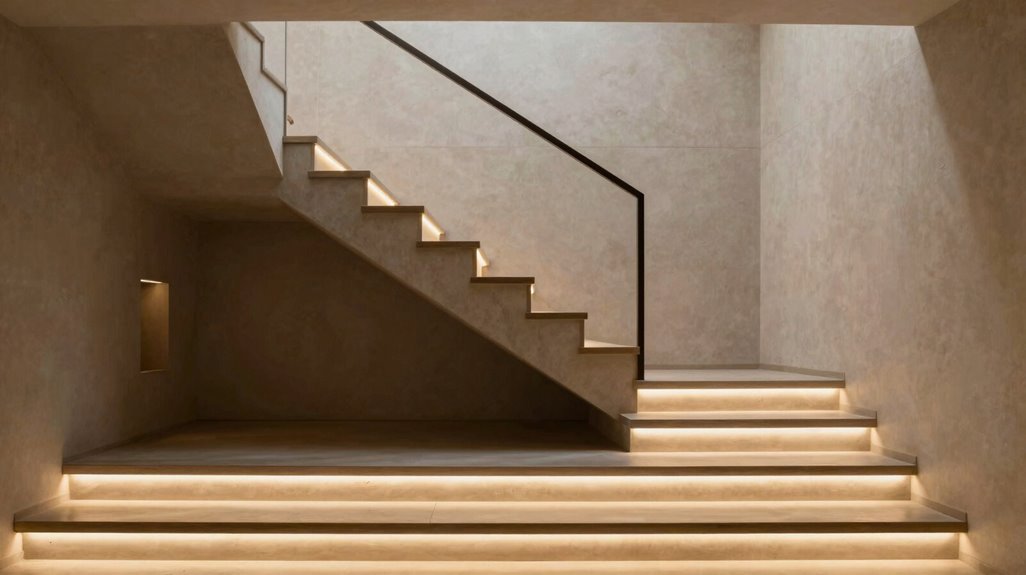
Because your basement stairwell functions as a vertical transition zone spanning nearly 20 feet of back wall height, you’ll need to approach lighting as a layered system rather than a single fixture solution. Layered lighting changes your basement stairs from a dark tunnel into a safe, welcoming passage that balances mood, visibility, and perceived vertical space.
A layered lighting system transforms your basement stairwell from a dark tunnel into a safe, welcoming vertical passage.
Follow this three-tier framework:
- Ambient layer: Install ceiling-mounted fixtures or recessed cans every 4-6 feet along the stairwell length to establish baseline illumination.
- Task layer: Add wall sconces at 36-42 inches above each step tread to eliminate shadows where foot placement occurs.
- Accent layer: Position adjustable track lighting or picture lights to highlight architectural features, creating visual rhythm during descent.
Combine these elements to maintain open sight lines for child safety while controlling the 19-foot total vertical span between your 10-foot main floor and 9-foot basement ceiling.
Brighten Walls With Mirrors and Light-Reflecting Paint
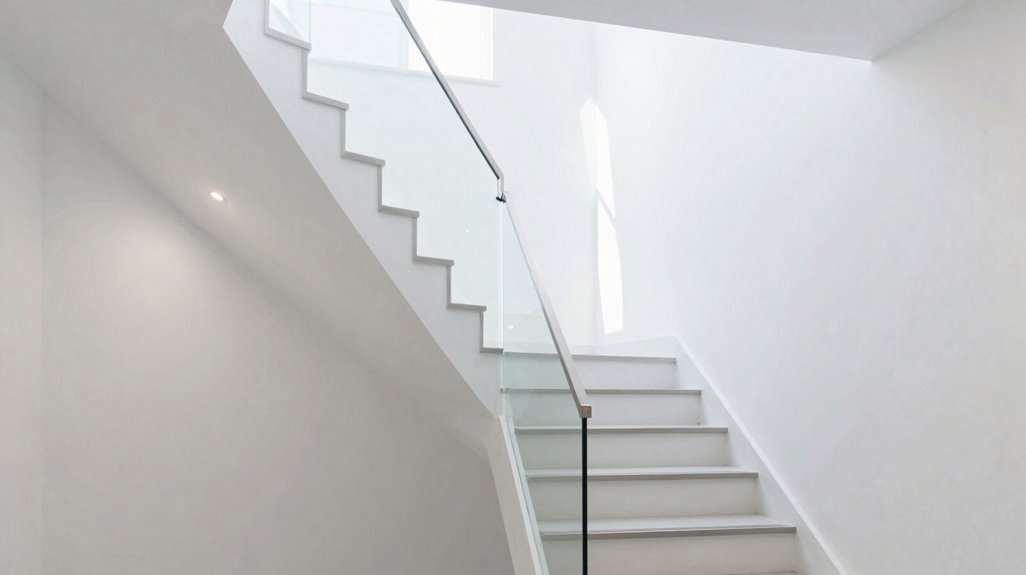
How do you counteract the crushing vertical compression of a 19-foot stairwell run? You deploy mirrors and light-reflecting paint to engineer spatial expansion.
1. Install Strategic Mirrors
Mount full-length mirrors on back walls or landings. These reflective surfaces double your light sources, extend sightlines to the finished basement, and visually elongate the stair run. Position mirrors to capture window light or fixture glow.
2. Select High-Reflectance Paint
Apply satin or semi-gloss formulations in cool whites or pale neutrals. These finishes bounce artificial and ambient light across walls, reducing the perceived heaviness of your 9–10 foot ceiling differential. Avoid high-sheen coatings that create glare on basement stairs.
3. Layer Complementary Lighting
Pair your mirrors with wall sconces or pendant fixtures. This combination maximizes reflections and builds continuous, layered illumination throughout the descent.
Choose Open Railing That Keeps Kids Safe
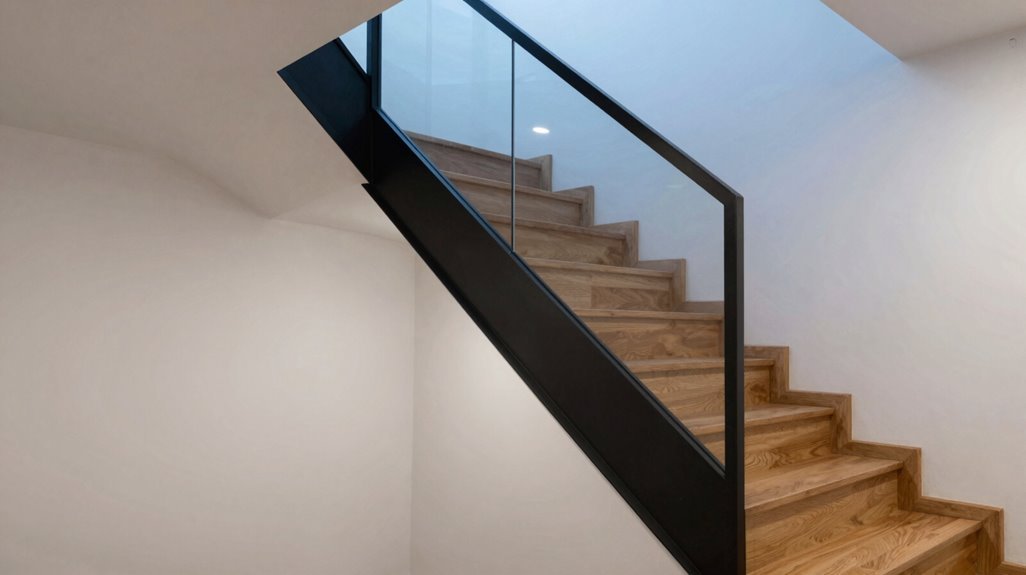
Where does safety end and suffocation begin? You face this question when designing open railing for your basement stairs, balancing protection with breathable sight lines.
Vertical spindles deliver the optimal compromise. You install thin white spindles, 32 inches high, spaced 4 inches apart, maintaining visibility while preventing passage. A wood handrail caps the assembly, with white newel posts anchoring each end and the landing.
| Railing Type | Safety Assessment | Maintenance Level |
|---|---|---|
| Vertical spindles | High; climb-resistant | Low; wipe-clean surfaces |
| Horizontal cable | Moderate; climbing risk | Low; occasional tension checks |
| Plexiglass panels | High; solid barrier | High; constant fingerprint removal |
You reject cable railings due to horizontal rungs inviting ascent. You dismiss plexiglass despite its openness, anticipating endless smudge removal. You extend thin white spindles continuously along basement stairs and landing, unifying the descent with cohesive, watchful protection.
Add Warm Wood Treads or Accents
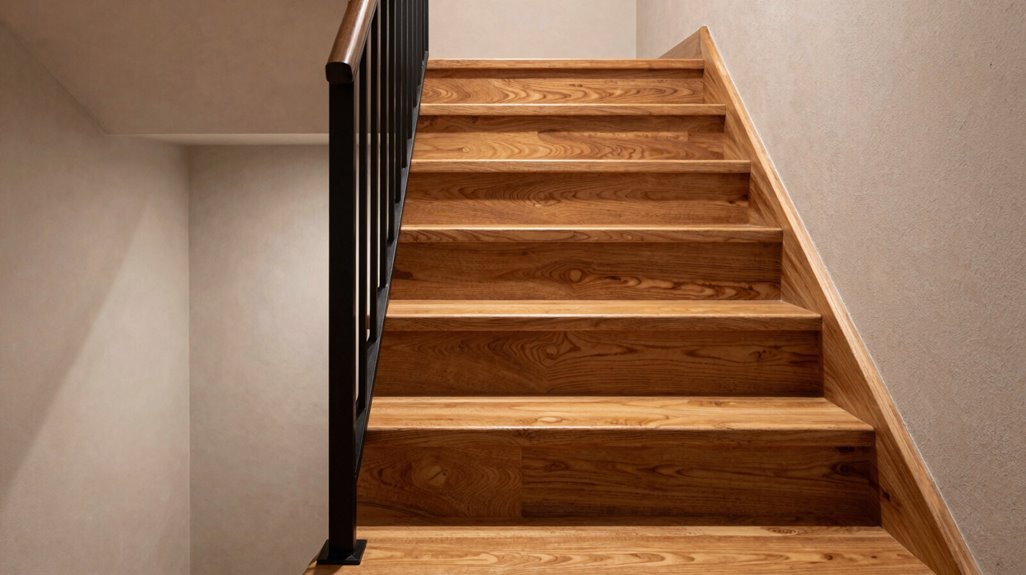
Install warm wood treads across your basement stairs and landing to create a cohesive, 1.5-inch thick upgrade that grounds the space visually. You’ll balance this warmth by pairing wood-toned handrails with white spindles and Newel posts, weaving the stair design into your overall basement palette.
Consider adding a carpet runner over the wood for improved traction, safety, and textural contrast against lightened walls.
Warm Tread Upgrade
Warmth changes a basement stairwell from utilitarian passage to intentional design element, and wood treads deliver this shift with measurable precision. You install 1-inch-thick oak or maple treads directly over existing plywood underlayment, securing each with construction adhesive and 2-inch finish nails spaced 8 inches apart. This warm tread upgrade creates immediate visual hierarchy against white spindles, drawing the eye downward through controlled material contrast.
Your basement stairs gain three defining characteristics:
- Rich amber grain patterns that catch available light from upper-floor windows
- Smooth, continuous surfaces that eliminate splintered plywood edges
- Natural tonal variation that bridges upper-level flooring and basement concrete
You complete installation in 6-8 hours for a standard 12-tread staircase. Pair treads with matching wood handrails positioned 34-38 inches above nosing for code-compliant continuity. Add carpet runners with 1/4-inch pile height for traction without obscuring wood grain.
Wood Accent Integration
How do you change a basement stairwell from isolated utility to deliberate architectural connection? You execute wood accent integration with precision across three measurable zones.
Zone 1: Tread Surface
Install 1-inch-thick wood treads and matching risers directly over existing concrete or pine steps. Oak, maple, or hickory species create cohesive basement stairs that visually anchor the descent to upper-level flooring.
Zone 2: Handrail Assembly
Mount a continuous 2.25-inch-diameter wood handrail atop 1.5-inch white spindles spaced 4 inches on center. This configuration maintains 34-inch vertical clearance while maximizing sightlines through the open well.
Zone 3: Landing Transition
Panel the 3-by-3-foot landing perimeter with knotty pine, adding 3-inch wood ledge caps at 36-inch heights.
| Component | Material Spec | Function |
|---|---|---|
| Treads | Solid oak, 1″ | Durability, warmth |
| Handrail | Maple, 2.25″ dia | Grip, visual flow |
| Spindles | Primed poplar, 1.5″ | Code compliance, openness |
You complete integration with brass end caps and a 27-inch-wide wood-toned runner, achieving unified material vocabulary from top tread to basement floor.
Panel the Walls: Beadboard, Board-and-Batten, or Shiplap
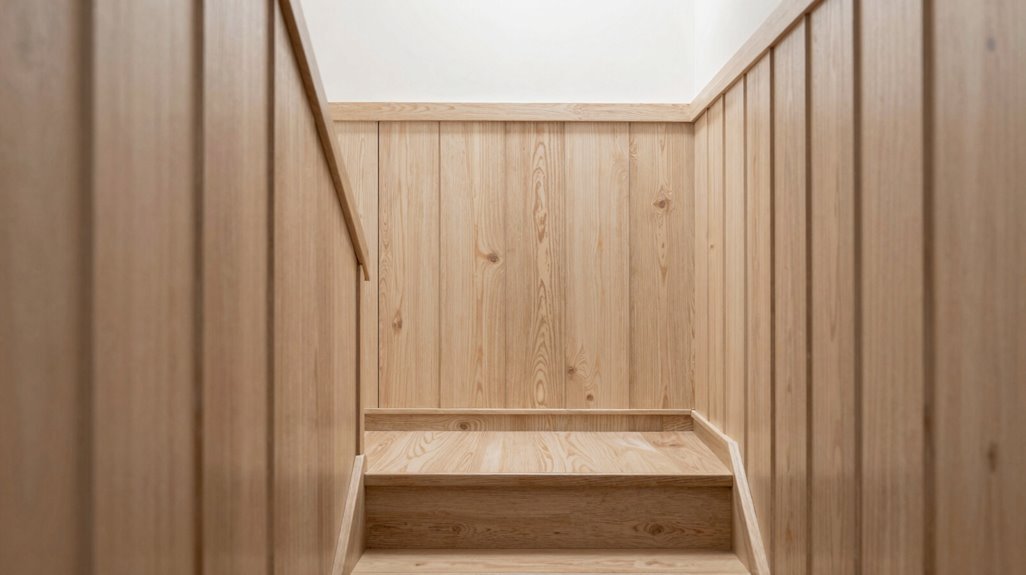
Why settle for blank drywall when you can turn your stairwell’s vertical surfaces into architectural features that solve spatial and aesthetic challenges simultaneously? Paneling your basement stairs creates measurable improvements in depth perception and light distribution.
Picture beadboard’s evenly spaced grooves catching morning light as you descend, each vertical channel drawing your eye upward toward brighter spaces.
Envision board-and-batten’s bold grid pattern, where 4-inch battens break flat planes into rhythmic sections that command attention without clutter.
Imagine shiplap’s horizontal boards wrapping your stairwell, their tight 1/8-inch gaps creating continuous lines that expand wall width by 15-20 percent visually.
You’ll pair these systems with semi-gloss paint, 3-inch base trim, and cove molding to amplify reflectivity. Install panels within 6-8 hours, prime with two coats, and finish in 48 hours.
Install a Focal Fixture or Gallery Wall
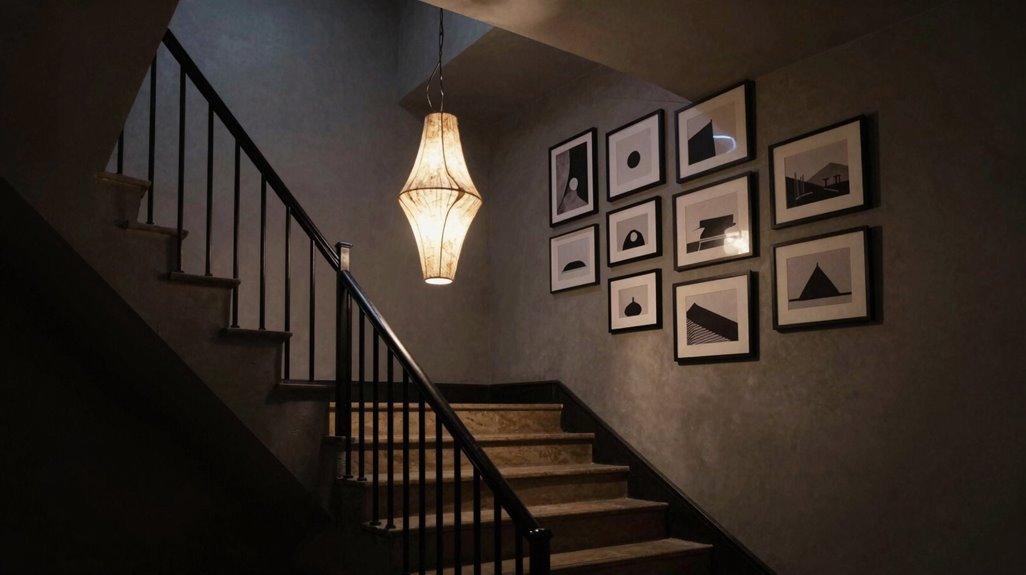
Once you’ve addressed your stairwell’s vertical surfaces, you’ll direct attention toward its lighting and wall-mounted displays, which determine how occupants perceive depth, navigate safely, and experience the transition between floors.
Lighting and wall-mounted displays shape how occupants perceive depth, navigate safely, and experience the transition between floors.
Install a focal fixture when ceiling height exceeds 90 inches, allowing 84 inches of headroom clearance beneath pendants or chandeliers. You’ll create dramatic overhead illumination that anchors the vertical space.
Build a gallery wall along the stair wall using 8-12 pieces measuring 8×10 to 16×20 inches. Arrange images 2-3 inches apart, following the staircase’s 30-35 degree angle upward. Grid layouts simplify alignment; staggered arrangements require 30 minutes additional planning time per five pieces.
Combine both elements when budget permits. You’ll achieve balanced brightness: overhead fixtures provide 150-300 lumens per step, while wall-mounted pieces distract from structural limitations. Add sconces at 60-inch intervals for supplementary illumination without competing visual hierarchy.
Use the Space Under Stairs for Storage or Greenery
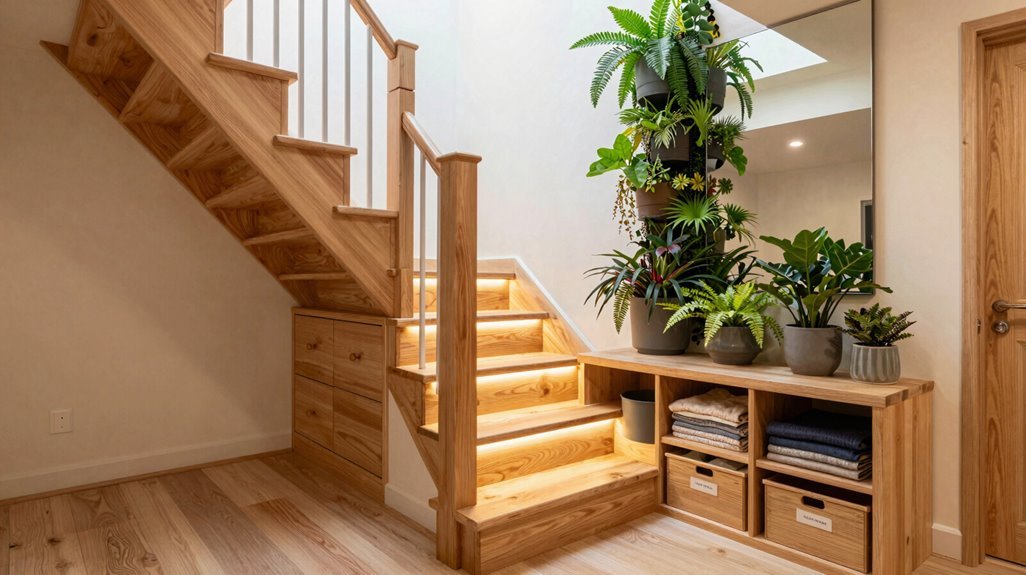
The triangular void beneath your basement stairs presents 15-30 square feet of usable volume, depending on your staircase’s pitch and width. You’ll maximize this under-stairs zone by installing open shelving or cabinets for games, decor, and cleaning supplies, maintaining visual order throughout your basement.
Consider these applications:
- Stacked wicker baskets holding board games and seasonal items
- Potted ZZ plants cascading from tiered ledges in dim corners
- Wall sconces casting warm light across organized display surfaces
If natural light proves insufficient, substitute faux greenery to preserve the atrium aesthetic without maintenance demands. Add a pendant fixture to illuminate your storage arrangement, turning wasted architecture into a mudroom-inspired feature. You’re reclaiming square footage others overlook, building functionality that welcomes every descent into your finished basement space.





