
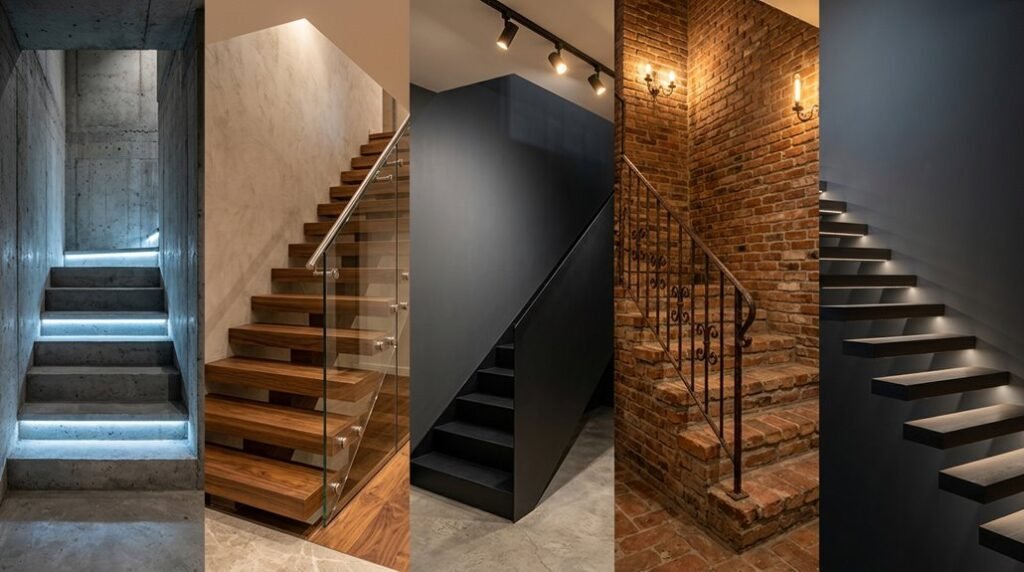
Your basement stairs handle daily traffic, yet most homeowners ignore their potential. You need solutions that fix safety issues, maximize storage, and meet building codes without gutting your budget. These five approaches address railings, surfaces, lighting, and hidden space, each with specific materials, measurements, and timelines you can execute in 1-3 weekends.
The first upgrade starts with a decision you probably haven’t considered.
Fix Unsafe Basement Stair Railings (Glass, Cable, or Spindles?)
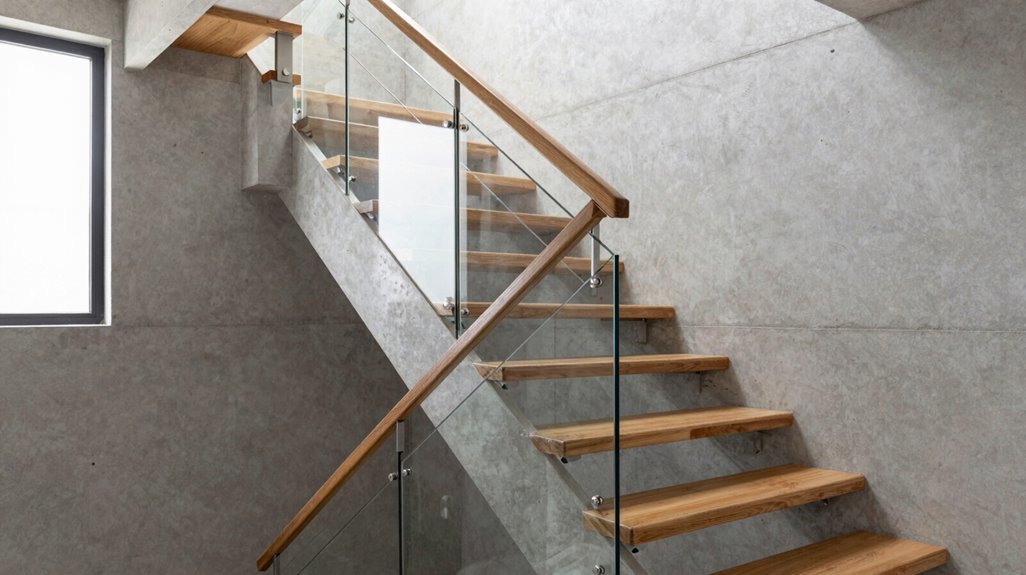
If your basement stairs feel more like a hazard than a pathway, you’re not alone; unsafe railings rank among the top code violations in residential remodels, and fixing them requires weighing visibility, durability, and child safety against your budget.
1. Evaluate your railing type against household needs.
| Railing Option | Openness | Child Safety | Maintenance Level |
|---|---|---|---|
| Horizontal cable | High | Low (climbable) | Low |
| Vertical spindles | Medium | High | Low |
| Plexiglass/glass | High | Medium | High (smudges) |
2. Select vertical spindles for optimal safety.
You’ll gain protection without sacrificing airiness. Pair white thin vertical spindles with a wood handrail and matching newel posts. This combination preserves sight lines while eliminating climbable surfaces.
3. Install continuous handrails and non-slip surfaces.
For maximum safety, add a continuous handrail along both sides, plus tread treatments that prevent slips. Vertical spindles integrated into this system create a secure, code-compliant barrier your whole family can trust.
Runner vs. Full Carpet: What Works on Basement Stairs
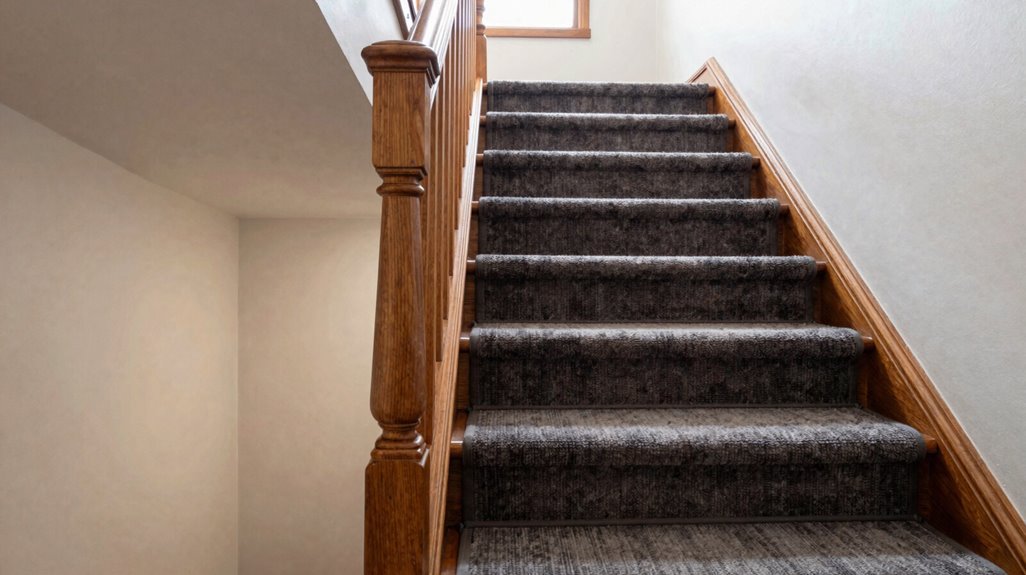
How do you balance safety, durability, and visual flow when finishing basement stairs? You weigh runner vs full carpet based on traffic, maintenance, and sight lines.
A stair runner delivers traction, color, and texture while preserving open views. Choose nylon or wool blends, 30-36 inches wide, with low pile under 0.5 inches for slower wear. Exposed treads ease navigation for kids and pets.
Full carpet creates uniform softness but shows seams faster and traps moisture in basements. It requires denser underlayment, 8-10 pound density minimum, and reveals wear patterns within 3-5 years in high-traffic homes.
Your decision hinges on three factors: moisture levels, cleaning frequency, and whether your basement connects to finished living spaces. Match your choice to actual usage, not aspirational décor.
Under-Stair Storage That Doesn’t Look Like an Afterthought
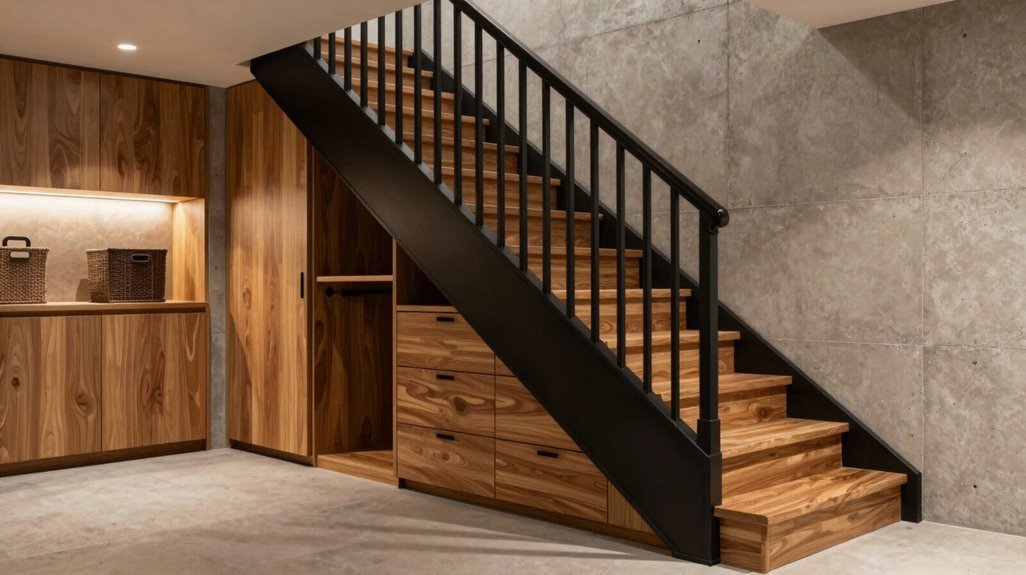
Where do you lose the most usable square footage in your basement? You sacrifice it beneath the stairs, where awkward angles and sloped ceilings render space unusable without intentional design. Smart basement stair storage turns this dead zone into functional architecture.
The space beneath your basement stairs isn’t lost square footage—it’s hidden potential waiting for intentional design to transform it from dead zone to functional architecture.
Consider these under-stair organization strategies:
- Install pull-out drawers with full-extension slides for 24-inch deep storage of games and seasonal décor
- Build custom cabinets with integrated handles to maintain clean sightlines across your basement
- Carve a 34-inch tall refrigerator niche for beverage storage without consuming living area
- Construct wine racks or open display shelving using modular kits for 12-bottle to 48-bottle capacity
DIY or pre-fabricated solutions adapt to your specific footprint. Measure your triangle: calculate rise, run, and diagonal depth. Then select concealed media storage, toy bins, or hybrid systems that preserve traffic flow while reclaiming 15-30 square feet of functional space.
Paint, Wallpaper, or Vinyl: Riser Upgrades That Last
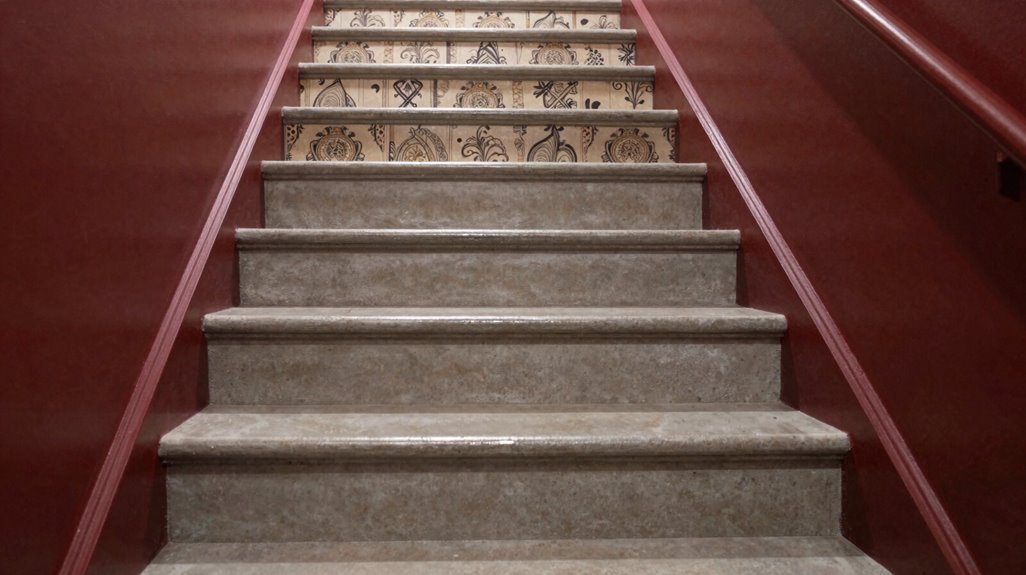
Why settle for utilitarian stairs when your risers offer 10-15 vertical surfaces for color, pattern, or texture?
Change your basement staircase through three proven methods, each delivering distinct functional and aesthetic outcomes.
Paint: Apply bold colors for visual impact, or select neutral tones that complement existing treads and wall color. This approach requires minimal investment, typically 2-3 hours for application across 12-14 risers, plus 4-6 hours drying time.
Wallpaper: Install patterned or textured wallpaper on risers for reversible customization. Peel-and-stick varieties permit complete removal within 15-20 minutes per riser if preferences shift, unlike permanent alternatives.
Vinyl: Affix moisture-resistant vinyl to simulate tile or intricate patterns without heavy installation. This material withstands cleaning chemicals and basement humidity fluctuations exceeding standard wallcoverings.
Coordinate your selected riser treatment with adjacent walls and stair treads to establish unified basement aesthetics.
Basement Stair Lighting and Handrail Swaps Worth Doing
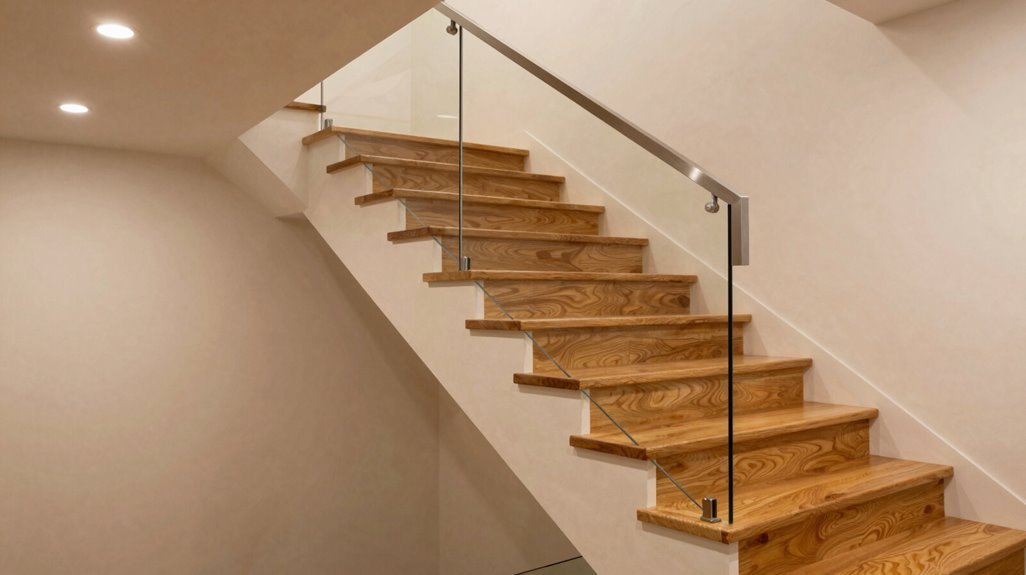
What separates a functional basement staircase from one you’ll actually trust in the dark? Basement stair lighting and handrail swaps change your descent from uncertain to confident, creating a space where family and guests feel welcome.
You’ll want to layer your illumination strategically for maximum coverage and visual cohesion. Consider these essential upgrades:
- Install downlights every 3-4 feet along the stairwell for consistent tread visibility
- Thread LED rope lights beneath handrails to eliminate shadows without harsh glare
- Swap outdated rails for vertical white spindles paired with warm wood-toned handrails
- Match fixture finishes to adjacent wall colors and flooring materials
Execute these handrail swaps with precision, making certain baluster spacing meets 4-inch code requirements. Your basement stair lighting design must integrate seamlessly with gallery-wall elements and open-concept sightlines.





