
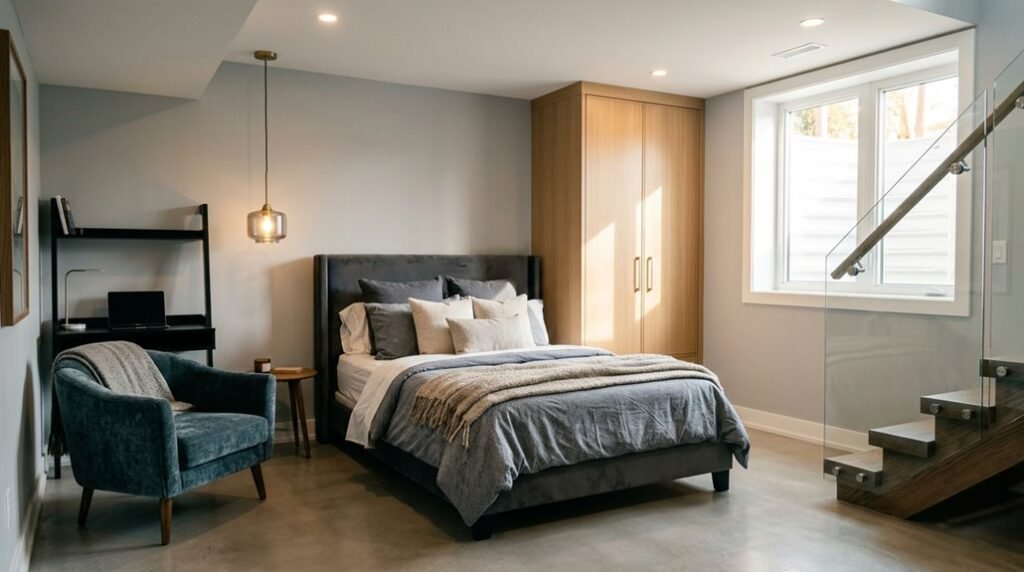
A 2023 HomeAdvisor survey found basement remodels return 70% of costs, yet 34% fail inspection on first attempt. You’re about to join the prepared majority.
Seven sequential stages separate your concrete floor from a code-compliant bedroom, and skipping even one risks demolition, fines, or worse. Start with egress, or don’t start at all.
Check If Your Basement Qualifies as a Bedroom
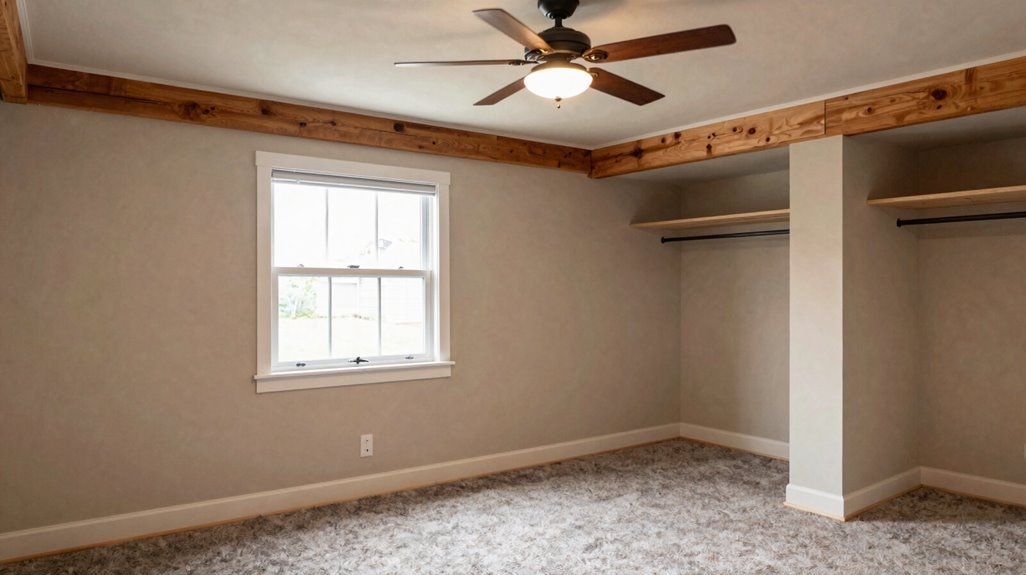
Before you invest time and money into converting your basement, you’ll need to verify whether your space actually meets legal bedroom requirements. Your basement qualifies only when specific dimensional and safety standards align.
First, measure your floor area. You’ll need at least 70 square feet of usable space, with ceiling height reaching 7 feet across 50% of the floor. Next, confirm you have a standard door and a closet; both are non-negotiable for bedroom classification.
Your egress window demands precise specifications: minimum 5.7 square feet clear opening, 24 inches high, 20 inches wide, with sill height below 44 inches. Window wells require 9 square feet of area and 36-inch width; add ladders when depth exceeds 44 inches.
Finally, check that natural light equals 8% of floor area, ventilation hits 4%, and hard-wired smoke alarms are installed.
Plan Your Egress Window Location Before Finalizing Layout
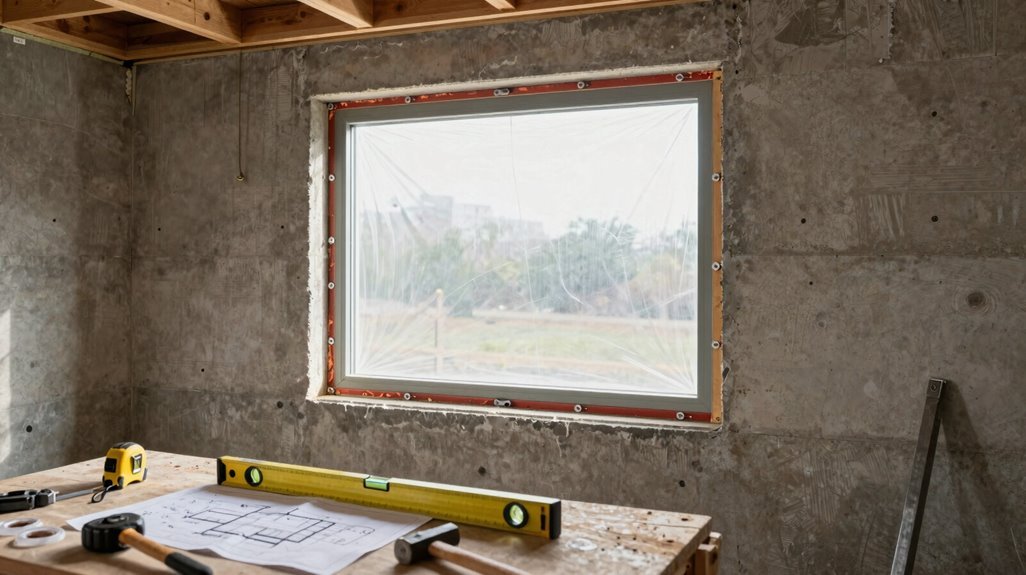
Where exactly will you place your egress window? You must decide this before finalizing your basement layout, since building codes require specific dimensions that shape your entire design. Your egress window needs 5.7 square feet of clear opening, with the sill no higher than 44 inches from the floor. If you’re adding a window well, plan for 9 square feet of area and 36 inches of width, plus a ladder if it exceeds 44 inches deep.
Position your egress window for quick bedroom access, ideally near bathroom routes for faster emergency exits. Account for foundation cutting, drainage systems, and moisture barriers in your budget and permit timeline.
You’re creating a safe, code-compliant space, so nail down these measurements early. Your basement layout depends on it, and you’ll avoid costly redesigns later.
Design Your Basement Bedroom Around the Wet Bar and Bath Access
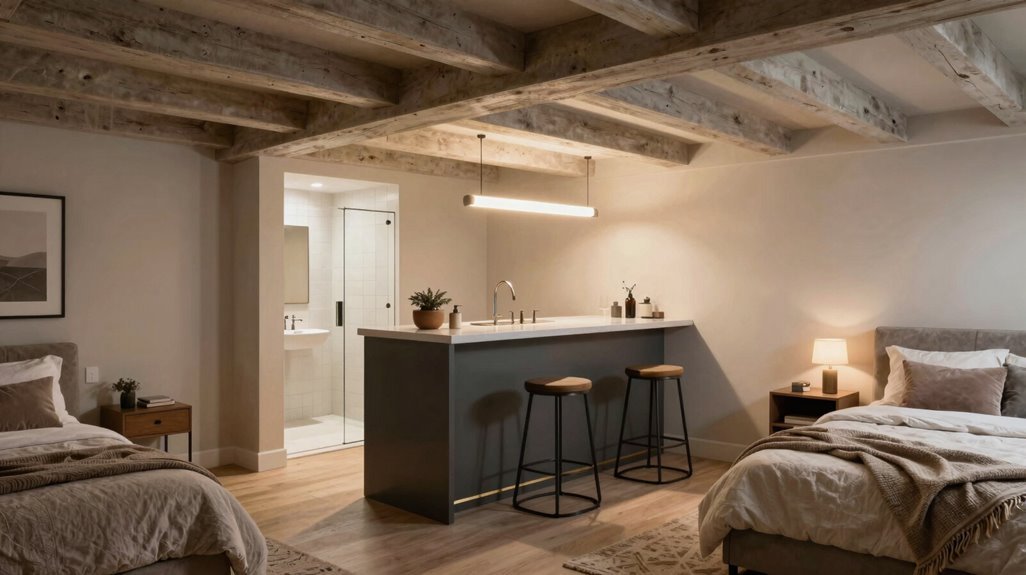
You’ll position your new bedroom on the left side of the wet bar to maintain clear circulation paths while securing direct bathroom access. Reduce the bar’s footprint strategically, preserving back-wall sharing and freeing adequate width for code-compliant egress dimensions.
Integrate sound-insulating drywall between these zones. Verify headroom clearance exceeds 7 feet 6 inches, and confirm your bedroom window meets 5.7 square feet minimum opening requirements for emergency escape.
Wet Bar Integration
How can you change an underutilized basement wet bar into a spatial anchor for your new bedroom suite? You start by shrinking the bar’s footprint. A smaller back wall, typically 6 feet instead of 8, frees 25 square feet for your basement bedroom while improving circulation paths.
Position the wet bar to share its back wall with your new room. This layout optimizes traffic flow and preserves direct routes to the bathroom. Place the bedroom on the left side to capture adjacent window light and shorten your walk to the bath by roughly 4 feet.
Install sound-insulating Sheetrock or decoupled framing between spaces. This cuts noise transfer by up to 50 percent.
Finally, check your egress. Your bedroom needs a dedicated exit window, sized 20 inches wide by 24 inches high minimum, without blocking bar access.
Bathroom Proximity Planning
Why position your bedroom in relation to both the wet bar and bathroom simultaneously? You’re creating a functional living space where convenience and compliance intersect. When you design your basement bedroom, place it on the left side of the wet bar to maximize bathroom proximity while preserving the bar’s back-wall position.
You’ll need to evaluate your egress window location carefully, as this determines whether left-side placement remains viable. If window access or structural constraints block that option, you’ll assess right-side alternatives, though these reduce bathroom proximity.
Reduce the wet bar’s footprint to 70–100 square feet, freeing space for your bedroom. Install sound-rated drywall between these zones to minimize noise transfer. Make certain your layout maintains a dedicated, accessible path from the basement bedroom to the bathroom for code compliance and daily practicality.
Egress Window Placement
Position your egress window where it serves both safety mandates and your layout’s practical demands. Your egress window must deliver 5.7 square feet of clear opening with a 44-inch maximum sill height. Place it opposite the wet bar if they share a back wall, preserving usable space and bar function. Route bathroom access to the left side for streamlined egress paths and balanced natural light.
Size your window wells to 9 square feet minimum, 36 inches wide, with ladders required beyond 44 inches depth. Install sound-insulating Sheetrock between the basement bedroom and wet bar/bath zones to maintain privacy without compromising safety design.
| Egress Element | Specification |
|---|---|
| Clear opening | 5.7 sq ft (820 sq in) |
| Maximum sill height | 44 inches |
| Window well minimum | 9 sq ft, 36 in wide |
| Ladder requirement | Depth exceeds 44 in |
Seal Moisture and Soundproof the Shared Wet Bar Wall
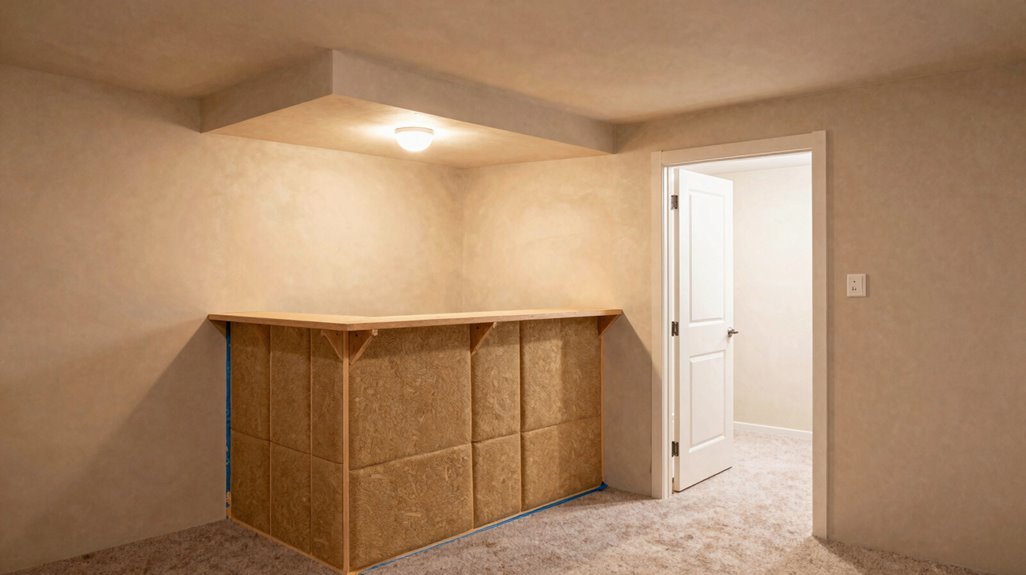
Where exactly does moisture threaten your basement bedroom most? You’ll find it creeping through that shared wall with your wet bar, where pipes, condensation, and groundwater converge. You must tackle basement moisture before hanging a single drywall sheet, or you’ll trap mold behind your finish.
Start by applying vapor barriers to concrete surfaces, sealing every penetration with acoustic sealant. Install moisture-resistant insulation, and verify your drainage systems function properly.
For soundproofing, you’ll decouple that shared wall using resilient channels, adding mass-loaded vinyl or double-layered sound-insulating Sheetrock to block bar noise from reaching sleeping quarters. Consider reconfiguring the wet bar’s footprint to optimize spatial flow, reducing its intrusion into bedroom square footage. Test your work with a moisture meter, confirming readings below 15% before proceeding.
Frame Your Basement Bedroom With Fire-Rated Drywall
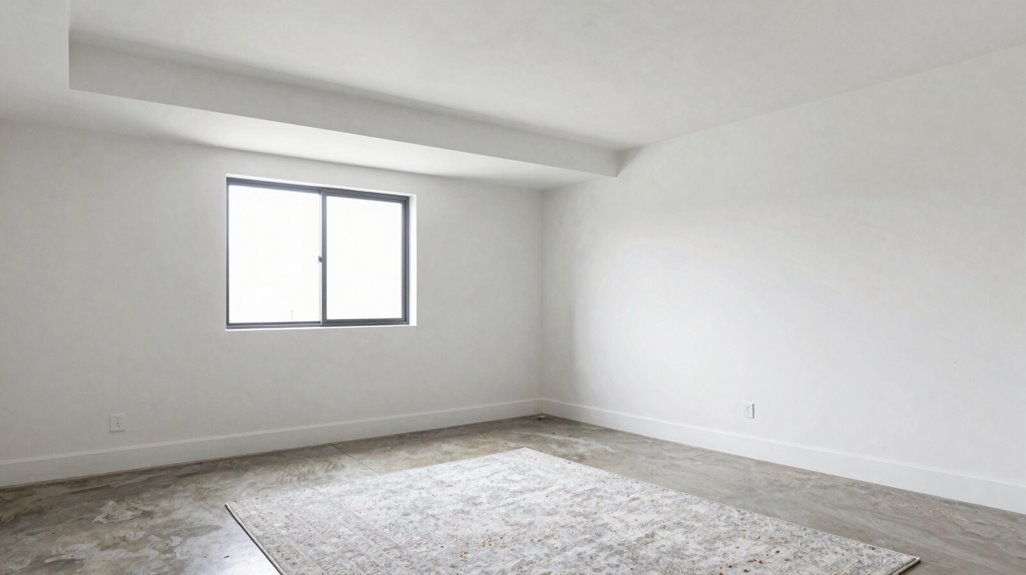
Once you’ve verified moisture readings below 15% and sealed that shared wet bar wall, you’re ready to build the structural skeleton that will contain your basement bedroom. You’ll frame walls with 2×4 studs on 16-inch centers, then hang fire-rated drywall on ceilings and walls to satisfy safety codes. Type X drywall, rated for one-hour fire resistance, slows flame spread between your basement bedroom and adjacent spaces.
Maintain 36-inch minimum door widths and clear egress paths per local requirements. Coordinate your fire-rated drywall installation with insulation and vapor barriers to control moisture. Install interconnected smoke alarms and CO detectors as specified.
- Verify your local jurisdiction requires 5/8-inch Type X versus standard 1/2-inch drywall
- Stagger vertical seams between wall and ceiling sheets to reduce crack propagation
- Pre-cut openings for electrical boxes before hanging ceiling panels
- Label all penetrations for future inspection of fire-blocking integrity
Run Electrical, HVAC, and Any Plumbing Rough-Ins
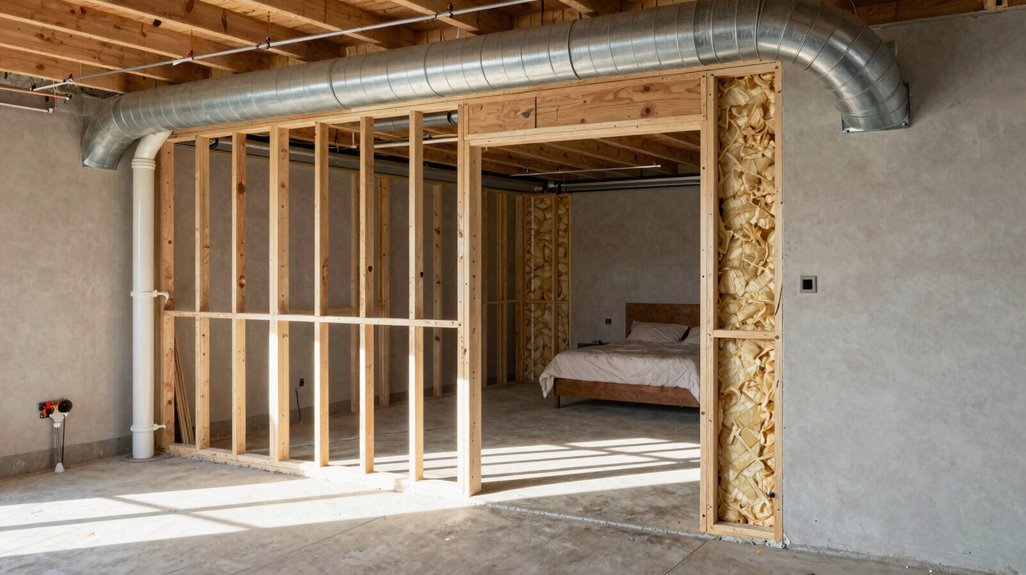
Three critical systems—electrical, HVAC, and plumbing—must converge behind your walls before you seal them with drywall. You’ll coordinate these basement rough-ins now, while framing remains exposed and access is unrestricted.
Three critical systems must converge behind your walls before drywall seals them forever—coordinate your rough-ins now, while access remains unrestricted.
1. Electrical Installation
Run dedicated 20-amp circuits for outlets, 15-amp for lighting, and AFCI-protected lines per code. Position outlets 12 feet apart maximum, switches 48 inches from floor. Install smoke/CO detectors on interconnected circuits.
2. HVAC Extension
Extend existing ductwork with 6-inch supply lines, or install a mini-split with 24,000 BTU capacity for 400 square feet. Add return air pathways to prevent pressurization. Include humidity control set at 50% maximum.
3. Plumbing Rough-In
Install drainage with 1/4-inch-per-foot slope, 2-inch vents, and trap primers for floor drains. Use PEX for supply lines, copper where code requires.
Schedule inspections before insulation. Verify IRC compliance, obtain sign-offs, then proceed to finishes.
Install Finishes and Schedule Your Final Inspection
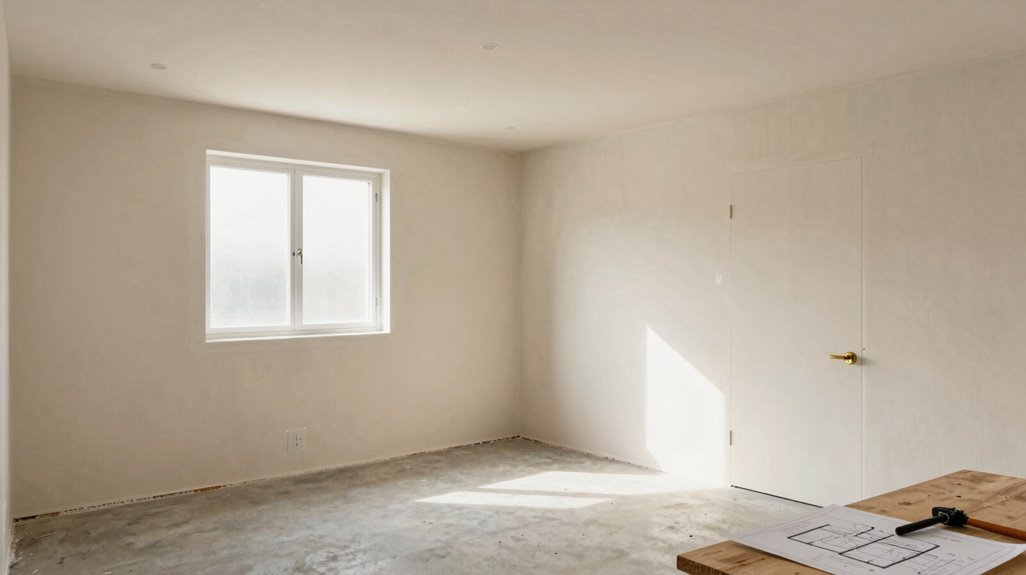
How do you change a framed, rough-in basement into a code-compliant bedroom? You install basement finishes that meet strict moisture and height standards, then schedule your final inspection.
Select moisture-resistant materials and vapor barriers for walls and floors. Verify 7-foot+ ceiling height covers 50% of floor area per code. Install hardwired, interconnected smoke alarms and carbon monoxide detectors. Use sound-insulating Sheetrock to control noise between spaces.
You must complete egress installation before finishing. Your egress window or door needs 5.7 square feet of opening area with a sill no higher than 44 inches.
After completing electrical, plumbing, insulation, drywall, and flooring, you schedule final inspection. Inspectors verify egress compliance, safety systems, and all basement finishes before approval.





