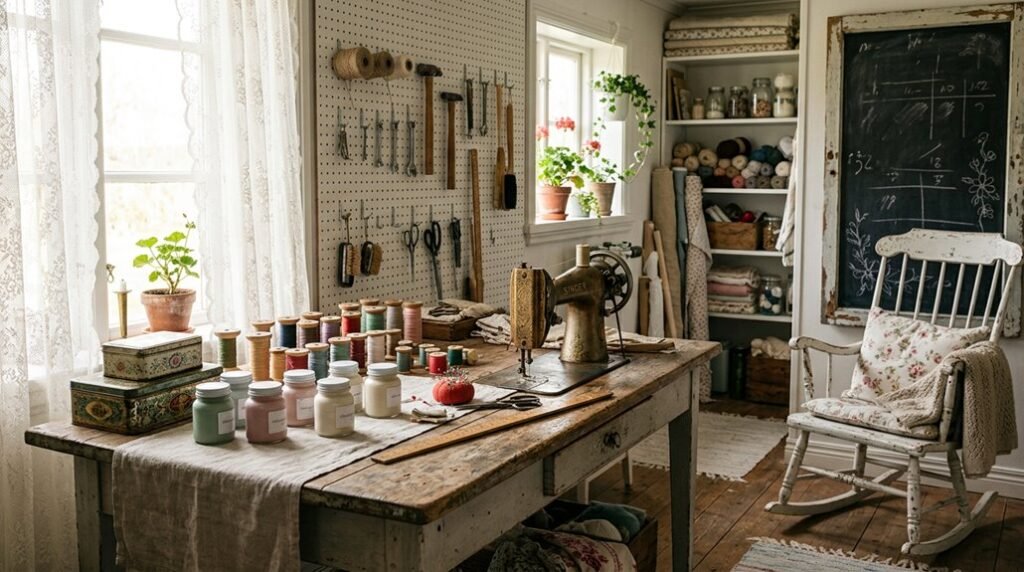
You need a craft room that works, not just looks pretty. These five vintage strategies solve real storage and workflow problems using proven methods from the past. You’ll learn exact measurements for pegboard placement, specific paint finishes that withstand daily use, and modular systems that adapt as your projects change.
The first solution addresses your most overlooked resource.
Plan Your Vintage Craft Room Layout Around Natural Light
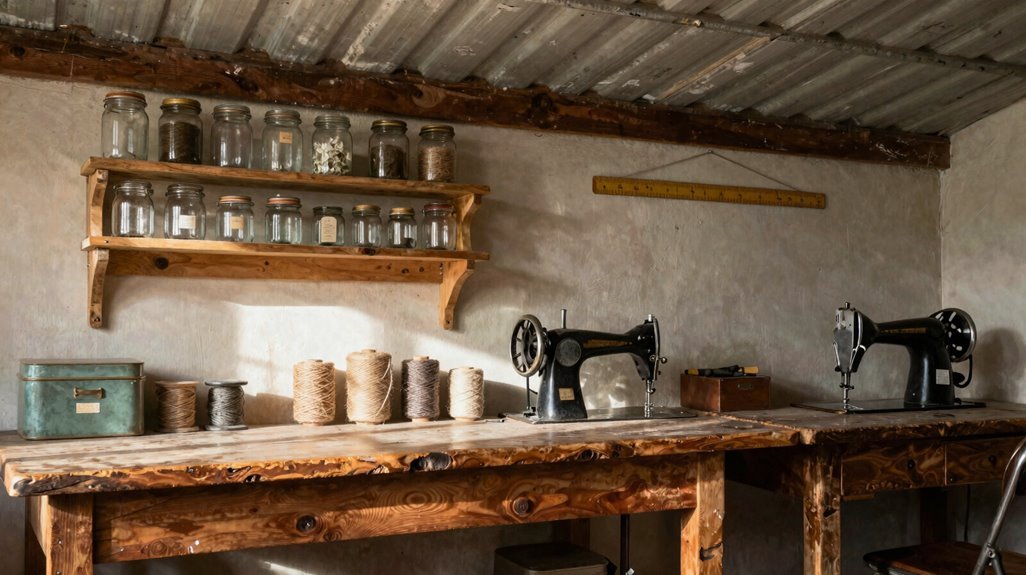
Where should you position your work surface for optimal daylight performance? You should place your main work area and storage along walls receiving maximum natural light, reducing shadowed zones during peak daylight hours from 10 AM to 4 PM.
Your layout demands strategic window placement. Position pegboards, shelving, or display units to capture indirect sunlight, preventing glare on delicate craft surfaces while maintaining visibility. You will maximize brightness by selecting light, reflective surfaces: whitewashed wood, pale bins, to amplify vintage-inspired illumination throughout the space.
Arrange frequently used tools within 24 inches of windows for convenient access without obstructing light paths. Install sheer curtains to diffuse intense sun, protecting vintage textiles and papers from UV damage while preserving airy atmosphere. This systematic approach turns natural light into a functional, measurable asset for your craft room.
Source Weathered Wood and Antique Furniture at Thrift Stores
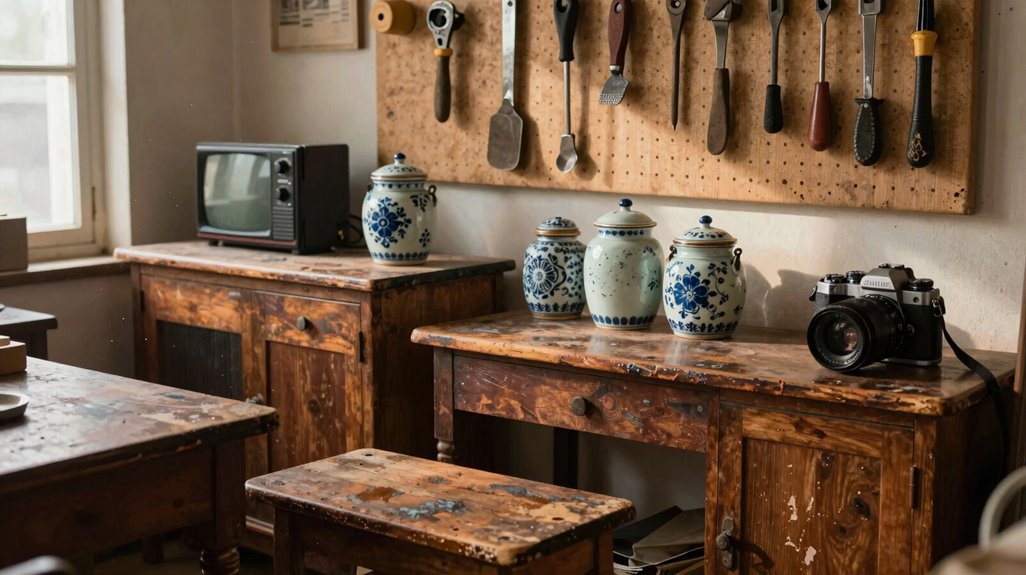
Once you’ve mapped your layout around available daylight, you’ll need storage systems that match your room’s vintage character without sacrificing durability.
- Prioritize thrift stores for structural pieces. You’ll find antique furniture (buffets, display cabinets, old desks) priced 60-80% below retail. Inspect joints, drawer slides, and wood stability before purchasing.
- Select weathered wood with purpose. Whitewashed crates, aged pegboards with wax finishes, and barnwood shelving deliver cohesive farmhouse aesthetics while supporting 40-50 pound loads per shelf.
- Implement a central hutch system. Anchor your space with one antique furniture piece serving dual storage/display functions, then flank with wood cubbies measuring 12″x12″x15″ for modular organization.
- Embrace upcycling for consistency. Sand, stain, or paint mismatched thrift finds to unified color palettes (greige, sage, or cream) so your vintage workspace looks visually cohesive.
| Thrift Store Find | Upcycling Action | Storage/Display Purpose |
|---|---|---|
| Farmhouse buffet | Sand, whitewash seal | Paper, fabric, tools |
| Glass-front hutch | Clean tracks, replace knobs | Finished projects, books |
| Wooden crates (3+) | Stack, bolt, stain uniform | Vertical cubby system |
| Old desk with drawers | Wax finish, line drawers | Workspace + small supply storage |
| Pegboard backing | Distress, dark wax, mount | Tool organization, inspiration display |
Store Small Supplies in Jars, Tins, and Vintage Drawers
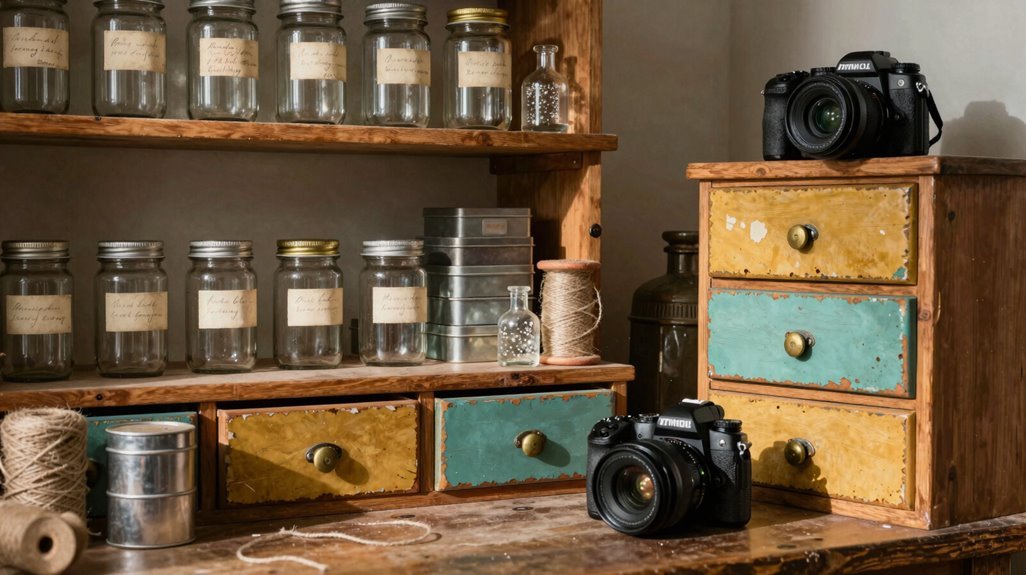
Because small supplies multiply quickly and disappear just as fast, you’ll need transparent, categorized containment systems that marry vintage aesthetics with immediate accessibility.
Small supplies demand transparent, categorized systems that blend vintage charm with instant accessibility.
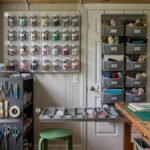
- Deploy clear jars for button collections sourced from thrift stores, Etsy, and eBay, making 3-5 second visual retrieval possible.
- Mount spice racks vertically to organize ribbons and lace within 12-inch compact footprints.
- Source vintage drawers, such as library card catalogs or apothecary styles, and decoupage with printable papers for labeled, decorative compartments.
- Repurpose flower and cookie tins for small components, maintaining accessibility without modern plastic bins.
- Utilize old wooden crates as modular bases for divided wood boxes sorting fussy-cut items, labels, and tags.
These storage ideas turn chaotic small supplies into scannable, categorized systems. You’ll locate materials instantly while preserving cohesive vintage character throughout your craft room.
Install a Pegboard Wall for Flexible Tool Organization
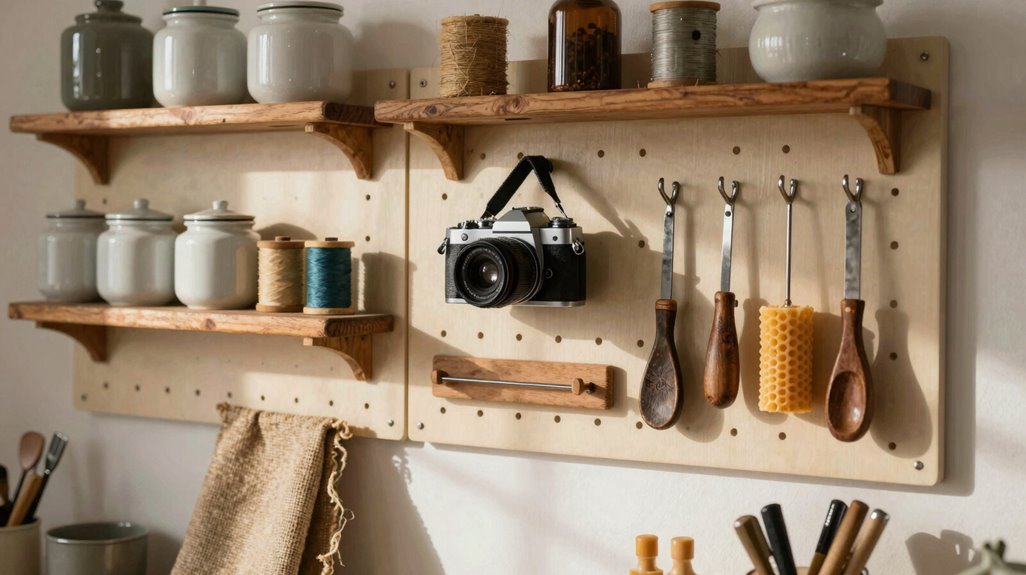
How do you keep tools visible yet adaptable when projects constantly change? You install a pegboard wall for flexible tool organization that evolves with your needs.
1. Build Your Foundation
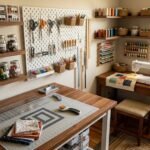
Mount a pegboard panel, approximately 24–48 inches wide, directly to wall studs. You can construct a custom frame or purchase ready-made panels from hardware retailers.
2. Apply Vintage Finishes
Coat your pegboard with red chalk-style paint, then rub aging wax across the surface. This technique preserves full hook functionality while achieving authentic vintage character.
3. Configure Your Storage System
Insert metal hooks at varying heights. Hang baskets, small bins, and lightweight containers. Position frequently used items at eye level, 48–60 inches from the floor.
4. Integrate Display Elements
Suspend vintage office accessories alongside functional tools. Your pegboard becomes simultaneous storage and display, eliminating separate decorative arrangements.
5. Maintain Adaptability
Reposition hooks within minutes when projects shift. This system accommodates tool organization changes without drilling new holes or purchasing additional furniture.
Display Heirlooms and Collections on Open Shelves
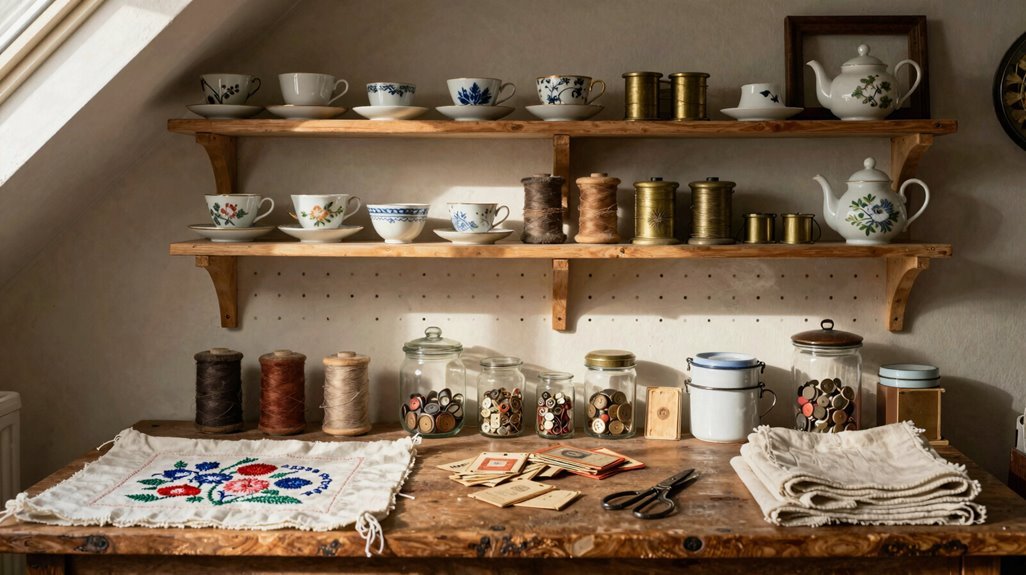
Your pegboard keeps tools accessible, but your craft room still needs a system for the objects that inspire your work. Install open shelves to display heirlooms and vintage collections, balancing storage with visual organization.
Pair a central antique hutch with wood cubbies above, creating tiered display zones. Layer vintage elements: mail sorters, sewing machine drawers, whitewashed crates, across your shelves for curated depth. Use clear jars, apothecary containers, and small boxes to highlight individual pieces while maintaining cohesive organization. Design your shelving system for rotation, allowing seasonal collection changes that keep your display purposeful.
| Display Element | Function |
|---|---|
| Antique hutch | Central storage anchor |
| Wood cubbies | Upper-tier showcase |
| Mail sorter | Vertical organization |
| Apothecary jars | Individual piece highlighting |
| Whitewashed crates | Layered, textured display |
This “mini tresorerie” evolves with your creative practice.