
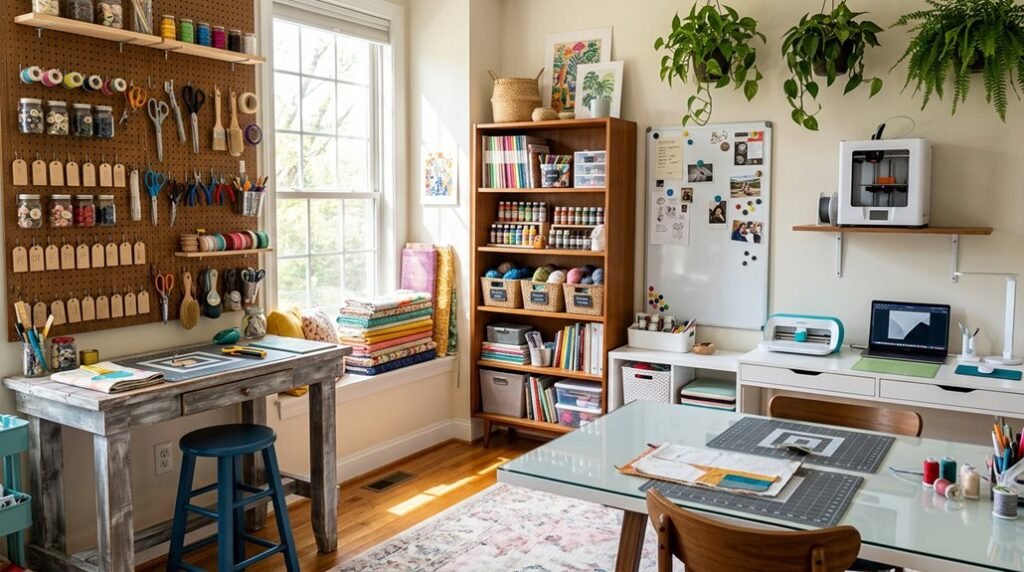
Your empty room sits like a blank canvas, waiting for structure rather than sentiment. You need measurable zones, modular systems, and lighting that protects your vision through 4-hour sessions.
The ten solutions ahead prioritize square footage, storage density, and task ergonomics over decorative impulse. Each idea includes specific dimensions, material specifications, and installation timeframes you can execute this weekend. You will convert underutilized space into a functional creative laboratory without emotional excess or design paralysis. The first decision determines everything.
Design a Reading Nook That Doubles as Your Creative Escape
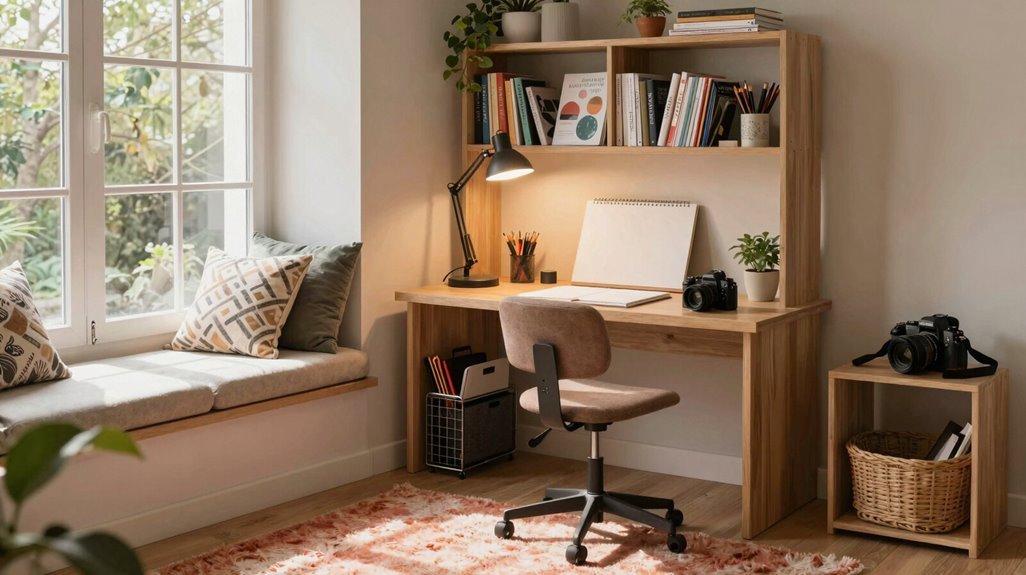
Where should you begin when carving out a dedicated space for focused reading and creative output? Start by positioning your nook near a window, using sheer curtains to filter natural light while maintaining privacy.
Select furniture that serves dual purposes. Pair oversized chairs (minimum 36 inches wide) with a small coffee table (18-24 inches diameter) to accommodate both reading sessions and casual crafting projects within the same footprint.
Maximize vertical storage. Install bookshelves under staircases, adding a 30-inch deep desk to create a multitiered zone supporting reading and light creative work simultaneously.
Establish visual cohesion. Paint one wall green, furnish with dark wood pieces, and layer caramel or burnt orange textiles to forge an outdoor-connected retreat.
Implement layered lighting. Combine task lamps (400-600 lumens) with ambient string lights, enabling seamless transitions between study and creative modes.
Build a Wellness Nook for Meditation and Morning Rituals
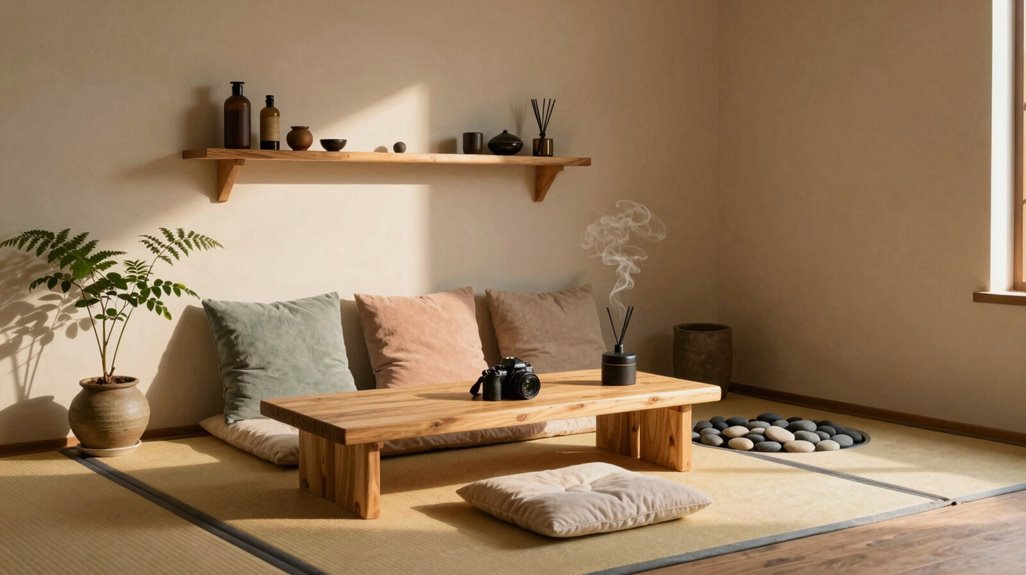
A dedicated wellness nook anchors your daily meditation and morning rituals, transforming an unused corner into a functional sanctuary. You carve out this space within your craft room or adjacent area, establishing a defined boundary that separates mindful practice from creative work. Prioritize calming colors: white walls with soft textural accents, and maximize natural light through sheer curtains.
Your ritual area requires three core components:
- A comfortable mat or cushion paired with a low-profile meditation chair
- A compact side table holding candles, incense, or your journal
- Layered lighting combining adjustable task lamps with ambient string lights
Integrate natural elements through small plant displays. Deploy labeled storage baskets for oils, crystals, and mindfulness tools. This systematic organization maintains uncluttered surfaces, helping your wellness nook remain a predictable, functional environment for consistent daily practice.
Install a Wine Wall That Showcases Your Collection and Style
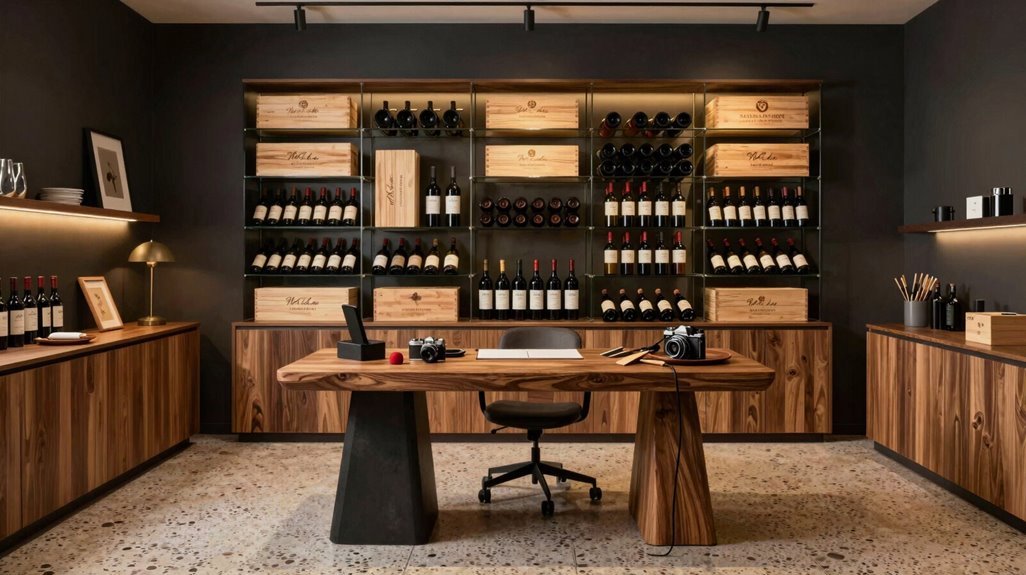
Whether you’re storing twelve bottles or two hundred, a wine wall converts vertical square footage into a climate-conscious display system that protects your investment while creating visual impact. You reclaim idle corners by installing modular shelving units, typically 12-24 inches deep, that secure bottles horizontally while maximizing vertical reach up to 8-10 feet.
Position your wine wall against neutral backdrops: gray, cream, or charcoal, to amplify bottle visibility without visual competition. You integrate LED strip lighting at 2700K-3000K color temperature above each shelf row, ensuring labels remain readable. Supplement with table lamps on adjacent surfaces at 150-200 lumens for ambient layering during evening entertaining.
Designer-inspired configurations from interior professionals demonstrate how you turn storage into statement. You achieve accessibility through pull-out drawers or sliding ladder systems for upper zones. Your collection becomes functional art, merging hobby passion with disciplined spatial organization.
Assess Your Space and Sketch Zones Before You Buy Anything
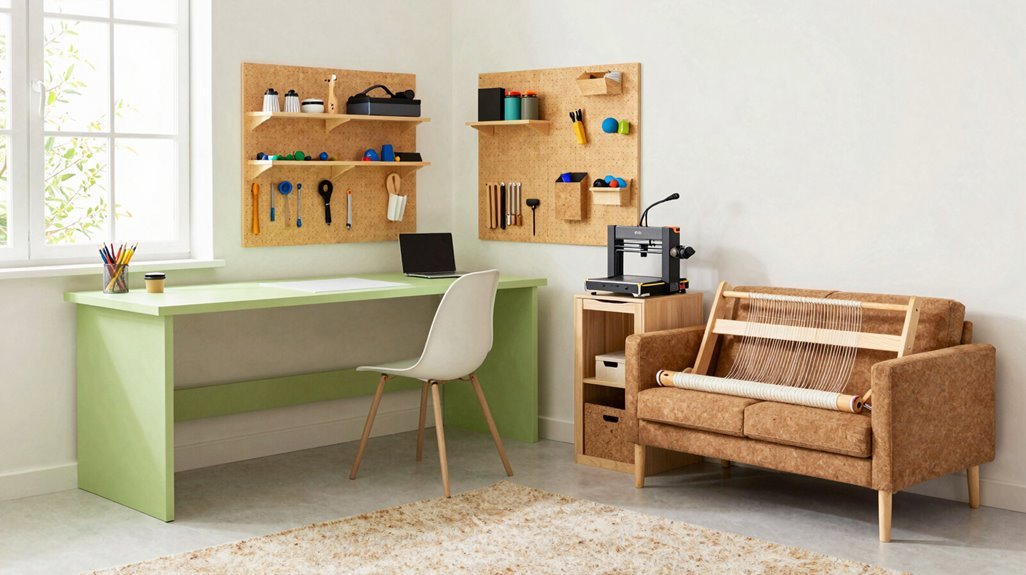
Before purchasing equipment or furniture, evaluate your room’s current state by documenting existing light sources, wall colors, and functional fixtures that may support or hinder your plans. Next, define functional zones, such as a 4-by-6-foot cutting station near natural light or a compact 3-by-4-foot sewing corner with vertical storage, by sketching layouts that allocate specific square footage to each activity.
Finally, plan before purchasing by creating a prioritized acquisition list that addresses zone requirements, prevents spatial overcrowding, and specifies multi-use items with adaptable dimensions.
Evaluate Current State
Where exactly will your creative work happen? You must evaluate your current space before positioning any craft table or committing funds. This assessment grounds every subsequent decision.
Begin this process with three essential actions:
- Measure your room precisely, recording dimensions like 10×10 feet, ceiling heights, and window placements to quantify available natural light.
- Document existing conditions, noting whether dark paneling clashes with surrounding farmhouse aesthetics, as one changed space demonstrated.
- Categorize elements into functional versus problematic, separating workable storage from dated finishes that demand priority updates.
You gather precise feedback now, or you miscalculate later. This data changes vague intentions into actionable specifications, helping your craft table occupy optimal positioning relative to light sources and workflow patterns. Change follows measurement.
Define Functional Zones
How precisely will you allocate every square foot before spending a single dollar? You’ll start zone planning by assessing your room’s lighting, layout, and existing features, then sketch designated areas for sewing, painting, cutting, and storage. Each zone needs dedicated work surfaces with accessible supplies within arm’s reach.
Consider multipurpose zones for flexibility: a 10×10 craft room requires 36-inch circulation pathways around workstations, so you’ll select furniture scaled to your dimensions. Wall-mounted desks and fold-down tables accommodate guests and shifting hobby demands without sacrificing function.
Apply interior designer-informed concepts: position your sewing station near natural light, isolate messy crafting corners, and tuck reading nooks into quiet alcoves. This zone planning maintains cohesion while serving your practical workflow. Map everything first, purchase second.
Plan Before Purchasing
Why invest in furniture you’ll later regret? Start with layout planning before you spend a dime. You’re building a space where your creativity belongs, so measure twice, buy once.
- Define your room’s core function: crafting, sewing, or guest use, and sketch zones for making, seating, and sleeping.
- Assess your space’s current state, noting dimensions, natural light, and obstacles that hinder workflow.
- Map dedicated stations for sewing, painting, or cutting, plus multipurpose zones for fold-down tables or wall beds.
A 10×10 room becomes functional only when you plan lighting, storage labels, and flexible furniture placement. You’ll avoid costly mistakes, maximize every square foot, and create a haven that serves your craft. Your future self will thank you for this disciplined preparation.
Paint Dark Walls White for a Clean, Energizing Canvas
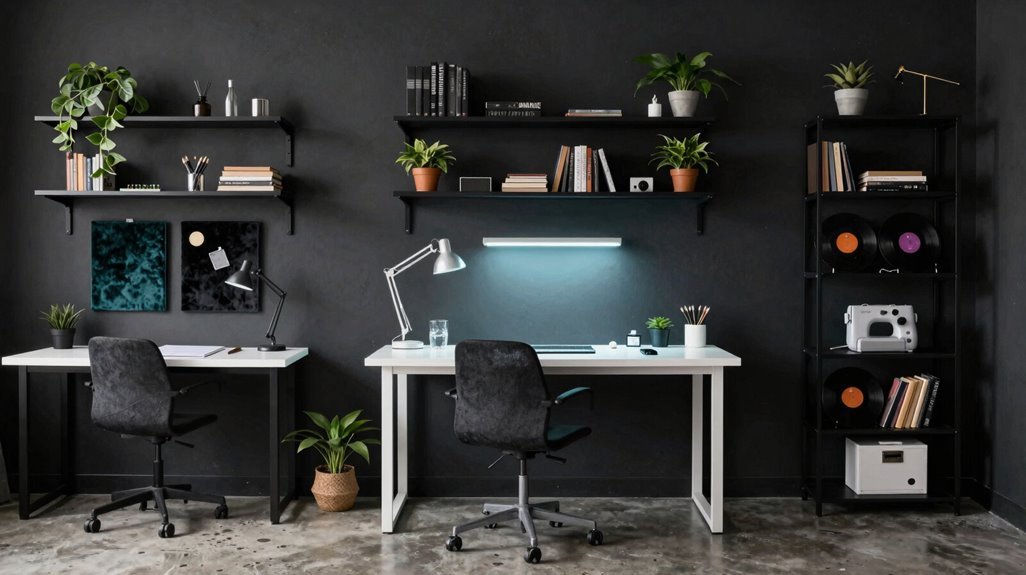
When you’re staring at dark, dated paneling in a spare room, you’ll recognize that heavy surfaces absorb up to 80% of available light, creating a cramped, draining environment for detailed work. Painting over that dark wood changes your space immediately, converting a neglected corner into a bright, functional studio where you belong.
White walls maximize natural light from existing windows, reducing eye strain during extended crafting sessions. You’ll pair this clean canvas with colorful supplies and decor without clashing, and you’ll update accessories seasonally without repainting.
This affordable change requires minimal investment: primer, quality paint, and basic tools. Disclosure: affiliate links for recommended products appear below.
Your white backdrop accommodates any house aesthetic, integrating your hobby room seamlessly into your home while supporting flexible merchandise storage and organizational systems.
Pick Furniture That Transforms From Craft Mode to Guest Mode
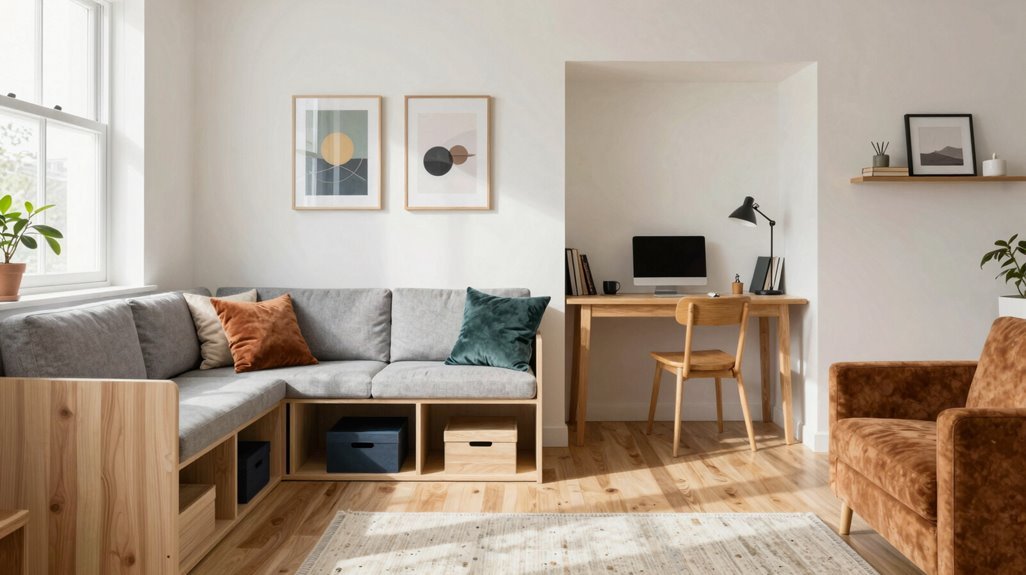
Where will you seat overnight guests when your hobby room overflows with supplies, cutting mats, and half-finished projects? You reclaim control through versatile craft room furniture that shifts function within minutes.
- Select a wall-mounted fold-down table, 30″ deep, that secures vertically against drywall using 3-inch lag bolts rated for 200 pounds, clearing 25 square feet of floor space.
- Specify modular storage units, 15″W × 12″D × 72″H, with fabric baskets that slide into concealed compartments before visitors arrive.
- Coordinate finishes; matte lacquer or satin polyurethane; within two shades of your wall color for visual continuity.
Zone your room deliberately: position your 48″×24″ primary work surface near 5,000-lumen task lighting, then establish a secondary seating area with ambient fixtures at 2,700 Kelvin. Your guests belong here, and so do you.
Add a Murphy Bed That Frees Up Floor Space by Day
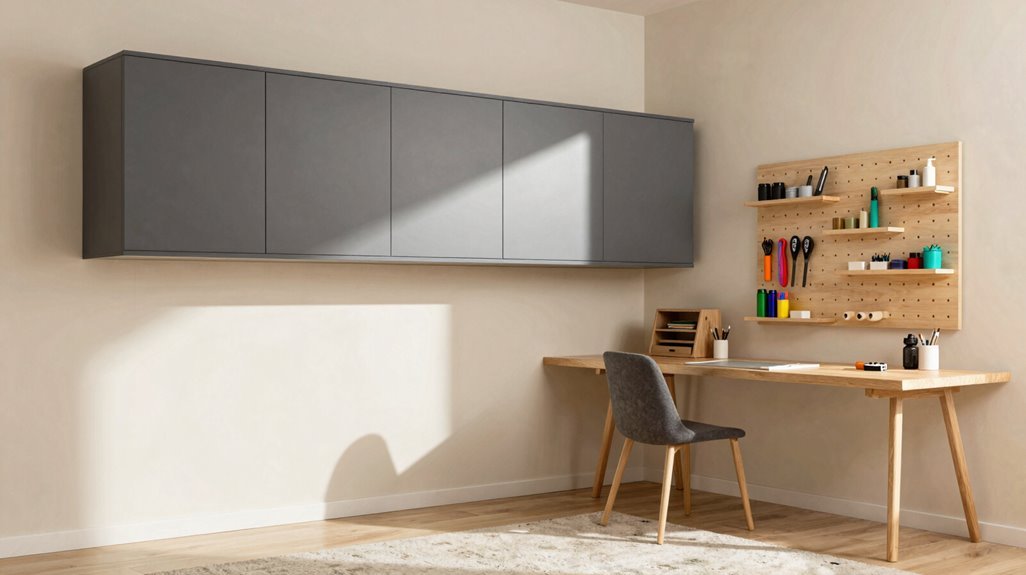
Install a Murphy bed system to reclaim 100% of your floor space during daylight hours, converting your 12-by-14-foot hobby room from sleeping quarters into a fully operational craft zone with uninterrupted workflow.
When guests arrive, you’ll lower the wall-mounted frame in under 60 seconds, turning the same footprint into a comfortable sleeping area with proper mattress support. Pair this installation with blackout curtains measuring at least 6 inches beyond your window frame on all sides to block light intrusion and maintain sleep quality.
Daytime Floor Clearance
Why let a guest bed consume 32 square feet of floor space you’ll never use during daylight hours? You reclaim that territory for crafts when you install a Murphy bed, changing dead zone into dynamic workshop.
Your daytime floor clearance strategy hinges on three integrated elements:
- Vertical bed systems (LGM revolving units, Kali Desk configurations) that rotate or fold over integrated workstations
- Wall-mounted surfaces maintaining 30-inch-deep uninterrupted work zones for cutting, sewing, and painting
- Layered lighting arrays combining 5000K task fixtures with sheer diffusers for 10-hour craft sessions
You position blackout curtains strictly for evening deployment, keeping sight lines open during working hours. Your changing desk stays polished, clutter-free, ready. Natural light streams across unobstructed flooring. You belong in this efficient, purposeful space you’ve engineered.
Guest Night Comfort
By evening, you’ve swapped your workshop back into a bedroom. You pull down your Murphy bed, turning vertical wall space into a queen-sized sleeping surface in under 60 seconds. This dual-purpose solution maximizes your 120-square-foot hobby room’s functionality without sacrificing crafting zones.
| Feature | Specification |
|---|---|
| Bed size | Queen (60″ x 80″) |
| Folded depth | 16-20 inches |
| Installation height | 84 inches minimum |
| Weight capacity | 1,000-2,500 lbs |
| Mechanism type | Piston or spring lift |
You pair your wall bed with blackout curtains, blocking 99% of ambient light for guest sleep quality. Install modular storage above the unit, storing guest linens in a daybed drawer below. Select neutral tones, greige, slate, or warm white, to coordinate with existing craft supplies. Your space now serves two distinct purposes with zero compromise.
Layer Natural Light With Task Lighting to Protect Your Eyes
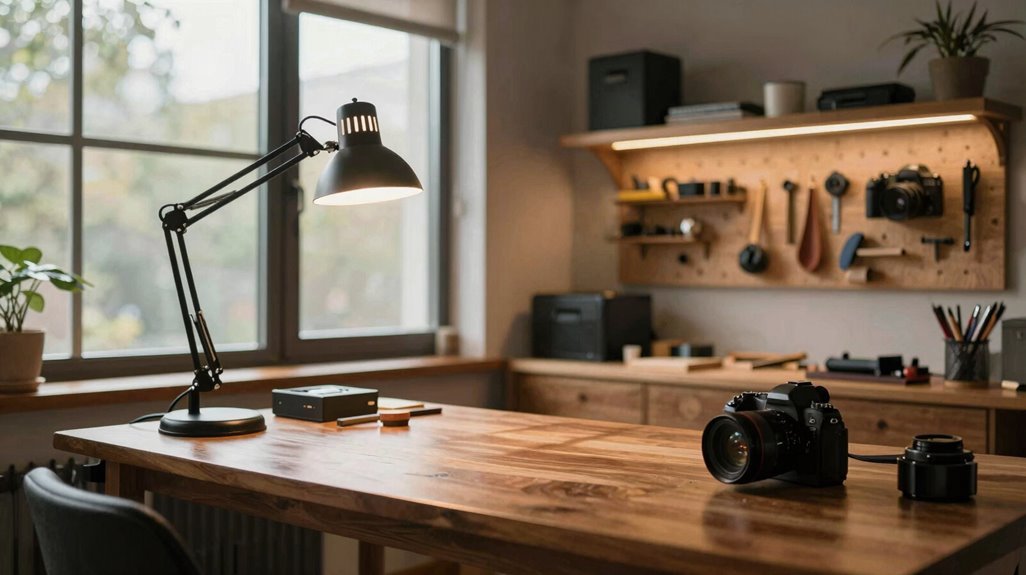
Because your eyes endure significant strain during detailed craft work, you’ll need a deliberate lighting strategy that merges daylight capture with targeted artificial sources. You’ll maximize daylight by leveraging existing windows and installing sheer curtains, which filter light while preserving privacy. You’ll paint dark-paneled walls white or light neutral to reflect natural light across your workspace.
You’ll layer artificial sources through three essential components:
- Task lighting: You’ll position adjustable lamps at 15-24 inches from work surfaces, delivering 1500-3000 lumens for precision activities.
- Track lighting: You’ll install adjustable fixtures above craft stations, directing 2000-4000K color temperature beams.
- Ambient sources: You’ll add string lights at 2700K to maintain atmosphere without reducing visibility.
You’ll coordinate these elements with your home’s aesthetic, making certain functional illumination covers all work zones.
Store Supplies Where You Can See Them Without the Mess
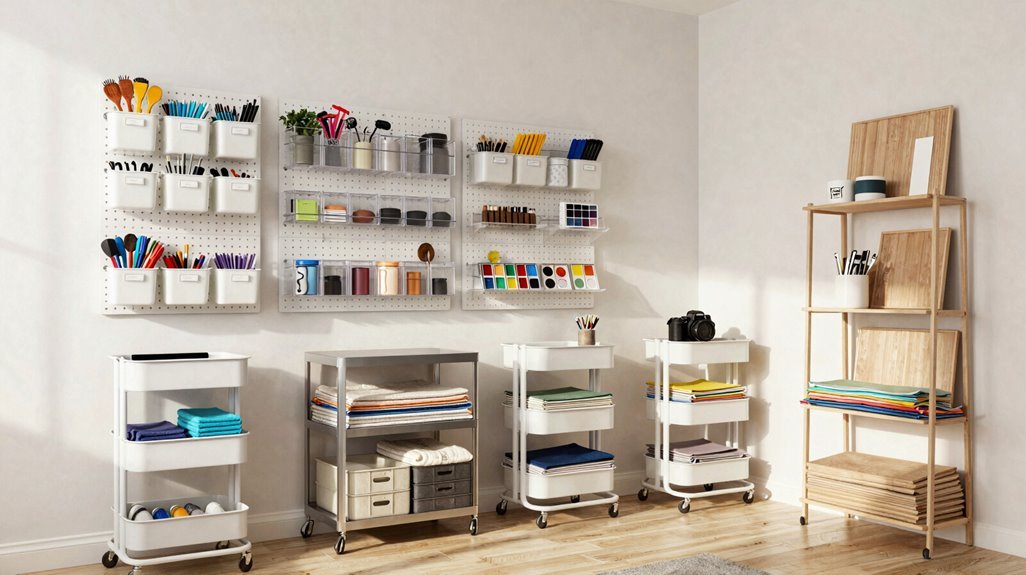
How do you maintain visual access to hundreds of small supplies without surrendering your workspace to clutter? You implement strategic storage that balances visibility with order.
- Deploy labeled storage systems using apothecary jars, vintage containers, and categorized bins. You’ll locate beads, buttons, or brushes instantly without rummaging.
- Combine freestanding cabinets with wall organizers. This vertical approach maximizes your square footage while keeping frequently used items within 24-inch reach.
- Select clear or translucent containers. You eliminate unnecessary opening, reducing search time by approximately 40 seconds per item retrieval.
- Install a dedicated craft table featuring built-in drawers, paired with a rolling cart for portable tool storage. You tuck everything away within 30 seconds when projects conclude.
- Execute a labeling system with color-coded bins. You identify sewing, painting, or papercraft supplies through immediate visual recognition, maintaining systematic organization without cognitive load.
Personalize Your Hobby Room With Meaningful Details
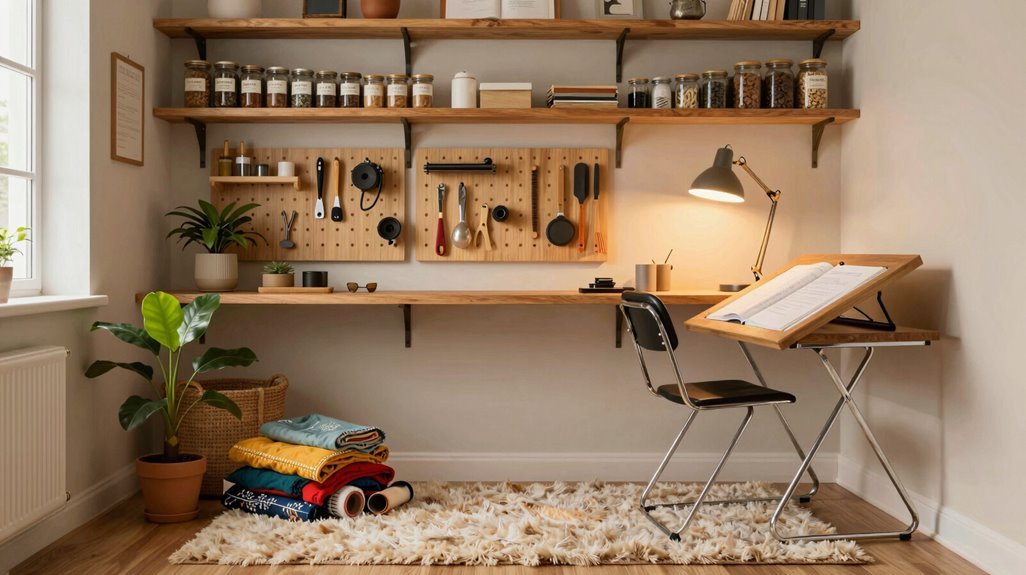
A hobby room becomes functional only when it reflects your specific workflow, not generic aesthetics. You craft spaces that honor memory by integrating specific, purposeful elements.
- Position a reading nook near your window with oversized chairs and a small coffee table to establish a 12-16 square foot zone for restorative breaks between projects.
- Install bookshelves under stairs with a built-in desk to combine 8-10 linear feet of storage with 24-30 inches of work surface in compact layouts.
- Select green as your primary accent, pairing it with dark wood and burnt orange or caramel textiles to unify 60-70% of visible surfaces around nature-connected craft.
Use minimal window shading to maximize 6-8 hours of natural light for extended making sessions. You build belonging here through deliberate, memory-driven choices.





