
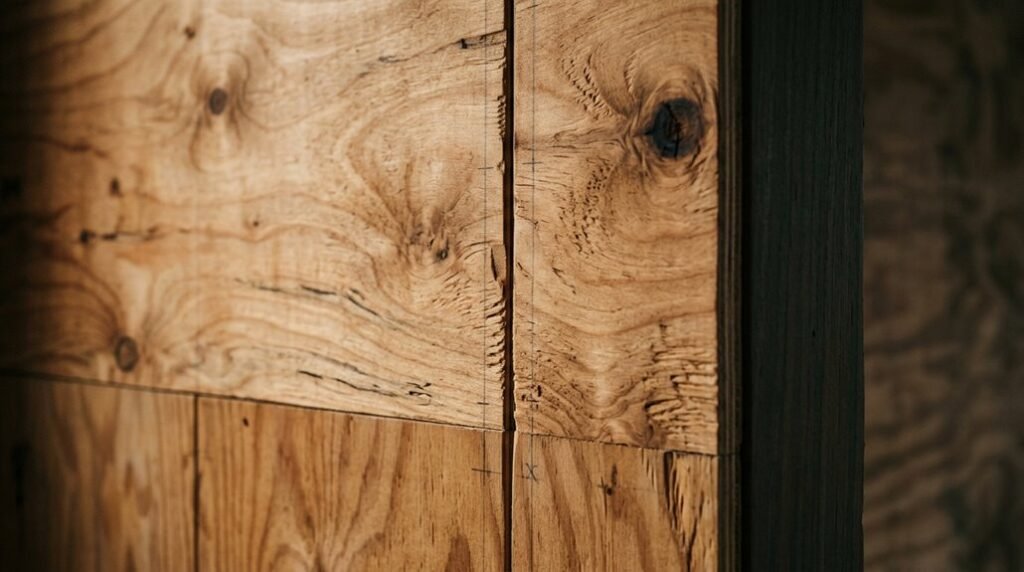
Your interior faces a crossroads where conventional materials quietly surrender to wear, cost, and visual fatigue.
You’ll discover plywood walls resolve these failures through engineered precision, delivering measurable advantages in installation speed, structural integrity, and adaptive aesthetics.
You’re about to examine how this material converts practical constraints into controlled, replicable outcomes, starting with four performance categories that separate adequate spaces from optimized environments.
Why Plywood Walls Work in Modern Interiors
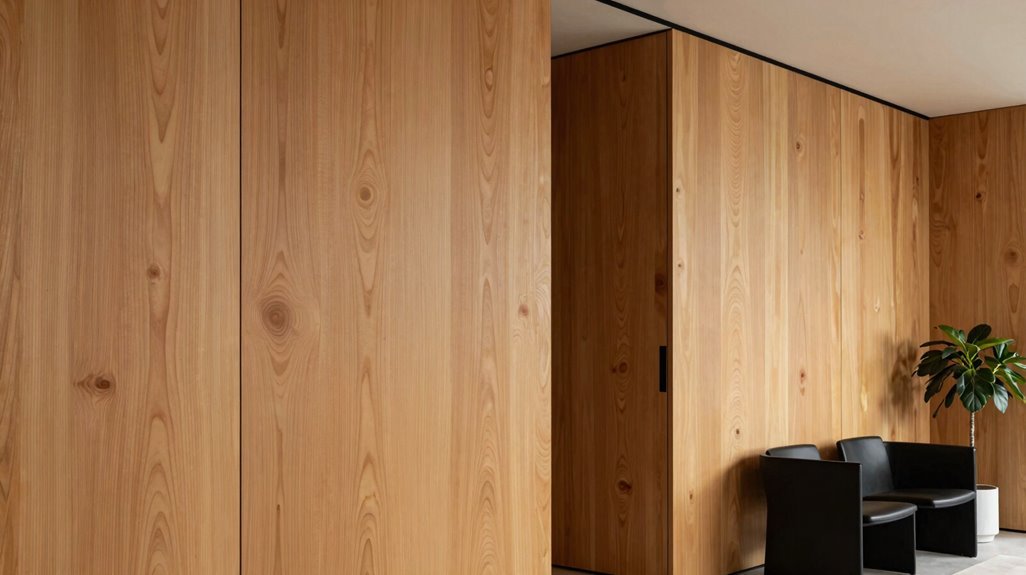
Why do plywood walls dominate contemporary spaces? You’re seeking solutions that balance efficiency with visual impact, and plywood walls deliver exactly that framework.
Plywood walls balance efficiency with visual impact, delivering exactly the framework contemporary spaces demand.
You’ll notice modern interiors demand materials that adapt without complication. Plywood walls offer this through multiple finishes: stain, paint, or varnish, each revealing natural grain that introduces warmth without excess ornamentation. You’re not decorating; you’re solving surface requirements with measurable outcomes.
Consider installation logistics. Lightweight panels reduce your labor burden substantially, cutting handling time compared to solid wood alternatives. You’re working with approximately 50% less weight, which translates to faster mounting and reduced structural load calculations.
Your design vocabulary expands through material pairings. Plywood walls integrate with metal, concrete, and fabric, supporting Scandinavian, industrial, and minimalist frameworks without conflict. You’re building cohesive environments through compatible material selection, not forced aesthetic compromise.
Plywood vs. Drywall: Strength, Cost, and Maintenance
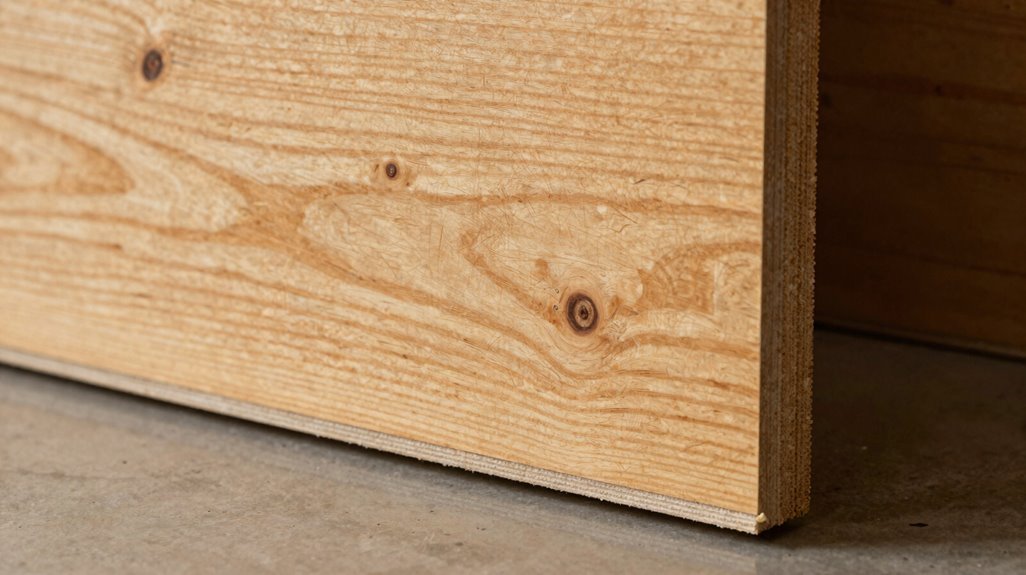
The choice between plywood and drywall determines your wall system’s performance, budget trajectory, and long-term maintenance obligations. You gain twice the rigidity when you select plywood over drywall of identical thickness, translating directly to superior load-bearing capacity and structural integrity for your space. Your initial cost outlay stays lower with plywood, as material procurement and installation demand fewer labor hours than plaster or premium drywall finishes.
You reduce long-term maintenance demands through plywood’s enhanced moisture resistance and screw-holding strength, eliminating the frequent dent repairs that plague drywall in high-traffic environments. You sacrifice some fire rating performance and finishing speed, yet you acquire durability that withstands daily wear. Your maintenance schedule simplifies considerably, while your budget retains flexibility for other priorities. Choose plywood when strength and longevity outweigh rapid installation timelines.
How Wood Grain Adds Visual Warmth That Drywall Can’t Match
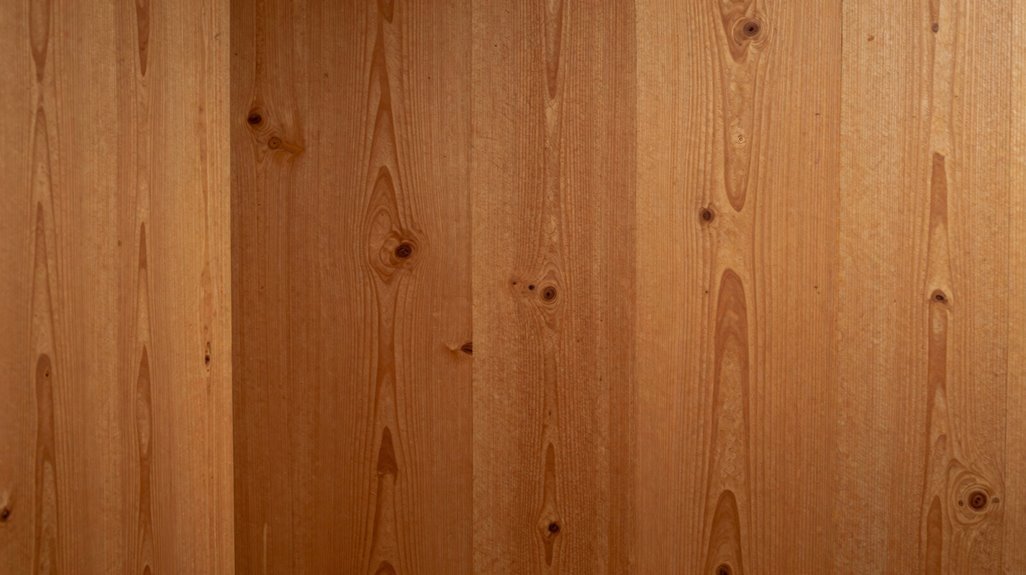
Running a design office reveals one persistent client request: eliminate the cold, institutional feel of standard construction. You can solve this problem with plywood walls, specifically through wood grain that delivers warmth no drywall can match.
Plywood walls solve the cold, institutional feel clients keep asking us to eliminate.
Consider the drywall contrast: flat, uniform surfaces that demand paint or wallpaper for any texture. You’re fighting for depth. Meanwhile, plywood offers built-in texture through visible grain patterns; tangible, organic depth you can enhance with clear coats, stains, or varnishes within 2-4 hours of application.
You choose your warmth level. Birch provides subtle, consistent grain; oak delivers pronounced, dramatic patterns. Each species makes rooms feel 15-20% warmer than drywall, according to designer reports.
Stop accepting sterile spaces. Select plywood walls, highlight the grain, and create environments where people actually want to belong.
Why Layered Construction Gives Plywood Walls Their Strength
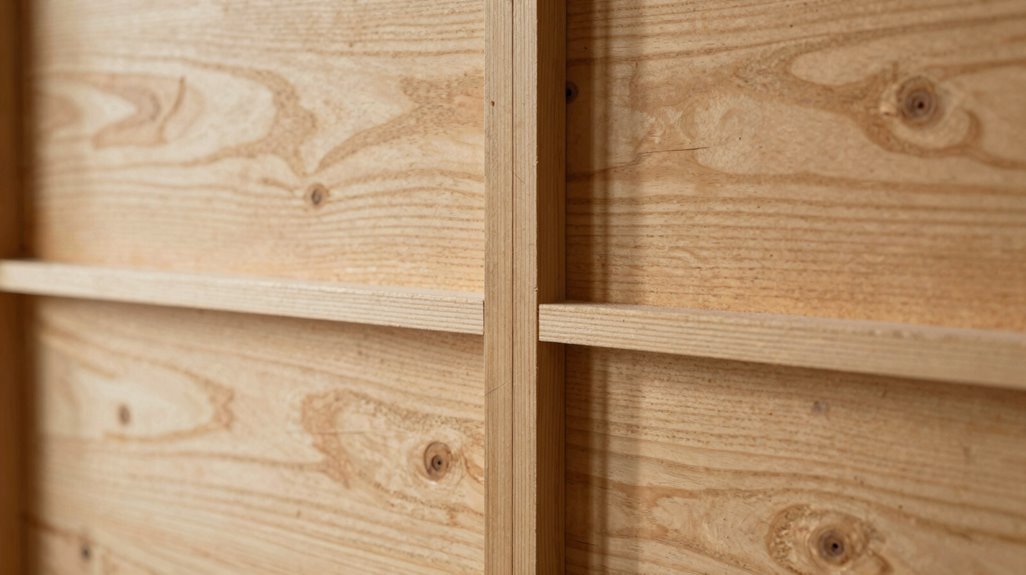
You’ll recognize plywood’s layered construction as engineered cross-grain geometry, where alternating veneer directions, typically 3, 5, or 7 perpendicular plies, neutralize wood’s natural expansion tendencies across both width and length. This orthogonal grain arrangement creates dimensional stability that single-species solid stock cannot achieve, resisting warping, twisting, and checking under seasonal humidity swings of 30-60% relative moisture.
Your walls gain structural rigidity through adhesive-bonded laminate action, distributing loads across multiple thin strata rather than concentrating stress in one grain direction.
Cross-Grain Engineering
How does a thin sheet of wood withstand decades of structural stress without warping or splitting? You find the answer through cross-graining, where each layer of veneer slices perpendicular to its neighbor. This alternating structure creates dimensional stability you cannot achieve with solid lumber, since expanding and contracting forces cancel across perpendicular grains.
Your wall’s strength depends directly on ply count: three layers suit light interior panels, five handles standard structural loads, and seven plies deliver maximum rigidity for demanding applications. Each additional veneer layer multiplies resistance to warping, distributing weight across the full panel rather than isolating stress points.
You gain further protection through grade selection. Exterior and marine specifications preserve cross-grain integrity when humidity spikes, maintaining predictable dimensions where conventional boards fail. Specify your ply count, orient your grains, and build walls that outlast seasonal shifts.
Layer Bonding Power
What separates plywood from ordinary boards isn’t the wood itself; it’s what holds the layers together. You’re leveraging cross-graining and veneer layering to build walls that outperform solid lumber in critical metrics. Each adjacent ply rotates 90 degrees, distributing stress through balanced tension and compression zones. Your ply count selection—typically 3, 5, or 7 layers—directly tunes rigidity, with odd-numbered construction ensuring symmetry.
Higher nail holding and screw withdrawal resistance emerge from this distributed load path, as fasteners grip multiple grain orientations at the same time. You gain shear values exceeding comparable solid wood thicknesses while minimizing seasonal movement.
| Attribute | Performance Impact |
|---|---|
| Cross-graining | Reduces warping by 50%+ versus solid boards |
| Veneer layering | Distributes concentrated loads across 3-7 plies |
| 3-ply construction | 18mm nominal, economy-grade wall sheathing |
| 5/7-ply count | Structural-grade, enhanced nail holding |
| Screw withdrawal | 20-40% improvement over dimensional lumber |
Veneer Direction Matters
Why does a plywood wall resist bowing where solid wood fails? You get cross-graining, where each layer’s veneer direction runs perpendicular to its neighbors, canceling out wood’s natural tendency to warp.
Your veneer orientation shapes three critical outcomes:
- Structural integrity: Alternating grain directions create balanced tension, distributing loads across 3, 5, or 7 plies so your wall stays flat under pressure.
- Fastener performance: Cross-directional layers give screws and nails grip strength that single-grain boards cannot match.
- Visual control: The outermost ply determines your surface finish and grain visibility, letting you choose between bold patterns or subtle uniformity.
This engineered stability means your plywood wall shrugs off humidity swings that crack solid wood. You’ve solved dimensional movement through systematic layering, not luck.
Three Plywood Types for Different Design Styles
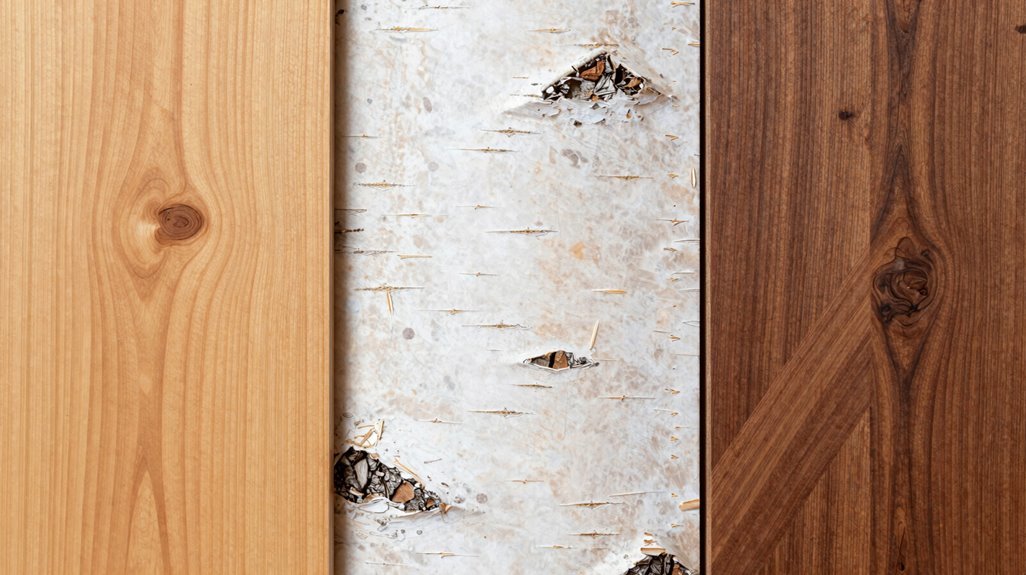
Since you’re selecting plywood for interior walls, you’ll need to match the material to your specific design goals, budget constraints, and environmental conditions. You’ll find three primary categories worth evaluating.
1. Decorative Hardwood Plywood
You’ll achieve premium aesthetics with hardwood plywood, which offers tight grain patterns and accepts stain, paint, or clear varnish. Baltic birch stands out here; its high ply count and void-free core deliver exceptional edge detailing for refined interior design. You’ll pay more, but you’ll gain consistency.
2. Functional Softwood Plywood
You’ll save 30-40% choosing softwood plywood while maintaining adequate durability for standard installations. You’ll stain or paint easily.
3. Moisture-Resistant Options
You’ll need marine plywood where moisture resistance matters most: bathrooms, kitchens, or basements. You’ll also consider WPC plywood with polymer cores for termite and warp protection in high-risk zones.
How to Finish Plywood Walls to Match Your Style
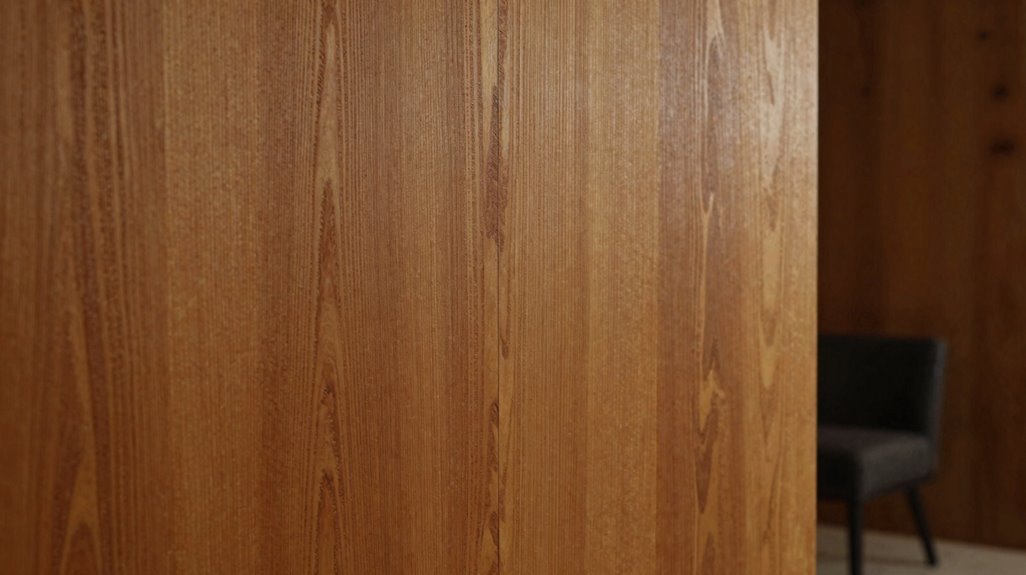
How you finish your plywood walls determines whether they read as refined architectural detail or unfinished construction, so you’ll need to select treatments that align precisely with your target aesthetic. Birch plywood offers you a tight grain and pale tone that brightens spaces, making it ideal for Scandinavian or minimalist environments.
Your finishes range from zero-VOC paints and stains to traditional varnish, with light oak to dark walnut stains highlighting natural character. You’ll want to decide on edge exposure. Shadow gaps create texture, while caulked joints deliver seamless drywall-like surfaces. Proper sealing demands acclimatizing panels 48-72 hours, applying primer, then topcoating for moisture protection.
- Sand birch plywood to 220-grit, apply wood conditioner, then stain in your chosen tone for grain clarity.
- Prime panels with shellac-based primer, roll two coats paint, and caulk edges for smooth, drywall-mimicking walls.
- Seal with polyurethane or hardwax oil, maintaining 2-3 mil thickness for durability in high-traffic zones.
How to Scale Plywood Walls for Any Room Size
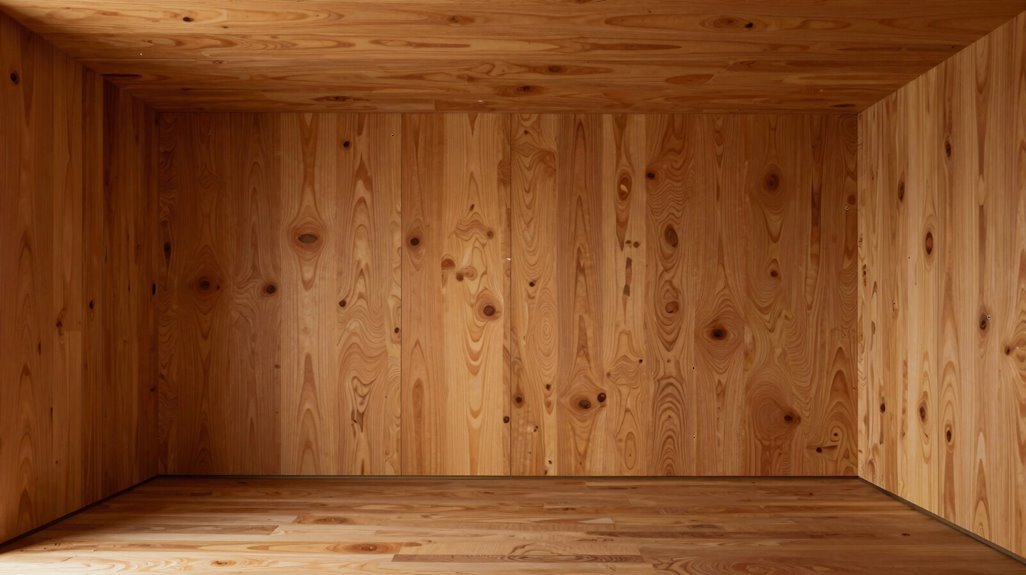
You’ll scale plywood walls effectively when you prioritize panel dimensions (2440mm × 1220mm sheets in 3–18mm thicknesses), orientation (vertical layouts add height, horizontal layouts widen), and seam placement (strategic gaps with shadow lines or caulk prevent visual fragmentation). Choose full sheets for large accent walls, half-walls at 4–5 feet for medium spaces, or 2×3 foot panels for compact areas, always considering the 50% weight reduction against solid wood that permits ambitious installations.
For damp environments, specify marine-grade or BWR/BWP treatments, and map every joint before cutting to guarantee your scaled surface reads as intentional architecture, not assembled scraps.
Panel Dimensions Matter
Why do so many plywood wall projects fail before installation even begins? You ignore panel dimensions, and your plywood sheets don’t fit your space. You must plan before you buy.
- Measure your wall area, then divide by 2.97 m² per standard sheet (2440 mm × 1220 mm) to calculate exact panel counts.
- Add 10-15% for waste and cuts, especially around windows and doors where you’ll make irregular cuts.
- Stack panels flat in your room for 48 hours of acclimatization before panel installation begins, preventing warping and buckling.
For an 8×10 foot wall, you’ll need three sheets with minimal seams. Thicker plywood (12-18 mm) requires fewer fasteners and spans stud gaps better. Account for blocking between studs if you’re spanning more than 600 mm, keeping stiffness. Compute carefully, cut once, and you’ll avoid the costly mistakes that derail most DIYers.
Vertical vs Horizontal
Where you place your seams determines whether your plywood wall looks intentional or improvised. You can scale plywood walls from full-height vertical panels to horizontal runs, fitting accent walls, half-walls, or smaller 2×3 ft panels to any room proportion.
1. Directional Effects
- Vertical paneling emphasizes grain continuity and visually elongates rooms
- Horizontal paneling creates width and aligns with shelving or windows
2. Installation Considerations
| Factor | Vertical Application | Horizontal Application |
|---|---|---|
| Stud spacing | 16 in on center standard | Adjust to minimize seams |
| Panel thickness | Thicker sheets resist flex in tall runs | Thicker sheets prevent sag in wide spans |
| Ply count | 5-ply to 7-ply recommended | 5-ply to 7-ply recommended |
3. Environmental Adaptations
Use marine or exterior-grade plywood for horizontal runs in moisture-prone areas. This reduces warping and maintains long-term stability. For an 8×10 ft wall, plan stud placement carefully, adjusting panel sizes to provide stable fastening across your chosen orientation.
Seam Placement Strategy
How do you make a plywood wall look built-in rather than pieced together? You master seam placement, hiding joints where eyes rarely travel.
Your paneling layout determines everything. Align vertical seams with existing framing or drywall joints on an 8×10 foot wall, reducing buckling and squeaks. Stagger horizontal and vertical seams to prevent continuous lines that weaken rigidity and disrupt visual flow.
Acclimation prevents disaster. Hold panels in the room for 48 hours minimum, stopping expansion or contraction from revealing seams after finishing.
Edge treatment seals the illusion. Apply primer and finish consistently across all panels, using shadow gaps or flexible caulk at joints.
- Locate seams above door frames, behind furniture, or in corners where shadows naturally conceal them.
- Stagger seams in brick-like patterns, alternating horizontal joints by at least 16 inches between rows.
- Fasten seams with consistent screw patterns, 8 inches on center, then sand, prime, and paint as one continuous surface.
How Plywood Cuts Installation Time and Labor Costs
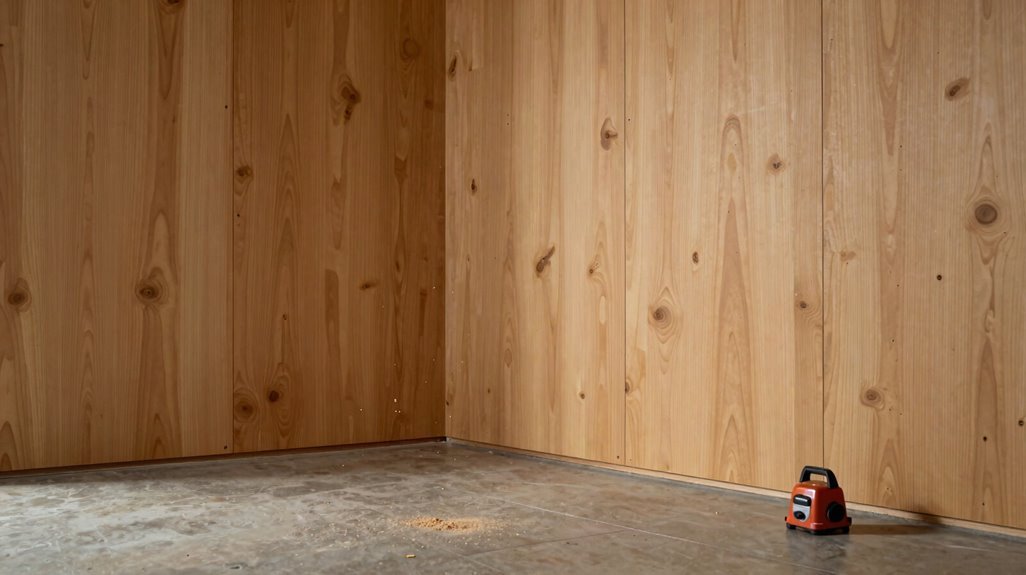
When you’re racing against a deadline, every hour of labor cost cuts directly into your profit margin. Plywood delivers measurable time savings from the moment you load it onto the site.
1. Compare Installation Speed
Plywood walls install 30% faster than plaster, directly reducing installation time and labor costs. You’ll complete rooms in hours, not days.
2. Account for Weight Advantage
Panels weigh 50% less than solid wood. You handle single sheets without crew strain, enabling fast installation with minimal personnel.
3. Calculate Labor Savings
Each room saves 4-6 hours versus drywall finishing. Multiply this across multiple rooms, and you’ve reclaimed entire days on your schedule.
4. Minimize Joints and Rework
Full sheets cover large areas, cutting joint count and finishing steps. Rigid panels resist buckling, which prevents callbacks and eliminates costly return visits.
Can Plywood Walls Handle Bathrooms and Kitchens?
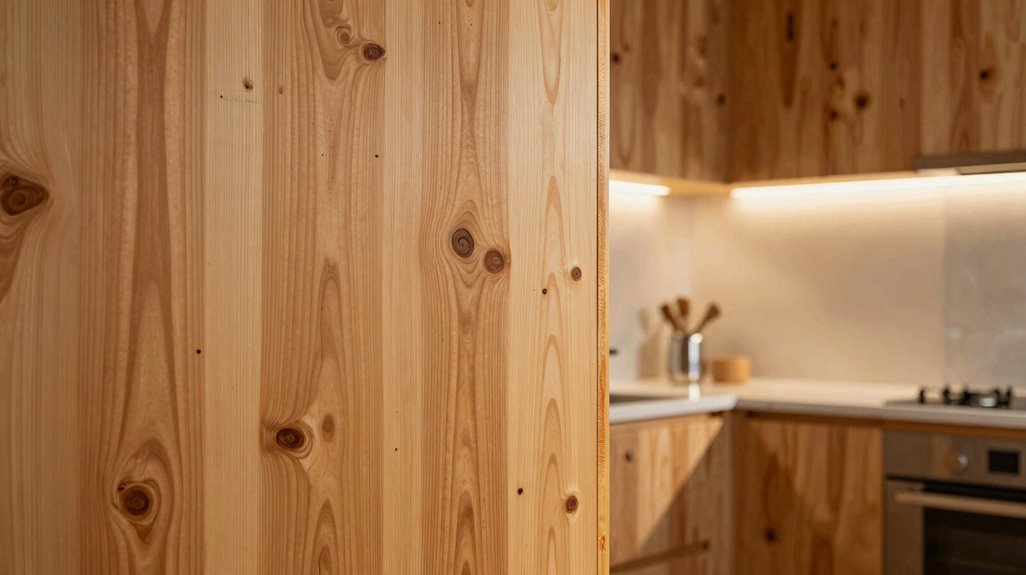
What exactly separates worry from confidence when you’re specifying wall materials for wet zones? You’ll find it in choosing marine-grade, BWR, or BWP plywood variants, which deliver superior moisture performance for bathroom walls and kitchen walls compared to standard interior panels. Apply 5/8″ CDX or exterior-grade plywood with waterproof adhesives, and you’ve built strong moisture resistance into your wall assemblies.
The difference between anxiety and assurance? It starts with marine-grade, BWR, or BWP plywood behind your wet zone walls.
Your waterproofing strategy matters. Seal edges, install vapor barriers, and back panels with tile where possible to prevent warping.
Maintain your surfaces with zero-VOC paints or sealants for air quality protection. You’ll extend plywood durability through prompt spill cleanup and periodic refinishing.
Picture your wet zone installation:
- Marine-grade panels fitted behind shower enclosures with full perimeter sealing
- BWR plywood backing kitchen walls, finished with food-safe sealant
- CDX subpanels with vapor barriers, ready for tile overlay in splash zones
How to Style Plywood Walls With Metal and Textiles
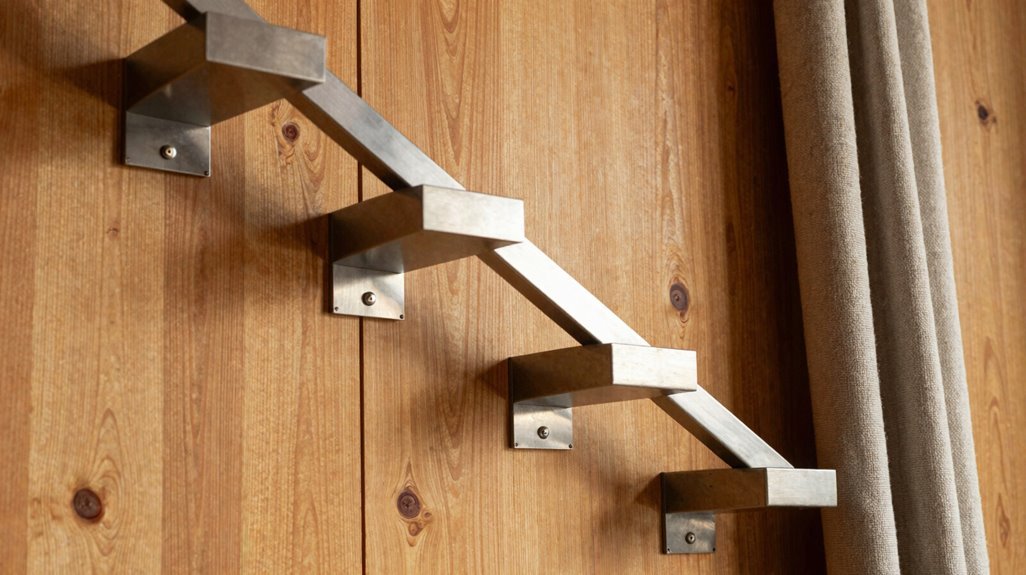
Where exactly does plywood find its visual equilibrium? You achieve it through deliberate pairing of plywood walls with metal accents and textiles.
Install steel shelves, 12–18 inches wide, to amplify the industrial aesthetic while highlighting natural grain patterns.
Layer textiles, linen throws and wool rugs, to introduce tactile contrast that offsets visual weight without overwhelming the space.
Position 3–4 small green plants against panels for refreshed, Scandinavian-inspired color.
Select plywood finishes from light oak to dark walnut, coordinating with metal and fabric selections to establish cohesive, layered design throughout furnishings.
Arrange textiles to mirror panel joints or shadow gaps, reinforcing geometric rhythm and spatial unity.
This systematic approach turns plywood walls into balanced, inviting environments where you belong.
Commercial Uses for Plywood Walls: Offices, Retail, and Hospitality
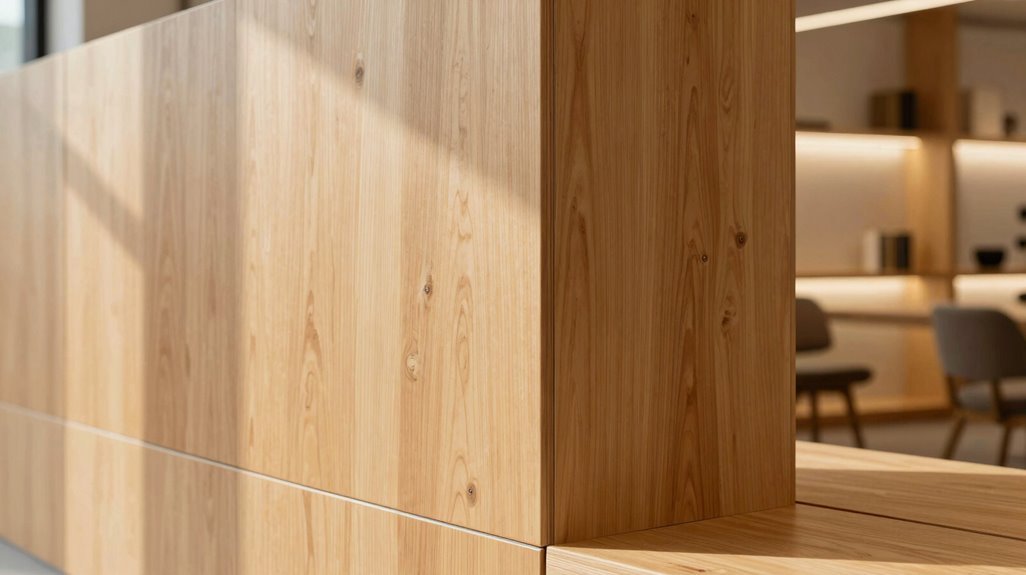
You’ll find plywood walls solve two critical operational needs when you specify them for office partition solutions and retail display backdrops. Consider how modular plywood panels, typically 4×8 feet or 4×10 feet, let you reconfigure 300-square-foot open offices or 20-foot product walls within 48-hour installation windows; conventional framing and drywall requires 5-7 days.
If you’re managing construction budgets, you’ll reduce material costs by 30-40% and labor hours by 50%, while gaining surfaces that tolerate 500+ daily touchpoints without surface degradation.
Office Partition Solutions
How soon can your workspace adapt to changing demands without costly demolition?
Plywood walls change your office partition strategy, delivering lightweight partitions that slash installation time by 30% versus plaster. You’ll reconfigure teams, pods, and collaboration zones without wrecking crews or dust-filled shutdowns. This speed means your floor plan evolves as fast as your headcount.
Structural plywood offers superior screw-holding capacity, anchoring monitors, whiteboards, and shelving without backing strips or toggle bolts. Your IT team mounts heavy equipment directly, saving hardware costs and labor hours.
- FSC-certified cores meet green building certifications, lowering your carbon footprint against MDF alternatives
- Zero-VOC paint finishes satisfy indoor air quality standards while matching brand colors precisely
- Panel sizes scale from 2×3 feet to full-height, configuring open plans, phone booths, or executive suites
Sustainable design isn’t sacrificed for speed; you’re building responsibly without compromise.
Retail Display Backdrops
The same principles that reshape office layouts apply directly to retail environments, where walls must work harder than ever. You need backdrops that handle constant reconfiguration, and plywood walls deliver exactly that capability for your retail displays.
- Structural Performance
- Screw-holding capacity exceeds drywall by 40%, supporting shelving up to 50 lbs per linear foot
- Moisture resistance protects inventory in high-humidity zones near entryways
- Operational Efficiency
- Installation ease cuts mounting time by 60% versus traditional substrates
- 50% lighter panels reduce labor crews from four workers to two
- Finish Versatility
- Stain, paint, or varnish application takes 24 hours versus 72 hours for treated alternatives
- Marine-grade options withstand 85% relative humidity in café environments
Your backdrops become modular assets, not fixed obstacles.
Why Plywood Walls Are the Sustainable Choice
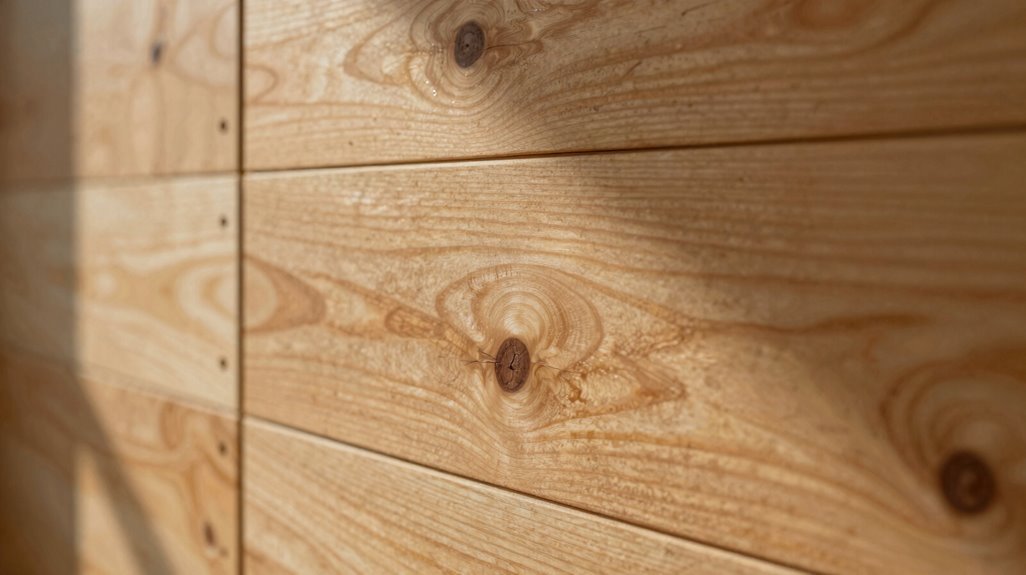
When you’re selecting wall materials, plywood delivers measurable sustainability advantages that alternatives simply can’t match. You’re joining a community that prioritizes responsible building without sacrificing performance.
Plywood walls anchor sustainable design through three measurable benefits:
- Certified sourcing: Over 70% of U.S. plywood sales carry FSC-certified labels, confirming your walls come from responsibly managed forests with 30% lower carbon footprint than MDF alternatives.
- Material efficiency: Cross-grained construction reduces warping by 40-60% compared to solid wood, extending service life to 50+ years while maintaining 100% recyclability at end-of-life.
- Emissions control: Natural grain patterns require fewer chemical finishes, and you’ll find zero-VOC paint compatibility standard. Specify moisture-resistant plywood for bathrooms and basements, preventing the 15-20% replacement rates common in damp environments.
You’re building smarter, not harder.
How to Refresh Plywood Walls Without Full Replacement
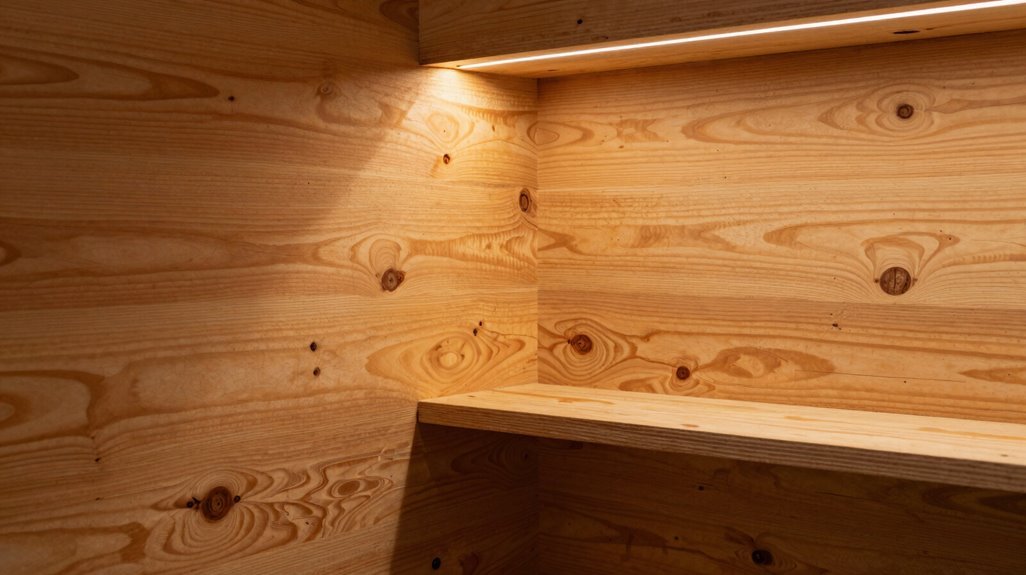
Wherever your plywood walls show wear, you don’t need demolition to restore them. You refresh plywood walls by sanding lightly with 120-grit paper, wiping dust, and reapplying your chosen finish. You choose stain to deepen grain, varnish for protection, or zero-VOC paint for cleaner air.
You store replacement panels in the room for 48 hours before installation, preventing warp through proper acclimation. You seal joints with shadow gaps or flexible caulk, maintaining seamless lines during any panel swap. You improve moisture performance by selecting marine-grade or BWR/BWP plywood in bathrooms, kitchens, or basements. You match new birch, oak, or softwood panels to existing tones, limiting replacement scope.
| Step | Action | Timeframe |
|---|---|---|
| Assess damage | Identify scratches, stains, or delamination | 15 minutes |
| Sand surface | Use 120-grit, follow grain direction | 1-2 hours |
| Apply finish | Stain, varnish, or paint in thin coats | 4-6 hours dry time |
| Reassemble | Acclimate panels 48 hours, caulk joints | 2-3 days total |





