
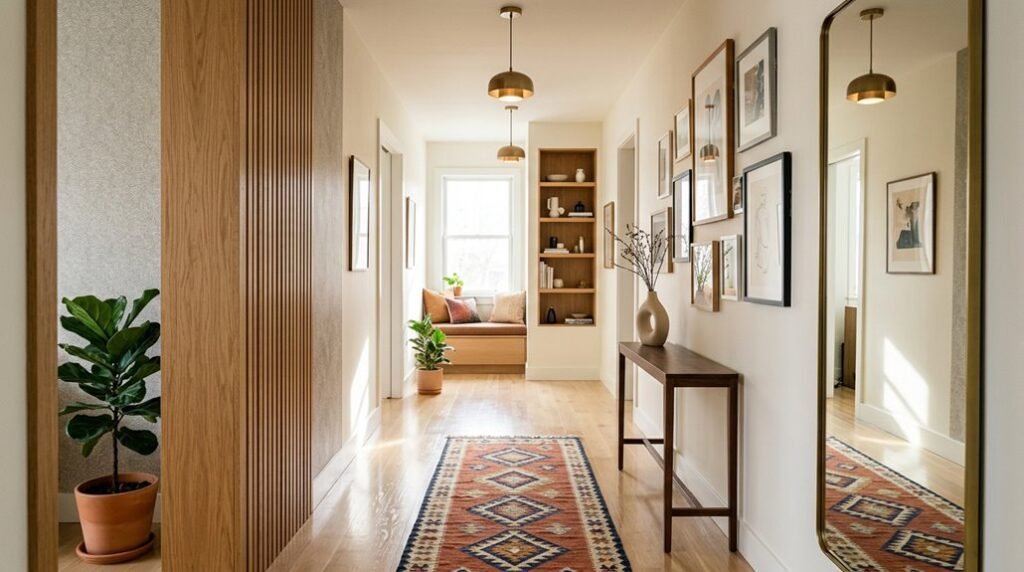
You face a narrow hallway daily, and it feels cramped, dark, and wasted. These ten solutions fix that with precise measurements, specific materials, and calculated spacing. You will learn exactly where to place each sconce, which paint sheen resists scuffing, and how wide your runner must run to ground the space without clutter.
The fixes start with your ceiling, move through your walls, and end at your floor; each layer building measurable width where you need it. You will not guess; you will execute.
Swap Can Lights for Slim Flush Mounts to Brighten the Ceiling
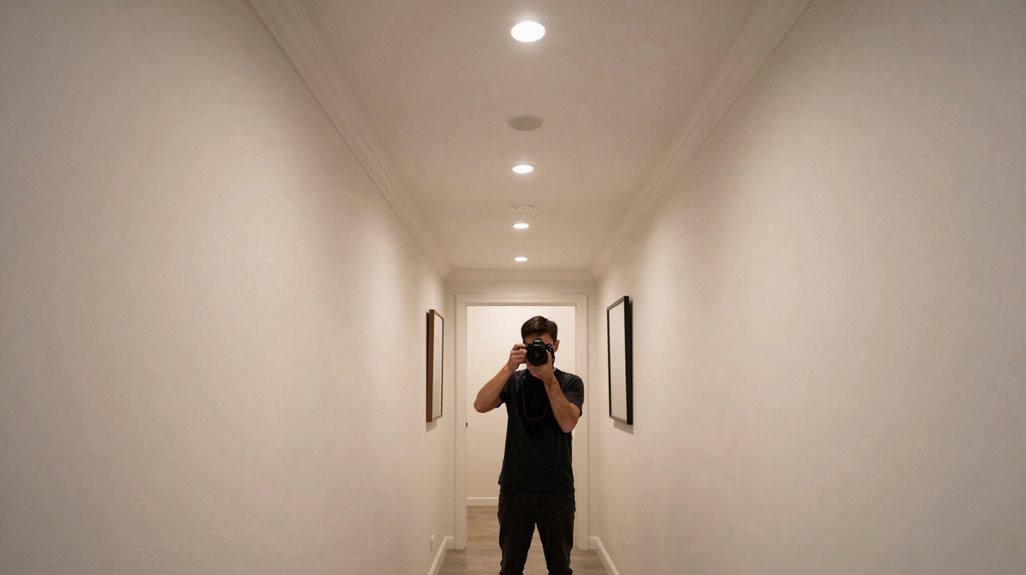
How often do you duck to avoid a protruding can light in your narrow hallway? You’re not alone in this daily annoyance, and there’s a straightforward fix that changes your cramped corridor.
Replace bulky can lights with slim, low-profile flush mounts. You’ll maintain precious headroom while creating a seamless ceiling line that visually expands your hallway. These fixtures provide even illumination without protruding elements, reducing visual clutter in tight spaces.
Your updated lighting choice improves ceiling height perception by minimizing shadowed areas along the corridor. Select brushed metal or warm-tone finishes to complement traditional hallways and connect to existing decor.
Position flush mounts evenly, spacing them 6-8 feet apart for consistent brightness from entry to end. You’ll support overall perceived space while solving a practical problem your neighbors likely share.
Choose Light Walls and Darker Trim to Stretch the Space
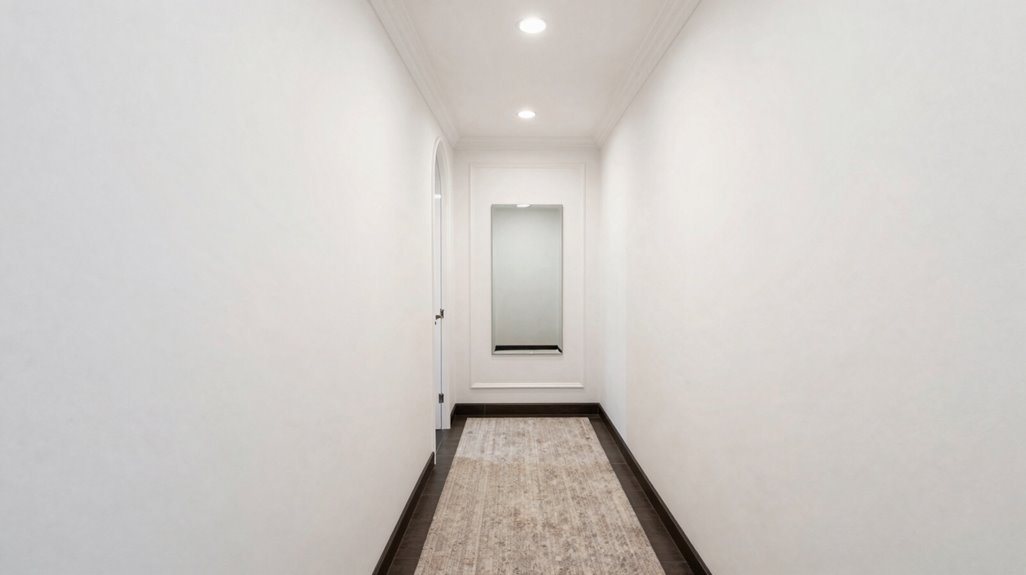
You can employ a color contrast technique by pairing light walls, such as Accessible Beige, with darker trim like Extra White to create visual expansion in your narrow hallway. This combination tricks the eye into perceiving greater length and width while maintaining structural definition along the corridor’s edges.
Apply this method consistently across adjacent areas, including the foyer, stairway, and connecting rooms, to establish uninterrupted sightlines that integrate the hallway with your home’s overall spatial flow.
Color Contrast Technique
Where should you begin when a hallway feels cramped and confining? You start with the Color Contrast Technique, a method that pairs light walls with darker trim to stretch your space visually.
You apply Sherwin Williams Accessible Beige to your walls, creating a bright, continuous surface that reflects maximum light. You paint your trim in Extra White, establishing subtle edge contrast that defines architectural lines without overwhelming the eye. This combination leverages high reflectivity, making your hallway feel airier and more expansive.
You anchor movement by using darker trim to guide the eye toward the corridor’s end. You maintain cohesion by extending this palette into adjacent rooms, preventing jarring transitions that disrupt spatial flow. You solve the narrow hallway problem through deliberate color placement, not guesswork.
Visual Expansion Effect
Why does a narrow hallway feel endless in some homes, yet suffocating in others? You’ve discovered the answer lies in strategic color placement that manipulates perception.
Paint your walls in light, airy shades, think Sherwin Williams Extra White, while framing them with darker trim on accessible beige. This contrast creates a visual edge that generates the illusion of extended length. Your eye follows the continuous flow, guided by higher contrast at trim lines that stretch spatial perception.
Select white wall color with darker trim to establish clear visual boundaries. Pair light walls with slightly browner hardwood floors for warmth without spatial sacrifice. Remove heavy patterns that interrupt the eye’s forward movement.
You’ll minimize visual clutter when brighter walls dominate, amplifying perceived spaciousness through calculated tonal relationships rather than decorative excess.
Extend Hardwood or Add an Elongated Runner for Grounded Color
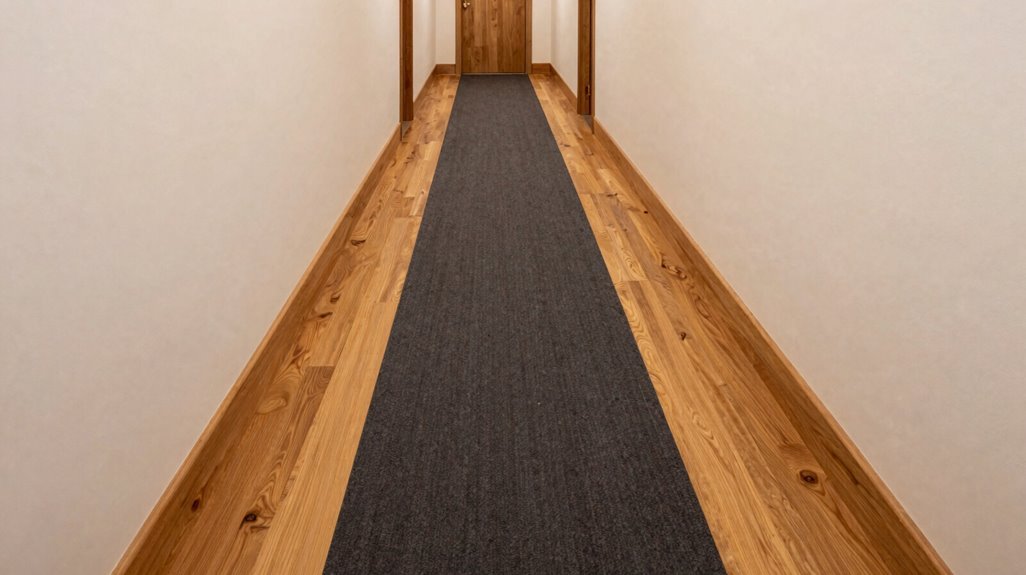
You can ground your narrow hallway visually by extending existing hardwood floors or installing an elongated runner, each option offering distinct structural advantages for spatial perception. Extending hardwood creates uninterrupted linear flow. A runner measuring 2.5 to 3 feet in width introduces controlled color zones that direct visual movement toward the corridor’s terminus. Your selection between these floor foundation options and color extension strategies depends on existing substrate conditions, budget parameters, and desired maintenance levels.
Floor Foundation Options
Because the floor sets the visual baseline for your entire hallway, you’ll need to choose between extending existing hardwood or installing an elongated runner, each option delivering distinct functional and aesthetic outcomes. Extending hardwood creates continuous flow, visually enlarging narrow corridors by eliminating abrupt transitions. Alternatively, runners add warmth, texture, and protection while anchoring your hallway decor ideas to adjacent spaces.
Consider these practical factors:
- Extend hardwood when wall colors are neutral, allowing uninterrupted sightlines that expand perceived dimensions
- Select runners measuring 2–3 feet wide for standard 36–48 inch halls, leaving 4–6 inches of exposed floor on each side
- Secure edges with rug pads and transition strips, preventing slips and maintaining smooth doorway thresholds
Choose based on your maintenance tolerance and desired visual weight.
Color Extension Strategies
Color flows from room to room through your hallway floor, and you have two reliable methods for controlling that movement: extending your existing hardwood with a refinished stain or laying down a runner that carries pigment forward.
1. Extend Your Hardwood
Refinish with a slightly browner stain to create continuous visual elongation. This color extension unifies your ground plane, eliminating jarring transitions that chop the corridor.
2. Install an Elongated Runner
Select a runner running the full hallway length. This draws the eye forward, reduces perceived width, and anchors color along the passage. Coordinate rug tones with adjacent wall colors; light neutrals or subtle pastels work well to maintain cohesive flow.
Critical Guidelines:
- Avoid high-contrast edge-to-wall shifts
- Pair runners with ceiling fixtures to balance lighting
- Create harmonious transitions between floor, walls, and furniture
Mount a Floor-Length Mirror to Double Your Narrow Hallway’s Depth
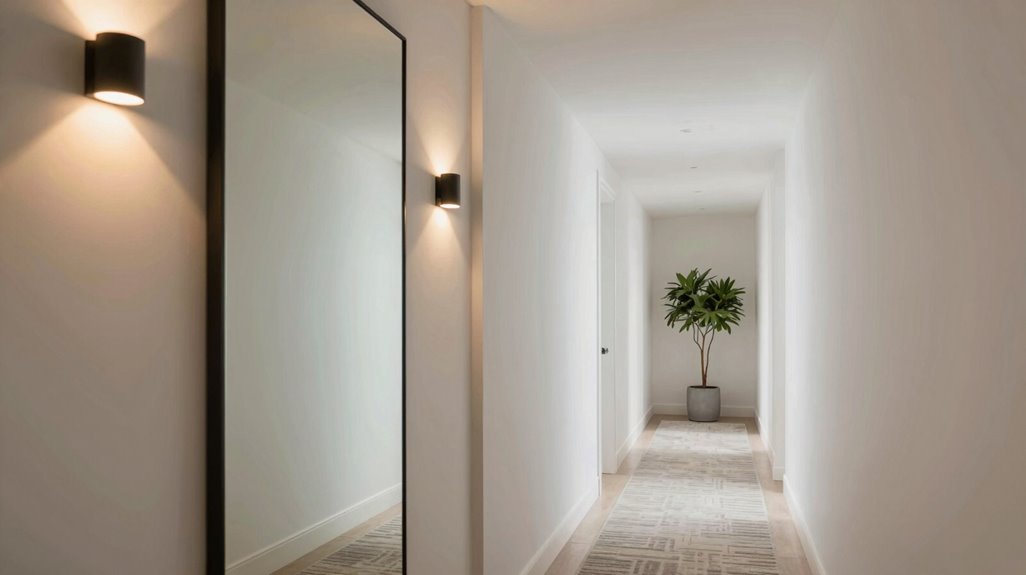
How can you make a narrow hallway feel twice as spacious without knocking down walls? You mount a floor-length mirror at the terminus to manipulate depth perception, effectively reflecting the opposing wall and available lighting. This optical expansion creates immediate architectural change.
Position your mirror to capture ceiling fixtures or windows, maximizing luminosity while eliminating glare. Select slim-framed or frameless installations to preserve uninterrupted sightlines. Anchor with rated wall anchors or professional hardware for stability in high-traffic zones.
You’ll want cohesive, minimal surrounding decor to prevent visual fragmentation. When executed precisely, this single intervention delivers measurable spatial expansion without structural modification. The mirror becomes both functional tool and intentional design element, integrating you into spaces that prioritize intelligent, resourceful solutions. Your hallway changes from constraint to possibility through calculated reflection.
Add Board-and-Batten Without the Visual Weight
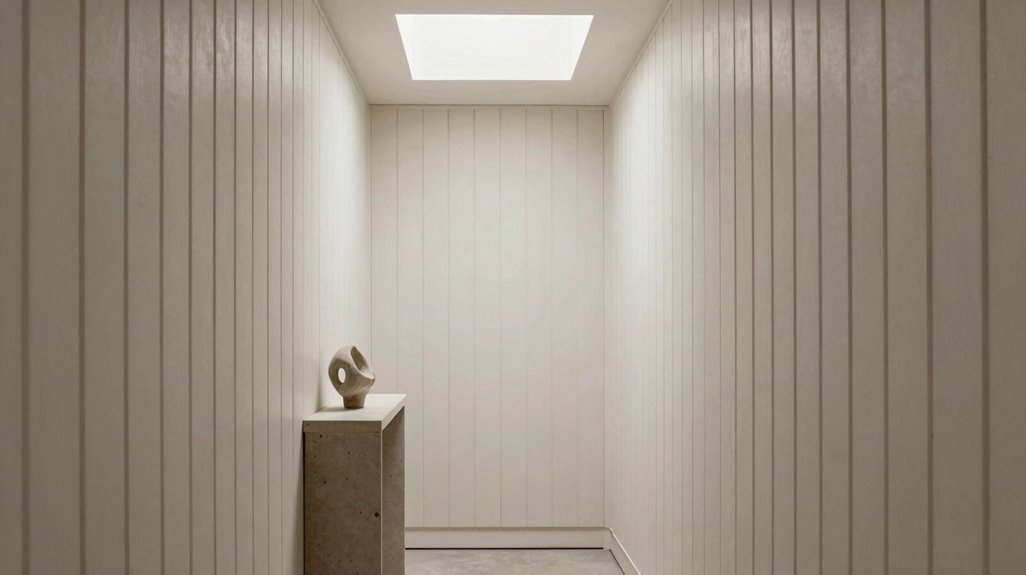
Where should you direct your attention when conventional board-and-batten threatens to compress an already constrained corridor? You choose thinner battens and lighter stains to reduce visual mass. You preserve wall texture by mounting boards first, then adding vertical battens later. This allows quicker updates and cleaner lines.
You minimize contrast by painting walls and trim in cohesive, light combinations, Accessible Beige paired with Extra White, to expand perceived space. You install a three-piece art grouping to anchor focal interest. For your narrow hallway, these modifications maintain board-and-batten’s dimensional appeal without structural heaviness. You achieve belonging through intentional restraint: texture without excess, detail without clutter. Follow this systematic approach, and your corridor becomes measured, navigable space.
Hang Three Large Prints Instead of a Crowded Gallery Wall
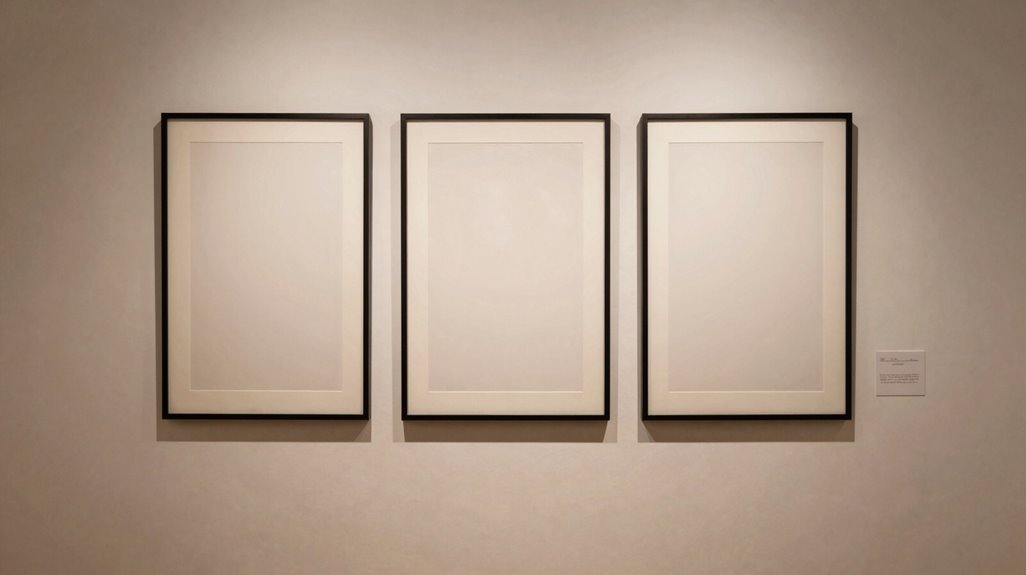
Board-and-batten frames your corridor with architectural structure, yet it leaves wall surfaces and the terminal sightline unresolved. You solve this by installing three large prints at the corridor’s terminus, creating a balanced focal point that eliminates the visual chaos of a crowded gallery wall.
Select prints measuring 24-by-36 inches minimum, spaced 2 to 3 inches apart, maintaining legibility from 8 to 12 feet. Coordinate frames with existing hardware finishes, keeping tonal consistency with adjacent rooms. Position the center print at 57 inches from the floor, following standard sightline conventions.
This triptych configuration replaces eight to twelve smaller frames with three unified elements. You’ll minimize clutter while preserving visual interest. The simplified approach respects narrow spatial constraints, delivering impact without overwhelming your corridor’s proportions.
Balance Art With a Mirror on the Opposite Wall
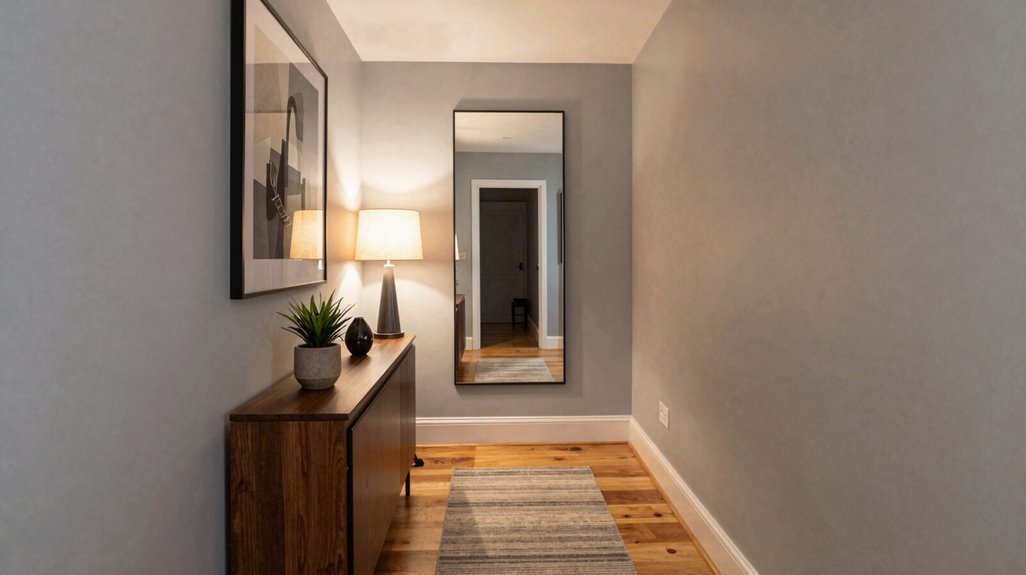
Why let one wall carry the full decorative burden when you’re working with limited square footage? You balance art with a mirror on the opposite wall to double your visual real estate.
Position the mirror directly across from your largest artwork. This placement captures light reflection and projects it deep into the corridor, extending perceived length by 30 to 50 percent. You should mount the mirror at 57 to 60 inches from floor to center, matching standard gallery height. Select rounded frames in finishes that coordinate with your art borders. This method preserves 12 to 18 inches of clear walking space while amplifying ambient brightness.
| Element | Specification |
|---|---|
| Mirror diameter | 24 to 36 inches |
| Frame finish | Match art frames within 2 shades |
| Mounting height | 57 to 60 inches to center |
| Distance from art | Opposite wall, directly aligned |
| Light gain | 40 to 60 percent increase |
Add Sconces to Eliminate Shadows and Warm the Space
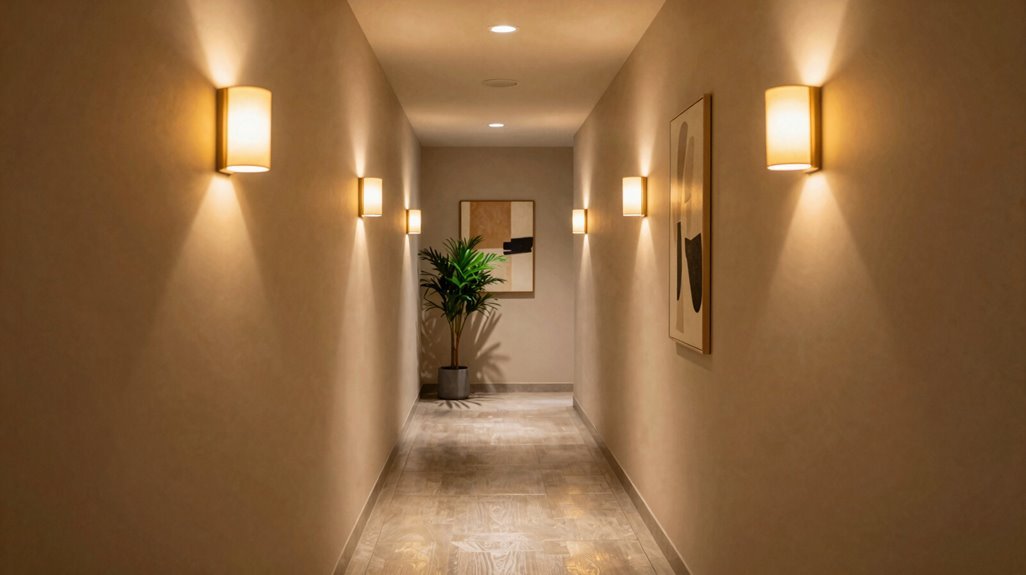
You’ll solve shadow problems and create warmth by installing sconces at strategic mid-wall positions, typically 64–66 inches from the floor, where they’ll distribute 2700–3000K light evenly across narrow surfaces. Mount fixtures on opposite walls to generate symmetrical illumination that visually expands your hallway’s perceived width by balancing ceiling fixture output with lower ambient sources.
Layer these wall-mounted units with pendant lights to achieve continuous visibility down the corridor’s full length, eliminating dark zones while establishing an inviting, cohesive atmosphere.
Shadow Elimination Benefits
Where do shadows pool in your hallway? You notice them gathering in corners, beneath fixtures, and along the floor where single overhead lights fail to reach. You eliminate these dark pockets by installing sconces, which turn unused wall space into sources of vertical illumination. This layered approach makes narrow corridors appear larger, more uniform, and visually connected to adjacent rooms.
You achieve optimal shadow elimination through strategic placement:
- Position sconces on opposite walls, or flank your corridor’s end, to balance light distribution and remove dark zones
- Space fixtures every 8–12 feet for consistent coverage without gaps
- Layer with ceiling lights to reduce harsh shadows from single-source lighting
You control your hallway’s visual continuity. Proper sconce placement means no visitor feels confined by shadowed, unwelcoming passages.
Warm Ambiance Creation
How do you turn a narrow hallway from a utilitarian passage into an inviting threshold? You install sconces at eye level, generating ambient light that dissolves harsh shadows cast by overhead fixtures and masonry surfaces.
Position sconces evenly along walls, spacing them 8-10 feet apart, balancing illumination between ceiling and vertical planes. Select warm-toned fixtures with 2700-3000K LED output, pairing them with existing ceiling lights for layered depth that highlights shiplap and trim textures. Coordinate sconces with central ceiling fixtures or medallions, maintaining visual cohesion while softly lighting end walls for approaching visitors.
Your hallway becomes navigable, welcoming, and dimensionally rich through deliberate ambient light placement.
Tuck a Slim Console Where Space Allows: Or Skip It
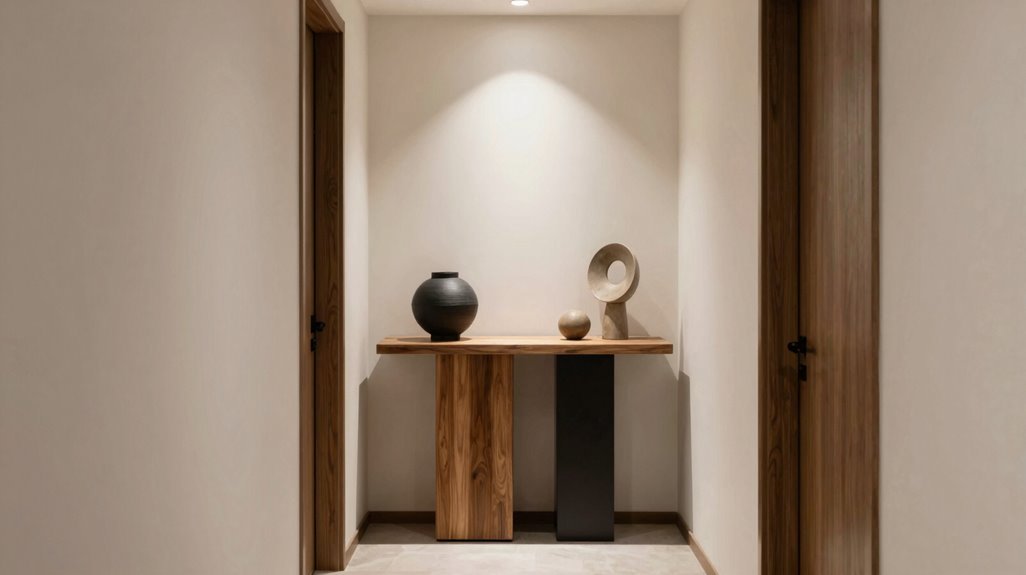
Why let a narrow hallway waste your square footage when a slim console can reclaim that dead zone at the corridor’s end? You gain a surface for keys, a lamp, and small decor without sacrificing precious walkway clearance.
Select a console with a depth under 12 inches and a light finish to minimize visual bulk. Pair your slim console with a low, wide lamp or nearby pendant to maintain balanced illumination. Position a narrow hall table against one wall only, leaving the opposite side uncluttered to maximize perceived width.
If your corridor measures less than 36 inches across, skip the console entirely. Install wall-mounted storage or a slim wall shelf instead. You preserve essential floor clearance while securing functional storage. This approach turns constraint into deliberate, efficient design.
Match Hallway Style to Connected Rooms for Seamless Flow
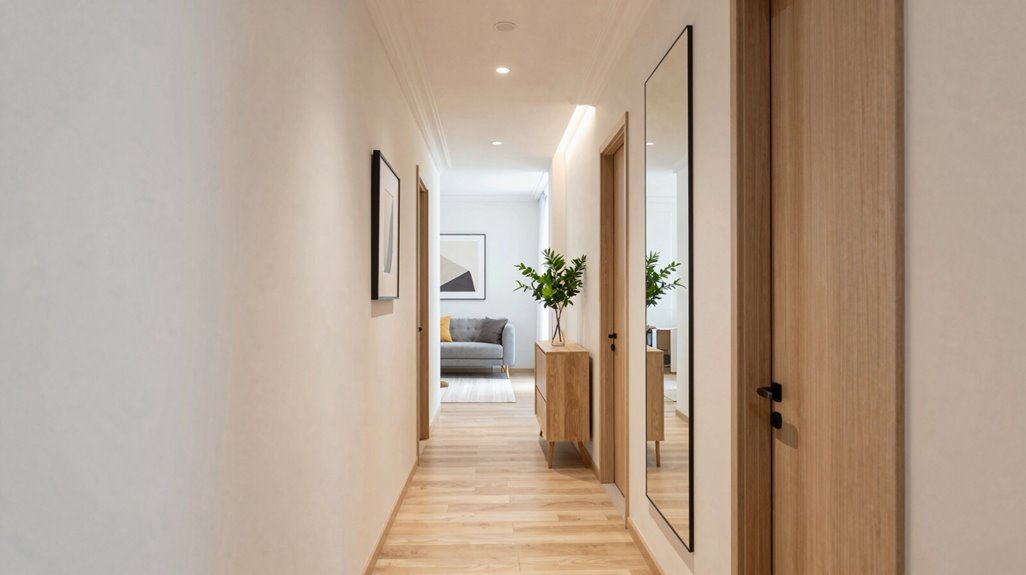
What happens when your hallway feels like a disconnected afterthought rather than a deliberate extension of your home? You fix it by aligning your hallway decor with adjacent spaces through shared palettes, materials, and lighting.
- Unify paint and trim: Extend Accessible Beige walls with Extra White trim from your living area into the corridor, repeating this combination within 48 hours of adjacent room completion.
- Mirror materials: Match wood tones from repurposed hardwood flooring, maintaining identical 2.25-inch baseboards and light-toned fixtures across thresholds.
- Coordinate ceiling treatments: Install pendant lights and medallions matching adjacent room specifications, typically 12-16 inches in diameter.
- Anchor visually: Place a 48-inch console with lamp or oversized wall art at corridor terminus, echoing scale from connected living zones.
This creates a smooth, connected feel, helping you feel at home in every transition.





