
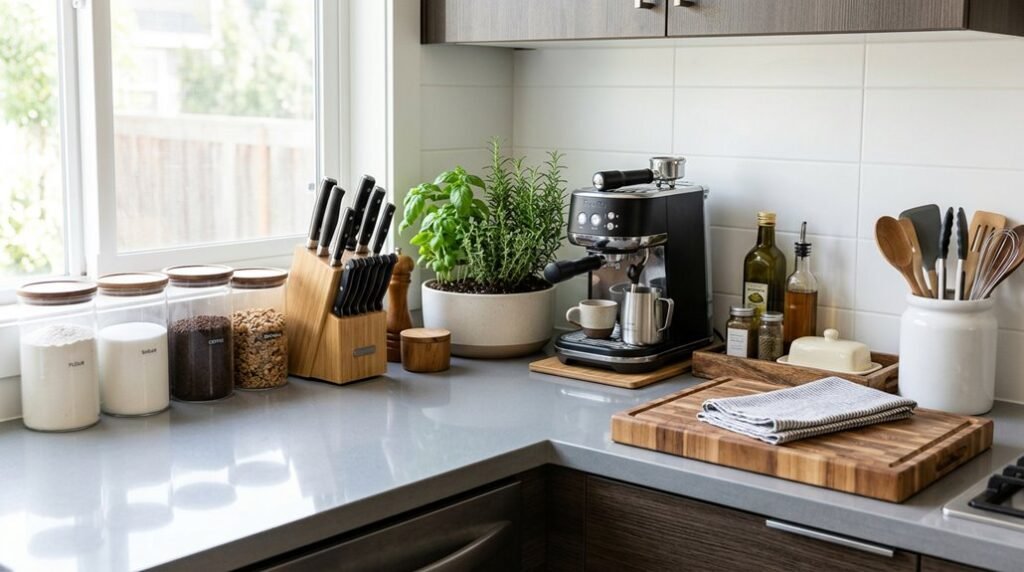
Your kitchen counters collect clutter because you haven’t assigned every item a permanent home. You need zones, vertical storage, and strict limits on what earns counter space. The seven steps ahead will show you exactly how to measure, categorize, and keep surfaces under 24 inches deep in good shape.
Start Here: The Complete Kitchen Counter Reset
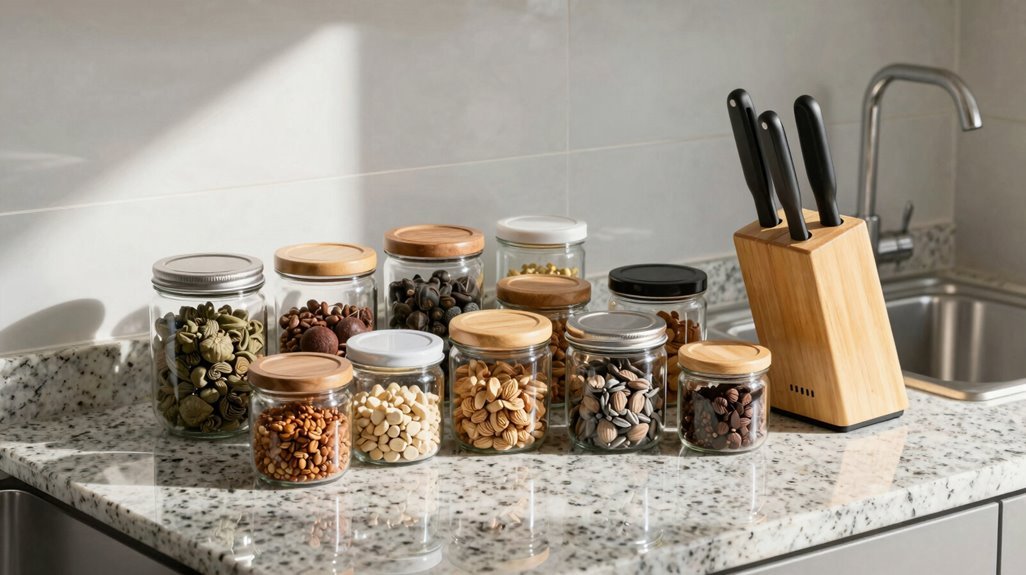
Where do you begin when your kitchen counters have become cluttered catchalls for mail, appliances, and half-empty containers? You start with a complete kitchen counter reset. Remove every item from your counter surface, creating a blank slate for effective counter organization. Deep clean the surface and backsplash with disinfectant, addressing grease buildup and crumbs you’ve ignored for months.
Your countertop declutter depends on ruthless editing. Keep only everyday essentials that you use daily: your coffee maker, perhaps a knife block, and one prep appliance. Everything else finds temporary storage elsewhere.
For vertical storage, install two-level holders, mounted paper towel holders, and sink-side attachments. These systems free 40-60% of your kitchen counter while keeping tools accessible. Group remaining oils, utensils, and jars in a dedicated tray, giving each item a designated home to prevent future scatter.
Relocate What Doesn’t Belong (And What Stays)
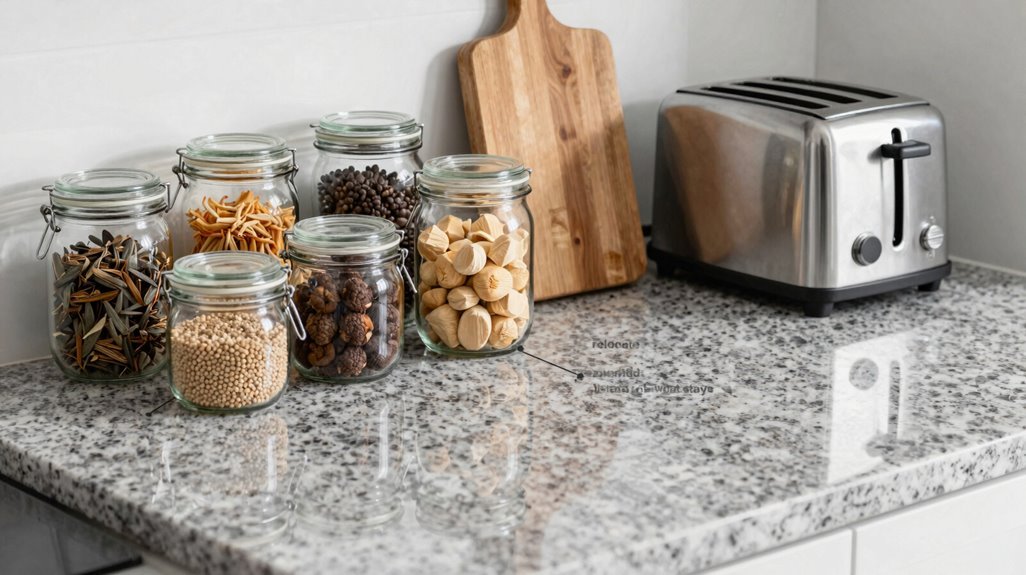
How do you decide what earns permanent counter space and what must go? You start decluttering by removing every item that doesn’t serve your daily routine. Relocate non-essentials to drawers, cupboards, or closets immediately.
Declutter by removing anything that doesn’t serve your daily routine—relocate non-essentials to drawers, cupboards, or closets immediately.
You keep daily-use appliances on the counter only when you touch them every single day; your coffee maker stays, but the bread machine goes. You assign designated storage for each relocated item, making sure it never drifts back.
You implement a labeling system using two-colored post-its: green marks permanent counter residents, red signals banished items. You extend this system to larger appliances and non-kitchen items, creating visual accountability.
You maintain this discipline for 30 days, and your counter space shifts from chaotic dumping ground to functional, breathable workspace you actually want to use.
Organize Kitchen Counters by Function: Coffee, Prep, and Cooking Zones
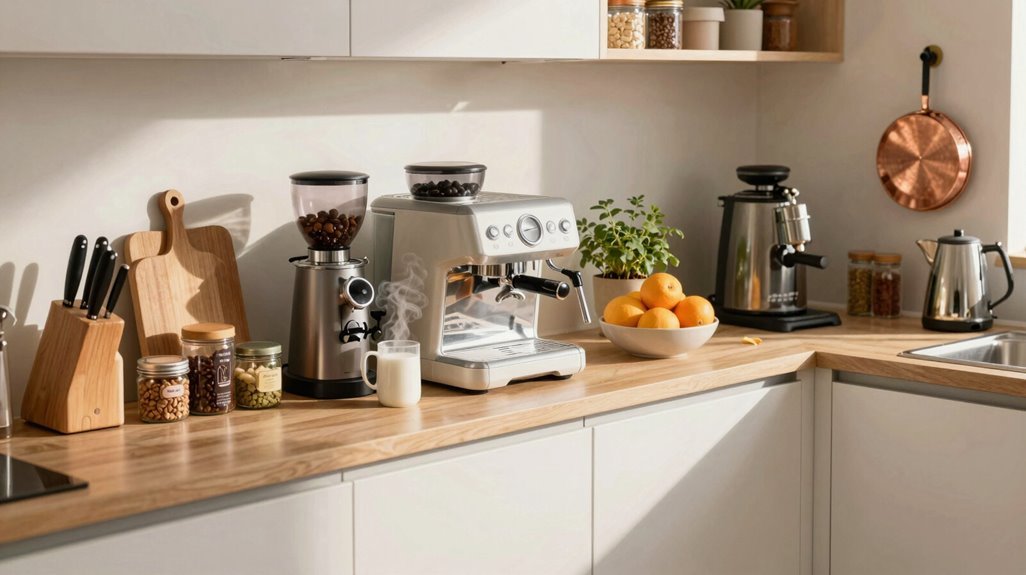
Every square inch of counter space performs better when you assign it a single, dedicated purpose. You create three zones: coffee, prep, and cooking.
In your coffee zone, you store pods in a French canister set and utensils in a vintage champagne bucket. Your prep zone holds a ceramic footed compote bowl for daily items, a marble tray for salt, peppers, and a trim cutting block behind your cutting board. You lean vintage trays near the backsplash for small items and place bananas in a decorative holder. Your cooking zone keeps tools within arm’s reach.
You maintain this organization with a one-in-one-out rule, giving every item a designated home to prevent accumulation and preserve open counter space for efficient workflow.
Go Vertical: Wall-Mounted and Tiered Solutions for Tight Counters
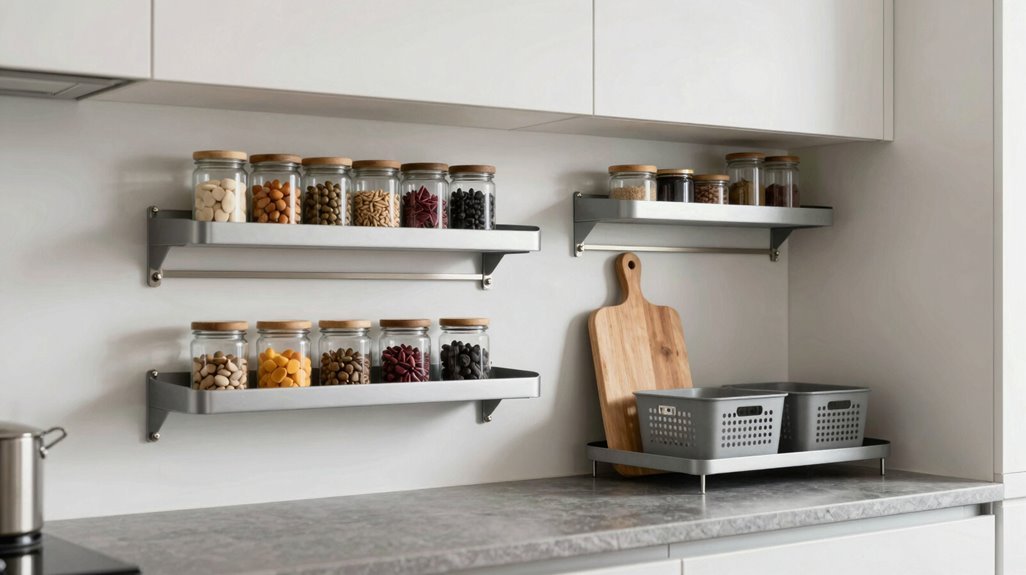
When counter space measures under 24 inches deep, you’ll reclaim up to 40% more usable area by directing storage upward instead of outward.
1. Install Wall-Mounted Storage
Mount paper towel holders, sink caddies, and utensil racks to upper cabinets or backsplash areas. You’ll keep towels, tools, and daily essentials within arm’s reach while preserving every inch of counter surface.
2. Deploy Two-Level Holders and Tiered Trays
Position two-level holders and tiered trays near prep zones. These structures stack spices, oils, and gadgets vertically, maintaining visibility and access without horizontal sprawl.
3. Add Vertical Shelving
Attach slim vertical shelving units to cabinet sides or unused wall sections. You’ll create dedicated homes for cutting boards, cookbooks, and small appliances.
This countertop organization strategy turns tight kitchens into efficient, uncluttered workspaces where everything earns its place.
Containers That Organize Kitchen Counters Beautifully
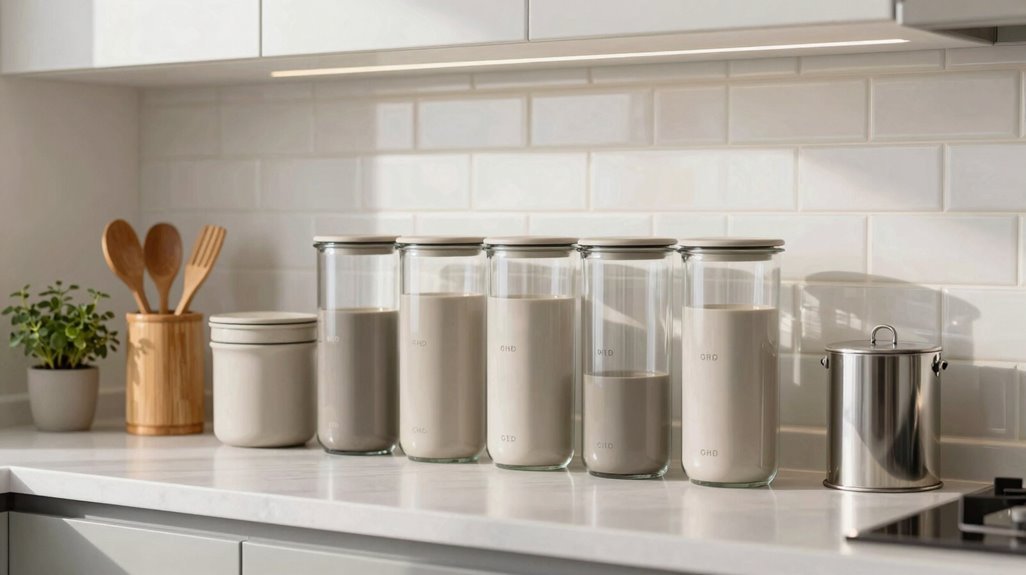
You’ll turn cluttered surfaces into efficient workstations by selecting containers that merge vintage aesthetics with utilitarian function, placing each vessel within a 24-inch radius of its point of use. Prioritize ceramic compotes for daily items like keys and phones, French canisters for 12-ounce coffee pod collections, and silver champagne buckets for 15-20 utensil capacity, making sure every piece earns its counter space through measurable utility.
Position these containers strategically: spices and oils within arm’s reach of the stove, sweeteners adjacent to the coffee maker, and uniform clear containers on turntables for 360-degree visibility of contents.
Vintage Container Essentials
The right vintage containers turn cluttered counters into efficient workstations without sacrificing style. You improve your kitchen counter organization by selecting pieces that merge utility with timeless appeal.
- Utensil Holder: Repurpose a vintage silver champagne bucket as a roomy utensil holder, keeping cooking tools within arm’s reach.
- Bread Box: Install a bread box to store loaves and reduce visual clutter, occasionally pairing it with knives as a focal point.
- Decorative Storage Zone: Arrange marble trays to corral salt, peppers, and a trim cutting block behind your cutting board.
- Daily-Use Containers: Place a ceramic footed compote bowl for frequently grabbed items, and deploy a French canister set for coffee pods, stirrers, and sweetener packets.
- Accent Pieces: Use vintage tea tins and Dundee marmalade jars for tea, spreaders, forks, and straws, adding patina that signals you belong among discerning collectors.
Functional Decorative Pieces
Smart containers turn your counters into efficient workspaces without sacrificing visual appeal. These functional decorative pieces prove that practical storage belongs on your kitchen counters.
- Place a ceramic footed compote bowl within 18 inches of your stove to hold everyday-use items like garlic and lemons.
- Store coffee pods, stirrers, and sweetener packets in a French canister set for streamlined small appliances organization.
- Repurpose a vintage silver champagne bucket as a utensil holder, keeping tools accessible.
- Arrange a marble tray to create a countertop prep zone, corraling salt, peppers, and a trim cutting block within a 12-inch radius.
- Add a bread box to reduce clutter while storing bakery goods.
Select pieces that coordinate with your existing aesthetic, making sure each container earns its surface area through dual-purpose performance.
Strategic Placement Tips
Once you’ve selected containers that balance form and function, positioning them with purpose turns scattered items into cohesive, accessible systems. Place daily-use items within arm’s reach of their usage zones to streamline workflow and reduce unnecessary movement.
- Group related items on a countertop tray. Corral oils, utensils, jars, and cans in one designated caddy to prevent scatter and maintain visual order.
- Implement vertical solutions. Install two-level holders, mounted paper towel racks, or sink caddies to reclaim 40-60% of horizontal surface area while keeping essentials accessible.
- Establish near-stovetop storage. Position spices and cooking oils within 24 inches of your cooktop; use a turntable-style tray for containers under 4 inches tall.
- Deploy appliance sliders. Install sliders rated for 25-50 pounds to bring heavy appliances forward when needed, then tuck them back to preserve 12-18 inches of clear workspace.
Countertop organization succeeds when every item occupies a logical, measured position.
Space It Out: The Negative Space Rule for Styled Counters
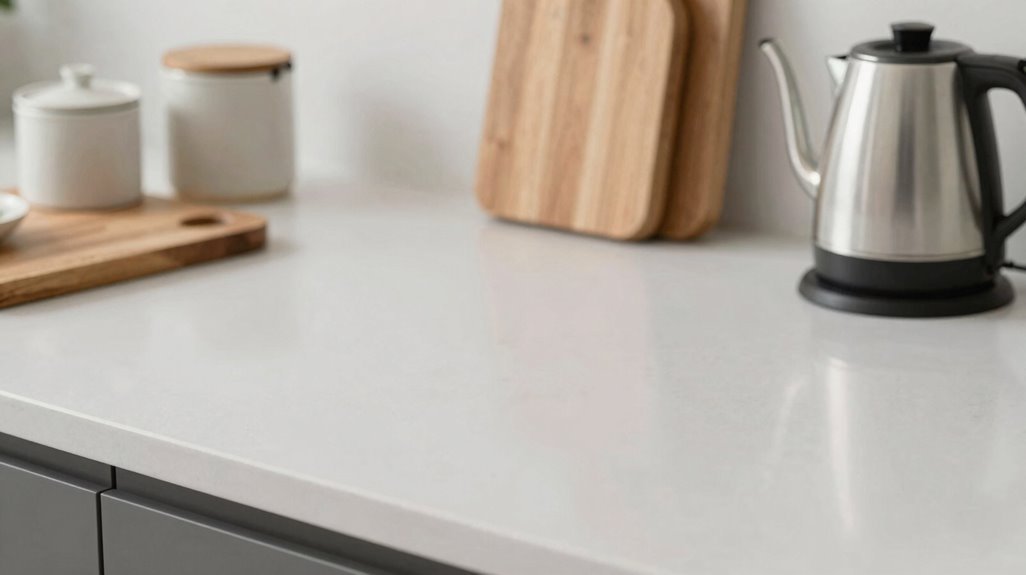
Why does a styled counter still feel chaotic, even after you’ve carefully selected each piece? You’re likely missing negative space. Counter organization demands intentional gaps between grouped items, not tight packing. Leave 6-12 inches of open space between decorative clusters to prevent countertop clutter and create visual breathing room.
Apply this rule: cluster 3-5 related items maximum, then step back. If pieces touch, you’ve lost the effect. Use trays or bowls as containers, but maintain 2-3 inches of clearance around each container’s edge. This kitchen styling technique turns crowded surfaces into curated displays.
Measure your counter zones. Reserve 40% minimum as open space for clarity and function. Group oils near cooking zones, coffee items by the maker, but separate each collection with deliberate emptiness. You’ll achieve balance without sacrificing personality.
The 5-Minute Nightly Reset That Keeps Counters Clear
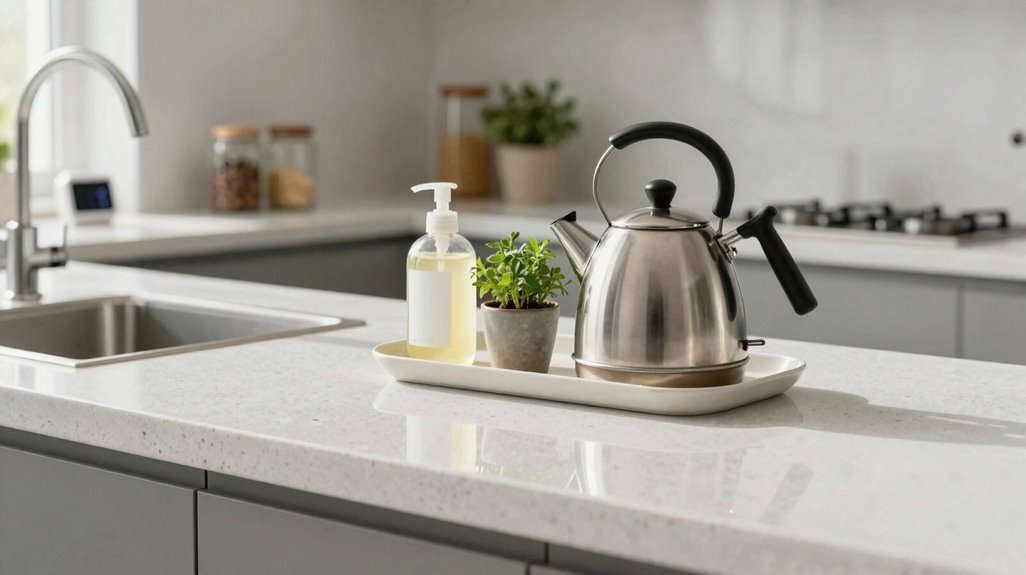
How quickly does a tidy kitchen descend into chaos without daily intervention? You establish a nightly reset to prevent this decline. This five-minute ritual preserves your counter organization and maintains clutter-free counters through systematic action.
| Step | Action |
|---|---|
| 1 | Remove all non-essential items from surfaces |
| 2 | Deep-clean counter and backsplash with appropriate cleaner |
| 3 | Identify daily-use items qualifying under minimal-return rule |
| 4 | Return only approved essentials to designated zones |
| 5 | Store remaining items in cabinets or drawers immediately |
You apply the minimal-return rule strictly: if you haven’t used it today, it doesn’t belong. Your coffee maker stays; the specialty appliance goes. This deliberate approach to nightly reset means you wake to functional, clutter-free counters ready for immediate use.





