
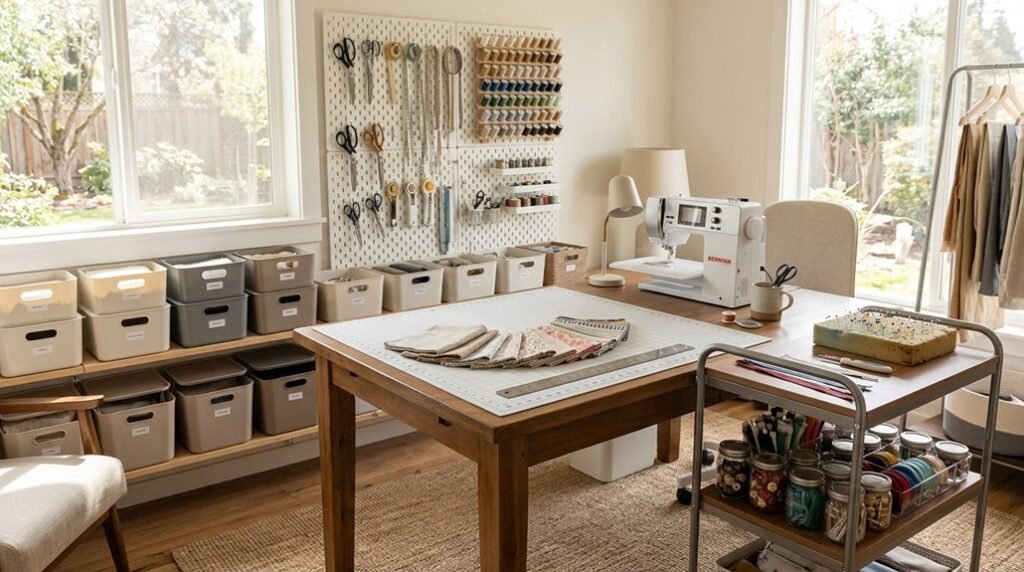
Sarah Chen reduced her project startup time from 47 minutes to 6 minutes after reorganizing her 12-by-14-foot sewing room using a three-phase system.
You’ll achieve similar results by clearing every horizontal surface, grouping items into four distinct categories: sewing notions and tools, works-in-progress, yardage, and scraps. Store each category in a single, dedicated drawer or basket.
Your yardage requires flat folding in 10-inch by 12-inch rectangles for maximum density, while scraps sort by color into transparent, lidded bins no larger than 15 quarts.
The workflow layout positions your cutting mat and primary sewing machine in an L-shaped configuration against two adjoining walls, leaving a 36-inch clearance in the center for maneuvering large quilts.
Wall-mounted organizers at eye level store frequently accessed tools within arm’s reach, and dedicated hooks accommodate pressing equipment and active project bags.
Fabric filing systems arrange materials by color family in vertical bins, with larger pieces suspended from clamp-style hangers, while patterns index by garment type and size range in accordion files.
Temporary WIP stations prevent decision fatigue, allowing 48-hour holds before permanent storage determination.
Reset Your Sewing Room in 15 Minutes
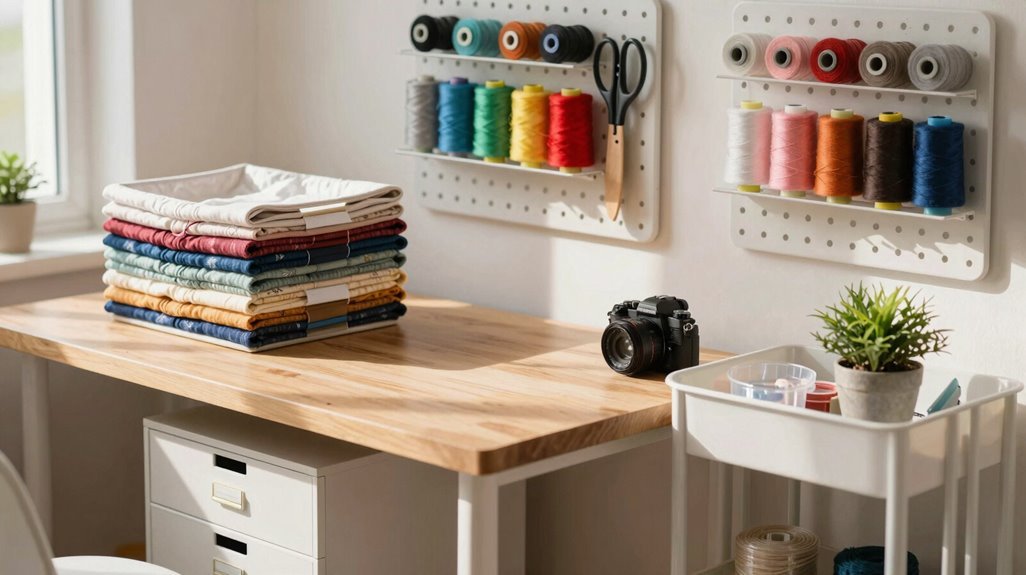
Why let a chaotic sewing room derail your creative momentum? You deserve an organized workspace that welcomes you back. Execute this 15-minute reset now.
Clear all surfaces immediately, stacking every loose item on a central table. This isn’t full destashing; it’s targeted clutter removal to restore function.
Sort everything into four precise piles: notions and tools, WIPs, yardage, and scraps. Fold yardage flat for yardage storage. Scraps sorting happens fast: keep or toss without sentiment. Designate storage solutions for notions and tools in one drawer or basket, keeping like items clustered. Stow WIPs in rough homes you’ll refine later.
Wipe surfaces, vacuum thoroughly. You’re finished when surfaces clear and every category has temporary placement. This reset proves sewing room organization demands minutes, not hours.
Design Your Layout: Walls, Corners, and Open Floor Space
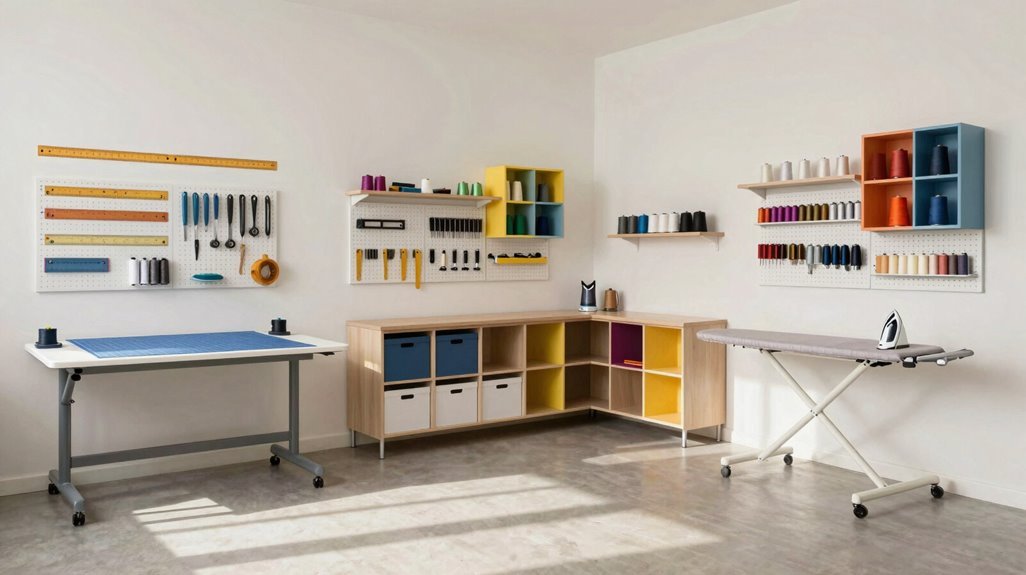
Every square foot of your sewing room must earn its place. You achieve this through strategic sewing room layout decisions that prioritize function over form.
Every square foot of your sewing room must earn its place through strategic layout decisions that prioritize function over form.
A right-angle layout positions your cutting and sewing zones against adjacent walls, creating open floor space in the center workspace. You mount wall-mounted organizers at eye level, establishing vertical storage for rulers, scissors, and thread. Wall hooks hold project bags and pressing tools within arm’s reach.
You reserve the room’s center for large projects, maintaining 36-inch pathways on all sides. This workflow optimization prevents bottlenecks when you move between stations.
Your three layout priorities:
- Install wall-mounted organizers 48-60 inches high for easy access tools
- Position cutting and sewing zones in an L-shape to maximize vertical storage
- Preserve 9+ square feet of open floor space for fabric spreading and assembly
Store Fabrics, Tools, and Patterns So You Can Find Them Fast
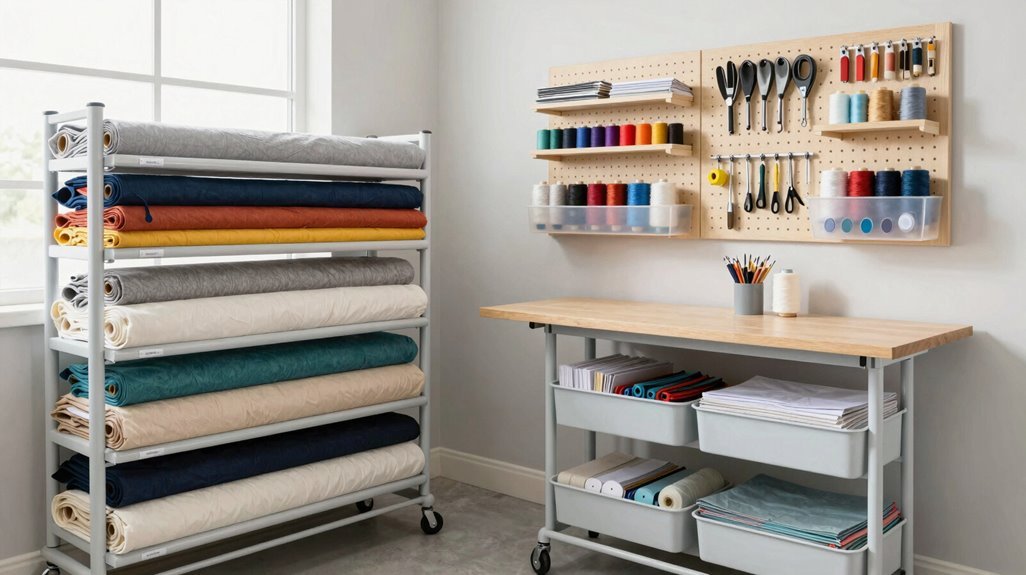
Once you’ve mapped your sewing room layout, you’ll tackle what’s actually inside it.
- Fabric Storage: Fold fabrics into color-based stacks, using cardboard guides for uniform piles. Hang larger pieces for visible organization.
- Clear Containers & Labeled Bins: Store supplies in clear containers and labeled bins. You’ll see contents instantly, eliminating “out of sight, out of mind” waste.
- Scrap Management: Place scraps in designated jars or color-separated piles. Label each with intended use.
- Project-Focused Zones: Group fabrics by designer, color, or style. Maintain a color palette plan.
- Tools Within Reach: Position frequently used items at arm’s length.
- Accessibly Organized Patterns: File patterns by category in labeled bins.
- Dedicated Sewing Space Rules: Return items after use. Prevent overflow onto working surfaces.





