
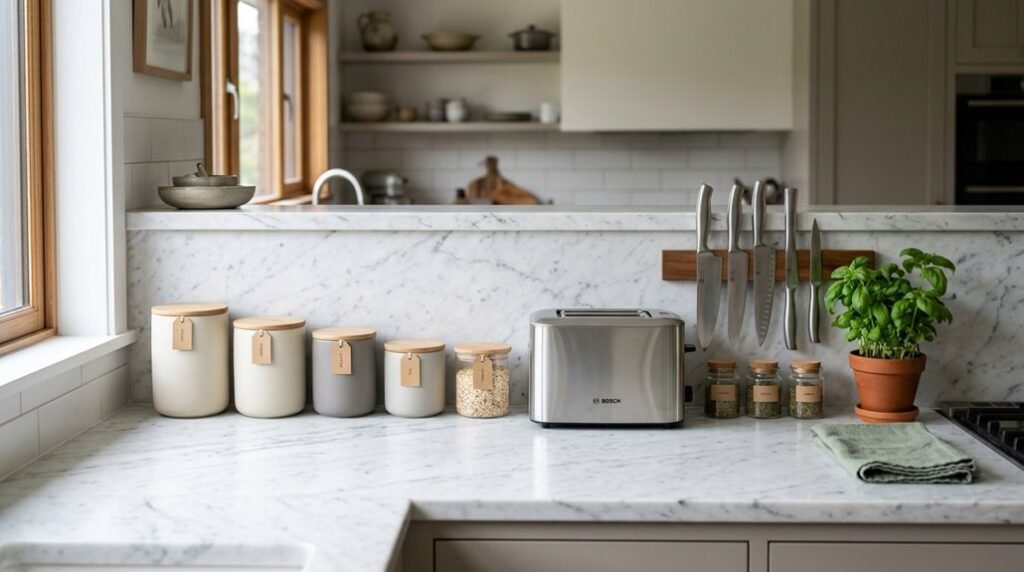
, that’s where most people fail.
Audit Your Counters: What’s Clutter vs. Essential?
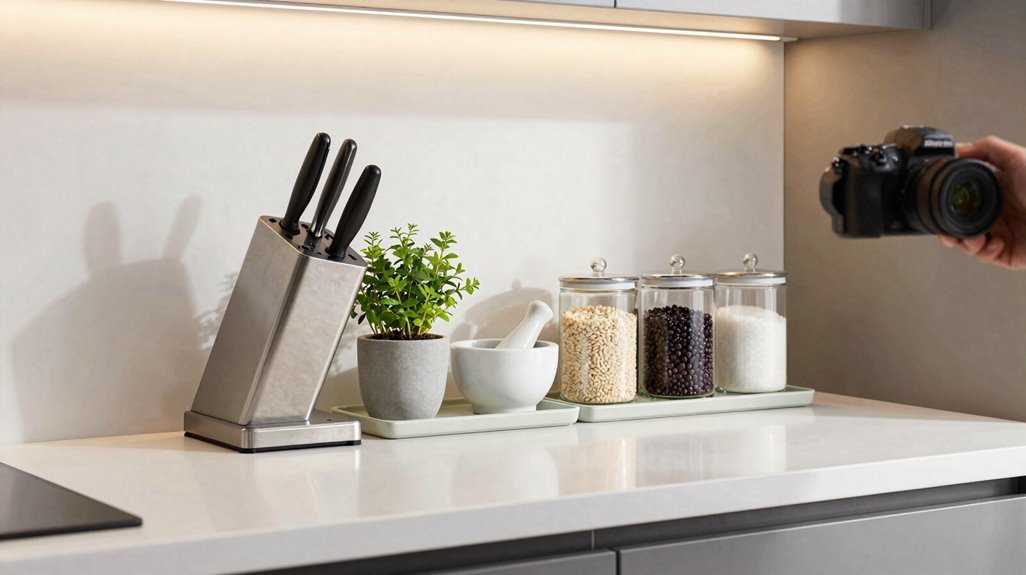
Where do you begin when every surface holds something mismatched, forgotten, or supposedly essential? You start your clutter audit by examining each counter area separately, assessing which items serve daily functions versus occasional cooking or cleaning tasks. You’ll distinguish essential items from accumulated debris, creating your foundation for systematic counter organization.
Execute Your Audit in Four Steps:
- Survey zone by zone. Inspect surfaces near your sink, stove, and backsplash, recording your top four or five priority areas requiring intervention.
- Classify everything. Separate functional tools from decorative objects. Tag each item with colored markers; light pink indicates function, dark pink signals style, enabling rapid visual planning.
- Document usage patterns. Note frequency: daily, weekly, or rarely employed. Items unused for 30+ days warrant relocation or removal.
- Initiate immediate action. Return misplaced objects to proper zones, cleanse surfaces with scented countertop cleaner, and position a candle for sensorial completion.
Define Your Kitchen’s Activity Zones
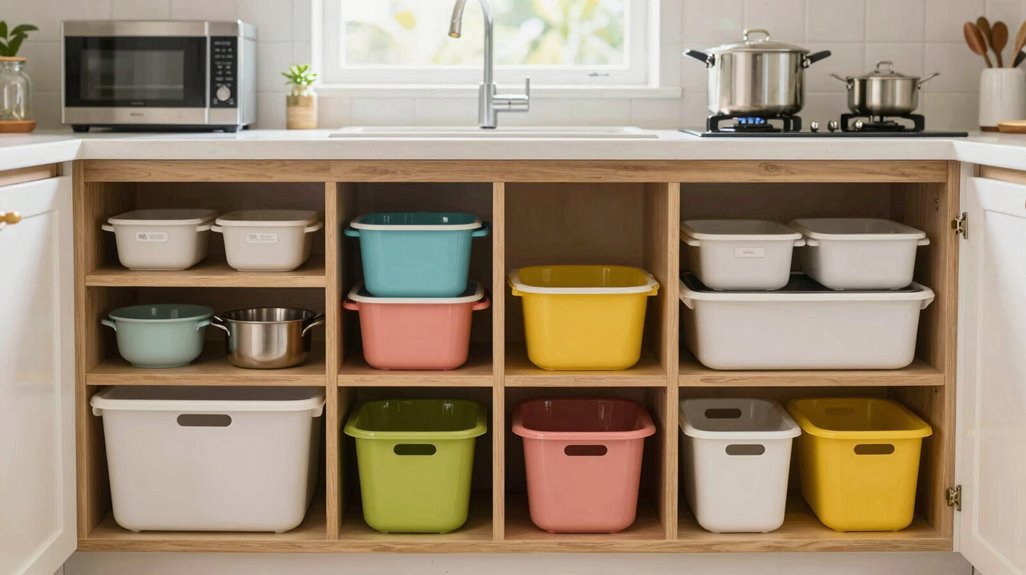
You’ll organize your counters into efficient workstations by mapping three distinct activity zones: cooking, prep, and appliance stations. Assign each zone a specific location based on your kitchen’s layout, keeping daily-use items within 24 inches of their primary function.
This spatial categorization eliminates unnecessary movement, reduces countertop clutter by 40-60%, and establishes predictable workflows that maintain themselves with minimal effort.
Map Cooking Zones
Task conversion turns your counter from chaos into efficiency when you map distinct cooking zones that mirror your actual workflow. You’ll anchor your kitchen layout around three primary stations: a prep zone near your cutting board, a stove-side zone for oils and spices, and a sink zone for washing tasks. This counter organization strategy places daily-use items within 18-inch reach, eliminating unnecessary movement during cooking sequences.
Position raised utensil holders and marble condiment trays to create visual boundaries between zones. Install vertical shelving or hanging racks 12-18 inches above counters to relocate infrequently used items. Apply the one-in-one-out rule weekly, removing one item for every new addition to maintain zone integrity.
Your cooking zones become intuitive extensions of your movements, not obstacles requiring constant navigation.
Designate Prep Areas
With your cooking zones mapped, you’re ready to sharpen each area into a dedicated workstation that performs a single, clear function. You’ll create prep zones that keep your counter organization tight and your movements minimal.
| Zone Type | Storage Solution |
|---|---|
| Primary prep | Vertical storage racks for knives, 6–8 labeled containers |
| Secondary prep | Wall-mounted shelves, 4–6 hanging hooks for utensils |
| Dish station | Under-sink caddy, 3 designated compartments |
| Transition area | 12-inch clearance zone with adjustable dividers |
Place frequently used tools within 24 inches of your main prep zones. You’ll use vertical storage to reclaim 40–60 percent of surface area.
Reserve sink-adjacent counter space for soap, sponges, and towels, keeping moisture away from dry prep areas. Review your zones every 90 days, adjusting boundaries by 3–6 inches as your cooking patterns shift.
Place Appliance Stations
The placement of appliance stations anchors your kitchen’s workflow, turning scattered equipment into purposeful activity zones that eliminate unnecessary movement. You define activity zones by positioning appliance stations near related tasks, keeping coffee makers and supplies together on a designated drink station. You create a cooking zone near your stove with oils, spices, and a trimming board to minimize movement. You use raised or accessible storage for frequently used appliances to maintain clear counter organization while keeping items within reach.
- Cluster by function: Group small appliances by purpose, baking versus blending, and store in a single cabinet or on a tray when not in use.
- Map workflow paths: Position appliance stations to support traffic patterns, keeping daily-use items arm’s length but visually cohesive.
- Prioritize accessibility: Place stations to open counter space, reducing clutter while maintaining operational efficiency.
Relocate Nonessential Items First
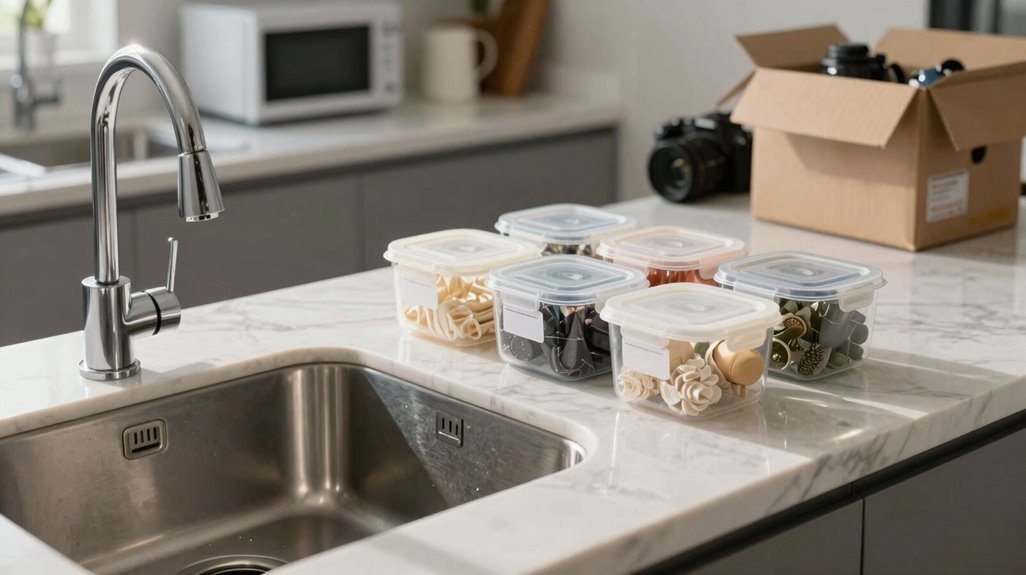
Beginning with your least-used items, you’ll strip the counters of everything that doesn’t serve a daily function, creating functional workspace within twenty minutes. Start your clutter relocation by identifying nonessential items: rarely used gadgets, stray papers, phone chargers, and single-purpose tools that consume valuable surface area.
Group these displaced objects into wire baskets or temporary containers, sorting by destination: pantry storage for excess food items, drawers for utensils, and closets for household supplies. Apply the “one-in, one-out” rule as you work, making sure each relocated item prevents future accumulation.
Complete this process within your twenty-minute window, then wipe surfaces with a scented cleaner or light a candle. This immediate refresh reinforces your achievement, turning chaotic counters into clean, purposeful territory you’ll want to maintain.
Consolidate Small Appliances Worth Keeping Out
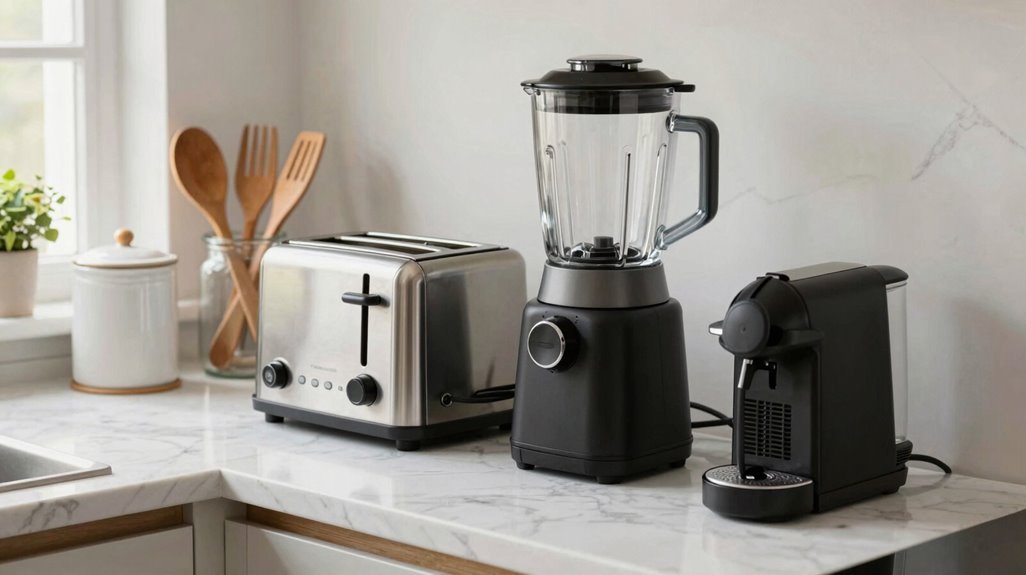
You’ll keep only the appliances you operate daily within arm’s reach of your primary prep zone, typically a 24-inch radius from your cutting board. Conceal less-attractive units, such as air fryers, blenders, or bread makers, with fitted, washable covers in canvas or linen that coordinate with your backsplash or cabinetry.
Group remaining devices by function zone: coffee apparatus near mugs, toasting equipment beside the bread bin, creating efficient 12- to 18-inch workflow clusters.
Prioritize Daily-Use Appliances
Where should your coffee maker live when every square inch of counter space commands premium value? You need appliance consolidation to eliminate countertop clutter and reclaim your kitchen. Retain only daily-use appliances, devices you operate within 48-hour cycles, while banishing occasional tools to pantries or cabinets.
You will evaluate frequency candidly: if you haven’t pressed “start” in two weeks, you don’t require counter access. You must position survivors strategically, anchoring them near your stove or prep zone within 3-foot reach of primary work surfaces. This minimizes motion waste during cooking sequences. You will select finishes that harmonize with existing cabinetry and hardware to maintain visual continuity.
- Audit appliances weekly for 60 days to establish true usage patterns before finalizing permanent placement
- Restrict visible appliances to 3 maximum per counter section to prevent visual overload
- Schedule quarterly reassessments to adapt configurations as seasonal routines shift
Conceal With Decorative Covers
For appliances you’ve deemed essential enough to remain visible, concealment becomes your next tactical layer. Counter organization demands you deploy decorative covers to turn utilitarian objects into integrated design elements. You’ll select appliance concealment solutions, wicker baskets, fabric domes, or wooden enclosures, that coordinate with your cabinetry finish and hardware.
- Measure each retained appliance’s footprint (typically 8″×10″ to 12″×15″).
- Source covers within 1-2 inches of these dimensions.
- Position concealed units on a matching tray (14″×20″ standard) to create one unified station.
Prioritize accessibility: lift-off designs beat hinged fronts for items used 3+ times daily. Reevaluate necessity quarterly, condensing categories where possible; combine your coffee grinder and brewer under one cover. This systematic approach delivers polished surfaces without sacrificing function.
Group By Function Zone
How should you arrange the appliances that survive your purge? You’ll organize counters by function, creating dedicated cooking, prep, and appliance zones that keep daily-use items within arm’s reach while storing lesser-used devices elsewhere. This counter organization strategy demands you evaluate frequency of use, applying a one-in-one-out rule for appliances and cords. Small appliance consolidation requires grouping compatible items, your coffee maker with mugs, on cohesive surfaces or trays, while utilizing vertical storage and nearby cabinets with bamboo dividers to reduce clutter.
Your functional zones change chaos into efficiency:
- Daily Zone: Reserve 24 inches of prime counter space for appliances used every morning, such as your coffee press or toaster.
- Prep Zone: Position your glass rinser and food processor within 36 inches of your sink and cutting board.
- Storage Zone: Rotate seasonal items monthly, relocating rarely used devices to pantry shelves above 60 inches.
Select Countertop Containers for Hidden Storage
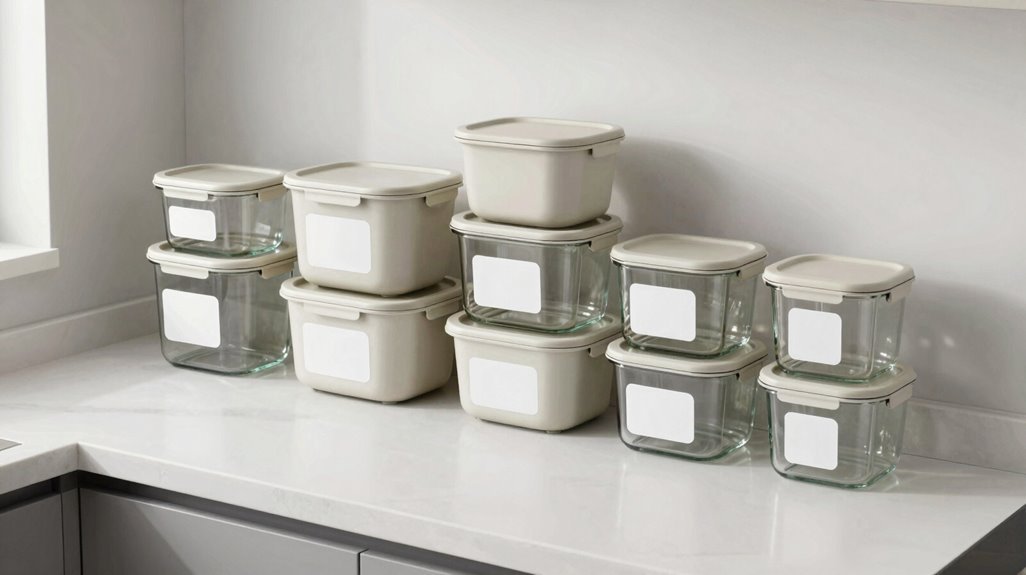
Why let utilitarian objects dominate your visual field when strategic containment can absorb the clutter? You turn kitchen counters into curated surfaces by selecting decorative containers that deliver hidden storage without sacrificing accessibility.
Choose dual-purpose vessels. Deploy a ceramic footed compote bowl for daily-use items, and position a marble tray to corral salt, pepper mills, and a trim cutting block behind your primary cutting board.
Incorporate specialized storage. Install a bread box for bakery goods, and repurpose a vintage silver champagne bucket as a roomy utensil holder.
Organize by location. Place lucite trays near the sink for dish soap and hand cream, and arrange oils and small appliances on complementary trays or shelves.
Unify your arrangement. Group containers into cohesive units, preserve open counter space, and showcase functional items like marmalade jars and vintage trays.
Assign Items to Specific Containers by Use
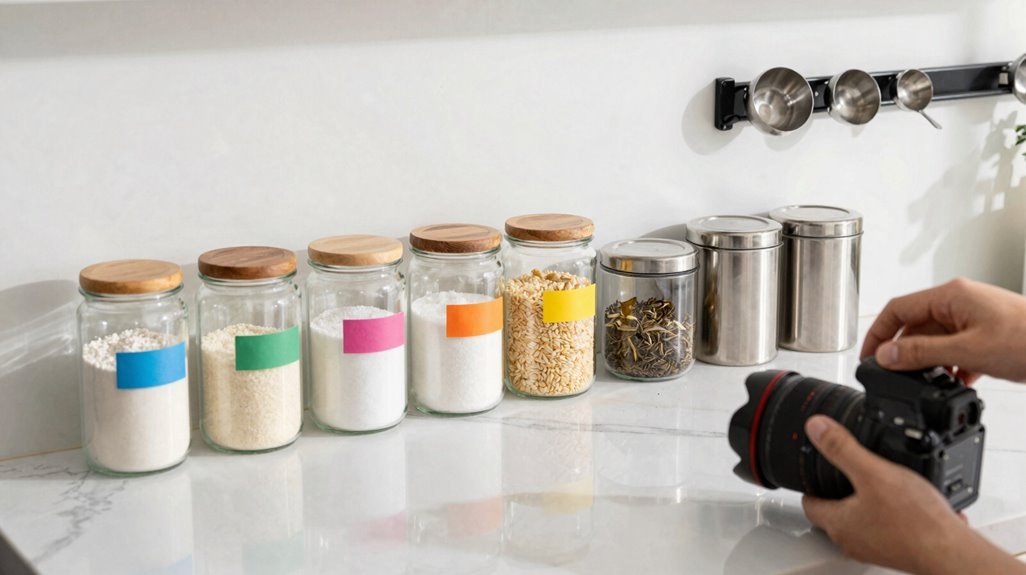
Where should your coffee pods live, and which vessel earns the right to hold your daily bread? You’ll assign items by use to change your counter organization into a system that works without thinking.
Group items by activity, not by type. Place your coffee pods and sweeteners in a French canister set near your machine. Corral utensils in a vintage silver champagne bucket beside your prep zone.
Tuck bread into a dedicated bread box, not a random drawer. Your decorative containers must earn their counter space through dual function. A ceramic footed compote displays daily-use items beautifully. A marble tray organizes salt, peppers, and a trim cutting block behind your board.
- Identify your three most frequent kitchen activities
- Measure available counter space for each zone
- Select containers with 75% functional, 25% decorative balance
Stage Daily Essentials Within Arm’s Reach
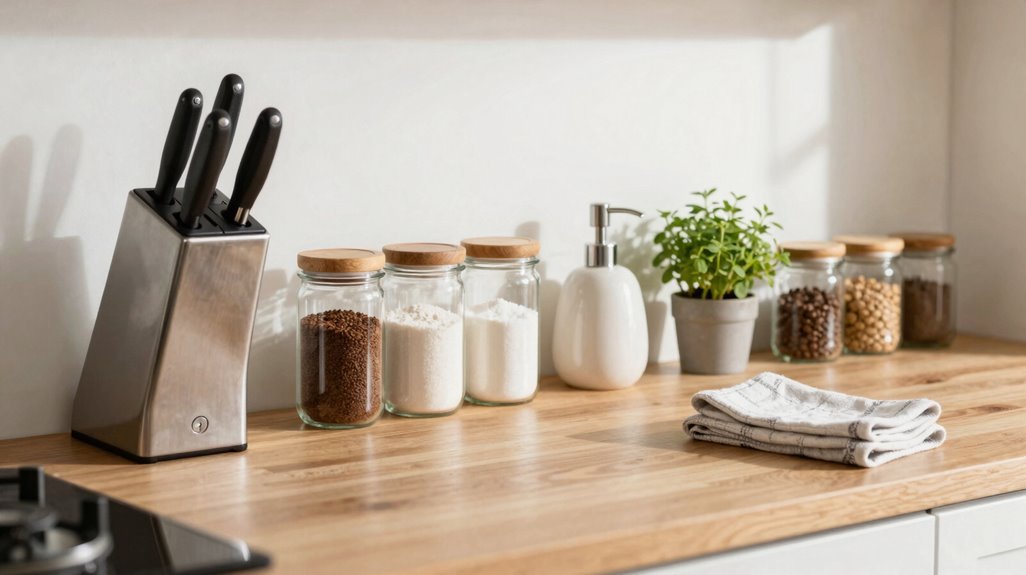
When you reach for your morning coffee or a cooking spoon, you’ll find it immediately; no searching, no stretching.
- Position core daily essentials within 24 inches of primary work zones. Place your ceramic footed compote bowl, utensil crock, and frequently used ingredients at counter height between 36 and 42 inches for optimal accessibility.
- Deploy decorative yet functional containers. Corral salt, peppers, and cutting boards on a marble tray; store dry goods in canisters and jars.
- Maintain stove-side accessibility. Keep a small spoon rest and decorative oil dispenser within 18 inches of your cooktop.
- Observe the 75/25 functional-to-decorative ratio. This counter organization standard keeps daily essentials accessible while surfaces stay visually streamlined.
| Zone | Distance | Items |
|---|---|---|
| Coffee station | Arm’s reach | Mug, sugar, spoon |
| Prep area | 24 inches | Cutting board, knives |
| Stove side | 18 inches | Oil, spoon rest |
Group Items Into Cohesive Counter Stations
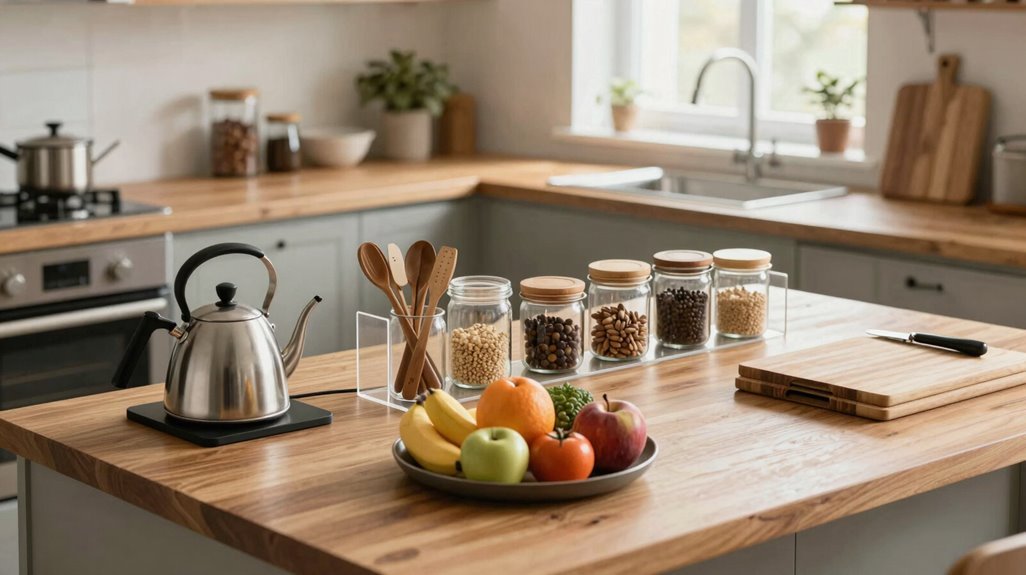
Now that you’ve positioned your daily essentials within easy reach, you’ll build cohesive counter stations that group related items into functional zones. Your organization strategy creates kitchen areas for cooking, prep, and appliances, forming a unified unit that belongs together.
Implement these three station-building principles:
- Unify visually with functional containers: Place ceramic footed bowls for daily items, marble trays for salt and cutting boards, elements that signal purposeful design.
- Arm’s-reach placement per zone: Position spice jars and oil within 24 inches of your stove, dish soap and hand cream next to your sink basin.
- Balance 75% functionality with 25% decoration: Surround each station with baskets, crocks, and vintage pieces that reduce visual clutter without sacrificing utility.
Keep open counter space by moving lesser-used items to aside storage, so your stations remain navigable, accessible domains where you belong.
Add Vertical Storage Above Your Counters
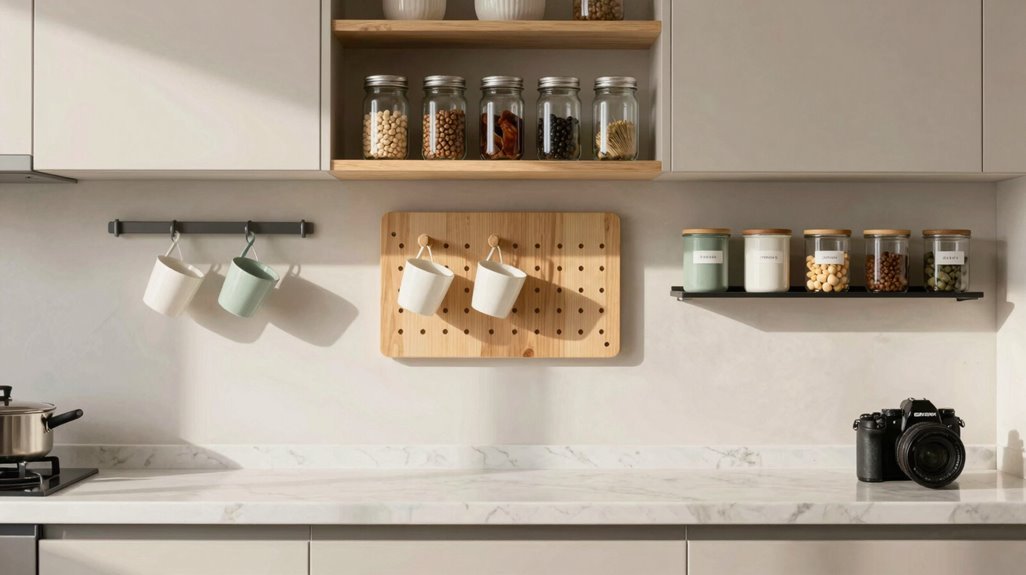
Install floating shelves, wall-mounted racks, or hanging baskets above your counters to reclaim horizontal workspace while keeping essentials within 12-18 inches of arm’s reach. You’ll maximize vertical clearance, typically 18-24 inches between countertop and cabinet, to store items by function without obstructing appliance operation or cabinet access.
Measure your available wall height, accounting for 4-6 inches of door swing clearance, then select storage depths of 6-10 inches to maintain traffic flow and sight lines.
Floating Shelves
Where can you stash twelve spice jars, four coffee canisters, and that bulky stand mixer without sacrificing a single inch of counter space? You install floating shelves above your counters, converting empty wall area into vertical storage that keeps essentials within arm’s reach.
Floating shelves maximize small-kitchen efficiency through strategic counter organization. Mount sturdy brackets at 16-inch stud intervals, using uniform 10-inch shelf depth to maintain visual cohesion. Group items by zone: designate one shelf for spices, another for oils, a third for daily-use cups.
Pair shelves with clear bins or labeled jars to reduce visual clutter and preserve your open-counter feel. Follow these principles for optimal results:
- Install shelves 18-24 inches above counters to accommodate appliance height
- Limit each shelf to 15-20 pounds distributed evenly across brackets
- Maintain 12-inch vertical spacing between shelves for adequate clearance
Wall-Mounted Racks
How do you reclaim precious counter space when cabinets overflow and drawers jam shut? You install wall-mounted racks above your counters, turning empty vertical space into functional storage. These racks hold spice jars, cooking oils, and utensils within arm’s reach, eliminating countertop clutter while streamlining your workflow. Mount them at eye level or above your stove to maximize accessibility without sacrificing aesthetics.
Select finishes: vintage, silver, or wood that complement your existing decor, maintaining cohesive kitchen organization. Verify weight ratings and secure mounting hardware before installation. Stagger shelf depths to accommodate cups, jars, and containers of varying sizes.
| Rack Feature | Functional Benefit |
|---|---|
| Vertical orientation | Maximizes 24-36 inches of unused wall height |
| Open design | Provides instant visual inventory of contents |
| Adjustable tiers | Accommodates 4-8 inch container variations |
| Eye-level placement | Reduces retrieval time to 2-3 seconds |
| Style-matched finish | Maintains design continuity across surfaces |
Hanging Baskets
Wall-mounted racks handle your spices and oils, but produce and linens still consume precious square footage below. You reclaim this space by installing hanging baskets, which create vertical storage above your counters without expanding your kitchen’s footprint. This counter organization strategy shifts frequently used items upward, keeping them accessible while maintaining clear work surfaces below.
To maximize your hanging baskets effectively, follow these three principles:
- Select coordinated materials: Choose metal or wicker baskets that match your existing decor, creating visual unity across your storage zones.
- Group related items: Cluster produce, utensils, or towels by function, forming dedicated, accessible stations that reduce retrieval time.
- Position strategically: Install baskets 12-18 inches above counter height, making sure there’s clearance for food preparation while keeping everything within arm’s reach.
Your kitchen becomes an efficient, cohesive workspace where every item belongs.
Apply the One-In-One-Out Rule
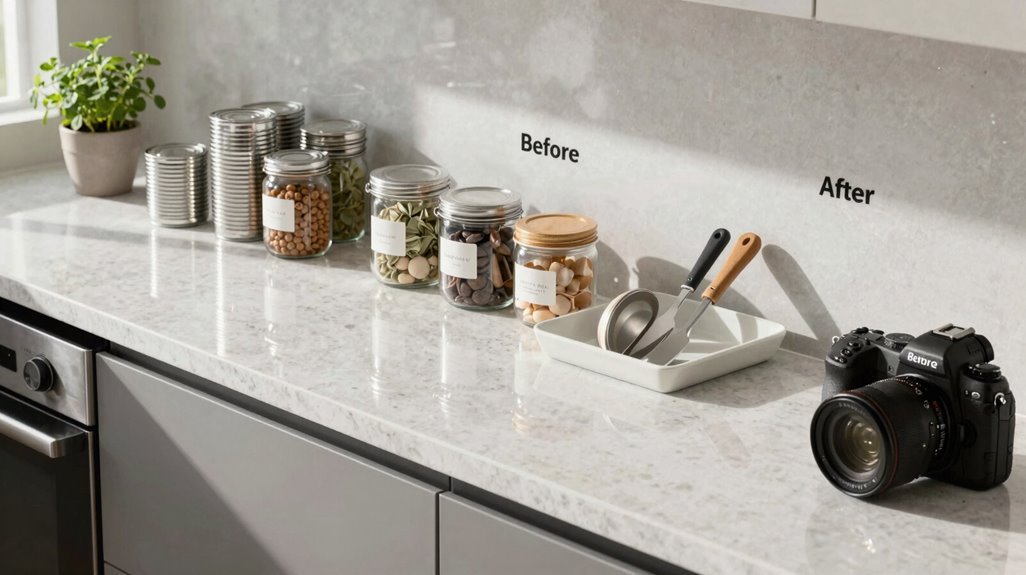
Counter clutter functions as a visual tax on your attention, draining mental energy every time you enter the kitchen. You will implement a strict one-in-one-out rule to prevent counter clutter from accumulating unchecked.
Start with daily-use items in accessible zones, specifically within 24 inches of your stove and sink. Track every incoming item by frequency: daily (keep), weekly (evaluate), or monthly (remove). When you add one new appliance, utensil, or decor piece, you must remove one existing item immediately.
Use labeled storage solutions; baskets measuring 12″x8″x6″, glass jars holding 16-32 ounces, or trays spanning 18″x12″, to assign designated homes. Schedule 15-minute reviews weekly, or 30-minute assessments biweekly, to enforce compliance.
| Review Schedule | Duration | Items Assessed |
|---|---|---|
| Weekly | 15 minutes | High-traffic zones |
| Biweekly | 30 minutes | Full counter surface |





