
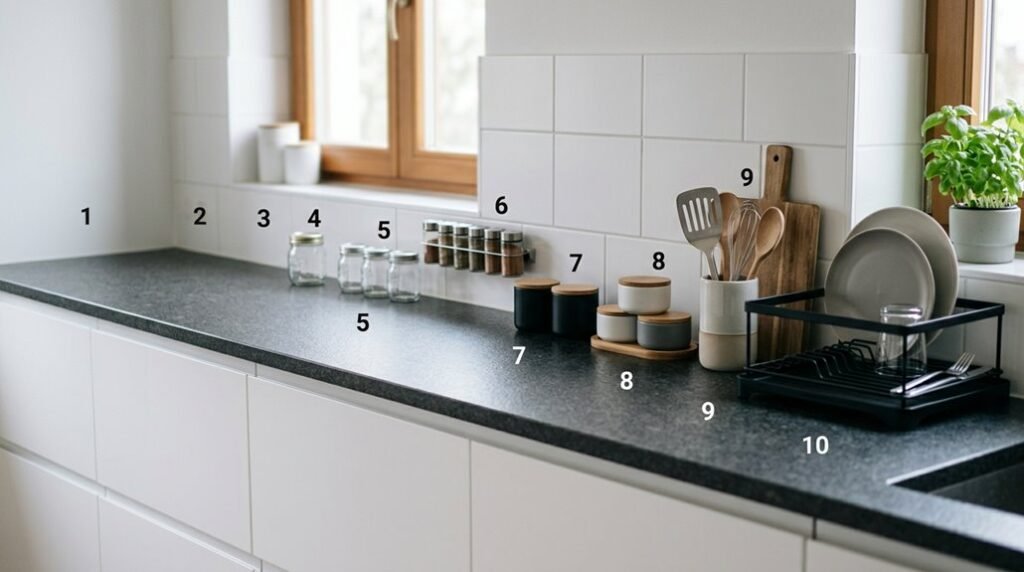
You need kitchen counters that function as workspace, not storage overflow. These ten steps turn cluttered surfaces into efficient zones within 60-90 minutes, using measurable systems like 75/25 functionality ratios and precise relocation protocols. Table 1 shows the breakdown:
| Step | Time Required | Primary Action | Outcome |
|---|---|---|---|
| 1-2 | 20 min | Zone designation, declutter sweep | Cleared surfaces |
| 3-4 | 15 min | Holding bins, sorting piles | Categorized items |
| 5-7 | 20 min | Appliance consolidation, vertical storage | 40% space recovered |
| 8-10 | 15 min | One-in-one-out rules, Sunday resets | Maintenance system |
Each step includes specific container dimensions, arm’s-reach measurements, and categorical item lists you will apply immediately. You will not need inspiration; you will need the fourth step’s relocation matrix, which determines exactly where 47 common kitchen items belong.
How to Organize Kitchen Counters From Scratch
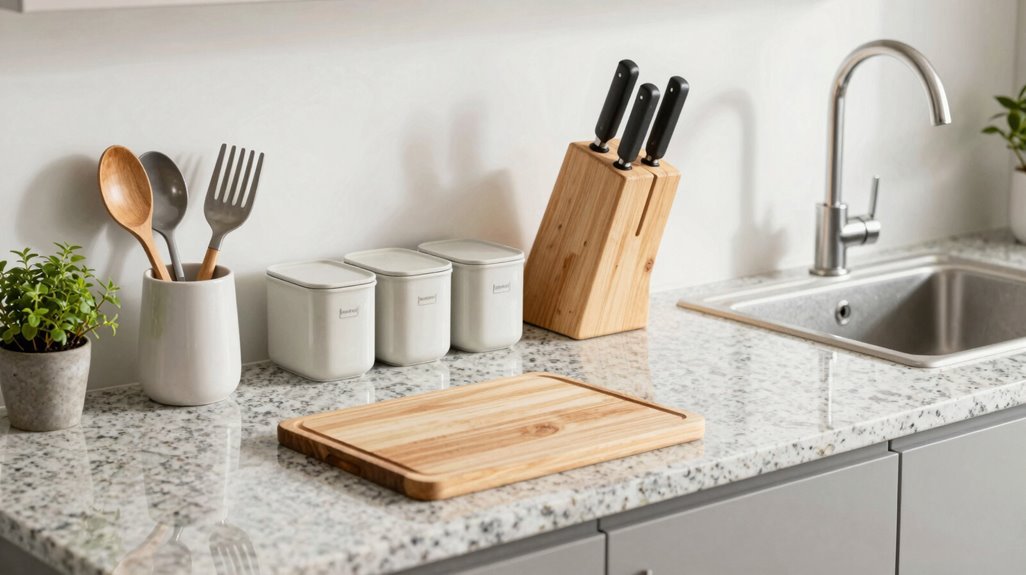
Where do you begin when your kitchen counters have become overwhelmed with accumulation, cluttered with devices, containers, and remnants of daily preparation? You start counter organization by designating three distinct zones: cooking, prep, and appliances. This system reduces clutter and improves your daily access to essential items.
When kitchen counters become overwhelmed with accumulation, start by designating three distinct zones: cooking, prep, and appliances.
Begin decluttering one counter end at a time. Perform a quick 15-minute sweep, creating sorted piles for return to proper places. Temporarily group items using wire baskets, which you position at zone boundaries for efficient processing.
Invest in smart storage solutions and vertical space utilization. Install shelves or hanging racks to maximize counter clarity; your goal is 75% functionality, 25% decorative elements. Keep most-used items within arm’s reach, stored in clear containers or trays.
Finish with scented cleaner and a candle to maintain visual calm.
Clear Your Counters in 20 Minutes
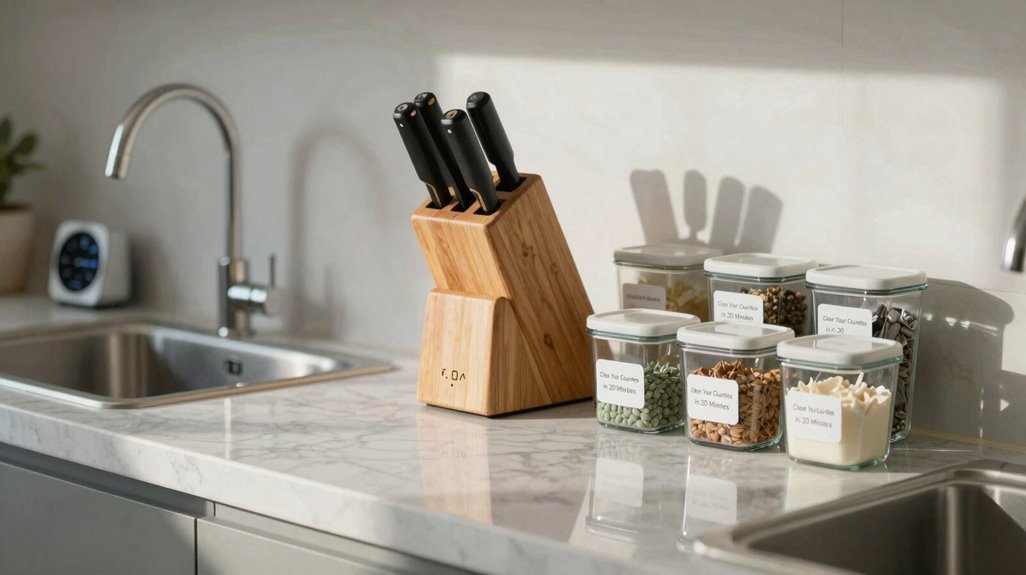
You’ll execute a rapid counter sweep by starting at one end and forming three distinct piles: relocate, donate, and trash; within your 20-minute window. Apply the speed decluttering method by moving clockwise, using wire baskets to transport items efficiently without backtracking.
Maintain the 75/25 rule: return daily-use tools to designated zones, wipe surfaces with cleaner, and leave only one-quarter decorative elements visible.
Rapid Counter Sweep
How quickly can you reclaim your kitchen workspace? You’ll eliminate counter clutter in exactly twenty minutes by executing this systematic approach. Start at one terminal point, progressing clockwise, and sort items into predetermined zones as you advance.
Position three wire baskets for temporary staging of displaced objects. Relocate 75% of visible contents, retaining solely daily-use essentials. Deploy citrus-scented cleanser for post-clearing sanitation. Ignite a fourteen-ounce soy candle to establish sensory closure. Reevaluate each zone’s functional designation: cooking, prep, or appliance storage.
You’ll prevent re-cluttering by confirming every zone serves one categorical purpose. This method treats organization as a logistical operation, not an emotional undertaking. Your counters remain clear because you’ve built structural integrity into the system, not because you’ve mastered willpower.
Speed Decluttering Method
What timeframe turns chaotic countertops into functional workspace? You’ll reclaim your kitchen in twenty minutes using this systematic approach.
Start at one end, work methodically around, and create temporary piles using wire baskets or containers. Designate three zones: cooking, prep, and appliances. Remove nonessential items during your quick sweep, returning only daily-use essentials to their assigned areas.
Focus first on high-traffic sections, then continue along the counter’s length. After decluttering, clean countertops with scented cleaner and add a candle for visual completion.
This organization method prioritizes speed over perfection, establishing sustainable systems you’ll maintain. Your counters become functional, not flawless. The twenty-minute commitment creates immediate, visible results that motivate continued organization habits.
Where to Put Everything You Just Removed
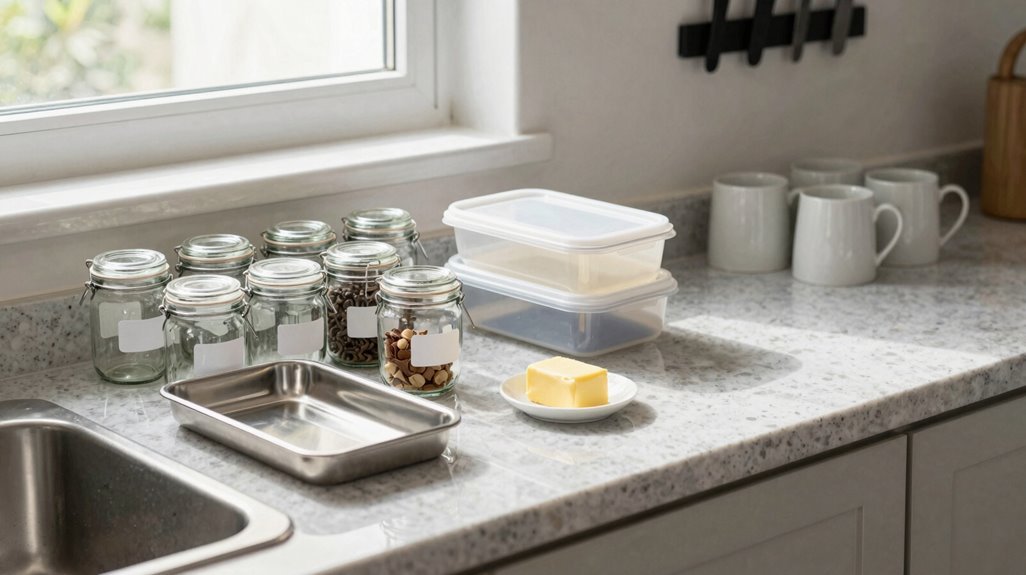
You’ve cleared your counters, but now you face the critical decision of where everything goes.
Establish temporary holding zones first, using clear 12″ x 16″ bins or 8″ x 10″ baskets to categorize items by function, then assign permanent storage homes based on frequency of use and proximity to work zones. Prioritize vertical storage solutions, drawer organizers, and cabinetry over returning items to counter surfaces, helping you maintain the clear workspace you’ve created.
Temporary Holding Zones
The chaos of cleared countertops demands immediate containment, so you’ll establish temporary zones before a single item migrates back to storage. Decluttering requires systematic staging, not chaotic piles, and organization thrives when you create structure mid-process.
Gather wire baskets or containers for temporary corralling at one kitchen end. Designate distinct areas for cookware, utensils, and small appliance categories. Position zones by function to streamline eventual relocation efforts. Select clear bins so contents remain visible for quick reassignment. Reserve scented cleaner and candles for counter restoration afterward.
You’ll execute swift sweeps through these staging areas, maintaining momentum without backsliding. Each categorized container accelerates decision-making, preventing the re-cluttering that derails most kitchen transformations. This interim discipline guarantees permanent solutions follow logically.
Permanent Storage Homes
Where will everything live now that you’ve cleared the decks? You’ll establish permanent storage by mapping kitchen zones that match your actual workflow.
1. Zone Your Counter Organization
Designate three primary kitchen zones: cooking (stove-adjacent), prep (marble tray surface), and utensil storage (vintage bucket). You’ll keep daily-use items in a ceramic footed compote bowl, coffee supplies in French canisters, and utensils in a silver champagne bucket.
2. Apply Container Hierarchy
| Frequency | Container Type | Placement |
|---|---|---|
| Daily | Open bowls/trays | Countertop |
| Weekly | Canisters | Perimeter |
| Rarely | Closed cabinets | Out of sight |
3. Maintain System Integrity
Group items into single-unit displays: marble tray plus salt cellar plus trim cutting block. Implement one-in, one-out rules. Use vertical storage with hanging racks. You’ll consolidate rarely used gadgets behind doors, reserving only essential small appliances visible.
Consolidate Small Appliances You Rarely Use
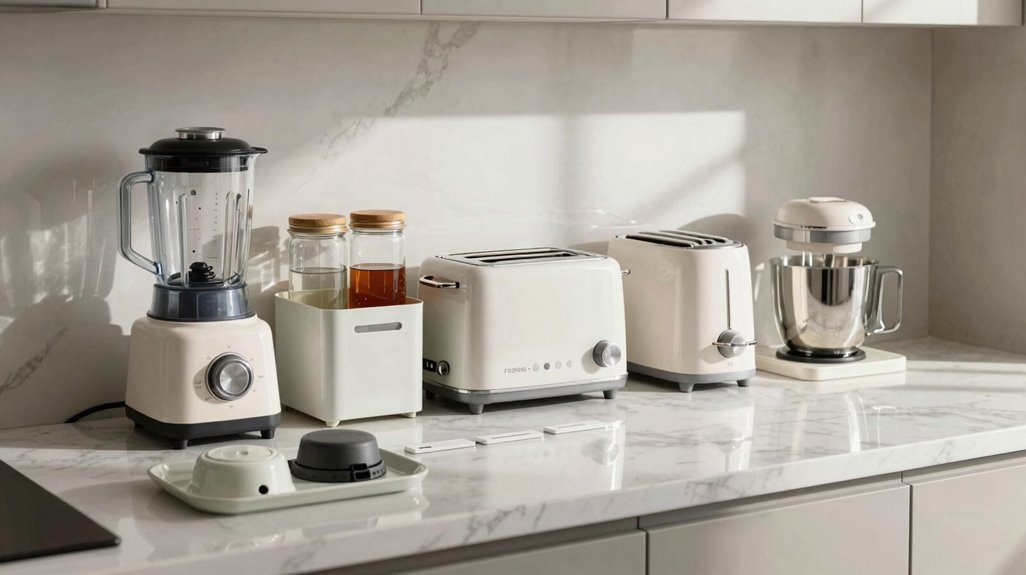
Your countertop real estate demands ruthless evaluation of every small appliance claiming permanent residence. You’re likely harboring redundant units that sabotage your daily workflow and visual harmony.
Execute this consolidation protocol:
Relocate appliances used fewer than three times weekly to cabinets, pantries, or utility closets.
Merge duplicate functions: one coffee station, one blending station, one toasting solution.
Coordinate remaining visible units through matching finishes: matte black, brushed stainless, or cream enamel.
Measure each retained appliance’s footprint; nothing should exceed 12 inches in any dimension without justification.
Schedule monthly audits: any unit dormant 30 days loses countertop privileges permanently.
This systematic reduction of small appliances eliminates countertop clutter through disciplined consolidation. You’ll reclaim 40-60% of surface area while maintaining instant access to genuine essentials.
Kitchen Counter Containers That Look Like Decor
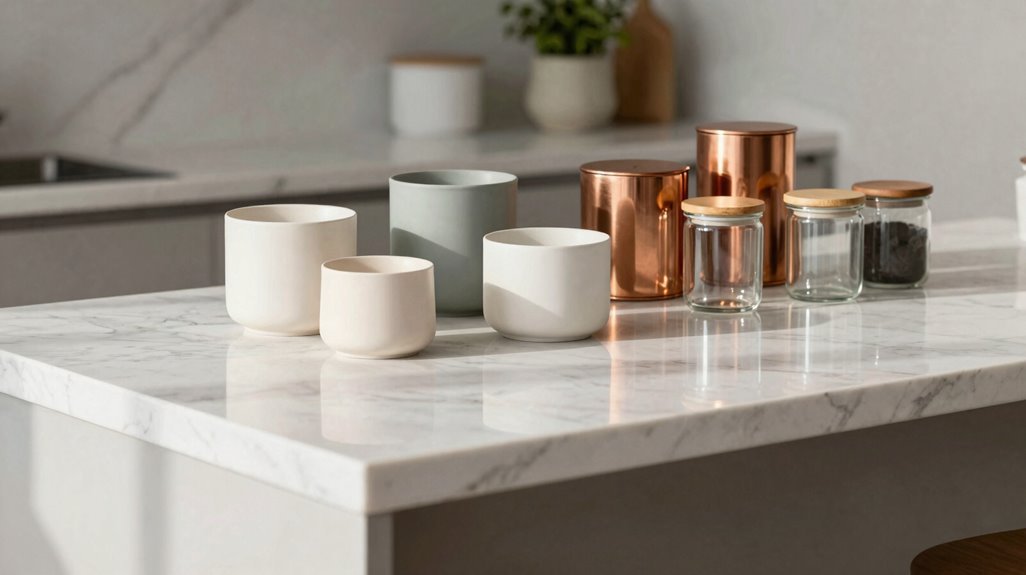
Once you’ve stripped your counters to genuine essentials, the remaining visible items demand tactical concealment within objects that read as intentional design elements. Your countertop organization succeeds when functional items masquerade as curated decor.
- Deploy ceramic footed compote bowls for daily-use items, gaining decorative storage with height variation.
- Install a French canister set for coffee pods, stirrers, and sweeteners, achieving vintage-inspired display cohesion.
- Repurpose a vintage silver champagne bucket as a utensil holder, introducing metallic sheen.
- Position a marble tray to corral salt, peppers, and a trim cutting block behind your cutting board.
- Add a bread box for bakery goods, creating a decorative storage focal point that reduces visual clutter.
Each container must earn its surface area through dual-purpose performance.
Turn Daily Essentials Into Pretty Stations
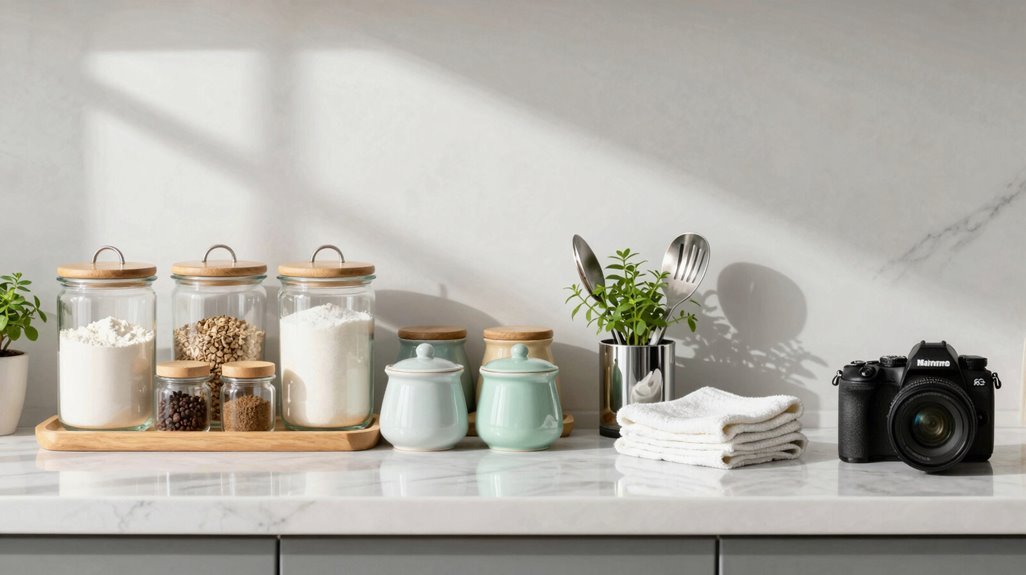
Why settle for scattered clutter when your daily essentials can function as deliberate design statements? Rework your organization strategy by establishing stations that maximize counter space while keeping necessities accessible.
- Corral salt, peppers, and a trim cutting block on a marble tray behind your cutting board
- Store coffee pods and sweetener in a French canister set within arm’s reach
- Repurpose a vintage silver champagne bucket as a roomy utensil holder
- Group spoons, oil dispensers, and cutting boards in cohesive clusters
- Position a small candle or diffused scent near stations to enhance ambiance
These stations balance display with practicality, making sure most-used items remain visible yet contained. You’ll maintain open counter space while creating visually appealing, easy-to-use zones that welcome you into a well-ordered kitchen every morning.
Organize by Location: Sink, Stove, and Bar
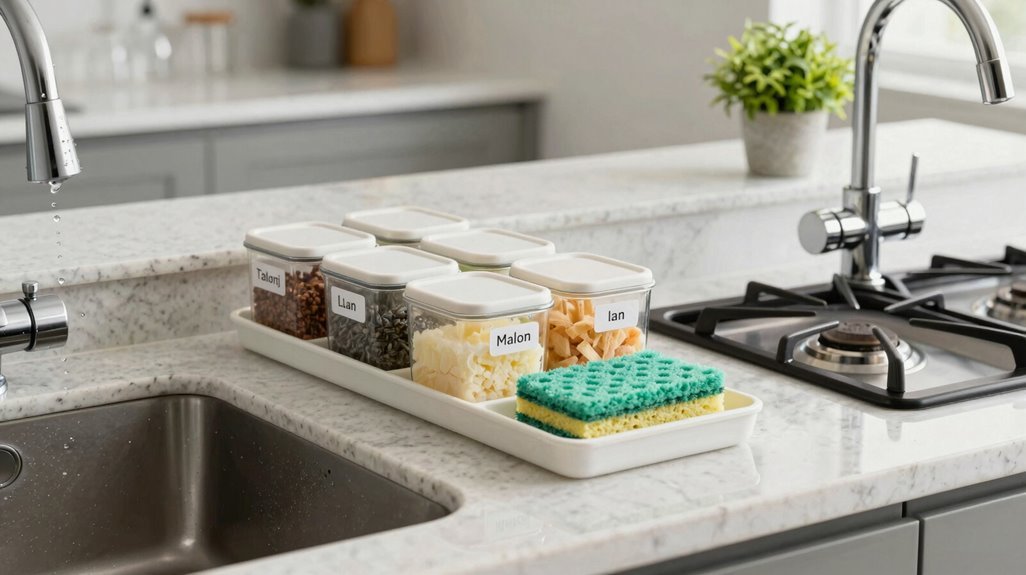
You’ll organize three distinct countertop zones, sink, stove, and bar, by anchoring each location with designated containers that integrate specialized storage vocabulary like “corral,” “station,” and “zone.” Assign specific dimensions: limit sink trays to 12-by-8 inches, stove risers to 6-inch heights, and bar bowls to 8-inch diameters for measurable spatial control.
Execute these location-based systems within 24-48 hours using categorized groupings of daily-use, occasional-use, and display-worthy items per zone.
Sink Zone Essentials
The sink zone functions as your kitchen’s primary processing hub, handling 60-70% of daily food preparation and cleanup tasks within a typically constrained 24-36 inch counter span. You need a systematic approach to maximize this limited real estate.
Place your dish soap, hand soap, and sponge on a small cake pedestal or tray to contain spills and reduce clutter.
Install a decorative or collapsible drying rack near the sink to juggle towels and damp dishes while preserving counter space.
Position a vintage ironstone dish or marble tray next to the sink to corral small items and create a unified appearance.
Store spray bottles and cleaning essentials in a dedicated lucite tray or small stationed caddy to maintain tidiness.
Tuck paper towels in a cabinet or under the sink, minimizing visual clutter around your primary processing zone.
Stove Area Organization
Where does your cooking workflow stall most often?
Master stove organization by eliminating counter clutter and positioning quick-access prep items strategically. Store artisan oils on a silver bread tray for visual cohesion and functional elegance. Lean vintage trays against your backsplash to corral small items while preserving workspace.
Place a cutting board with labeled glass oil dispensers adjacent to your burners for seamless prep transitions. Tuck rarely used gadgets behind closed doors to reduce visual noise and streamline your cooking zone. Keep a spoon rest within arm’s reach and add subtle decor, like a small candle, to maintain warmth without obstruction. These targeted adjustments turn your stove area into an efficient, inviting command center where you belong.
Bar Counter Storage
Your stove area now operates as a streamlined workstation, so extend that same intentionality to your bar counter where clutter accumulates fastest. Effective bar counter storage demands strategic organization that balances utility with visual restraint.
Implement these five solutions:
Place headphones and chargers in a raised bowl at the counter’s end, keeping cables elevated yet accessible
Lean vintage trays against the backsplash for small-item containment without surface congestion
Position a lucite tray by adjacent sinks to display elegant dish soap and hand cream cohesively
Store artisan oils on a silver bread tray near the stove, merging function with decorative elements
Maintain 25% decorative elements maximum, reserving 75% for daily-use items to keep the counter clear
This measured approach turns your bar counter into an organized, welcoming space where belonging begins with visual order.
Use Vertical Space Behind Your Counters
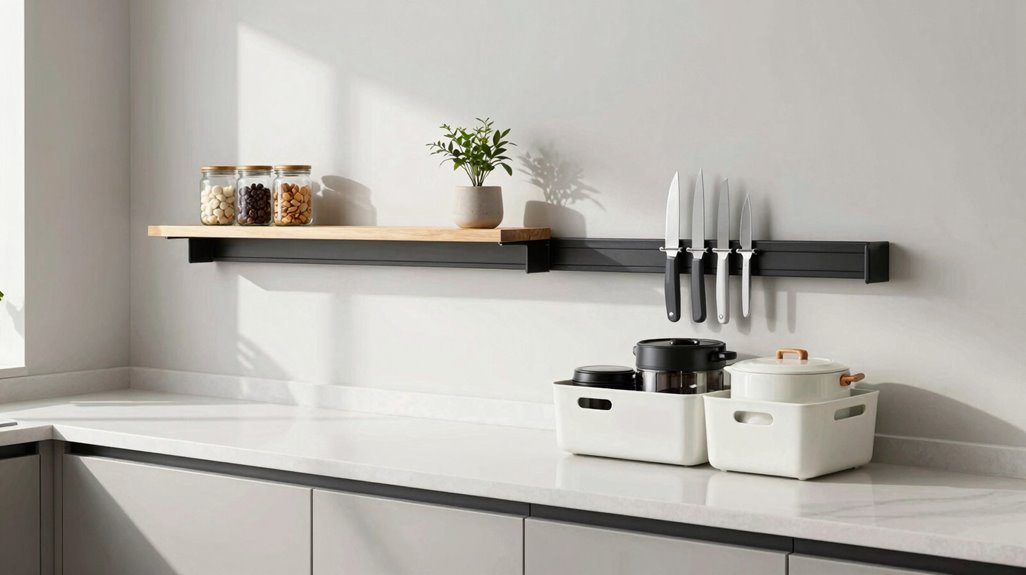
How much usable square footage sits idle behind your backsplash? You’re overlooking prime real estate for vertical storage that changes your kitchen’s functionality. Install floating shelves or hanging racks 12-18 inches above counter height to store daily-use items, such as coffee mugs, spice jars, and cooking oils, without sacrificing prep space.
Implement behind-counter organization with slim, wall-mounted units measuring 4-6 inches deep, maximizing capacity while preserving your 24-inch minimum workspace depth. Group items by zone: place morning essentials near the coffee maker, cooking tools adjacent to the stove. Reserve back positions for weekly-use items, keeping front counters clear for food preparation.
Select decorative canisters, glass jars, or woven baskets matching your kitchen’s palette to maintain visual cohesion. Reassess quarterly, removing unused items to prevent hidden accumulation. This systematic approach delivers measurable countertop clutter reduction, creating a kitchen where every member functions efficiently.
Use the One-In-One-Out Rule
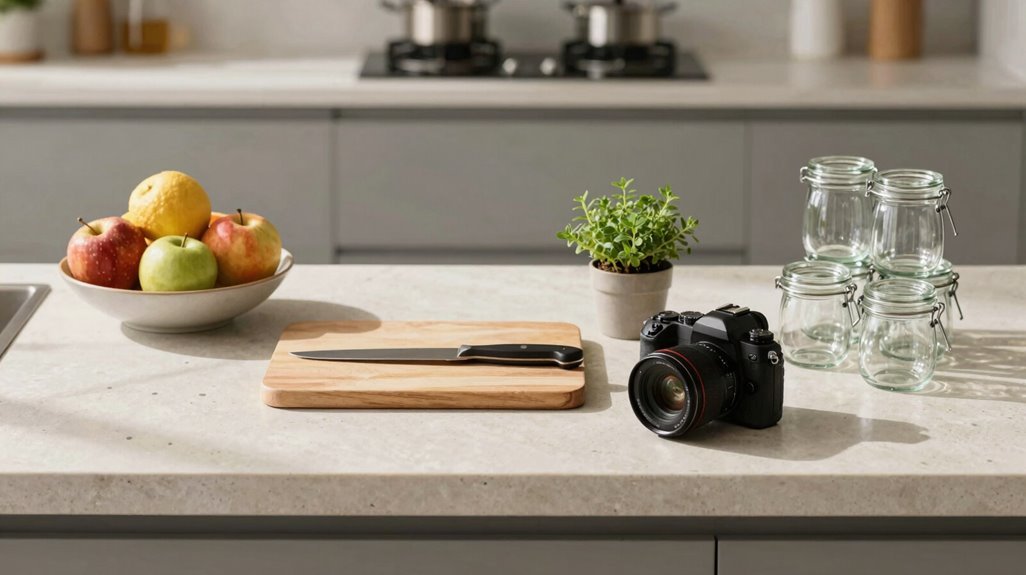
Why does counter clutter return within weeks of your last purge? You bring new items home without removing old ones, breaking your kitchen organization’s delicate equilibrium. Implement the one-in-one-out rule, and you’ll maintain permanent counter clarity.
Apply this system immediately:
- Replace an existing toaster when you upgrade to a new model
- Swap one utensil crock for another, never adding a second
- Substitute a cutting board, keeping your total at two maximum
- Exchange one small appliance, maintaining your designated four-item zone
- Trade decorative items seasonally, storing off-season pieces promptly
Track your commitments visually. Place small post-it notes on cabinet interiors, listing current counter residents. During weekly cleaning, verify your counts match your labels.
You establish sustainable boundaries, preventing accumulation before it starts.
Reset Your Counters Every Sunday
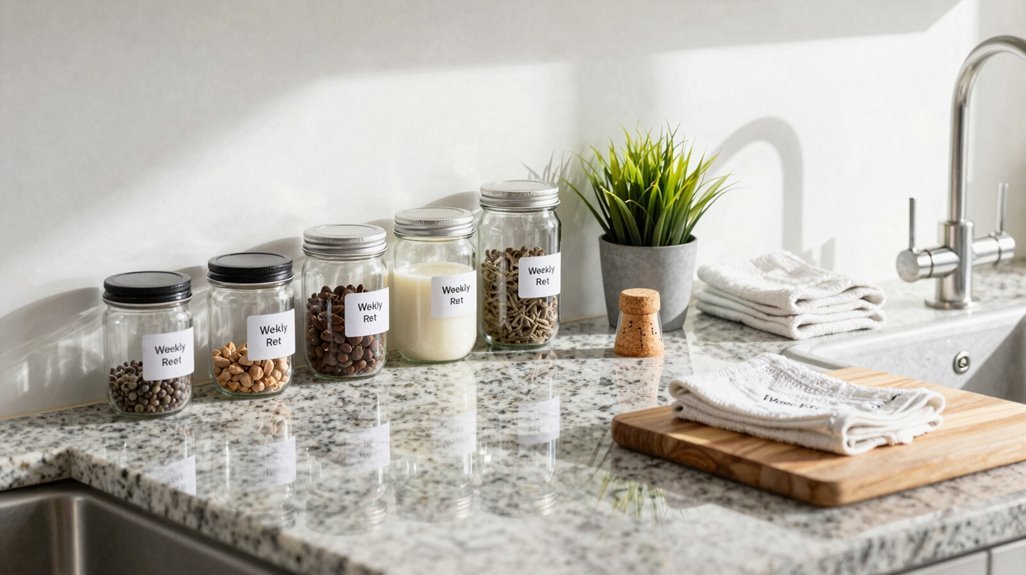
When exactly does counter chaos spiral beyond control? It happens gradually, but you can stop it with a Sunday routine that resets your space to baseline.
Execute Your Countertop Reset
- Clear every surface completely, removing items that migrated from other rooms.
- Wipe counters with scented cleaner, then light a candle to signal completion.
- Return daily-use items to designated zones: cooking, prep, and appliances.
- Check that items are accessible without overflow, nothing should block workflow.
Maintain Your Kitchen Organization
| Zone | Permitted Items | Maximum Quantity |
|---|---|---|
| Cooking | Oil, salt, pepper | 3 items |
| Prep | Cutting board, knife block | 2 items |
| Appliances | Coffee maker, toaster | 2 small appliances |
You will enforce the one-in-one-out rule during each reset. This 20-minute practice prevents accumulation, preserves your baseline, and gives you functional, uncluttered counters at the start of each week.





