
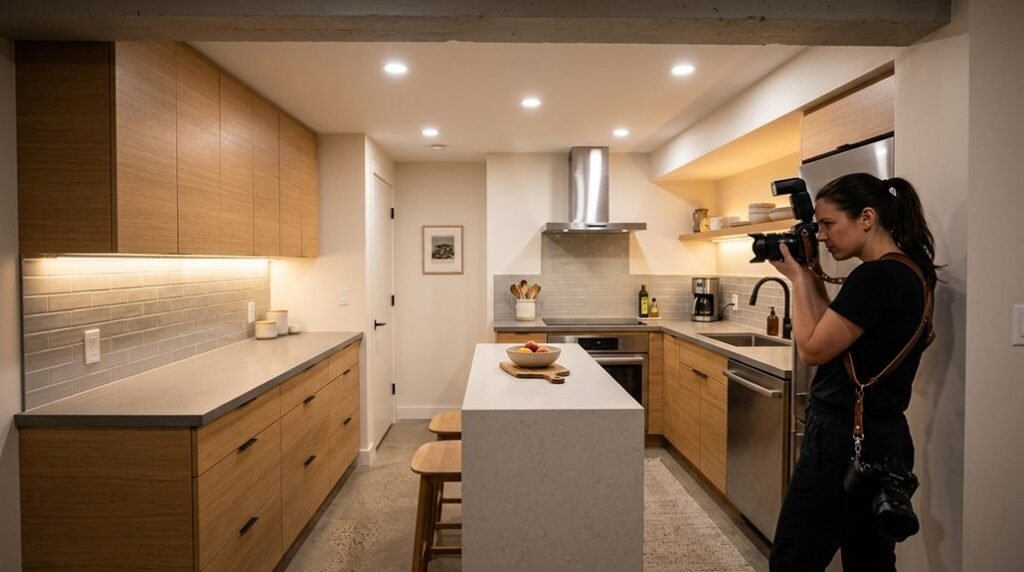
A 7-foot basement ceiling shrinks your kitchen by 30% compared to standard 9-foot heights, yet you still need full functionality. You will compress cabinetry, reroute ductwork, and manipulate perception through strategic material choices. The constraints are fixed, but your response determines whether the space feels cramped or purposeful.
You must decide between three layout configurations, each with specific code requirements and spatial trade-offs. What you choose in the next ten minutes shapes every subsequent decision.
Galley and L-Shaped Kitchen Layouts That Maximize 7-Foot Ceilings
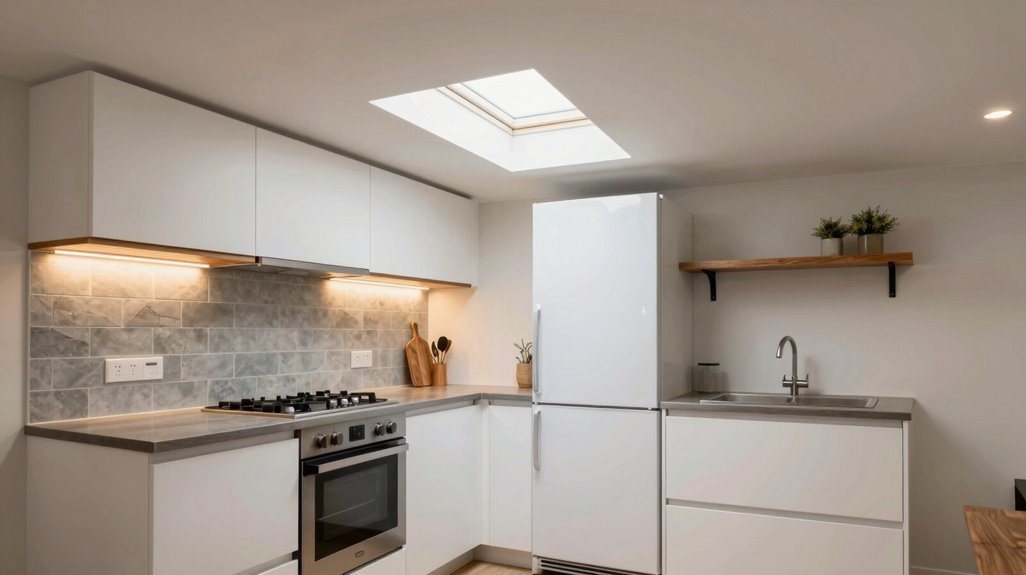
How do you reclaim function when your basement ceiling stops at 84 inches? You start with layout discipline.
1. Choose Your Configuration
| Layout | Best For | Ceiling Strategy |
|---|---|---|
| Galley kitchen | Narrow spaces under 10 feet wide | Parallel runs maximize length, keep workflow linear |
| L-shaped layout | Square or open-plan basements | Secondary leg frees central floor, directs eyes upward |
2. Execute Low-Ceiling Design Tactics
You’ll preserve perceived height through three moves. First, specify shallow 12-inch upper cabinets with glass fronts. Second, apply semi-gloss, light-colored finishes with horizontal grain orientation. Third, integrate reflective backsplashes to bounce available light.
3. Select Appliances for Vertical Economy
Specify 24-inch compact dishwashers, counter-depth refrigeration, and slim-range bases under 36 inches high. Stackable washer-dryer pairs, where needed, occupy 27-inch widths without bulk.
Your basement ceilings become workable territory through systematic spatial planning, not compromise.
Egress Windows and Building Codes to Plan Around First
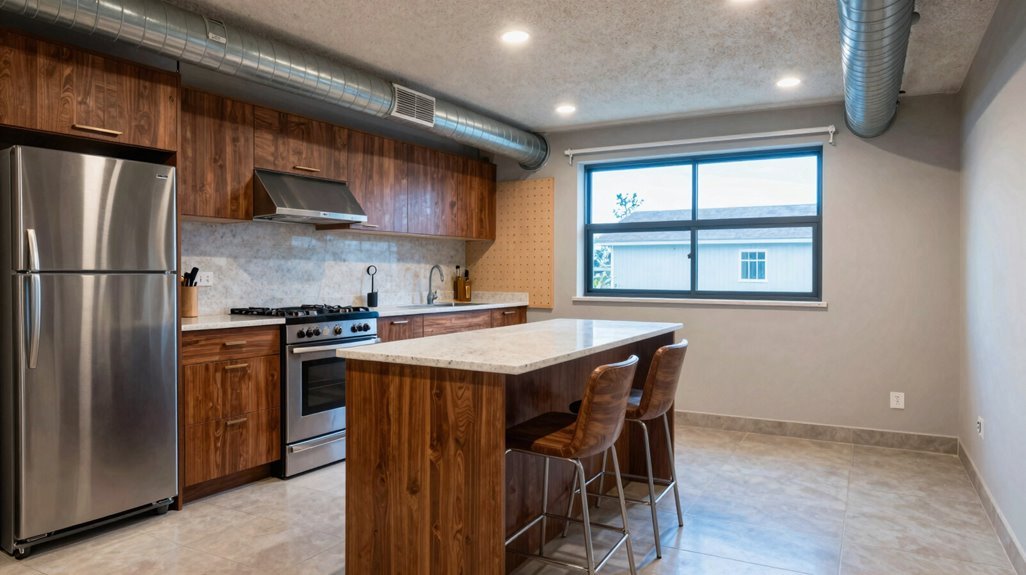
Layout discipline shapes your kitchen’s bones, but legal compliance determines whether you’ll ever cook there. Before you select cabinets or appliances, you’ll master building codes governing your basement kitchen’s legality.
1. Egress Window Requirements
Your egress window must provide 5.7 square feet of opening area, with 24 inches minimum height, positioned no more than 44 inches from the floor. You’ll confirm it operates without keys or tools.
2. Window Wells for Low Ceilings
When headroom restricts vertical space, you’ll install window wells extending below grade. These structures maintain safety standards while maximizing natural light in constrained environments.
3. Local Verification Protocol
You’ll contact local building authorities before construction. Permit requirements vary by jurisdiction, and unauthorized work risks project shutdown.
4. Integration Strategy
You’ll coordinate egress placement with kitchen layout early. Positioning windows before finalizing cabinetry prevents costly redesigns and guarantees compliant, functional spaces.
Ceiling Finishes That Hide Ductwork Without Dropping Lower
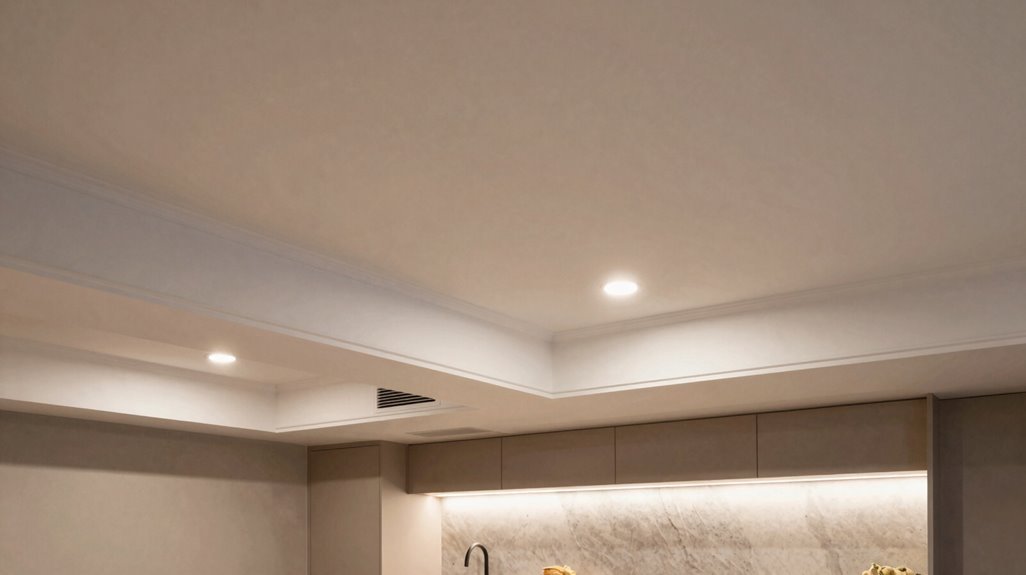
Where will you hide the mechanical systems that threaten to consume your last precious inches of headroom? You have smarter options than surrendering to a drop ceiling.
Coffered ceilings deliver your best ductwork concealment strategy. You build modular wood or composite panels into a grid pattern, boxing ducts within the recessed sections while the raised beams preserve vertical space. This low-ceiling design adds architectural depth without sacrificing height.
For simpler ceiling finishes, mount horizontal drywall directly to joists using 1/4-inch moisture-resistant sheets. You’ll gain 2-3 inches compared to standard 5/8-inch installation. Paint everything in light-reflective semi-gloss. Add crown molding where walls meet ceiling to draw eyes upward. Position mirrors opposite windows to amplify vertical lines.
Your basement kitchen belongs with the rest of your home. These techniques make that happen.
Recessed and Under-Cabinet Lighting for Low Basement Kitchens
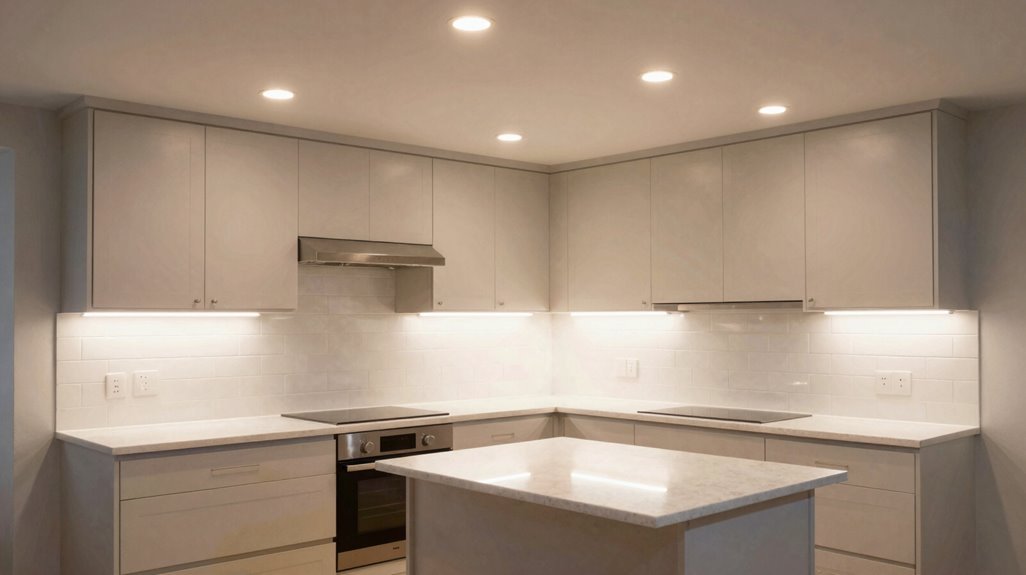
Your lighting strategy determines whether your low basement kitchen feels cramped or capable. You need recessed lighting installed flush with your ceiling, eliminating visual bulk while preserving every inch of vertical clearance for cabinets and décor. You’ll coordinate wiring early around soffits and ductwork, maintaining code-compliant clearances before drywall closes your access.
You add under-cabinet lighting to direct illumination exactly where you prep, keeping overhead zones visually open and eliminating shadowed work surfaces. You select LED tape lighting for slender, low-profile installation that minimizes headroom loss while delivering bright, efficient coverage across countertops.
You balance color temperatures deliberately: 2700–3000K for warmth; 3500–4000K for neutral task clarity. You avoid harsh shadows, you maximize perceived spaciousness, and you create a basement kitchen that functions like any other room in your home.
Shallow Cabinets and Wall Storage That Reclaim Floor Space
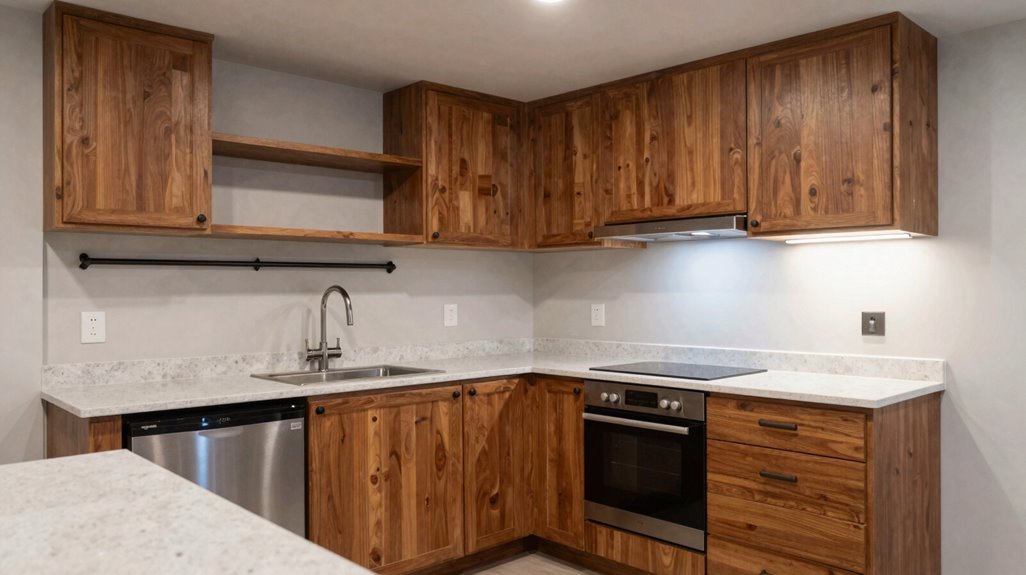
Shallow cabinets turn your low basement kitchen from a cramped corridor into a functional workspace. You reclaim precious floor space by installing 12-inch depth upper and base units, which reduce bulkhead interference while preserving accessible storage. Wall storage solutions, including open shelving and glass-front cabinetry, expand sightlines and prevent visual compression under low ceilings.
Implement these four strategies:
- Specify 12-inch cabinet depths for proportionate headroom
- Mount wall storage at optimal heights to maximize vertical capacity
- Select tall pantry cabinets with pull-out organizers for ceiling-efficient storage
- Apply light enamel finishes to reflect light and amplify perceived space
You’ll optimize every inch without sacrificing function. Your basement kitchen becomes organized, navigable, and complete, proof that practical constraints yield intelligent design.
Moisture-Resistant Materials That Survive Basement Kitchen Conditions
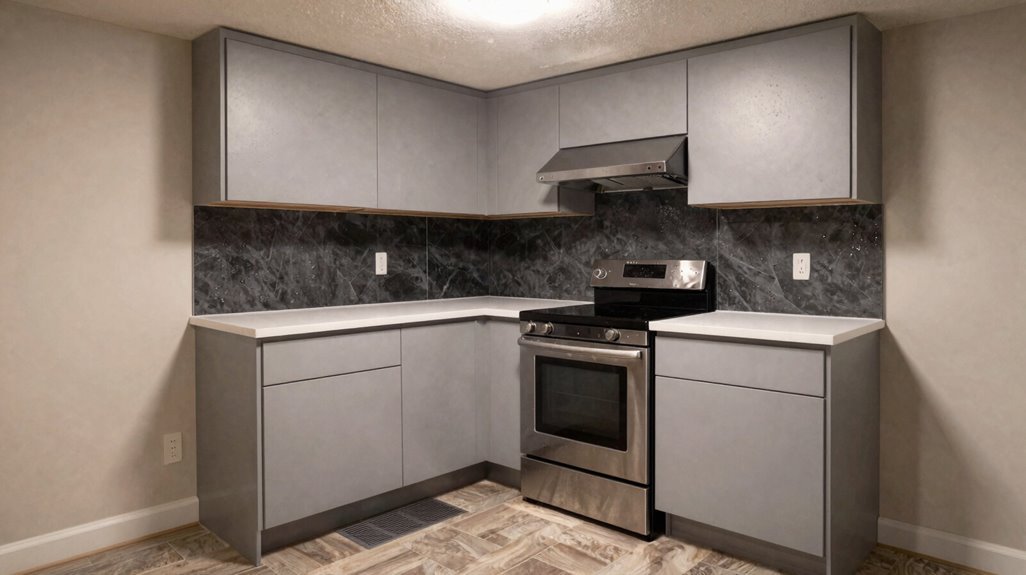
How do you protect a kitchen that’s built below grade, where moisture seeps through concrete walls and humidity lingers in the air? You start with moisture-resistant drywall, choosing green board or cement-board backed products that cut mold risk in half compared to standard sheets. You install waterproof flooring, ceramic tile or luxury vinyl plank with water-resistant cores, because standing water destroys lesser materials within 48 hours. You select moisture-resistant cabinetry with high-quality enamel or epoxy paints, keeping seams sealed against swelling.
You apply humidity-resistant finishes to every surface, from metal ceiling panels to exterior-grade insulation behind vapor barriers. You run a dehumidifier maintaining 30-50% relative humidity year-round. These materials create a kitchen that withstands basement conditions without compromise, giving you a space that functions reliably for decades.





