
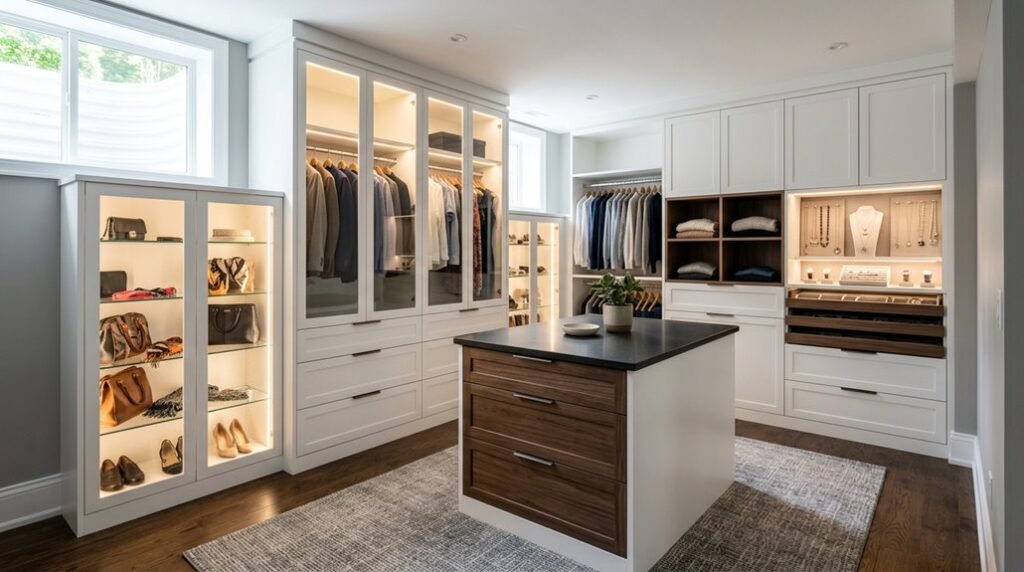
Your basement’s concrete foundation walls create a 12-inch offset that most designers ignore, forcing you to lose nearly 20% of usable depth before planning begins. You need to treat this constraint as your starting point, not an afterthought, because every decision that follows depends on how you handle that gap.
In 2027, the best designs turn this limitation into a two-zone system: shallow built-ins against the foundation for folded items, deeper standard modules for hanging clothes. You’ll see exactly how this works, plus nine other measurable strategies, in the breakdown ahead.
Account for Basement-Specific Constraints First
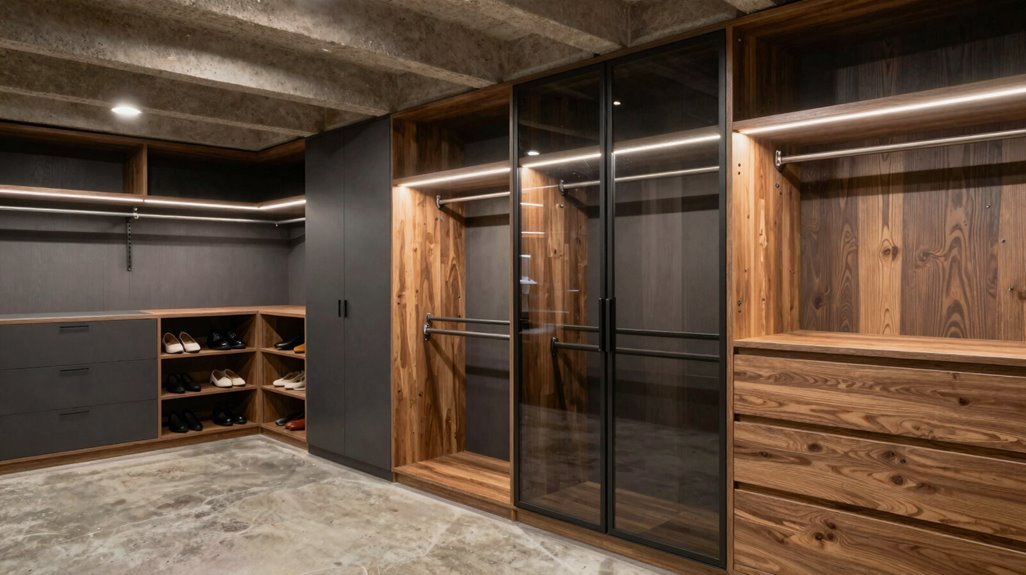
Why do so many basement closets fail? You ignore basement moisture, slope, and dimness, then wonder why your system collapses. You’re smarter than that.
Map your ceiling first. Sloped areas get benches or low-profile storage; flat zones get hanging rods at 68 inches minimum.
Maximize vertical storage. Stack 12–18 inches below ceiling margins with vented, moisture-resistant bins. You’re gaining 20–30 square feet without expanding footprint.
Lock in your lighting plan. Wire integrated LEDs and outlets near seating or vanity zones before drywall closes. You’re eliminating shadow pockets where you’ll hunt for shoes.
Protect materials. Specify sealed drawer boxes, vented shelving, and rust-resistant hardware. You’re building for 55–85% humidity swings.
Your basement closet belongs with the rest of your home. Build it right, and you’re in.
Inventory Everything Before You Design the Layout
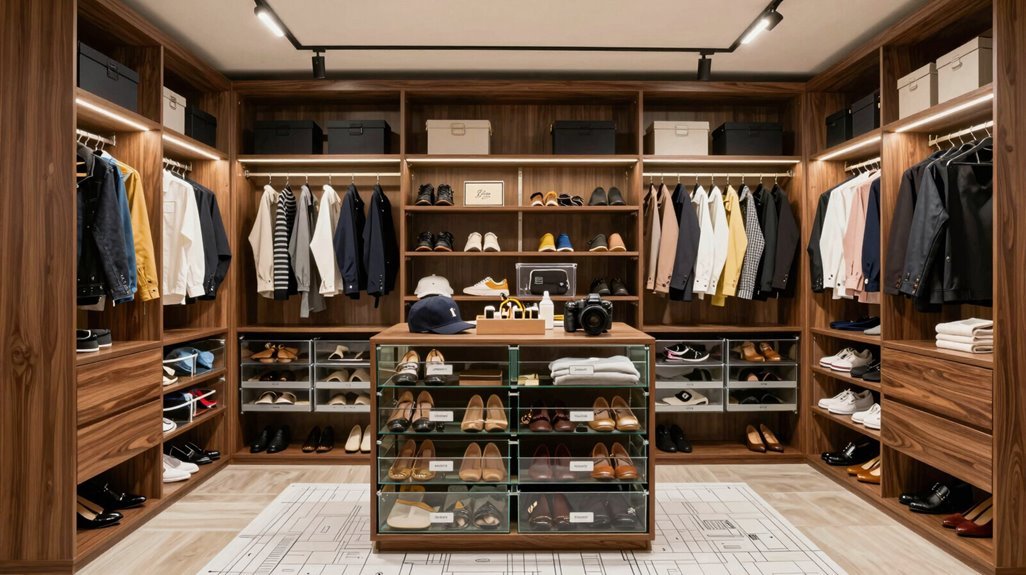
You’ve locked in your moisture barriers, lighting runs, and material specs. Now, build your inventory. List every garment, accessory, and storage container, including items you’ll relocate from upstairs closets or seasonal storage. This inventory drives your closet organization and prevents costly space planning errors.
Document each wardrobe category: 15 hanging items, 8 folded sweaters, 22 pairs of shoes, 6 belts, 4 handbags. Note accessibility requirements; daily-use items demand eye-level placement, while occasion pieces tolerate higher or lower zones. Review your past closet failures: which configurations frustrated you? Which items stayed buried?
Your inventory determines zone allocation. Assign hanging rods for dresses, shelves for denim, drawers for undergarments. Reserve dedicated space for relocated items. Cross-check quantities against your inventory before finalizing any layout dimension.
Measure Your Actual Storage Needs (Not Just the Room)
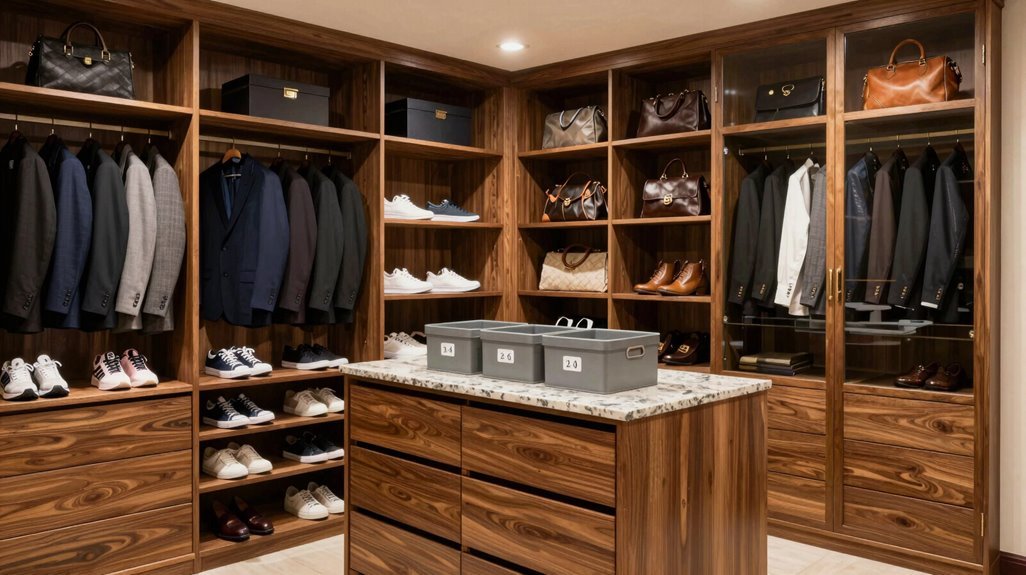
You’ll inventory every single item first, then you’ll measure each garment’s actual dimensions; shirts need 36 inches of hanging width, while your longest dress demands 52 inches of vertical clearance, to create storage zones that match your physical collection rather than your room’s empty footprint. You’ll track shoe lengths to determine shelf depths, and you’ll repeat this process for every person sharing the closet to avoid underserving any user’s requirements.
You’ll compare these compiled measurements against your available wall space, positioning daily-use items between shoulder and waist height while relegating seasonal pieces to upper shelves or labeled bins.
Inventory Everything First
Map out every single possession before sketching a single shelf, because guessing storage requirements leads to cramped, dysfunctional layouts that waste your time and money. You’re building a foundation for closet organization that actually works, so grab paper and document every garment, accessory, and shoe you own. This inventory reveals exactly what your space planning must accommodate, eliminating costly mistakes before construction starts.
Record every hanging piece, folded stack, and footwear pair with approximate quantities. Measure horizontal rod requirements per category, such as 36 inches for shirts, 42 inches for jackets. Note vertical clearance needs, including 52-inch minimum for maxi dresses or coats. Identify non-clothing items like luggage, books, and personal effects needing dedicated zones. Compare your complete inventory against proposed layout dimensions, adjusting until every item has assigned, accessible storage.
Measure Clothing Dimensions
Why guess at rod lengths when your actual wardrobe tells the exact story? You need precise closet dimensions, and that starts with your clothes, not your walls.
Measure hanging shirts horizontally. Allocate 36 inches of rod space per 10 garments.
Record your longest item height. A maxi dress at 52 inches sets your vertical clearance requirement.
Determine shoe storage depth. Take your longest shoe length, add 1–2 inches, yielding roughly 11–12 inches for most adult shoes.
For shared spaces, repeat item-by-item measurements per person. This creates a per-user storage plan, preventing zone overpacking.
Complete your inventory planning by writing dimensions alongside preferred storage zones; hanging, shelf, or drawer. This data directly guides your final layout, removing wasted space and mismatched expectations.
Assess Daily Habits
How often do you reach for folded sweaters versus hanging blouses during a typical Tuesday? Honest answers reshape your closet organization, turning generic space planning into systems that serve your real daily routines.
Track every outfit for two full weeks, noting hang-versus-fold preferences, peak wardrobe days, and seasonal shifts. Measure each garment category: shirts demand roughly 36 inches of rod, while dresses require 52 inches vertically. Inventory shoes by dimensions, allowing 12 inches of shelf depth minimum for baskets and stacked items.
Map your morning prep, workwear, workout gear, and evening wear to distinct zones, placing frequently accessed pieces at mid-height. After one month, adjust drawer counts, shelf heights, and hanging ratios based on documented bottlenecks and retrieval time.
- Log two weeks of outfits to expose true hang-versus-fold ratios
- Assign 36 inches of rod per shirt category, 52 inches for dresses
- Reserve 12-inch shelf depth for footwear and folded storage
- Position daily staples at eye level; place occasional items above or below
- Revise your living plan after 30 days of documented usage patterns
Choose a Layout That Works With Low Ceilings and Foundation Walls
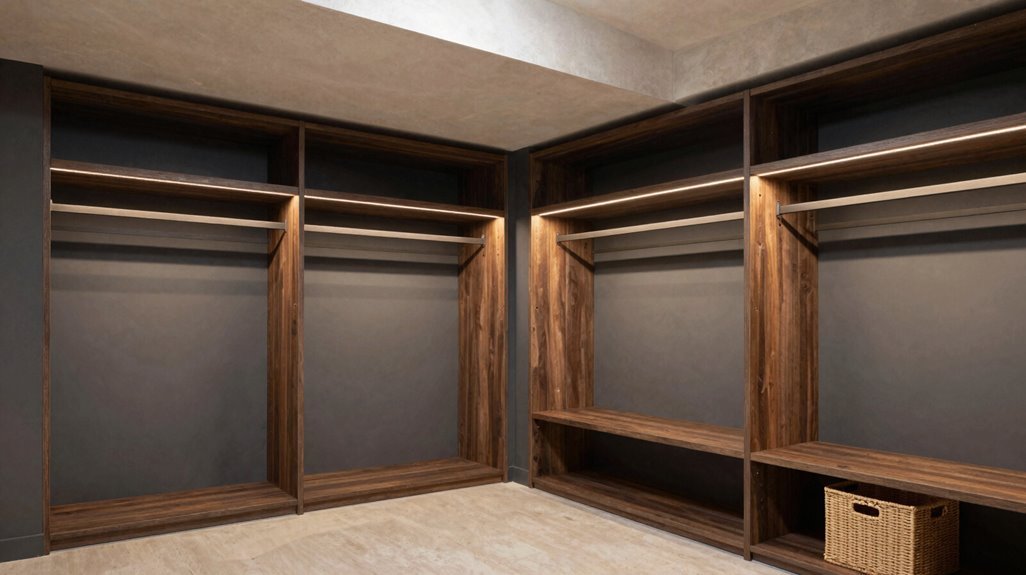
When you’re mapping out your basement walk-in closet, confront the ceiling height and foundation walls head-on by selecting a layout that treats these constraints as functional parameters rather than obstacles. Prioritize vertical efficiency through 12-inch shallow shelving, low-profile hanging rods, and ceiling-height cabinetry on at least one wall, leaving a slim maintenance gap above.
Integrate sloped-ceiling adaptations, mid-height focal features, and corner solutions for foundation nooks to eliminate dead zones and establish proportional balance throughout the space.
Layout Selection Strategies
Where do you start when your basement ceiling barely clears 7 feet and concrete walls bulge inward? You embrace your basement layout constraints as design opportunities, not obstacles.
Align storage along foundation walls to exploit outward-leaning surfaces for built-ins while maintaining 36–42 inch central walkway clearance. Install 12–18 inch deep adjustable shelving systems with uprights to accommodate varying item heights without sacrificing headroom.
Prioritize vertical storage using shallow, rolling drawers and short hanging rods to maximize usable height without spatial crowding. Position low-profile benches along longer walls to preserve sightlines and prevent cramped feeling in limited-ceiling spaces.
Implement a two-zone closet configuration, placing hanging space near foundation walls and drawer-based storage toward the interior. This reduces crowding and improves accessibility in tight basement conditions.
Vertical Space Optimization
What constraints does your basement ceiling actually impose on storage height, and how do you reclaim every inch without triggering spatial compression? You maximize vertical space by pushing high storage cabinets flush to the ceiling, then layering slim, cantilevered shelving above for seasonal items. You also exploit foundation walls with floor-to-near-ceiling built-in wardrobes, reserving bottom zones for shoes and baskets.
Install adjustable shelving at 12–14 inch depths to maintain compact, accessible rows that don’t dominate room height. Where clearance permits, mount ceiling-height rod systems for long garments while preserving floor movement space. Finally, deploy mirrors, integrated lighting, and a narrow central aisle to visually expand without sacrificing full vertical access.
Build Your Design Around One Standout Feature
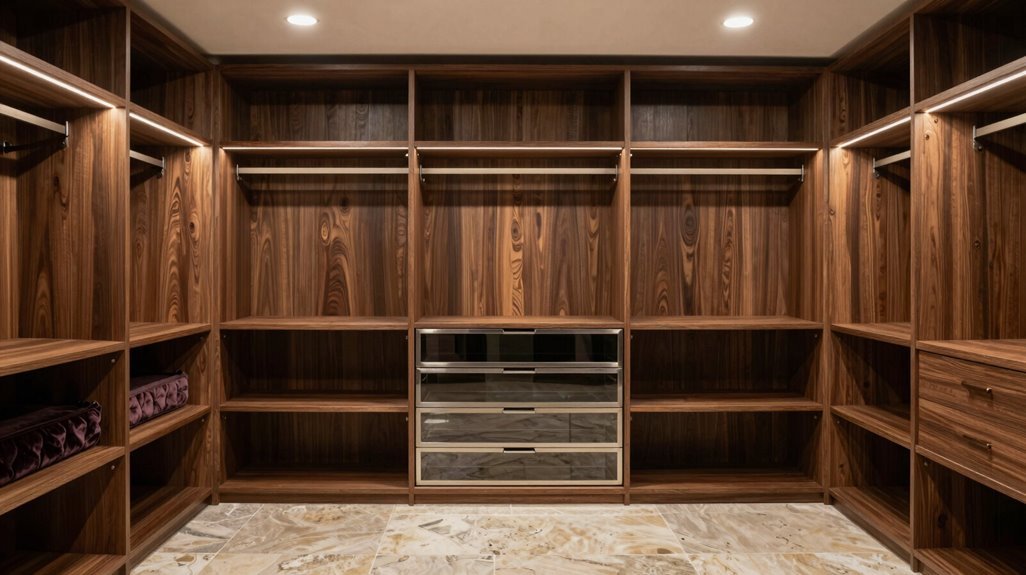
Why settle for a cluttered basement closet when you can center the entire layout around one commanding centerpiece? You create cohesion by placing your standout feature directly opposite the entrance, establishing immediate visual hierarchy.
Position a built-in dresser or mirrored wardrobe as your main attraction to define the storage layout. Extend hanging rods 24-30 inches from one side, open cubbies 12-15 inches deep from the other. Integrate under-cabinet LEDs or strip lighting at 2700-3000K to highlight wood grain texture. Specify full-extension drawer glides rated for 100-pound capacity.
Maintain 36-inch minimum clearance zones around the feature for accessibility. Your lighting integration provides visibility in subgrade conditions. Every adjacent zone cues from this anchor, delivering balanced proportions and predictable circulation paths throughout your walk-in.
Choose Drawers Over Hanging Rods in Tight Basement Spaces
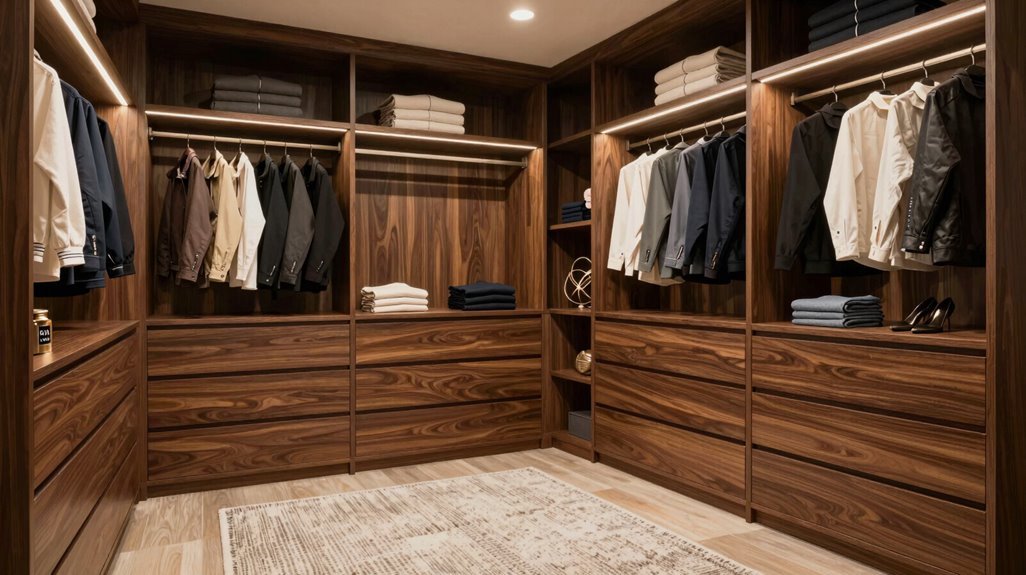
How do you reclaim every square inch when your basement ceiling caps at 7 feet and bulkheads steal another 12 inches? You prioritize drawers over hanging rods, turning vertical compression into horizontal opportunity.
Drawers deliver better storage efficiency in your basement closet by maximizing usable surface area while eliminating wrinkling from compressed garments. You allocate 60–70% of low-to-mid-height space to drawer systems, reserving minimal rod length for essential longer items only.
| Drawer Type | Depth | Best For |
|---|---|---|
| Shallow top | 12 in | Socks, underwear, ties |
| Deep lower | 18 in | Sweaters, pants, bulk items |
| Pull-out | 15 in | Shoes, accessories, visibility |
You install dividers within each drawer, mirroring dresser functionality inside your walk-in configuration. This measured approach turns height limitations into organized, accessible storage without compromise.
Use High Shelves for Off-Season Gear and Luggage
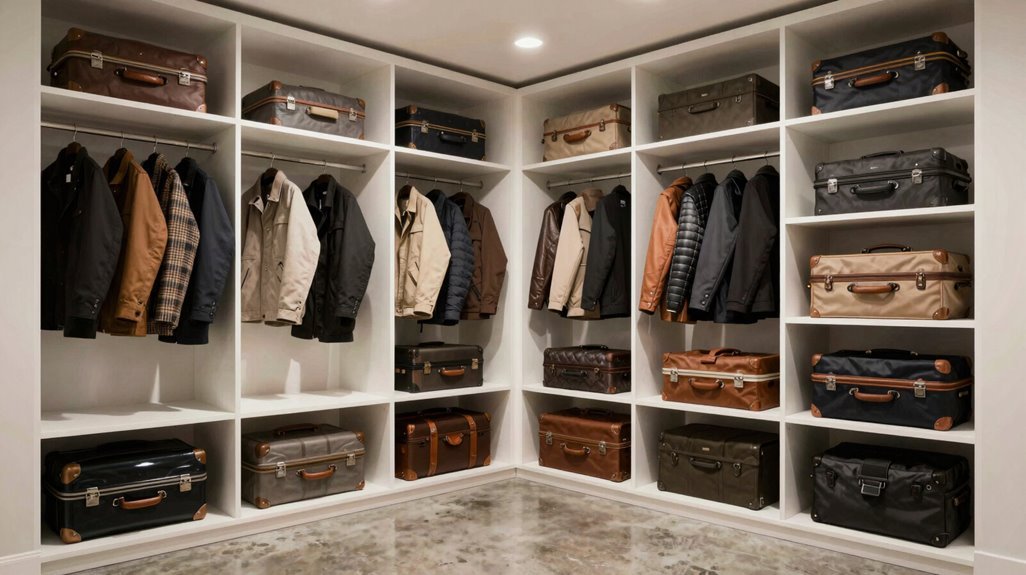
You will reclaim 20–30% of usable floor area by mounting shelves 12–18 inches below the ceiling, a placement that relocates bulky luggage and off-season gear overhead while reserving eye-level zones for daily essentials. Position these high shelves along back walls or above door frames, making certain you maintain a 24-inch minimum clearance path from the entrance so stepping stools remain maneuverable.
You should install adjustable brackets, since suitcase depths vary from 8 to 12 inches for carry-ons and 14 to 16 inches for checked bags, allowing reconfiguration as your storage needs shift seasonally.
Vertical Space Maximization
Where else can you store bulky ski jackets and that oversized suitcase when your basement closet feels impossibly cramped? You’re leaving money on the table if you’re not maximizing vertical space through strategic shelving solutions.
Install high shelves 12–18 inches below ceiling level, you’ll reclaim 20–30 cubic feet of storage optimization potential without sacrificing floor area. Dedicate one wall to a full-height adjustable shelving tower, it’ll turn dead air into functional capacity.
You’ll need:
- Angled shallow shelves for sloped ceiling zones
- A sturdy ladder stored within arm’s reach
- Lower zones reserved for daily-access items
- Upper racks designated solely for seasonal gear
- Adjustable brackets accommodating 12-, 14-, or 16-inch depth variations
Measure your ceiling height, then execute. Your basement closet becomes a compartmentalized asset.
Storage Placement Strategy
Why waste prime real estate on items you’ll touch twice yearly? Smart basement closet design places your storage organization at ceiling-level efficiency, putting seasonal gear exactly where it belongs: out of daily sight but within strategic reach.
- Install high shelves 12–18 inches from your ceiling, specifically reserving this upper tier for suitcases, holiday containers, and off-season equipment that demands minimal rotation.
- Mount a sturdy ladder or integrated step-stool in this zone, so you can safely access items without compromising your workflow below.
- Use clear bins with explicit labeling on these elevated platforms, turning hard-to-reach areas into visually navigable inventory systems.
- Designate mid-level shelving for frequently accessed travel items, creating a secondary, clearly marked station that reduces retrieval time without cluttering your prime storage territory.
Maximize Awkward Corners With Rotating Shelves
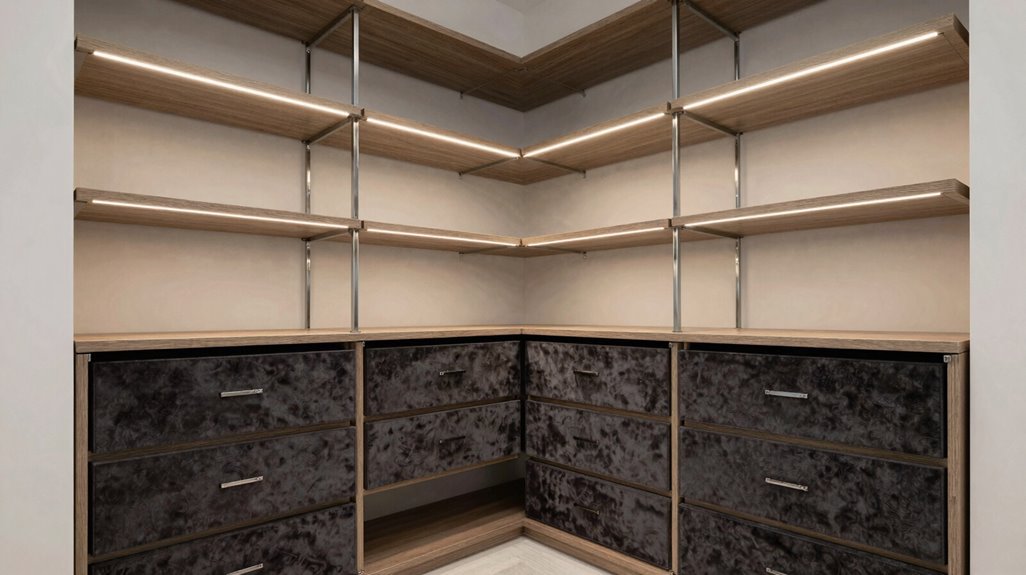
How often do you waste time digging through dark, cramped corners to find a single shoe or scarf? Install rotating shelves at 90-degree junctions, converting dead zones into strategic corner storage. These pivoting tiers bring items to you, eliminating deep reaches.
You control your basement closet efficiency through five specifications:
- Mount lazy Susan units at 90-degree angles for complete spatial conversion
- Select 12–18 inch shelf depths to contain shoes, accessories, and folded garments
- Install pull-out or swing-out mechanisms that preserve floor clearance
- Add adjustable shelving above rotating bases for height-variable inventory
- Integrate LED strips and high-contrast finishes to combat subterranean dimness
You pair these rotating shelves with vertical adjustability, helping your awkward corners serve your storage rhythm, not hinder it.
Add a Slim Bench or Compact Island If Space Allows
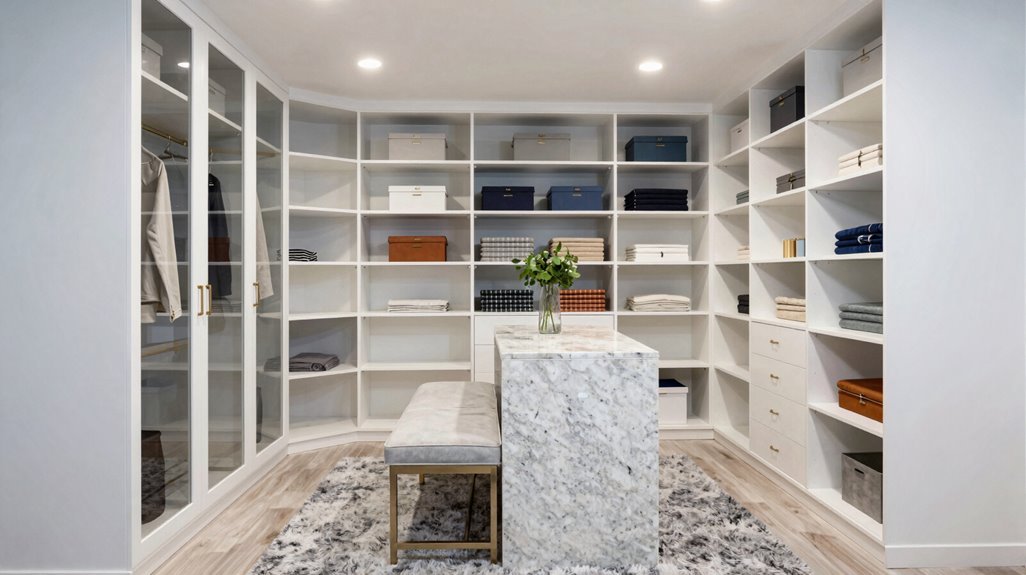
What happens when you’re half-dressed and realize your shoes are across the room, or you need a flat surface to sort tomorrow’s outfit? You solve it with a slim bench or compact island, if your basement closet allows.
Measure your walkway first. Tuck a 4–6 foot slim bench along the right wall, maintaining full passage.
Start with your walkway, then slide in a 4–6 foot slim bench—seating that keeps every inch of passage clear.
Select benches with integrated drawers or cubbies, converting seating into hidden storage for accessories, socks, small garments.
For central placement, choose a compact island 12–18 inches wide, preserving 36 inches of walking clearance on all sides.
Outfit your island with dividing drawers, shoe cubbies beneath, and a dedicated drawer for lint-free accessories or laundry essentials.
Specify modular, pull-out components, so you reconfigure when storage needs or layout demands shift.
Prioritize space efficiency at every decision point.
Layer Lighting to Visually Expand Your Basement Closet
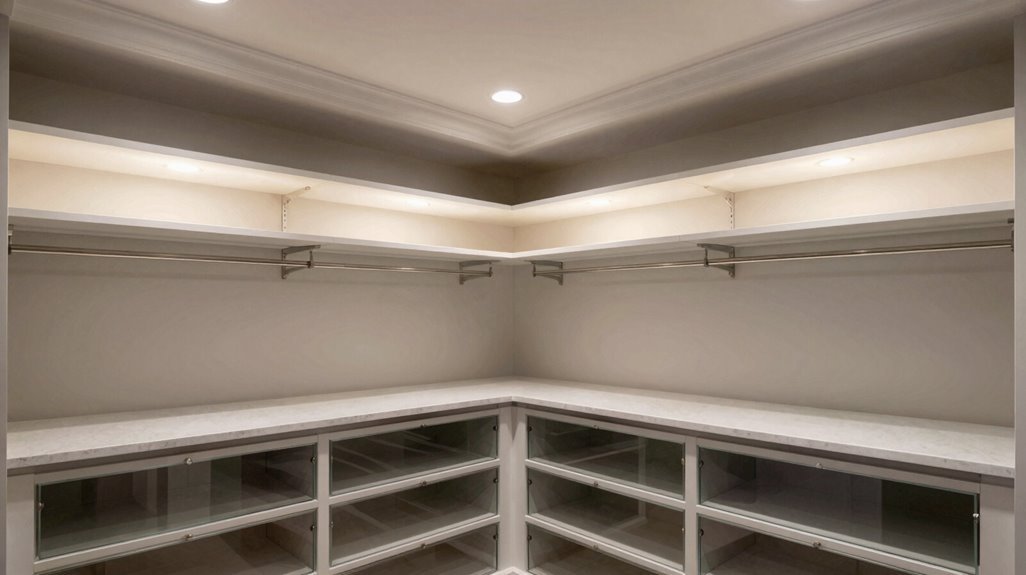
Once you’ve locked in your bench or island layout, you’ll need to see what you’re doing. Strategic lighting changes your basement closet from a dim, congested box into an organized, efficient workspace. Layered illumination eliminates shadows, reduces eye strain, and creates spatial depth where natural light cannot reach.
- Install 3000–4000K integrated LED strips along shelves and inside cubbies for consistent, shadow-free visibility
- Combine overhead ambient fixtures with targeted task lighting at dressers or vanities for balanced, glare-free coverage
- Position mirrors opposite light sources, or apply reflective panel backing, to amplify and distribute light effectively
- Select dimmable, color-changing systems to adapt brightness levels for routine dressing versus detailed outfit evaluation
- Incorporate under-cabinet or toe-kick lighting near shoe storage to highlight details and enable safe navigation without ceiling illumination





