
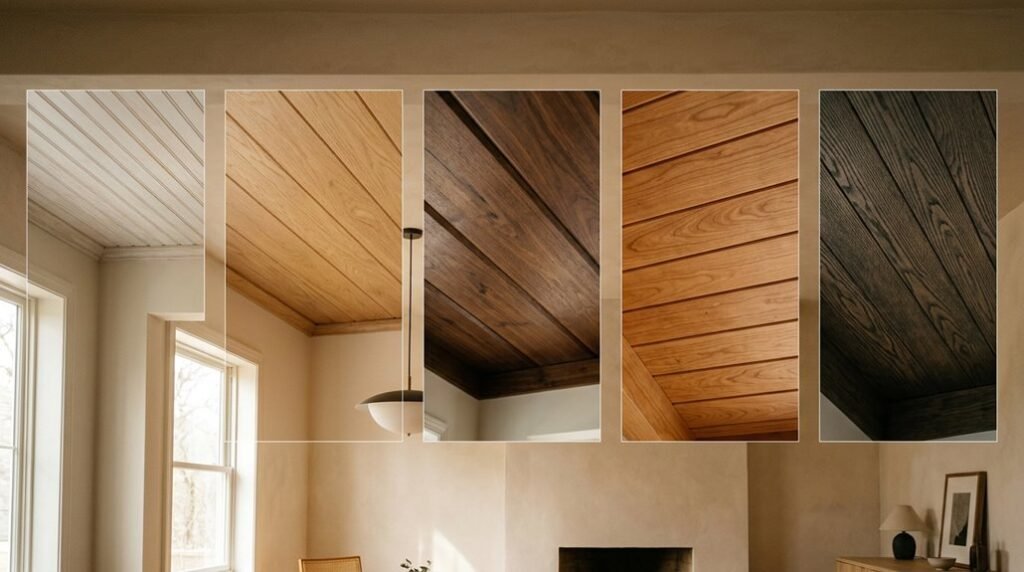
You need ceiling solutions that deliver architectural impact without draining your budget, and you’ll find them in unconventional materials: reclaimed fence pickets, basic plywood, and dimensional cedar.
Each option costs under $350 for a 12-by-14-foot room, installs directly over drywall, and mimics high-end custom millwork.
The methods depend on specific layout strategies, hidden fasteners, and lighting integration, but one project reached completion at $322, and you’re about to see exactly how.
How Cheap Wood Ceilings From Fence Pickets and Plywood Look $500-Expensive
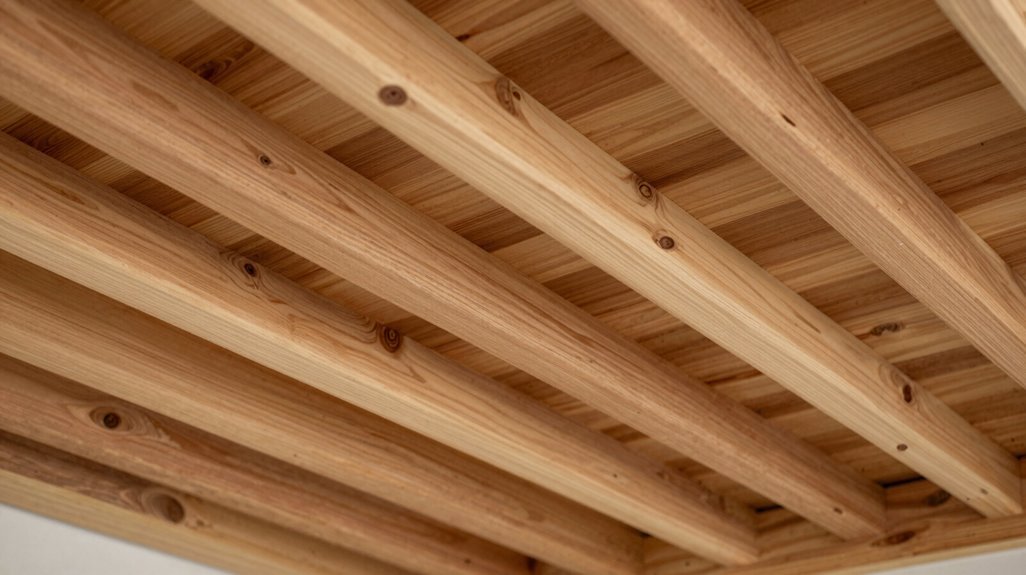
Why spend thousands on architectural-grade wood ceilings when you can achieve comparable visual impact for under $350 using reclaimed fence pickets and basic plywood? You can give any room a new look with this DIY project, installing cedar fence pickets directly over drywall for a wood ceiling that rivals professional installations. The reclaimed look emerges naturally; no staining, no sealing required. You simply attach planks with a nail gun, or use staples and thumbtacks as temporary fasteners.
Roofing paper beneath creates a black ceiling effect, concealing gaps and knots while adding depth. Your total investment stays around $322, delivering warmth and texture without hardwood expense. This budget ceiling solution proves you belong among savvy homeowners who prioritize smart, resourceful design choices.
Ceiling Layouts That Make Budget Planks Look Architect-Designed
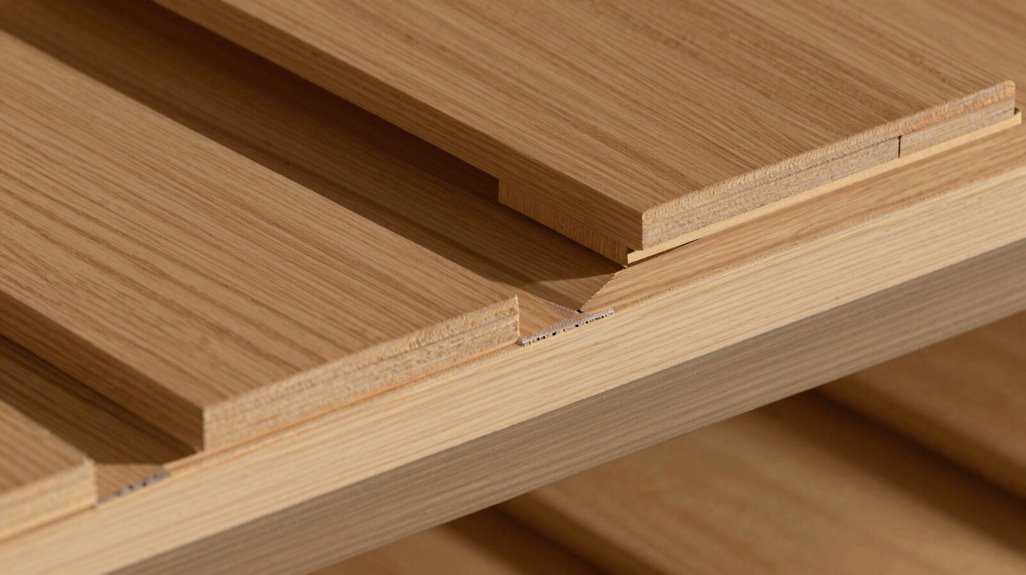
How do you turn $2-per-board lumber into ceiling panels that appear professionally specified? You start with strategic plank layouts that command attention.
- Choose Your Pattern
- Straight-lay full plank coverage with reclaimed wood or budget pine creates clean, expansive planes
- Mixed-width boards, diagonal runs, or herringbone arrangements introduce calculated visual rhythm
- Build Structural Depth
- Install firring strips at 16-inch intervals across joists
- Layer black roofing paper as underlayer contrast; this simulates shadow gaps, masks knots, and raises perceived material quality
- Execute Precision Details
- Drive nails at 45-degree angles through tongue edges, concealing fasteners
- Vary nail angles slightly at pattern transitions to mimic custom millwork joints
- Complete the Composition
- Pair your ceiling with lighter walls and cohesive lighting; this contrast amplifies dimensional presence without costly finishes
Your space reads as curated, not cobbled together.
Installation Shortcuts That Save Money Without Sacrificing Quality
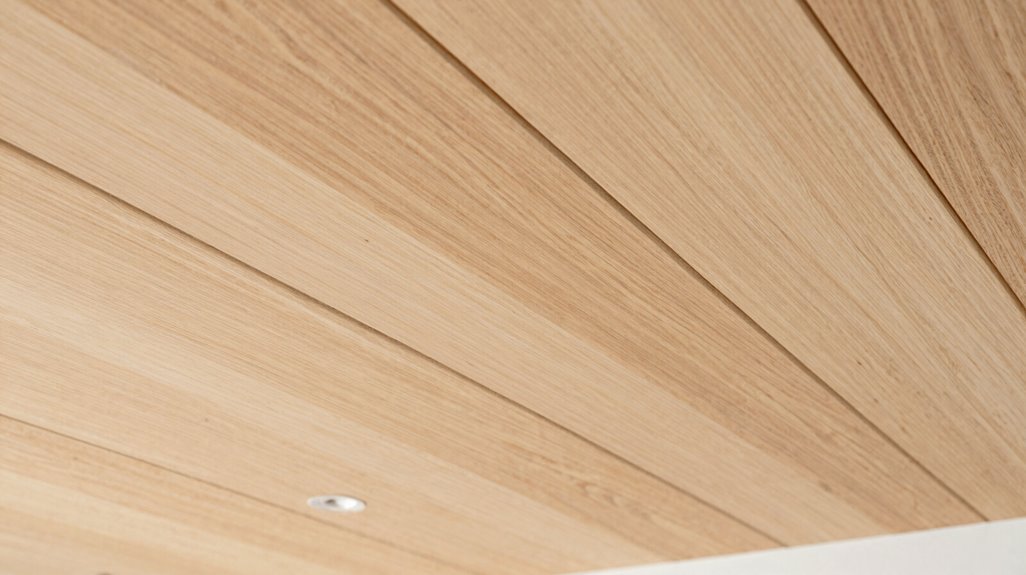
Once you’ve locked in your layout strategy, the real savings emerge from how you source materials and execute the build. You achieve a reclaimed wood look without the premium price by selecting cost-saving materials like ripped plywood or cast-off cedar fence pickets paired with black roofing paper underlayment; complete setups run approximately $322. These budget-friendly alternatives deliver authentic texture at a fraction of solid wood costs.
Your installation shortcuts begin with furring strips, which create a stiff, level surface faster than complex framing. Pre-finished plywood or veneer panels slash material expenses while preserving visual impact. Secure planks with nails or staples driven at alternating angles directly over existing drywall, eliminating stud-by-stud anchoring and accelerating completion.
Skip finishing entirely when possible, letting natural grain provide character without added labor or product costs.
Stain, Lighting, and Beam Details That Sell the Luxury Look

Where exactly does a budget ceiling become a statement piece? You nail it with stain-free wood, strategic lighting, and beam details that read expensive without the invoice.
You layer black roofing paper beneath light boards for instant contrast. You install reclaimed wood over firring strips with zero finishing costs. You pair natural ceilings with white walls to amplify sophistication. You add mixed-width planks for visual rhythm that mimics custom millwork.
| Technique | Material | Cost Factor |
|---|---|---|
| Shadow contrast | Black paper under stain-free wood | $0.15/sq ft |
| Faux beam grid | Reclaimed wood + LED strips | $2-4/linear ft |
| Width variation | 4″, 6″, 8″ mixed boards | Adds 10% labor, 40% perceived value |
You integrate recessed lighting between beams. You wrap existing joists with rough-sawn reclaimed wood for instant architectural presence. You skip stains entirely. You let grain, shadow, and placement do the expensive work for you.
Before and After: Real $322 Ceilings and What They Teach
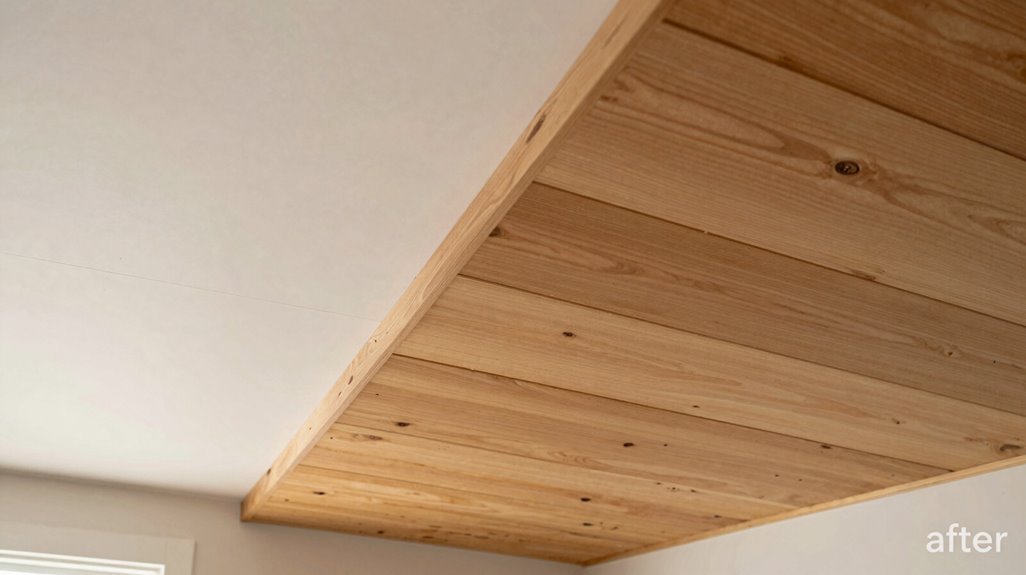
Why does a $322 ceiling outperform $3,000 alternatives? You achieve this through strategic material selection and simplified execution.
Your Reclaimed Wood Ceiling Breakdown
| Component | Specification | Cost |
|---|---|---|
| Cedar fence pickets | Cast-off, untreated | ~$200 |
| Roofing paper | Black underlayment | ~$50 |
| Fasteners | Staples/nails | ~$72 |
| Total | $322 |
Your DIY Ceiling Installation Steps
- Remove existing fixtures
- Attach black roofing paper underlayment
- Staple or nail bare boards directly overhead
- Reinstall fixtures as needed
You skip sanding, staining, and sealing entirely. The before and after changes white concrete surfaces into enclosed, warm space. Your rustic barnwood look emerges naturally from raw, untreated material.
This budget ceiling upgrade delivers measurable impact: enhanced enclosure, improved acoustics, visual warmth. You replicate this system in kitchens, dining areas, or any room requiring atmospheric correction.





