
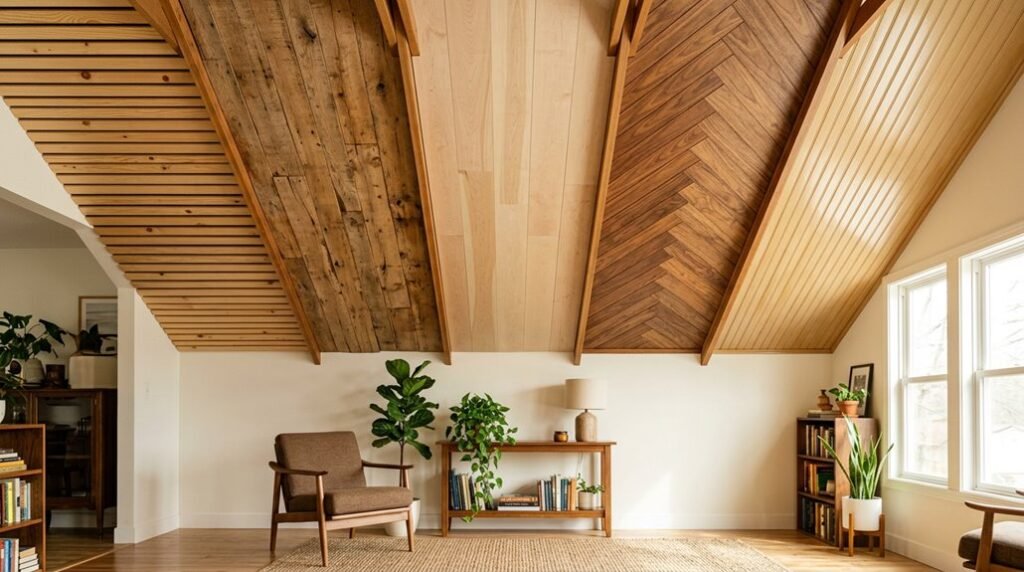
You can transform a 12-by-12-foot ceiling for under $500, but material selection determines whether your installation takes six hours or six days. Most homeowners underestimate the hidden costs of fasteners, adhesives, and surface preparation, which often push projects over budget.
The five methods below eliminate common pitfalls through precise material specifications, calculated labor sequences, and compatibility matrices for existing ceiling conditions.
Fence Picket Ceilings: The $300 Barnwood Look for Less
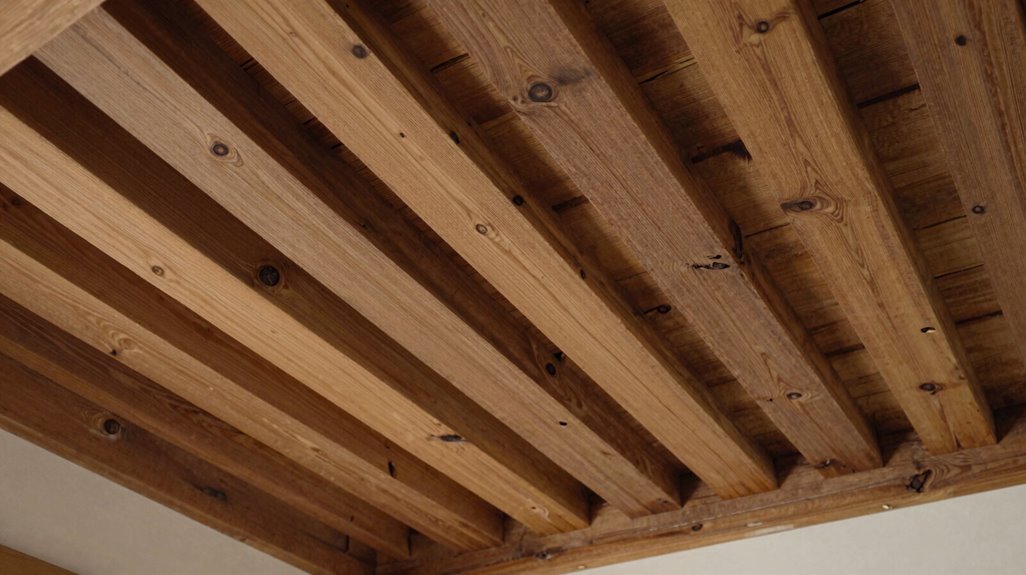
Why pay premium prices for reclaimed barnwood when you can replicate the aesthetic for roughly $300 using cedar fence pickets? You achieve this wood ceiling transformation through systematic material substitution and strategic underlayment.
Skip the reclaimed barnwood markup—achieve the same rustic ceiling for around $300 with smart material swaps.
Materials Required:
- Cedar fence pickets (6-foot length, 5/8-inch thickness), quantity varies by ceiling square footage
- Roofing paper (15-pound felt), one roll covers approximately 400 square feet
- Pneumatic stapler or finish nailer with 1.5-inch fasteners
Installation Protocol:
- Attach roofing paper to existing ceiling substrate using staples at 12-inch intervals
- Secure pickets perpendicular to ceiling joists, maintaining 1/8-inch expansion gaps
- Drive fasteners through picket tongues to conceal hardware
- Leave wood unfinished for natural weathering
The black roofing paper eliminates visibility through knot holes and plank separations. Your ceiling achieves dimensional depth without staining, sanding, or surface preparation.
Total material expenditure: $250-$320 for 200 square feet.
Plywood Plank and Beam Ceilings Under $500
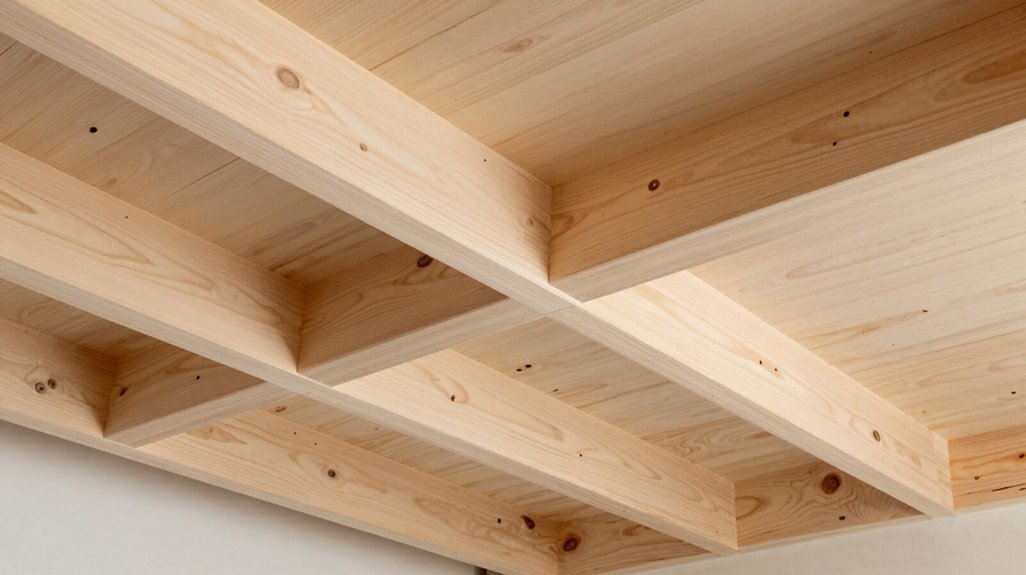
Fence pickets deliver rustic texture, but you’re after structural presence with cleaner geometry. Plywood plank and beam ceilings give you that architectural backbone without breaking your budget.
Rip 1/4-inch plywood sheets into 5.5-inch wood planks. Cut beams to length with your miter saw, butt-joining ends and using spacer pieces underneath to maintain alignment. Secure everything with brad nails or screws.
Apply liquid nails to plank backs, then fasten with 1.5-inch brad nails along beam lengths. Install directly over existing drywall, cutting around vents and lights as needed.
Paint the spaces between planks dark for depth, or stain the beams while leaving wood planks bare for raw contrast. Using inexpensive plywood and off-the-shelf lumber keeps your total around $300-$500, depending on room dimensions.
Easier Install: When Tongue-and-Groove Beats DIY Planks
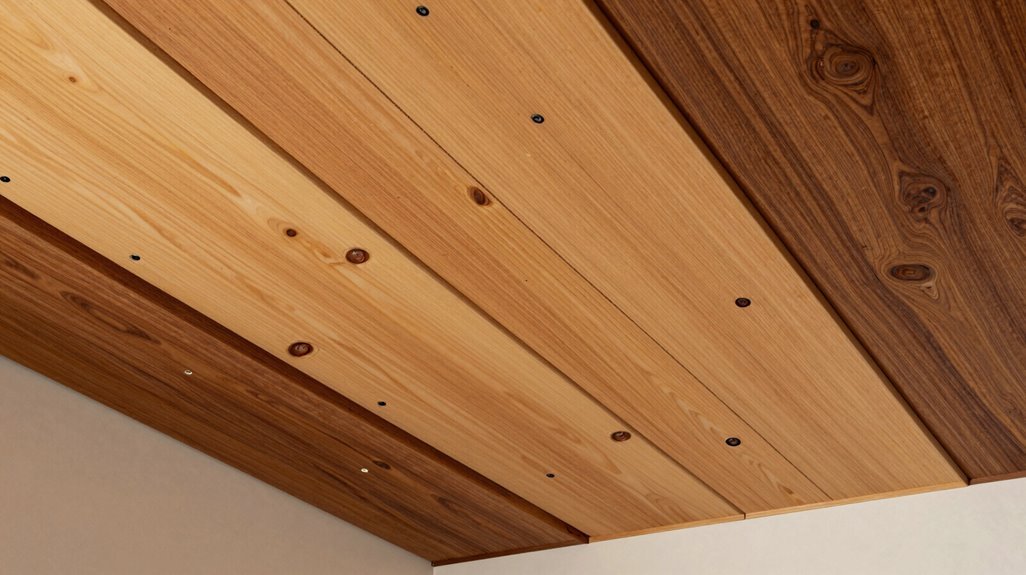
When you’re staring at warped plywood planks that won’t line up, tongue-and-groove systems offer a mechanical solution that eliminates the guesswork. You snap each panel into its neighbor, creating continuous surfaces without visible gaps that plague individual boards. This interlocking design conceals minor miscuts, forgiving measurement errors that would ruin standard DIY wood installations.
Select tongue-and-groove planks with pre-drilled fastener holes and compatible clip systems to minimize measuring challenges. Cedar and engineered wood options keep costs under $500 for rooms measuring 10 by 12 feet or smaller.
You’ll complete installation in 4-6 hours versus 10-12 hours for conventional planks. The mechanical joints speed up your workflow, turning ceiling projects from frustrating puzzles into systematic assemblies you can confidently finish alone.
Can You Skip Ceiling Prep? What Cheap Wood Needs Beneath
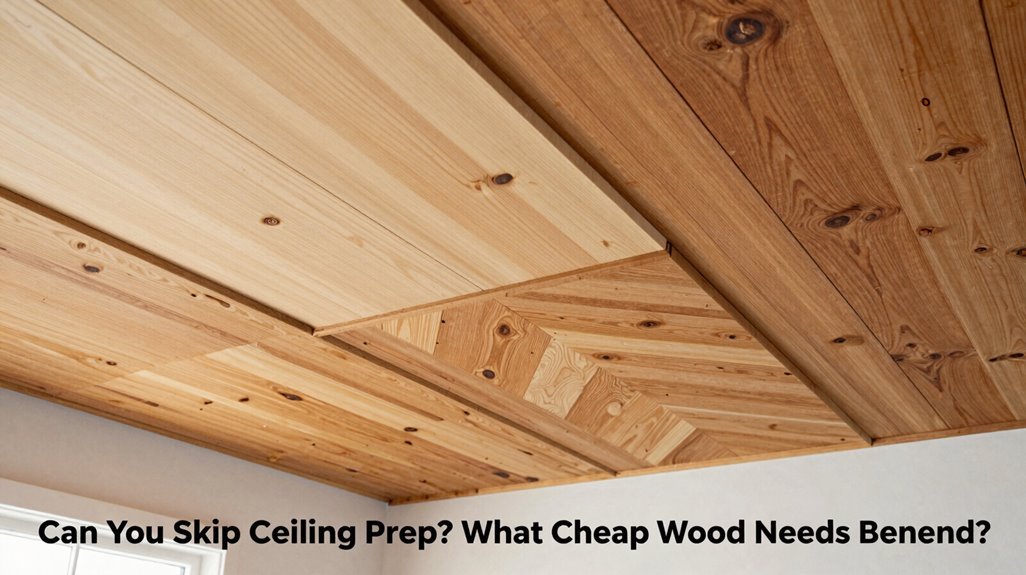
How much prep work does a budget wood ceiling actually demand? You’ll keep your existing drywall right where it is, attaching planks directly with nails or adhesive. No demolition, no mess.
Underlayment changes your installation. Roofing paper or black-painted backing creates a cohesive dark backdrop beneath light wood, making your ceiling read as one continuous surface. You won’t hunt studs; underlayment supports the entire plank system using alternating-angle nails and a staple gun.
Skip sanding, staining, sealing. Bare cedar planks deliver raw, natural wood ceilings without added steps.
Cut access openings now. Use an oscillating tool and hole saw for vents, fixtures, utilities. Minimal prep demands maximum foresight.
Your materials: underlayment, fasteners, planks. Your timeline: one weekend. Your result: professional wood ceilings without professional overhead.
Why Unfinished Wood Ceilings Look Better (and Cost Nothing Extra)
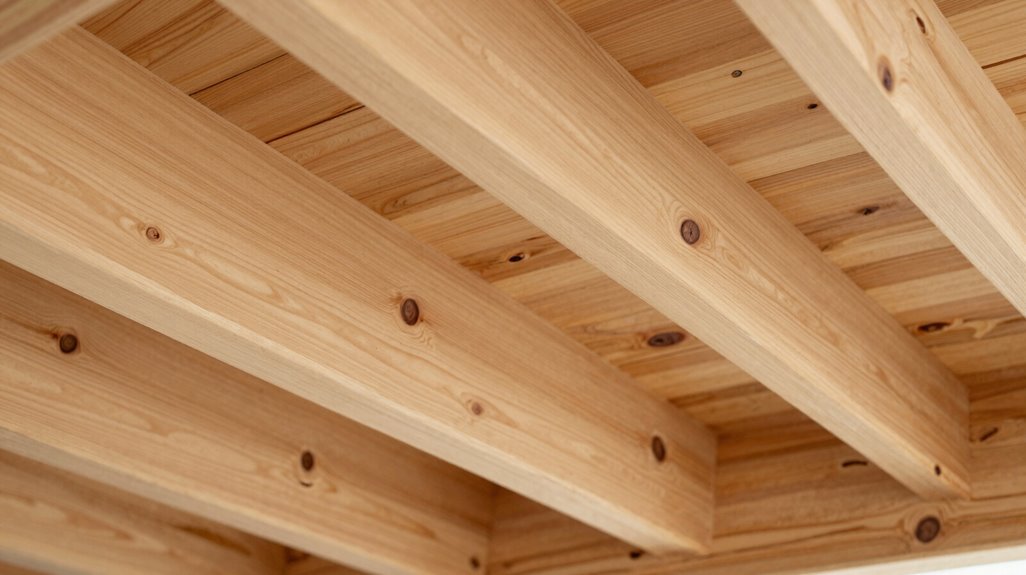
Why spend extra on finishes when raw wood delivers superior results? You achieve immediate cost savings by choosing unfinished wood, eliminating stains, sealants, and labor-intensive prep work. You install bare planks directly over drywall using simple fasteners, bypassing sanding, coating, and drying time.
Your ceiling displays natural knots and grain patterns, creating warmth and texture no manufactured finish replicates. You enhance visual depth by contrasting the raw wood against white walls and black underlayers like roofing paper, achieving sophisticated results without additional expense.
You minimize ongoing maintenance since no sealing or staining requires reapplication. Your space feels cozy and welcoming, improving your home while respecting your DIY budget. You join a community of practical homeowners who prioritize function and authenticity over unnecessary expenditure.





