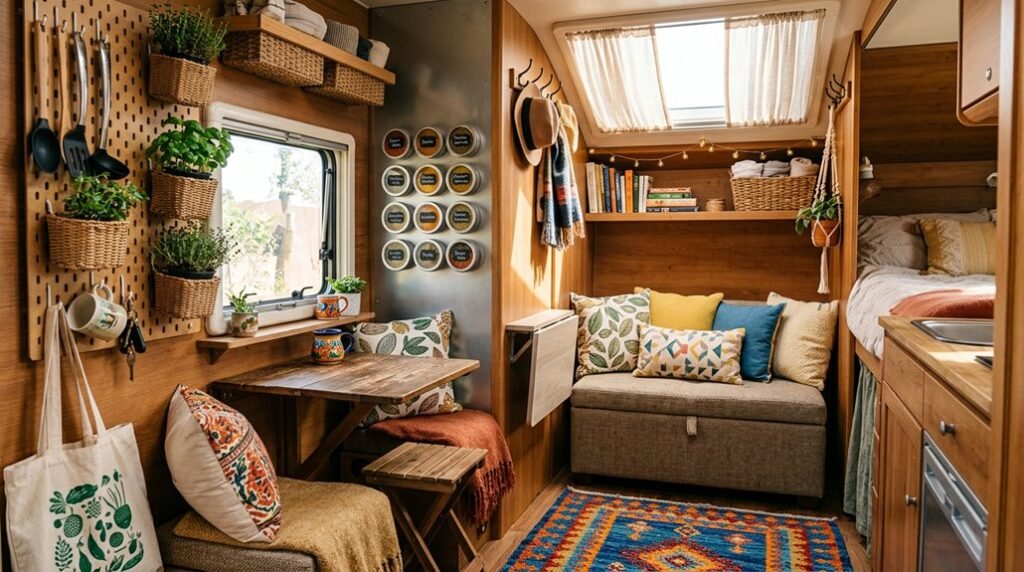
A 19-foot trailer contains roughly 150 square feet of livable space, less than a standard parking spot. You need systems that compress belongings vertically, not horizontally, if you want to breathe.
The following ten methods turn cramped quarters into functional zones without expanding your footprint. Each solution includes specific dimensions, installation times, and cost brackets so you can execute immediately. You will not find inspiration here; you will find buildable plans. The first idea requires removing your sofa entirely.
Remove Your Sofa to Build a Larger Closet in a 19 Ft Trailer
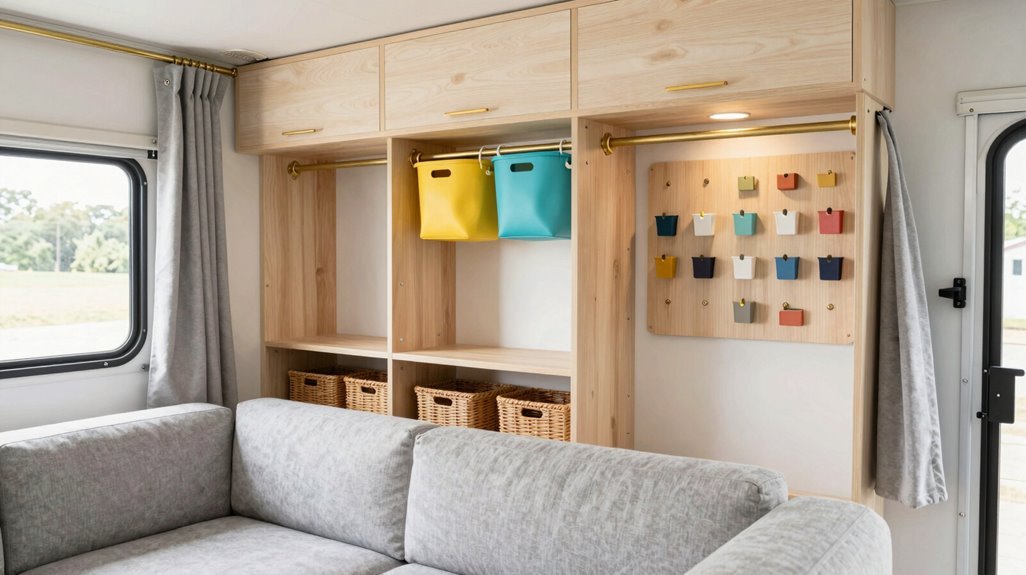
If you’re struggling to store bulky winter coats and camping gear in your 19 ft trailer, removing the sofa can free 12-18 square feet of floor space for a custom closet.
You’ll gain immediate storage capacity by reassigning wall-mounted and under-bed zones to vertical systems. Your larger closet accommodates folding textiles, seasonal wear, and vertical hampers, moving clutter out of your main living area.
Install a modular system with these space-saving specifications:
| Component | Dimensions | Function |
|---|---|---|
| Slim hang rods | 24-36 inches | Shirts, jackets |
| Stackable bins | 12x12x10 inches | Accessories, linens |
| Pull-out shelves | 18 inches deep | Shoes, gear |
Anchor all closet components with L-brackets. Secure doors with sliding panels or magnetic latches to prevent shifting during transit. Your organization improves when weight distributes evenly, keeping your trailer balanced on the road.
Use Peel-and-Stick Wallpaper to Visually Expand RV Walls
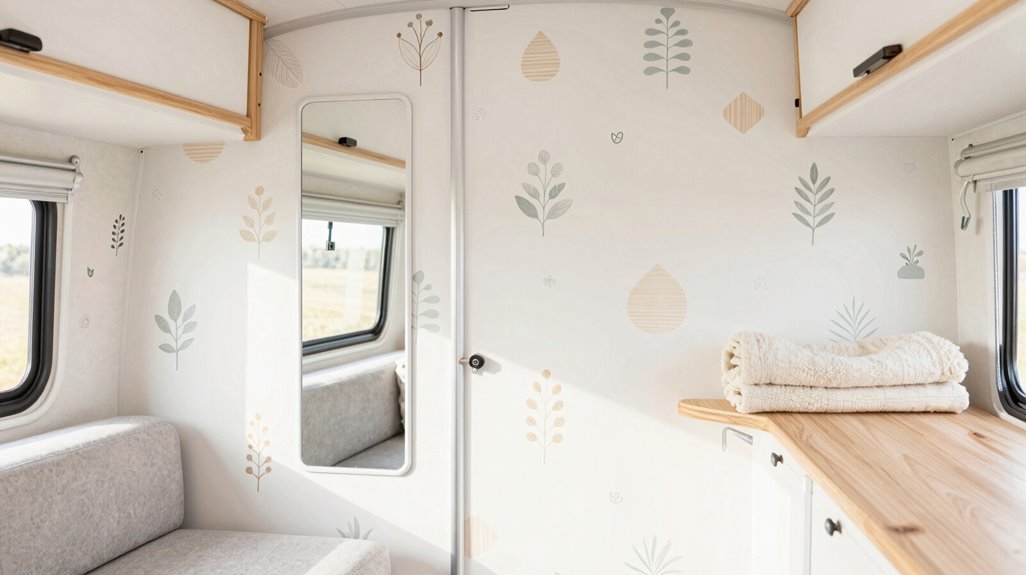
You can refresh your RV’s interior in under two hours using peel-and-stick wallpaper, which adheres directly to existing surfaces without primers or professional tools. Light-colored patterns, particularly soft grays and warm whites, reflect ambient light and create the illusion of 15-20% more wall space in areas under 80 square feet.
This method allows you to test bold designs seasonally, removing panels in 10 minutes when you want a change.
Quick Installation Benefits
Why waste entire weekends on permanent renovations when peel-and-stick wallpaper refreshes your RV walls in under three hours? You gain immediate results without specialized tools, heavy lifting, or professional help.
This quick-install method demands minimal preparation. You measure, cut, apply, and smooth; four steps total. Remove air bubbles with a plastic scraper, trim excess with a utility blade, and finish one wall in 45-60 minutes. Lightweight rolls transport easily, store flat, and require zero adhesive mixing.
Your temporary updates protect factory finishes. When you crave change, peel corners slowly, pull downward at 180 degrees, and walls remain pristine. No patching, sanding, or repainting follows your decisions.
Rotate patterns seasonally. Swap florals for rustic wood in autumn, stripes for tiles in spring. You maintain control, minimize commitment, and preserve resale value through reversible customization.
Visual Space Expansion
How do you convince your eyes that 170 square feet stretches further than it measures? You apply peel-and-stick wallpaper in light colors across your walls, and suddenly your 19 ft RV breathes.
1. Select Your Strategy: Cover one accent wall behind your bed, or wrap two opposing walls to create depth perception. Light shades, whites, creams, pale blues, reflect 80% more light than dark tones, expanding visual boundaries without moving a single board.
2. Install By Zone:
- Living areas: Standard removable wallpaper
- Kitchen/bath: Moisture-resistant variants, resisting 60-85% humidity fluctuations
3. Layer Patterns: Mix geometric prints with organic textures in compatible palettes. Your removable wallpaper updates in 2-3 hours, not 2-3 days.
You belong in a space that feels limitless. These tools deliver that expansion, no contractor required.
Hang Sheer Curtains and Mirrors to Bounce Light Around
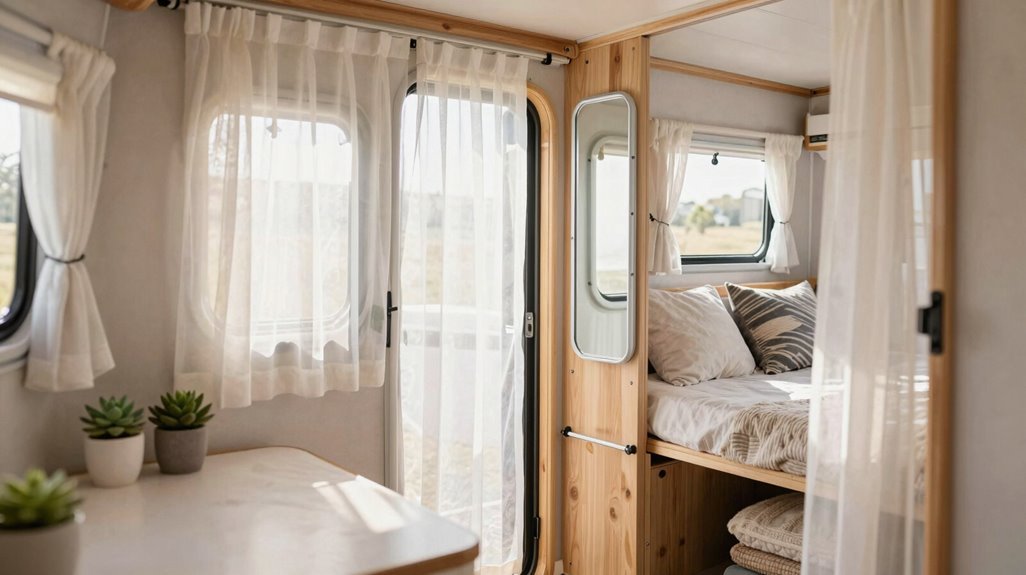
Where else can you reclaim visual square footage when every inch counts? You make the most of your small space by hanging sheer curtains instead of heavy blinds, maximizing natural light while maintaining privacy. You select lightweight, moisture-resistant fabrics that withstand mobile living demands.
You position mirrors strategically near windows to reflect incoming light across seating, dining, and sleeping zones. You angle mirrors at 15-30 degrees to bounce illumination into shadowed corners, creating perceived depth. You pair sheer curtains with mirrors to amplify brightness without sacrificing style.
You install two 12×18 inch mirrors opposite your primary window. You hang sheer panels 2-3 inches above window frames to elongate walls. You maintain these elements weekly, wiping moisture from fabrics and glass. You achieve 40% greater perceived room volume through this combined approach.
Layer Textiles That Define Zones Without Adding Walls
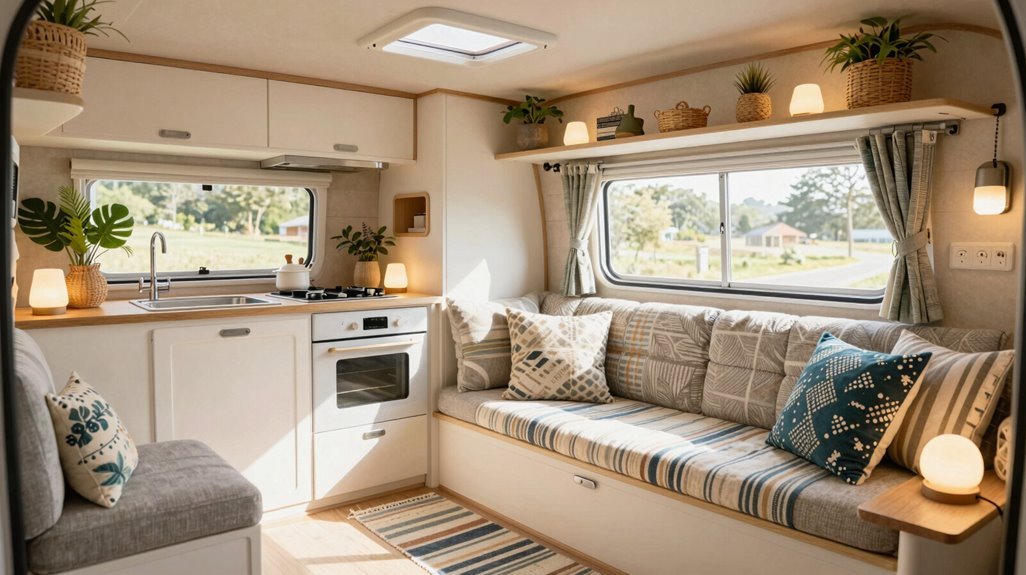
When every square foot must serve multiple purposes, you separate living, dining, and sleeping zones without sacrificing openness by layering coordinated textiles throughout your 19-foot RV. You define zones by selecting a cohesive color palette: light curtains near seating, darker throw pillows at the bed, to cue distinct functions.
You place area rugs strategically: one under the dining table, another plush rug by seating, creating boundaries without walls. You mix textures—cotton, linen, faux fur—and patterns to add dimension while maintaining cohesion. You prioritize machine-washable, durable fabrics that withstand travel wear, allowing quick seasonal swaps.
Layering textiles turns small spaces into organized, functional areas where you belong, proving RV decor succeeds through smart material choices, not square footage.
Choose 12V LED Strips That Brighten Without Draining Power
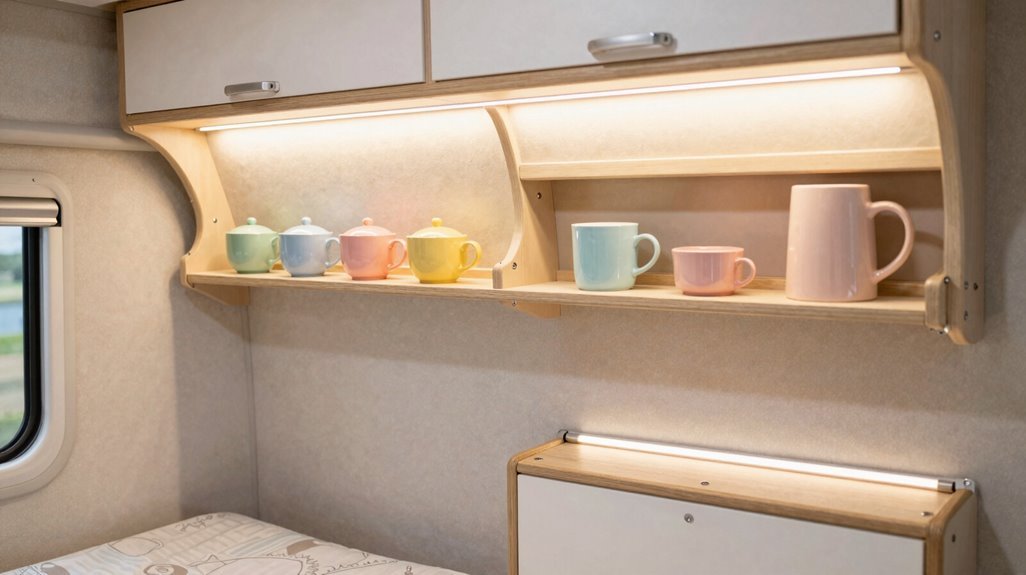
You should install 12V LED strips that tap directly into your RV’s battery bank, drawing 0.5 to 2 amps per meter while eliminating bulky adapters and inverter losses. Select RGBWW variants offering 2700K to 6500K color temperature ranges, plus dimmable outputs from 5% to 100% brightness via Bluetooth remotes or smartphone apps.
Mount strips with adhesive backing inside aluminum channels above overhead cabinets, beneath galley countertops, and along ceiling perimeters to create task and ambient zones without sacrificing headroom or storage capacity.
Low-Voltage Efficiency
How can you illuminate cramped quarters without sacrificing precious battery reserves? You install 12V LED strips that tap directly into your vehicle’s power system, skipping AC adapters and cutting conversion losses. These low-power solutions draw just 14–18 watts per meter, letting you run several meters on a standard RV battery bank without strain.
You’ll maximize RV battery efficiency by adding a PWM dimmer, which optimizes brightness while keeping current draw minimal. Choose RGBWW strips for tunable color and white temperature, all controlled through one dimmable driver. For durability, select IP65, IP68 waterproof ratings with adhesive backing, making certain your installation withstands moisture and movement. Smart controllers or automation further extend battery life, turning efficient lighting into a reliable, long-term system you can count on.
Color Temperature Options
Where exactly should you set your lighting temperature when every watt counts? You need 12V lighting that adapts to your camper’s rhythm without draining your battery.
LED strips running 1–4 amps per 5-meter reel connect directly to your RV’s 12V system, no transformer required. You choose color temperature based on activity: 2700K–3000K warm white creates evening coziness, while 4000K–5000K cool white handles meal prep and reading. RGBW or tunable white strips let you blend both in one run.
Select dimmable options with PWM drivers to cut consumption further. Prioritize strips with 3M backing, IP65/IP68 ratings, and smart hub compatibility.
You control ambiance precisely, belong anywhere you park, and keep your power reserves intact for what matters.
Installation Placement Tips
Once you’ve selected your color temperature and power specifications, placement determines whether your lighting actually solves problems or creates new ones. You’re working with limited battery capacity, so every 12V LED strip installation must prioritize efficiency over aesthetics alone. Route your wiring through existing 12V circuits to minimize power loss, and always incorporate dimmable drivers to control consumption during extended off-grid stays. Your 12V circuits can handle multiple zones if you distribute load properly across separate fuse-protected branches.
Your placement strategy needs three core zones:
- Overhead cabinet edges, task lighting without head-bumping fixtures
- Under-bed platform perimeters, safety navigation during midnight trips
- Ceiling cove recesses, ambient wash eliminating shadow corners
Secure each strip with aluminum channels for heat dissipation, and test all connections before final mounting.
Swap Fixed Furniture for Ottomans and Tables With Storage
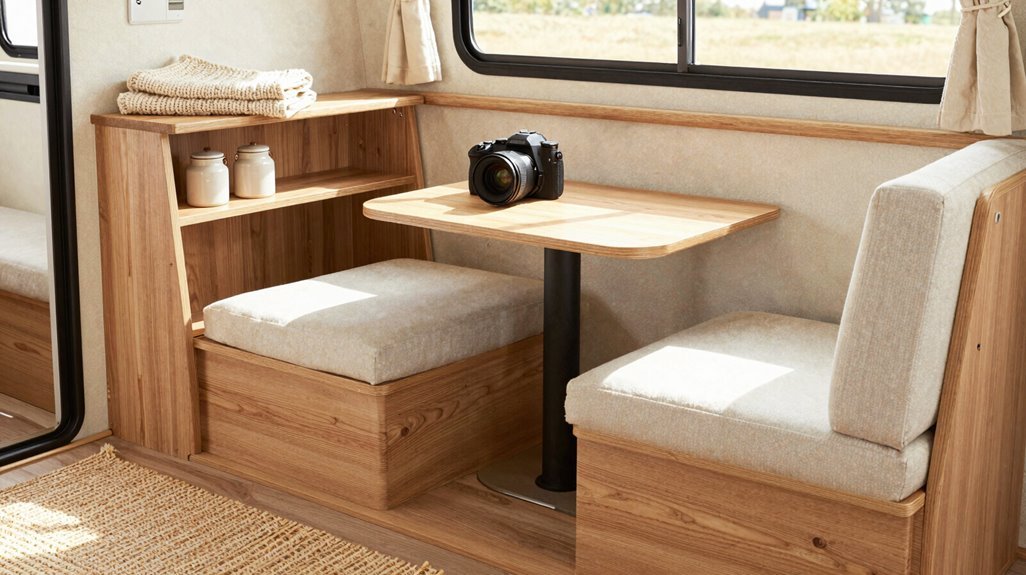
Because fixed furniture consumes 15-20 square feet in a typical 19 ft RV, you’ll reclaim measurable living space by replacing built-in seating with storage ottomans and convertible tables. Ottomans with hidden storage maximize efficiency, concealing blankets, toys, or dining essentials beneath lift-top or flip-up designs.
Choose multi-purpose pieces combining seating, storage, and surface functions to reduce furniture count. Pair these with fold-out tables or compact coffee tables for flexible dining and work areas that tuck away when unused. Select lightweight, durable materials in cohesive upholstery colors matching your RV’s palette.
This space-saving approach turns rigid layouts into adaptable environments where every item earns its footprint, creating room for connection without sacrificing function.
Mount a Folding Desk That Clears Your RV Walkway
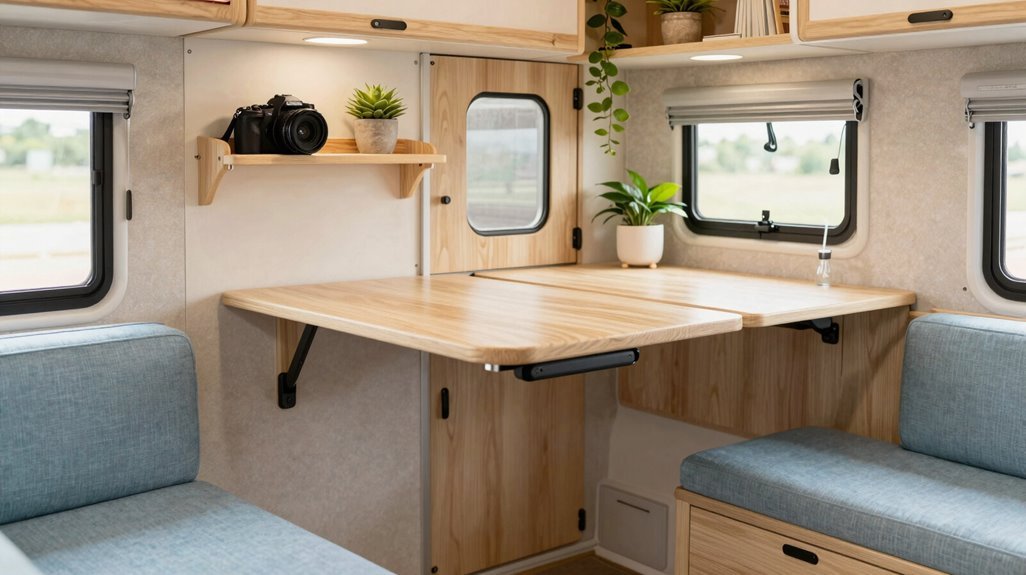
You can reclaim your RV’s limited floor space by installing a wall-mounted folding desk that drops down when you need to work or eat, then locks flat against the wall within five seconds to restore full walkway clearance. Select a 24-inch by 16-inch hinged panel with a magnetic catch rated for 30 pounds, and mount it 29 inches from the floor on any non-load-bearing wall near your dinette using four lag bolts and a stud finder.
This configuration delivers a stable, 10-pound-capacity work surface without permanently sacrificing the 22-inch traffic lane your slide-out demands.
Space-Saving Fold Design
Where exactly does your 19-foot RV lose usable floor space? You sacrifice precious square footage to permanent fixtures that block your walkway, but a folding desk eliminates this problem entirely. This space-saving solution collapses flat against your wall, preserving essential floor area in tight layouts. When folded, the desk sits flush with built-in support lips to keep items from sliding during travel.
You’ll want multipurpose furniture that serves multiple functions without permanent footprint commitment. Consider these RV decor essentials:
- Select a wall-mounted hinge model that drops down from under cabinets for quick meal prep or remote work sessions
- Verify locking hinges with 15-25 pound weight capacity and anti-slam supports for driving stability
- Pair with a foldable stool that tucks underneath to keep the walkway clear
This folding desk turns your limited space into functional, adaptable living.
Easy DIY Installation
Mounting a folding desk that preserves your walkway requires precise placement, secure hardware, and verified clearances. You’ll start by selecting space-saving materials like aluminum or tempered wood, keeping weight minimal for your camper decor. Your installation demands movement-rated hinges or sliding mechanisms that lock firmly against vibration.
Position your folding desk near power outlets and task lighting, making it functional without cord clutter. Measure twice: allow 2–3 inches of walkway clearance when folded, then verify against actual foot traffic patterns during simulated movement.
Secure mounting hardware directly to wall studs or reinforced backing plates, never relying on surface anchors alone. Test the lock mechanism before travel. Your space-saving installation succeeds when the desk disappears completely into your vertical plane, reclaiming every inch of your 19 ft floor plan.
Compact Work Surface
How can you reclaim precious floor space in a 19 ft trailer without sacrificing productivity? You mount a wall-mounted desk that folds flat against the wall when you don’t need it. This space-saving solution delivers a compact work surface that vanishes completely, restoring your walkway for daily movement. You gain a multifunctional concept that changes from storage to workspace in seconds.
Follow these specifications for optimal results:
- Select a locking hinge rated for 50+ lb capacity to prevent motion during transit
- Install a 2-inch retaining lip along three edges to secure supplies
- Position within 4 feet of a 12V or 120V outlet, plus task lighting
You complete this installation with four lag bolts into wall studs. Fold down when working, fold up when walking. You maintain full floor clearance without losing dedicated workspace functionality.
Maximize Under-Bed and Overhead Storage in Tight Corners
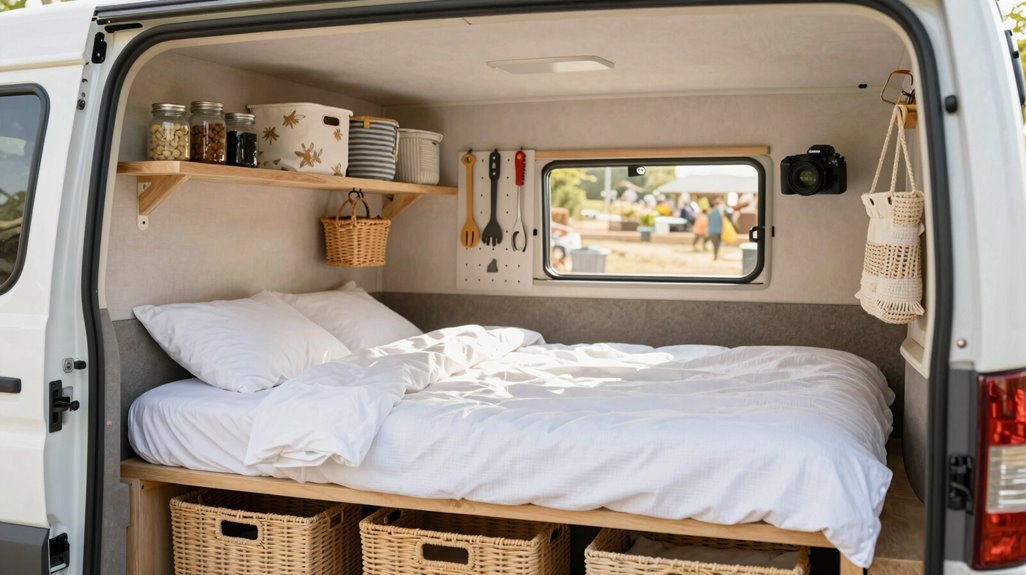
Why let the cramped quarters of your camper defeat your storage goals when the spaces beneath and above your bed offer untapped potential for systematic organization? You reclaim precious floor space by implementing dual-tier storage solutions that change dead zones into functional assets.
| Storage Zone | Container Type | Ideal Contents |
|---|---|---|
| Under-bed storage | Plastic bins, rolling drawers, vacuum-sealed bags | Linens, seasonal clothing, off-season gear |
| Overhead storage | Soft fabric bins, collapsible containers | Lightweight blankets, books, daily essentials |
| Combined systems | Labeled, raised-platform configurations | Categorized items requiring frequent access |
You maximize under-bed storage by installing bed lifts for improved accessibility, selecting foldable containers for travel flexibility, and compressing fabrics to reduce bulk by 60-75%. Overhead storage solutions complement this compact organization by securing lightweight items against road vibration.
You maintain order through consistent labeling, quarterly inventory reviews, and container standardization across both zones.
Swap Cabinet Handles for a Quick RV Style Upgrade
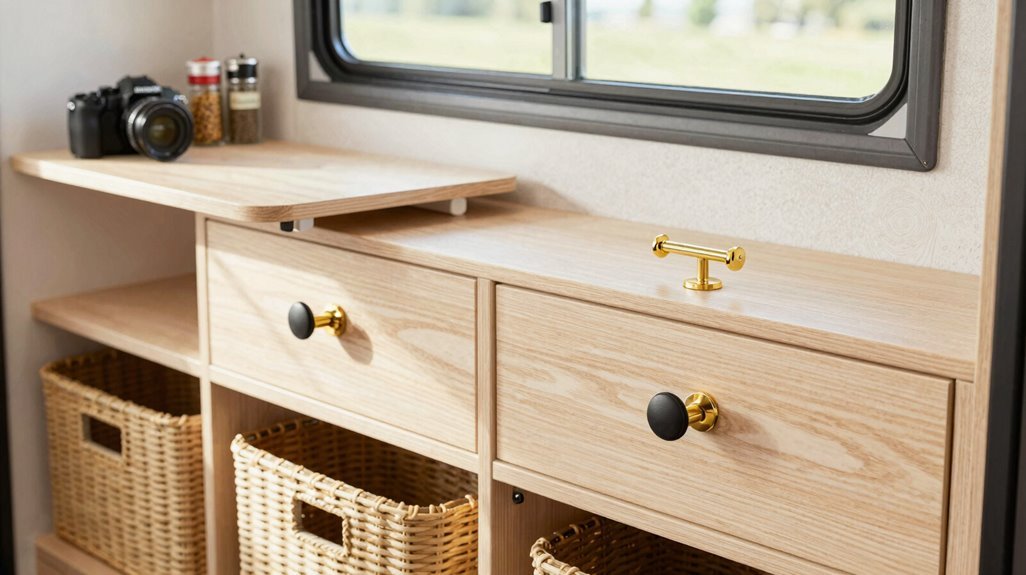
Once you’ve optimized your hidden storage zones, you’ll want the visible elements of your camper to reflect that same intentional organization. Upgrade hardware throughout your space to achieve cohesive RV decor without demolition.
Small space optimization demands that every detail pull its weight, and cabinet hardware delivers immediate visual impact at minimal cost. You complete this project in under two hours using standard screwdriver sets and pre-measured fittings.
- Select bar-style or knob designs in brushed nickel, matte black, or brass to anchor your color scheme
- Drill pilot holes matching 1.75-inch standard spacing, then secure with included screws
- Coordinate adjacent drawer pulls to unify cabinets, storage doors, and furniture surfaces
This systematic approach changes compartment fronts into deliberate design statements, proving that precision upgrades outperform overwhelming renovations in contained environments.
Build a Travel Gallery Wall From Road Memories
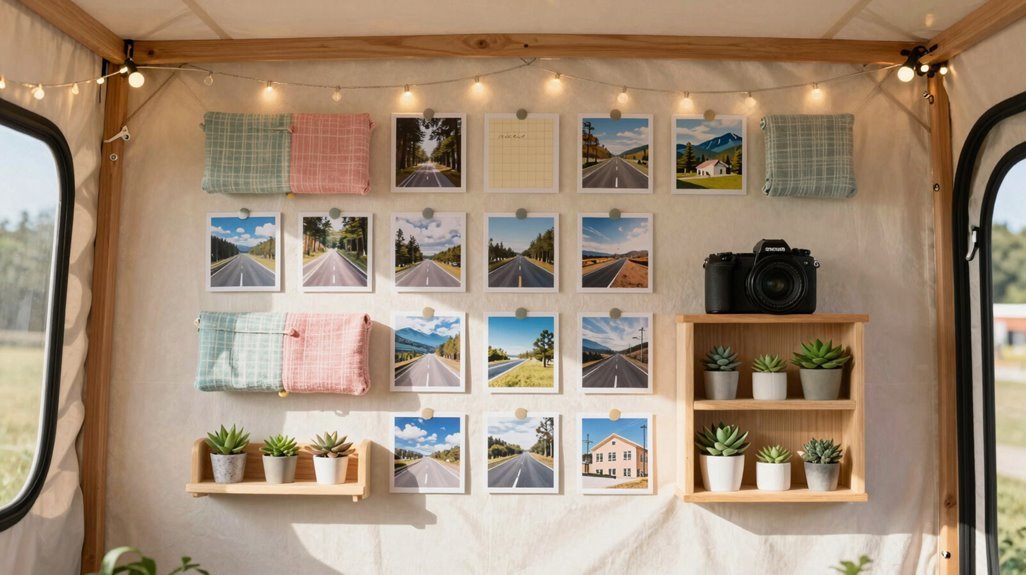
Every square inch of your camper walls can document where you’ve been, turning blank vertical surfaces into systematic memory archives without sacrificing floor space. You will build this gallery wall by selecting a 24×36 inch zone above your dinette or headboard.
You need four components: postcards, 4×6 photographs, map fragments, and travel artwork. Install 6-8 matching frames, 5×7 or 8×10 inches, in a grid, salon cluster, or linear timeline configuration. Apply destination stickers to refrigerator fronts, cabinet faces, or narrow wall strips; these reinforce your travel memories without consuming operational area.
Maintain cohesive decor through three constraints: unified frame finish, restricted color palette, and consistent 2-inch spacing between pieces. Rotate contents quarterly, swapping September’s Yellowstone images for December’s desert shots, preserving small space functionality while refreshing your archive.