
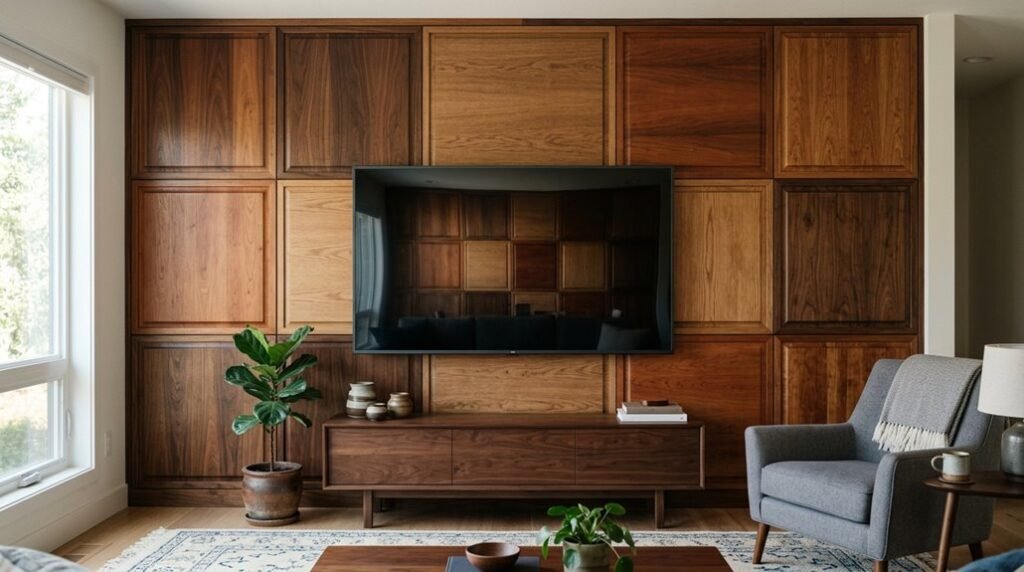
Shadowed grooves catch evening light as your television flickers against blank drywall, and you realize the wall behind that screen demands more than paint. You need structured solutions: measured materials, specific joinery methods, and installation timelines that reframe mounting hardware into deliberate architecture.
These ten approaches range from $200 weekend projects using pre-cut oak veneer to $4,000 custom walnut installations requiring professional millwork, and each one solves the same problem. Your television deserves a purposeful foundation that conceals cables, anchors your sight lines, and establishes spatial hierarchy without excess ornamentation.
The method you choose depends on three variables: your budget ceiling, your tool access, and your tolerance for dust. You’ll select from categories including vertical slat systems, applied molding frames, and composite panels that simulate concrete or marble at one-third the weight. Your first decision awaits.
How to Choose Your TV Accent Wall: Budget, Style, and Skill Level
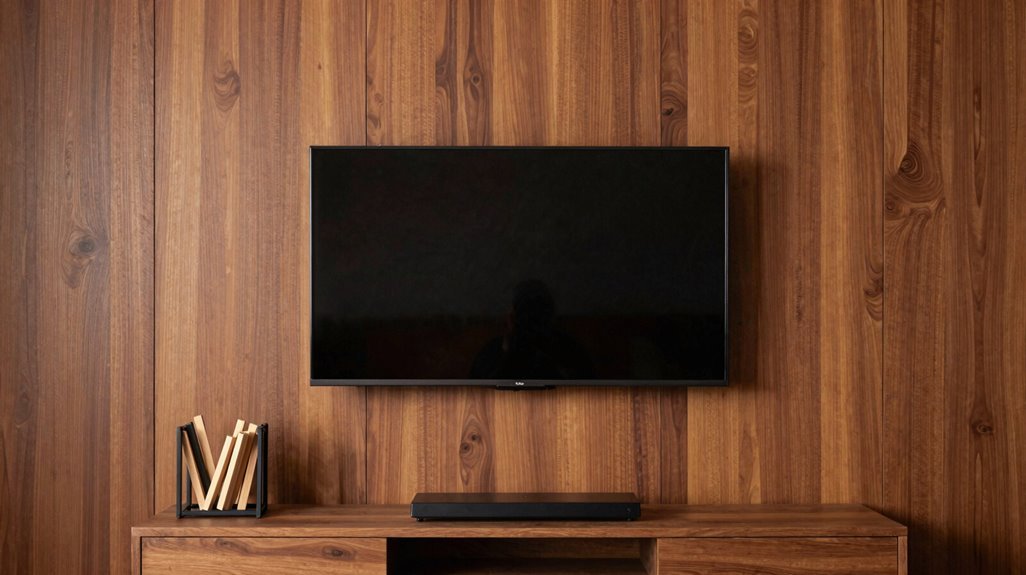
Where do you begin when your living room needs a TV accent wall that actually works? You start by measuring your budget, your DIY confidence, and your desired outcome.
1. Assess Your Budget and Skill Level
Ready-made slat wall panels, including walnut or MDF-backed options, cost $15-$40 per square foot and install in 4-6 hours with basic tools. Marble-look panels, beadboard, or wallpaper run $3-$12 per square foot for tighter budgets.
2. Select Your Visual Strategy
You choose high-contrast contemporary styling with black wood slat panels, or you select vertical oak or walnut planks for warmth without heavy color saturation.
3. Plan for TV Integration and Storage
You camouflage the screen using wall frame molding with dark backdrops, or you embrace it with gallery-wall framing. You pair every option with an entertainment center or tall console, making certain of 18-24 inches of height for cord concealment and proportional wall balance.
Painted Wood Panels for a Streamlined, Budget-Friendly Look
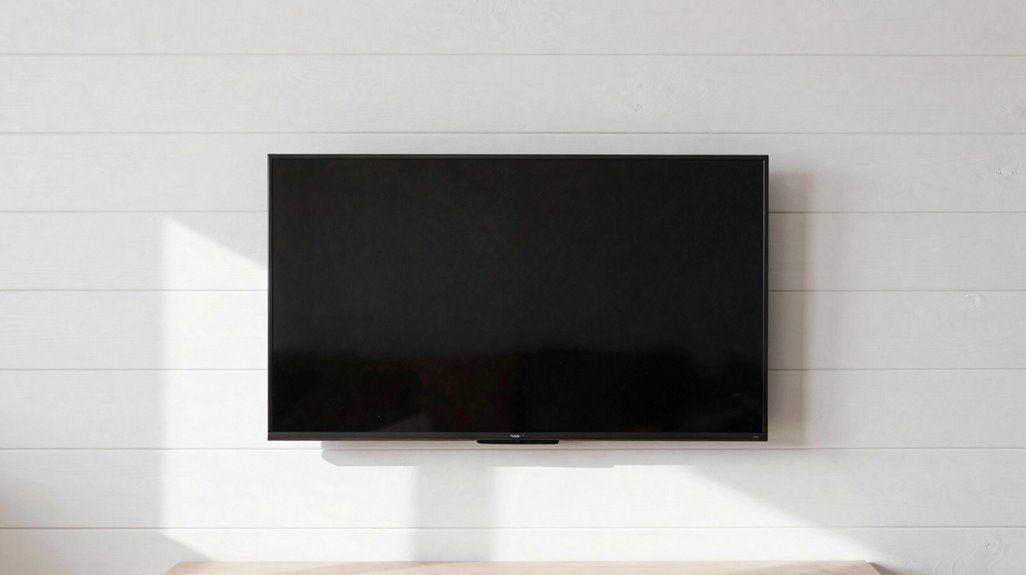
Why commit to permanent wood tones when painted panels deliver the same architectural impact at half the cost? You create a wood panel behind TV setup that adapts to your evolving taste without demolition or replacement expenses.
Painted panels deliver architectural impact without the commitment—or cost—of permanent wood tones.
Consider these implementation steps:
- Select 1×3 or 1×4 pine boards, spaced 12 inches apart, to establish vertical or horizontal rhythm across your wall.
- Apply two coats of deep charcoal or navy paint, allowing 4 hours drying time between applications, so your screen dissolves into the background.
- Position a 30-inch-tall console beneath the mounted television, concealing power strips and HDMI cables within its compartments.
- Specify semi-gloss or satin sheen for your final coat, reducing visible smudges from frequent remote handling and dusting.
You refresh the entire room with $50 worth of paint rather than $400 in new materials.
Concrete Wallpaper for Industrial Loft Character
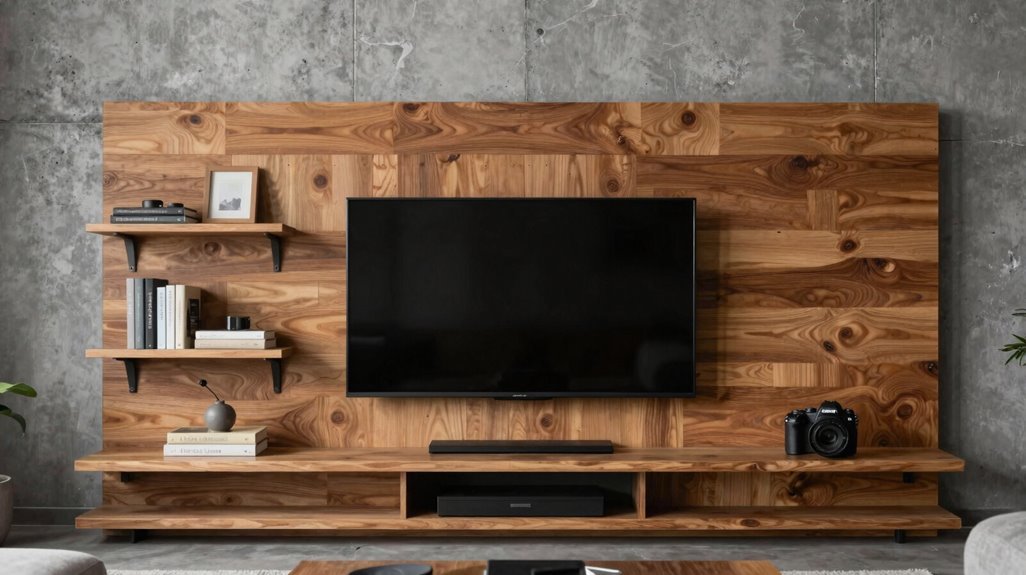
You can achieve an industrial loft aesthetic behind your TV by installing concrete wallpaper, which delivers textured visual impact without structural modification.
Assess your space suitability carefully: this solution performs optimally in rooms exceeding 400 square feet with 10-foot or higher ceilings, exposed ductwork, or existing concrete elements. If your living area lacks these specifications, you’ll need to incorporate metal shelving units, Edison bulb fixtures, or reclaimed wood furniture to establish sufficient industrial context.
Industrial Loft Aesthetic
Though industrial loft spaces often feature raw concrete surfaces, you don’t need exposed structural walls to capture that aesthetic. You can install the TV wall behind a concrete wallpaper mural, creating that rugged, unfinished urban character without structural modifications. The non-reflective surface absorbs ambient light, reducing screen glare while anchoring your display visually.
For balanced environments where industrial meets warmth, you’ll combine elements strategically:
- Position your wood slat section adjacent to the concrete feature, creating tactile contrast
- Specify natural oak at 3-inch widths for the wood slat installation
- Treat the wall behind with matte sealant to prevent moisture issues
- Layer your space feel between raw industrial and warm and inviting tones
Visual appeal depends on proportion; maintain 60% concrete effect, 40% wood elements. Check your existing architecture before committing; forcing industrial character where it doesn’t belong creates jarring, mismatched results.
Textured Visual Impact
How do you achieve industrial character without structural demolition? You install concrete wallpaper behind your TV. This solution delivers authentic texture and visual weight without the 4-inch profile of real concrete panels. You gain depth, you save space, and you maintain rental flexibility.
| Feature | Specification | Benefit |
|---|---|---|
| Thickness | 1-2mm | Minimal wall projection |
| Weight | 150-200g/sq m | Easy single-person installation |
| Texture depth | 2-3mm visual | Realistic shadow variation |
| Installation time | 2-3 hours | Same-day completion |
Select products like PhotoWall’s Concrete Wall mural for photographic realism. Match this to existing industrial elements: exposed ductwork, metal framing, or sealed concrete floors. You create cohesion, not contrast.
Measure your wall precisely, order 10% extra for pattern matching, and apply during low-humidity conditions. Your texture changes the room’s energy without structural commitment.
Space Suitability Guide
Concrete wallpaper demands strategic placement to succeed as a design element. You must evaluate your space’s structural compatibility before installation, ensuring tall ceilings and industrial architecture support this bold choice.
Four Conditions for Concrete Wallpaper Success:
- Exposed ductwork, brick, or wood slat ceilings establish the required industrial foundation
- Minimalist furniture with clean lines prevents visual competition against textured surfaces
- Open floor plans exceeding 2,400 square feet accommodate dramatic wall treatments
- Sufficient wall dimensions, minimum 8 feet wide by 10 feet tall, create proportional impact
Position your TV mount against this tactile backdrop, securing 18-24 inches clearance from adjacent slat paneling or shelving. The PhotoWall Concrete Wall mural applies within 4-6 hours, delivering authentic industrial weight without structural reinforcement. Your room achieves loft character when every element reinforces this cohesive aesthetic.
Classic Tongue and Groove for Timeless Cottage Texture
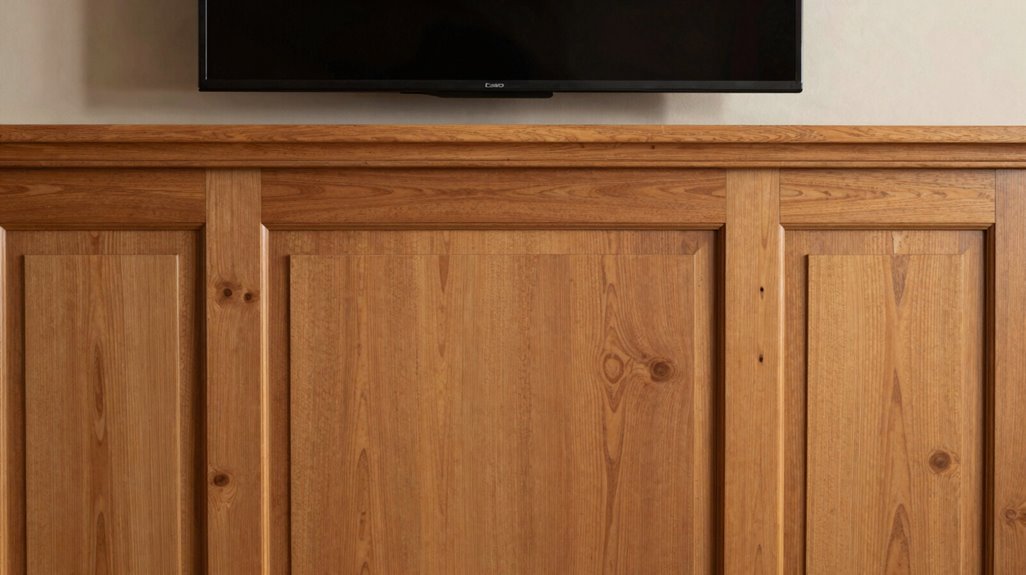
What separates a forgettable TV wall from one that anchors your entire living room? You’ll find the answer in tongue and groove paneling, a technique that delivers timeless cottage texture through interlocking boards with unmistakable vertical lines.
- Install tongue and groove boards to create depth and warmth behind your television, with each plank fitting snugly into the next for seamless coverage.
- Paint your paneling in dark colors, deep charcoal, navy, or forest green, to maximize contrast, then position white oak shelving at 48-60 inches height for visual balance.
- Select beadboard detailing for subtle texture that softens the TV’s presence, creating a retro-inspired backdrop that doesn’t compete with your screen.
- Pair traditional paneling with modern furniture, clean-lined consoles, and matte black fixtures to prevent datedness.
- Complete this DIY-friendly project in one weekend using standard 6-8 foot boards, primed for European townhouse-inspired interiors.
Vertical Wood Planks for Modern Rustic Impact
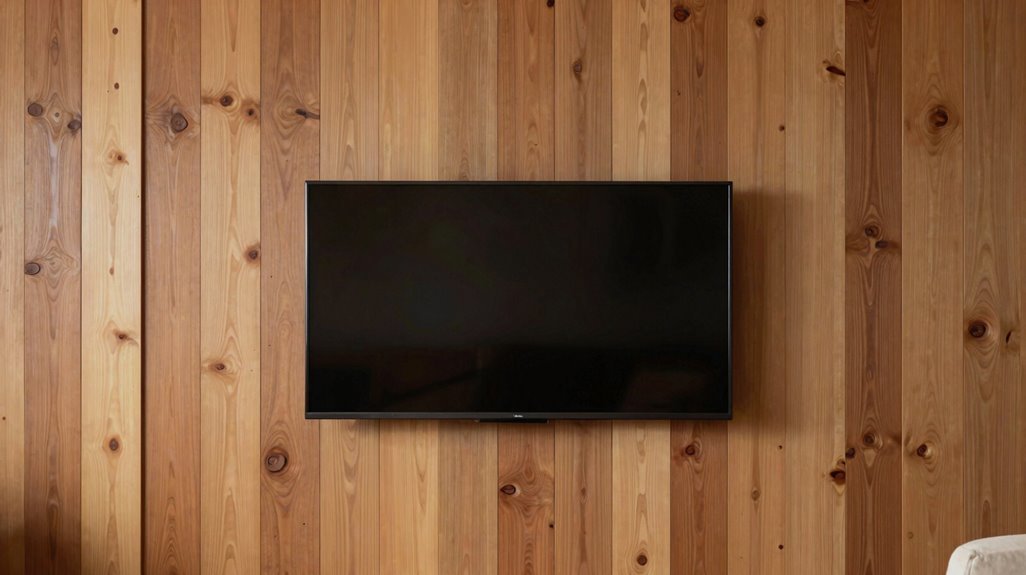
Why settle for flat drywall when vertical wood planks can make your TV wall into a striking architectural feature? You create height, texture, and that coveted modern rustic balance your space craves.
Real wood delivers natural grain variation you cannot replicate with synthetic materials, and the vertical orientation tricks the eye into perceiving expanded ceiling height around your entertainment zone. You gain architectural presence without overwhelming minimalism.
Execute this installation through four critical steps:
- Select planks measuring 6-8 inches wide, ensuring consistent dimensional stability across 10-15 linear feet of wall coverage.
- Maintain 1/8-inch expansion gaps between boards, accounting for seasonal humidity fluctuations of 2-4 percent.
- Secure each plank with 16-gauge finish nails at 16-inch stud intervals, verifying plumb with a 4-foot level.
- Apply matte sealant in two coats, allowing 4-hour drying periods between applications.
You achieve professional results in one weekend, making your TV area functional and foundational.
Natural Oak Slats for Warm Scandinavian Minimalism
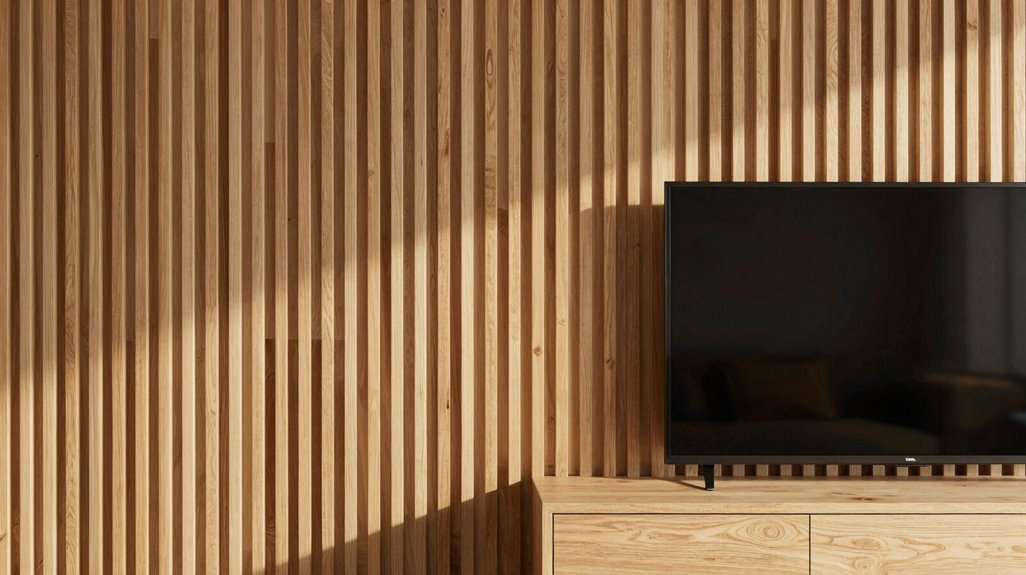
Trading vertical planks for slender oak slats shifts your TV wall from rustic statement to serene Scandinavian minimalism. You’ll create a warm, inviting backdrop by showcasing natural oak’s light, neutral grain and clean lines.
The texture of real oak slats adds depth and subtle organic rhythm, improving visual interest around your screen without overwhelming the space. Pair these slats with white or pale walls, and select matte finishes to maintain a calm, airy aesthetic throughout your living area.
Choose vertical oak slats to increase perceived wall height, or install horizontal slats to expand spatial width. Conceal all cabling behind the panels to preserve your minimalist look and remove clutter around your TV zone.
Black Wood Slats for Dramatic Contemporary Depth
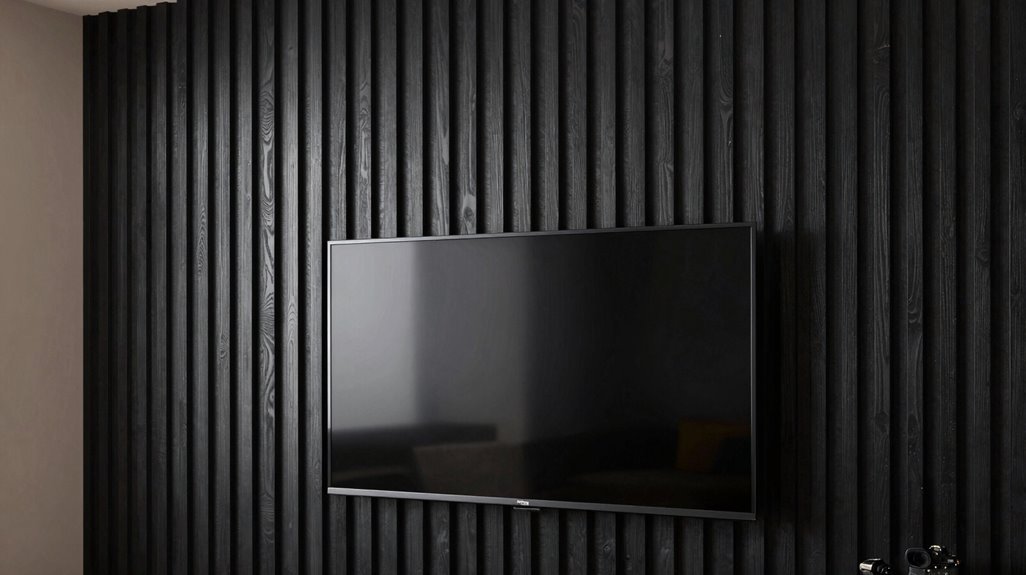
You’ll anchor your screen with black wood slats when you need moody visual impact that commands attention without cluttering the perimeter. The vertical gaps cast textural shadow play across the surface, creating dimensional depth that shifts throughout the day as ambient light changes.
Consider fireplace pairing by aligning your slat runs with hearths or linear electric units below the display, maintaining a uniform 24 to 36-inch vertical rhythm between components.
Moody Visual Impact
How can you anchor a television without surrendering your wall to visual chaos?
You install wood slats finished in matte black, creating a controlled 3-inch depth buffer between screen and surface. This absorbs unwanted reflections while establishing measured visual hierarchy. You’re not decorating; you’re engineering spatial order.
Dark wood slats absorb 85% of ambient light, eliminating glare during daytime viewing hours. Vertical grain orientation draws the eye upward, compensating for horizontal screen dominance.
Integrated fireplace compatibility permits unified 8-to-12-foot focal wall construction. North American installation density confirms this method avoids trend volatility.
You maintain flexibility. The palette prioritizes texture over chromatic distraction, positioning your TV as complement, not centerpiece. Durable black wood slats withstand 15-plus years of style shifts without requiring replacement. Your living room achieves belonging through deliberate restraint, not accumulation.
Textural Shadow Play
Black wood slats deliver textural shadow play that changes your TV wall into dramatic contemporary depth. You’ll install dark matte-finished vertical or horizontal slats, typically 1–2 inches wide with 0.5–1 inch spacing, to build rhythmic dimension without distraction.
- Measure your wall precisely, accounting for 0.25-inch gaps between slats for consistent shadow depth.
- Attach aluminum or steel mounting rails first, securing them 16 inches on center to studs.
- Fasten individual slats with concealed screws through rear grooves, maintaining 1/16-inch tolerance for seamless alignment.
The reduced reflectivity helps your screen dissolve into the surface, minimizing visual competition. You achieve minimalist cohesion through calculated repetition, precise spacing, and hidden hardware that preserves uninterrupted linear flow.
Fireplace Pairing Potential
Matte-finished slats also anchor dual-purpose focal walls where screen and hearth share visual territory.
You maximize fireplace pairing potential when you install vertical black slats spanning 8-12 feet wide, with your television mounted at 42-48 inches center height and fireplace aperture positioned 12-18 inches below.
You achieve showroom-grade cohesion through these specifications:
- Material: Select kiln-dried oak or ash slats, 1.5 inches wide with 0.5-inch gaps, finished in matte black stain
- Mounting: Secure slats to 0.75-inch plywood substrate, allowing 4-inch clearance from fireplace surround
- Integration: Align TV mounting bracket and fireplace frame flush with slat surface
- Lighting: Install 3000K LED strips behind slats for dimensional shadow effects
You create lasting contemporary depth without color clutter, satisfying North American demand for elevated, minimalist living.
Walnut Vertical Slats for Enduring Sophisticated Style
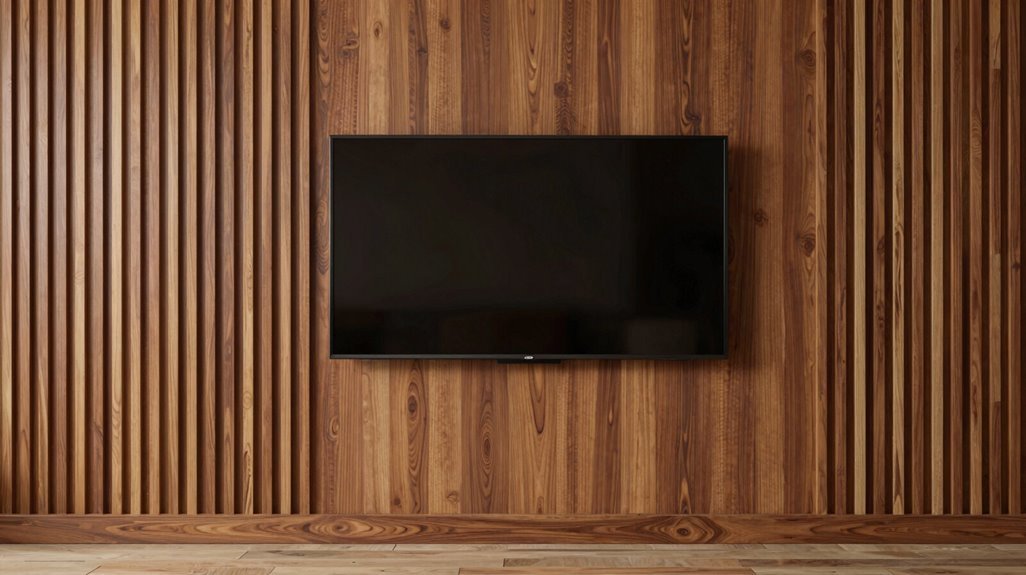
Walnut vertical slats deliver a solution that merges structural permanence with visual refinement, offering you a backdrop that withstands shifting trends while anchoring your television within a deliberate, organized frame.
You invest in real walnut for its proven durability and premium tactile quality, a material consistently selected for long-term residential applications. The vertical grain orientation extends perceived wall height by 15-20 percent in typical 2.4-meter ceiling environments, expanding spatial volume around your screen.
Execute this through three primary methods:
| Installation Type | Slat Width | Spacing | Time Required |
|---|---|---|---|
| Prefabricated panels | 25mm | 12mm | 4-6 hours |
| Individual slats | 40mm | 20mm | 8-12 hours |
| Acoustic-backed system | 50mm | 25mm | 6-8 hours |
Integrate concealed cord channels during mounting to eliminate visible wiring. Pair with Scandinavian or Japanese-influenced furnishings for cohesive spatial organization.
Marble and Wood Slat Panels for Luxury Contrast
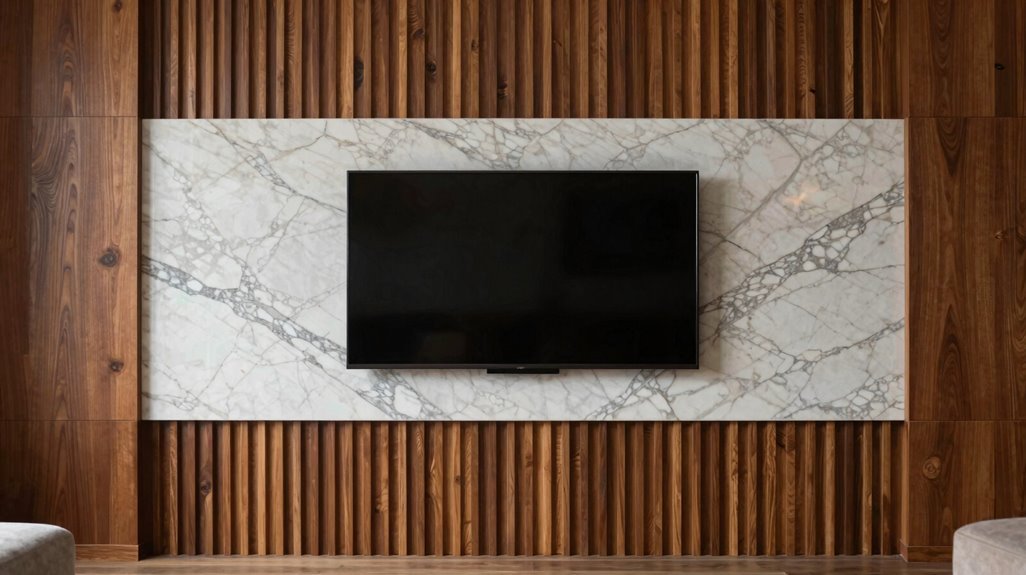
While pure marble can dominate a space with cold precision, pairing it with wood slats lets you control visual temperature through deliberate material contrast. This creates a backdrop that organizes your wall without overwhelming it.
You achieve this marble-wood contrast through strategic material placement, balancing cool stone surfaces with warm vertical grain patterns that draw the eye horizontally and vertically.
- Install white marble-look panels from Lowe’s across your central TV zone, covering approximately 48-60 inches width.
- Frame this section with walnut wood slat panels, using engineered MDF-backed strips measuring 2-3 inches wide each.
- Position your TV so it sits within the marble zone, becoming a complementary element rather than dominant feature.
- Maintain 6-8 inches of wood slat border on each side for proportional balance.
This pairing delivers modern-meets-warm aesthetics for contemporary living spaces.
Wall Frame Molding for Formal European Elegance
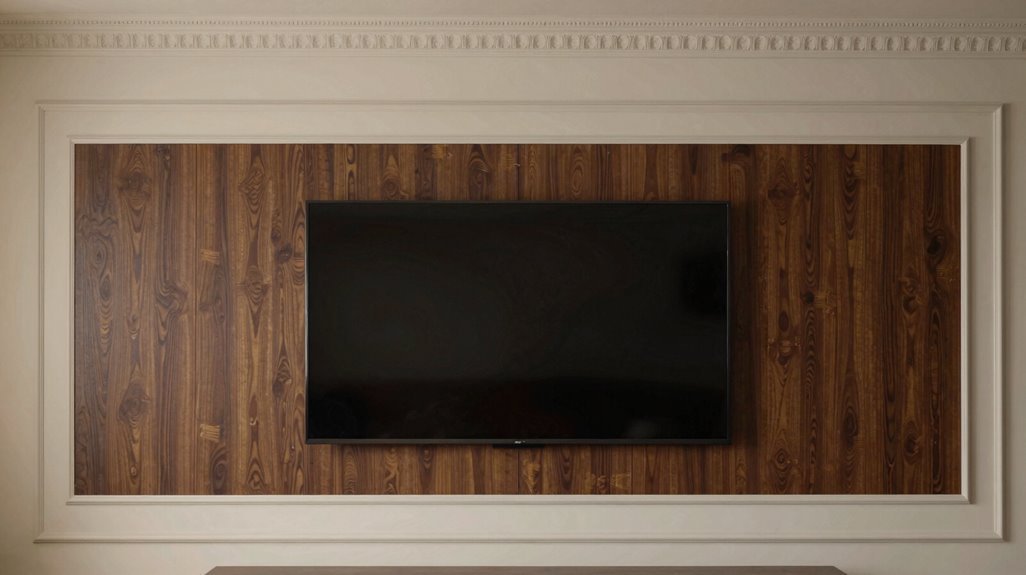
You will draw from Victorian design heritage by installing wall frame molding, which establishes architectural borders around your TV through precise, measured placement of 2- to 4-inch trim pieces. Your paint color selection determines the final atmosphere, with deep forest green or navy creating formal European elegance while cream or soft gray maintains understated sophistication.
You can complete this project over one weekend using miter saw, level, and construction adhesive, following standardized spacing of 3 to 4 inches between frames for balanced proportion.
Victorian Design Heritage
How can you anchor your television within a space that commands the gravitas of a nineteenth-century European salon? You embrace Victorian-design heritage through wall frame molding, reimagining your screen as a centerpiece worthy of inherited estates.
- Measure your wall precisely, marking 48-inch vertical spacing and 36-inch horizontal frames for proportional balance
- Select ornate trim profiles, 3-4 inches wide, with detailed crown edges that echo 1890s architectural conventions
- Install frames using construction adhesive and finishing nails, ensuring 18-inch clearance around your television dimensions
- Apply two coats of primer, followed by your chosen finish, allowing 24 hours between applications for proper curing
You’ll achieve formal European elegance without dated heaviness. The molding disguises technology while asserting permanence. Your living room joins a lineage of considered spaces, where every element earns its place through deliberate craft.
Paint Color Selection
Where exactly should your color story begin when anchoring Victorian frame molding? Start with a color palette rooted in forest-green tones that evoke European townhouse elegance, turning your TV into a central art-like feature. You’ll achieve regal depth by pairing darker frames with green walls, then balancing this weight with lighter shelving or white oak accents.
Maintain crisp edges and symmetrical paneling to keep a tasteful, non-dated appearance. Select semi-gloss or satin finishes for your molding, boosting contrast while making cleaning easy around media equipment. Execute sharp lines by curing your tape, masking with Frog Tape, and stopping color bleed between frame molding and surrounding surfaces. This methodical approach delivers formal European sophistication without overwhelming your living space.





