
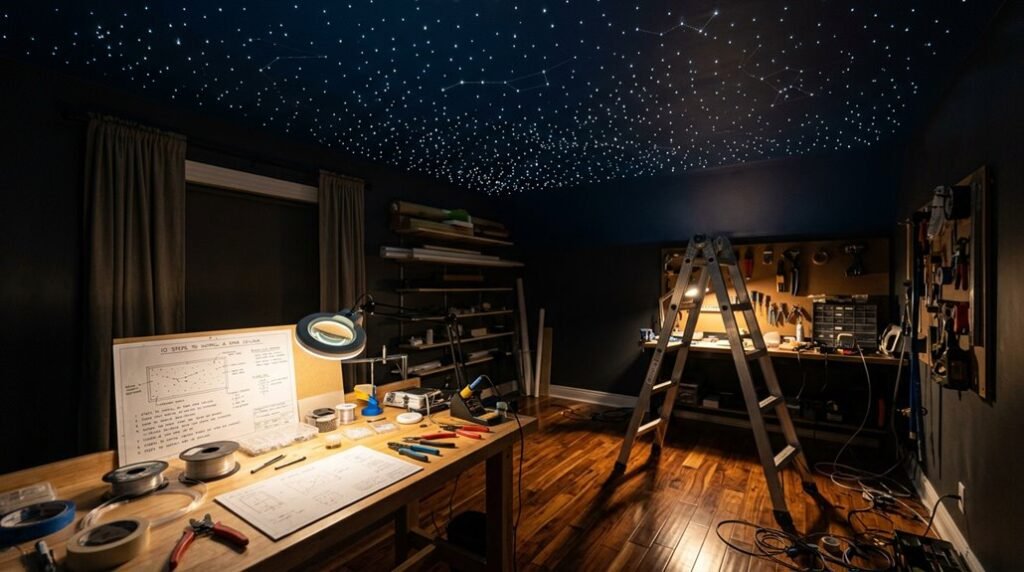
You need a star ceiling that actually works, not a Pinterest failure. This guide breaks down 10 precise steps: measuring 169 square feet, mapping fiber density, drilling joist-safe zones, and mounting 4×8 foam panels with magnetic edges.
You’ll handle 200–400 strands per panel, epoxy-set fibers, and programmable twinkle engines. Skip one step, and you’ll face sagging velvet, visible seams, or dead zones where stars should glow.
The first decision, kit selection, determines whether your ceiling changes the room or becomes an expensive fix-it project.
Size Your Star Ceiling Project: Time, Cost, and Skill Check
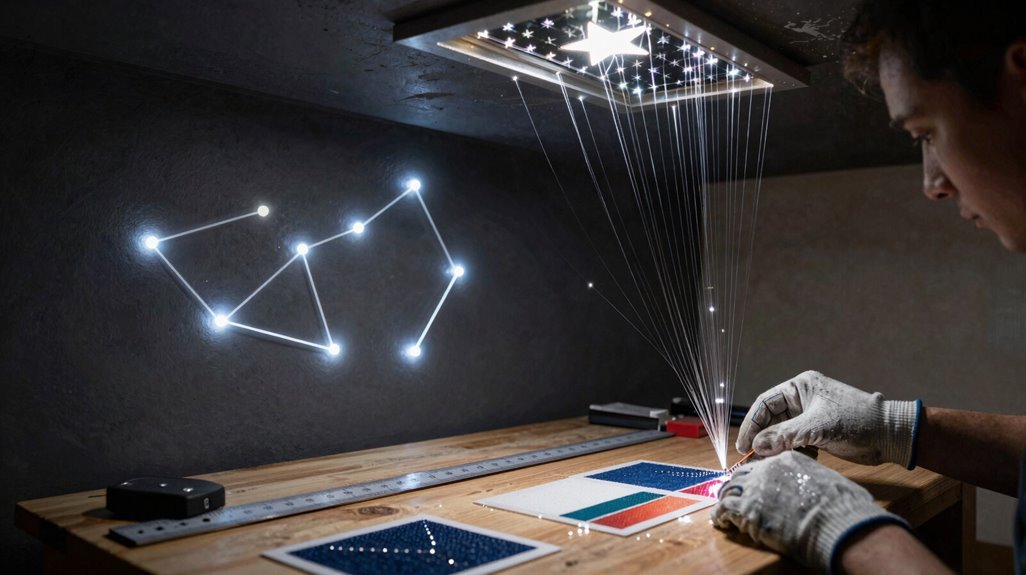
Measure your ceiling space before purchasing any materials, because accurate dimensions determine your total cost, labor hours, and kit selection. You’ll map your 169 square foot area, roughly 6.5 feet by 26 feet, to verify star distribution and Fiber Optic strand requirements.
Your Labor Time commitment spans 30–40 hours of hands-on installation, a demanding but manageable investment. Budget $500–$550 for materials, centering on a $369 600-strand Wiedamark Fiber Optic kit. Skip pre-made panels at $816 each; you’d need six or more, multiplying expenses unsustainably.
Record precise measurements twice. Verify square footage against kit coverage rates. Calculate strand density per square foot. Confirm your timeline accommodates the full Labor Time. Your preparation prevents material shortages, rework, and misaligned star fields.
Choose the Right Star Ceiling Kit for Your Space
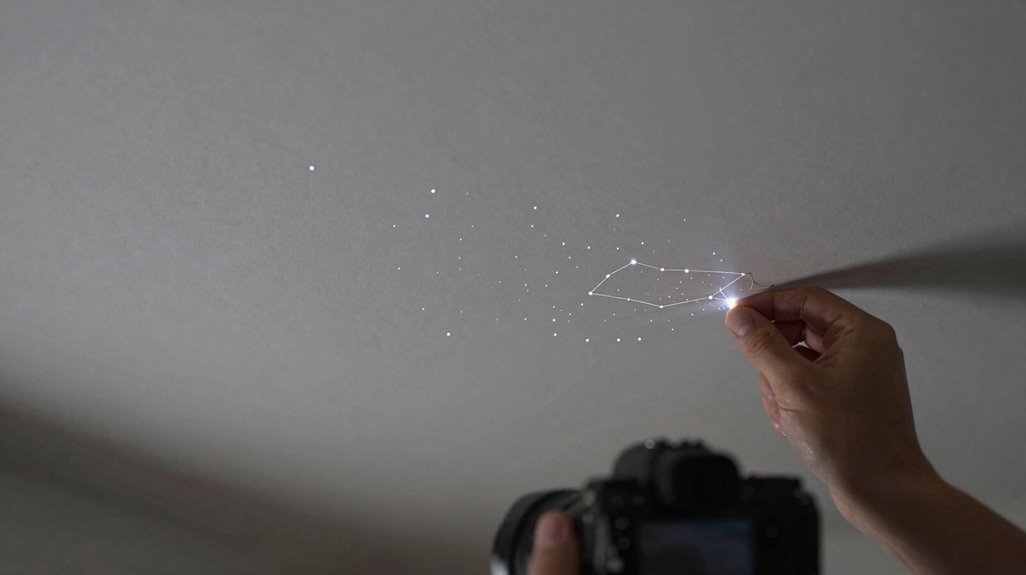
How do you match your space to the right kit without overspending or falling short on coverage? You measure your ceiling first, then select a fiber optic ceiling kit scaled to your square footage.
For a 169-square-foot space (6.5 ft × 26 ft), you’ll need substantial coverage. The Wiedamark 600-strand fiber optic ceiling kit suits this area perfectly, delivering adequate star distribution without gaps. This kit provides three star sizes for realism and includes a remote for dimming control.
Compare your options carefully:
| Approach | Cost | Components |
|---|---|---|
| Pre-made 4×6 panels | ~$816 each | Ready to install |
| DIY 600-strand kit | ~$369 plus materials | Kit plus foam boards |
Your complete project runs $500–$550, covering the fiber optic ceiling kit and insulation boards. Choose the larger kit for bigger spaces; you’ll achieve denser, more immersive results without risking thread shortages mid-installation.
Plan Power Access and Map Your Star Ceiling Layout

You’ll need to locate your power source before mapping the star pattern, since the light engine requires either a relocated overhead fixture or a dedicated 230 V circuit with wall switch and consumer unit protection. Position your access hole away from ceiling joists, which you’ve marked from below, and decide whether you’ll drill fiber holes from the bottom up or attic down for straighter alignment.
Transfer your panel layout, using those 3-inch inward margins from the recessed lip, to foam boards, placing magnets as guides before finalizing the star field pattern and confirming adequate ventilation space above the finished ceiling.
Locate Power Source
Precision forms the foundation of every successful star ceiling installation, and your first task demands careful orchestration of power logistics alongside spatial mapping. You’ll position your power source above the panels, relocating overhead lights to the attic if concealment requires it. Your magnet layout guides this process, making certain planned hole positions align with illuminator wiring before any drilling begins.
Run a dedicated 230 V lighting circuit with a wall switch and 6 A type B MCB for protection. Check attic accessibility for cables and ventilation, then mark drill points from below or above while avoiding joists.
| Task | Specification |
|---|---|
| Power source location | Above panels, attic if needed |
| Circuit requirement | 230 V dedicated lighting circuit |
| Protection device | 6 A type B MCB |
| Verification checklist | Access, ventilation, joist clearance |
Map Star Pattern
Where exactly should each star fall? You’ll map this before cutting any material, because precision here prevents costly errors later. Start by locating your ceiling joists from below, marking their positions on the floor or a reference sheet, so you’ll know exactly where you cannot drill.
Draw your inner-ceiling boundaries next, then subtract three inches inward for mounting space. Transfer these exact dimensions to your foam board, cutting 4×8 foot sheets. Half-inch thickness works, though one inch provides better depth for fiber routing.
Create your star pattern on a 1×1 foot grid, tallying positions so you have even coverage without crowding. Place small magnets at panel corners; they forgive minor measurement errors when you’re aligning sections overhead. Count total stars now, and you’ll know precisely how many fibers to bundle.
Mark Joist Locations to Avoid Ceiling Damage
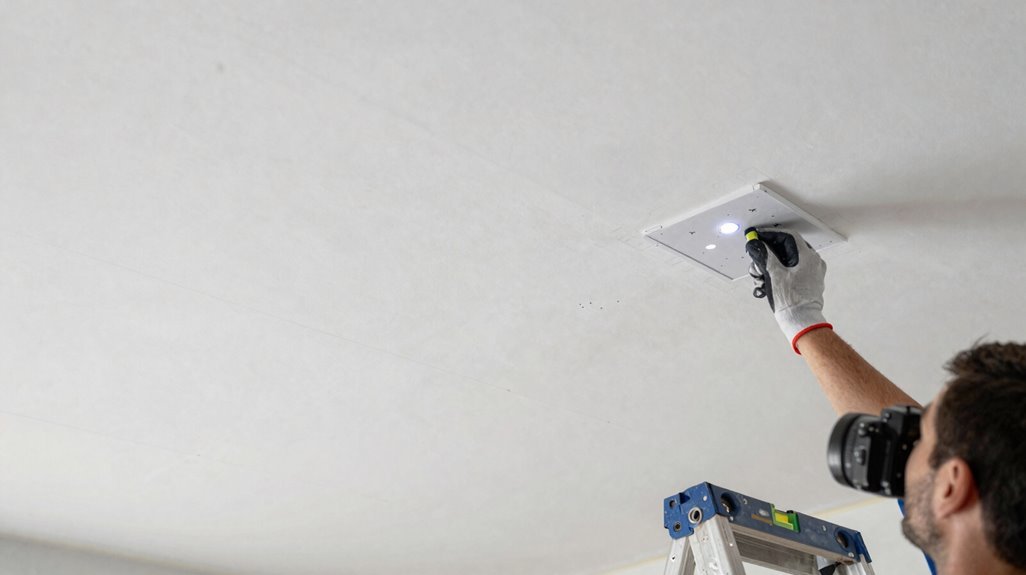
You’ll locate stud centers with a stud finder, then mark safe zones between joists where your star holes won’t compromise structural integrity. Mark these locations clearly with painter’s tape or chalk lines, creating a precise grid that shows exactly where you can drill without hitting wood.
Your careful preparation here prevents costly mistakes, since a single misplaced hole through a 1.5-inch wide joist can weaken your ceiling’s support system and ruin your installation plan.
Locate Stud Centers
How do you avoid drilling into critical structural members when installing star ceiling panels? You start by locating joist centers with precision and care.
You’ll need a reliable stud finder or measuring tape to find these centers. Scan across the ceiling, listening for the device’s peak signals, or measure 16 or 24 inches from known wall edges; standard spacing in residential construction. Mark each joist center with clear pencil lines, extending several inches for visibility during panel placement.
To verify your marks, position a bright work light below and examine the ceiling surface for screwheads or seams that confirm joist locations. This cross-check prevents costly mistakes.
Finally, transfer every joist center to your layout drawing. This documented map makes certain your fasteners hit solid substrate, maintaining structural integrity throughout your installation.
Mark Safe Zones
Precision prevents damage when you’re drilling overhead. You’re marking joist locations now, because one mistake compromises your entire ceiling structure. Grab your stud finder, scan systematically, and transfer every joist position onto your ceiling plan with exact measurements.
You’re staying 1–2 inches minimum from joist edges when you mark star positions. This buffer preserves structural integrity and prevents weakening the framing you’ve mapped. Choose your drilling direction, bottom-up or top-down, based on which keeps your bit exits clear of these marked zones.
Label everything clearly if you’re working beneath a finished ceiling. You’ll thank yourself later when maintenance requires access, because your markings eliminate guesswork and prevent accidental re-drilling into critical supports. Document now, protect forever.
Build Star Ceiling Panels From Foam Insulation
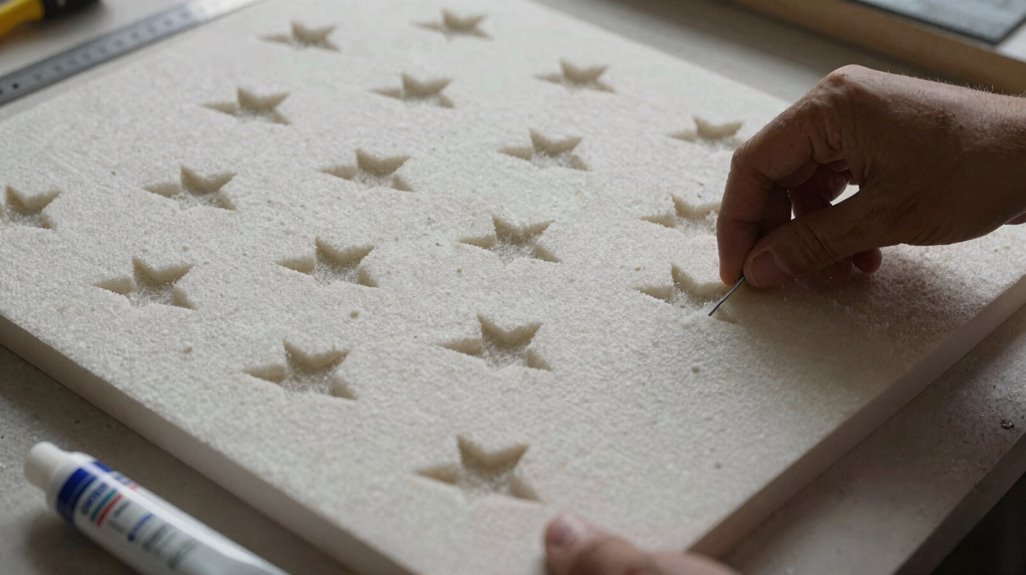
Where exactly should you begin when constructing a star ceiling that won’t sag, warp, or deteriorate over time? You’ll start with 4×8 foam insulation boards, specifically expanded polystyrene at 1/2 inch thickness, which provide the lightweight rigidity your star ceiling kit demands.
First, transfer your inner-ceiling layout onto each foam board with precision, marking lines and adding a 3-inch inward offset to accommodate mounting hardware. Next, attach 1×4 wooden supports along the inner-ceiling lines on every board, securing mounting rigidity before you introduce fabric and fibers.
Then, cover each board with black velvet fabric using 3M aerosol contact glue, keeping the grain uniform to prevent color or sheen inconsistencies. Finally, secure your fabric-covered boards to the ceiling, marking magnet placements and planning edge LED positions for ambient lighting integration.
Drill Star Holes Before Adding Fabric
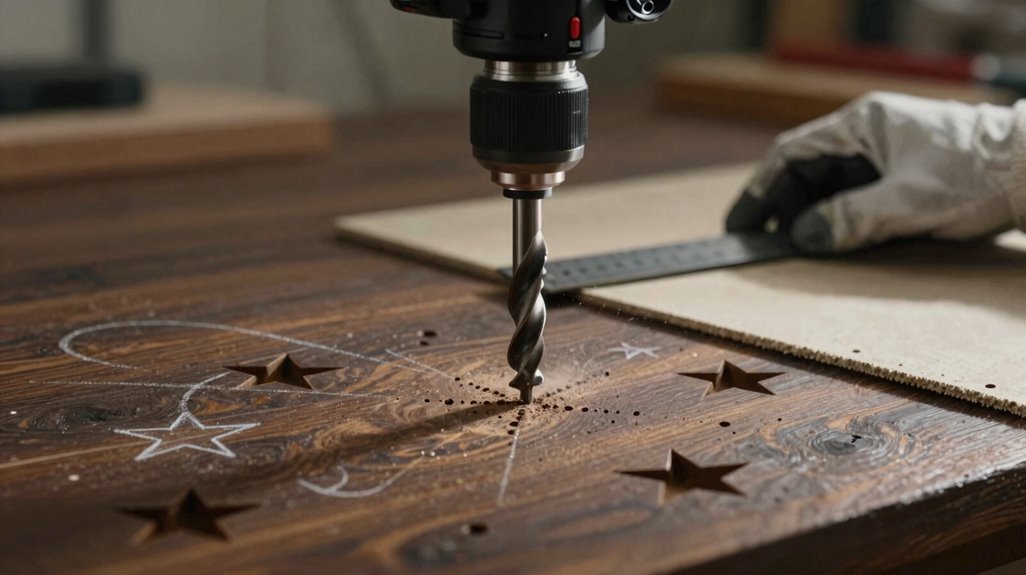
You need to plan your hole spacing strategy, select the right drill bits, and control drilling depth before threading any fibers. First, mark your grid by measuring 3 inches inward from the inner ceiling lines, transferring these positions to foam boards with a bright backlight to avoid joists.
Choose small bits from suppliers like Dremel.com or Drill Bit City, drill dry holes for top-down fiber threading, and seal them later with epoxy or plastic-friendly sealant to maintain your vapor barrier.
Hole Spacing Strategy
How do you prevent a star ceiling from becoming a constellation of crooked, crowded holes? You plan your hole spacing before touching a drill bit, that’s how.
Start by marking interior lines from the inner recessed ceiling lip, then add 3 inches inward to account for mounting and framing. Transfer this layout onto 4×8 foam insulation boards using magnets around panel edges to maintain consistent spacing across panels. Your star ceiling kit depends on this precision.
Drill only after outlining every planned star position, making sure holes align with fiber routes and light engine layout. Create clean hole-to-hole spacing that prevents crowding, especially near edges where larger diameter fibers pass.
- Measure 3 inches inward from ceiling lip marks for accurate positioning
- Transfer layouts to foam boards before any drilling begins
- Outline all star positions to verify fiber route alignment
- Space holes to prevent overlap, particularly at panel edges
Drill Bit Selection
Why risk torn fabric and misaligned fibers when drilling after installation creates preventable problems? You’ll drill star holes before adding fabric, ensuring clean openings and eliminating snagging during fiber threading.
Select small drill bits from Dremel.com or Drill Bit City, sourcing 1mm to 1.5mm sizes for precise, unobtrusive fiber passages. You’ll prefer bottom-up drilling from within the room, minimizing rear surface buckshot while maintaining alignment with planned star positions.
Mark your hole layout directly on ceiling boards first, then transfer positions to fabric-covered boards after drilling to prevent misalignment. Label each hole to match corresponding fibers, reducing confusion during threading.
This systematic approach keeps your installation organized, efficient, and professional. Your careful preparation now prevents costly corrections later, so your star ceiling meets exacting standards.
Depth Control Tips
Once you’ve selected your drill bits, controlling hole depth becomes your next priority to prevent damage to your ceiling structure and maintain consistent fiber placement. You’ll drill holes before adding fabric, securing precise alignment and eliminating interference during fiber threading. Transfer your inner-ceiling magnet or line marks to the foam board, then drill from below with bright lighting to avoid joists and keep debris hidden. Make holes slightly oversized for smooth fiber insertion through the stretched fabric.
- Mark every point with magnets or lines before you drill holes, so your constellation matches the night sky you’ve imagined.
- Drill bottom-up with a headlamp, feeling the relief of knowing joists won’t ruin your work.
- Widen holes by 1-2mm, helping fibers glide through without binding against your fabric.
- Seal with epoxy after drilling, protecting your creation and preparing clean edges for fiber routing that lasts.
Wrap Panels in Black Velvet for Seamless Blending
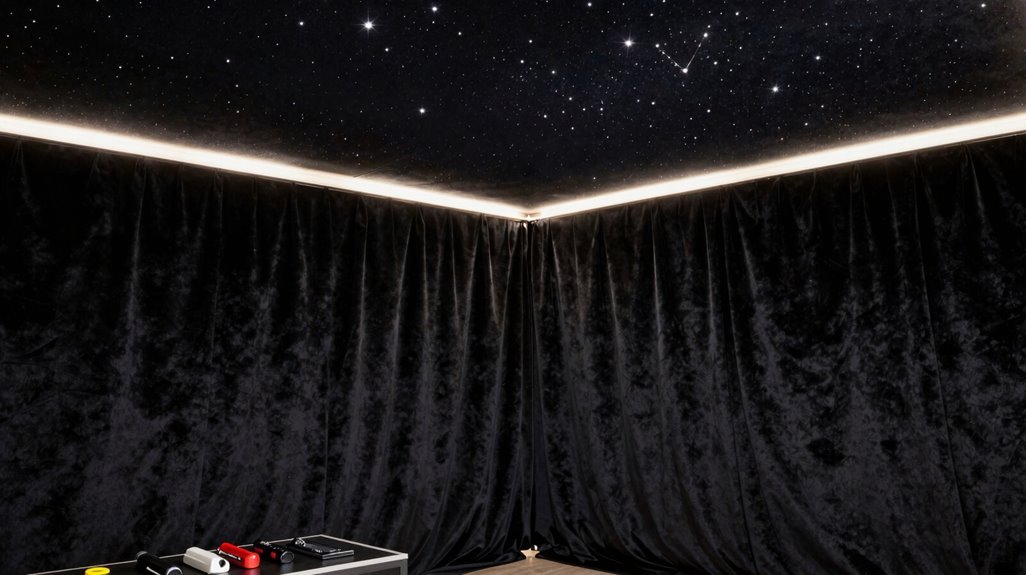
Where exactly do you want the star field to end and the ordinary ceiling to begin? You’ll wrap your panels in black velvet to eliminate that boundary entirely. Stretch the velvet evenly across each panel, keeping the grain consistent to prevent visible seams in your star field. Secure it with 3M aerosol contact glue or staples, then trim excess fabric flush.
Mark your star patterns and magnet positions on the velvet-facing side to maintain alignment. Test-fit each wrapped panel before final installation, checking that ambient light reveals no glare or exposed edges. The velvet’s non-reflective surface absorbs stray light, enhancing perceived depth and creating the infinite darkness your star field demands. You’re building a transition that tricks the eye and completes the illusion.
Thread Fibers From Above and Secure With Adhesive
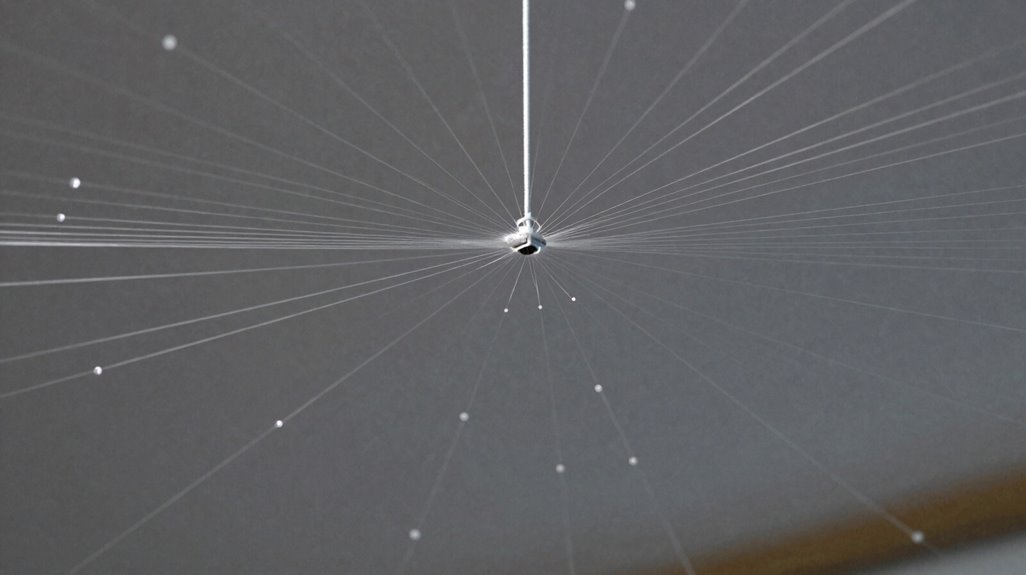
Exactly how do you convert a grid of drilled holes into a luminous star field? You begin fiber threading with the shortest fibers first, pulling the largest-diameter fibers through holes nearest the light engine mark. Thread from the underside as far as access allows, keeping fibers relaxed without sharp bends or breaks.
Transform drilled holes into starlight by threading shortest fibers first, keeping them relaxed and true.
Use a two-person method: you feed while your partner pulls through, using a small weight or taped fiber for efficient transfer. After threading, complete adhesive securing at each hole with epoxy or plastic-friendly glue, applying one dot per point and allowing proper drying time. Tape cables down with black cloth tape, trim visible ends, and leave 5–10 cm protruding if painting later.
- Breathe slowly as fibers glide through holes, feeling calm focus take hold.
- Have faith in your partner’s steady hands, knowing you’re creating something together.
- Watch glue set like stars fixing into place, permanent and sure.
- Step back, seeing your grid awaken with light you’ve placed.
Mount Panels and Trim Fibers for 3D Star Effect
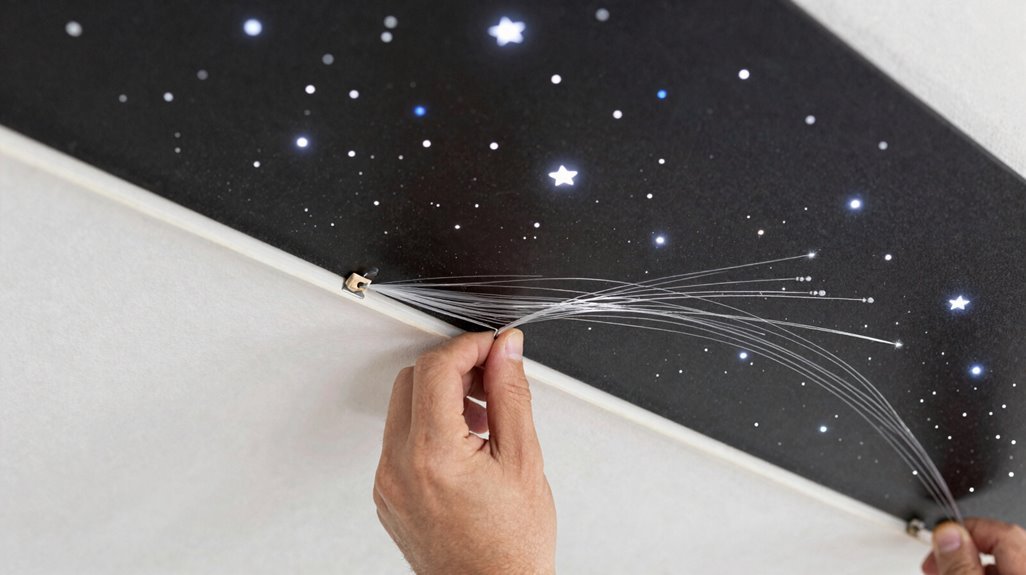
How do you turn individual fiber bundles into a seamless, three-dimensional star field across your ceiling? You’ll mount your ceiling panels using edge magnets to align star patterns, then transfer those placements to your boards with precision. Drill holes at planned positions, threading fibers from the top down to minimize buckshot and preserve layout integrity.
| Stage | Action | Spec |
|---|---|---|
| Preparation | Align magnets, mark ceiling | Transfer pattern accurately |
| Installation | Drill holes, thread fibers | Top-down, shortest first |
| Finishing | Secure, trim, tidy | 1/8″-1/2″ protrusion, sealant |
Start threading with the shortest fiber optic strands, pulling through the largest holes nearest your light engine mark. Avoid sharp bends or tensile strain. Secure each fiber with epoxy or plastic-friendly sealant, leaving precisely 1/8″ to 1/2″ protruding to prevent unwanted halo lighting. Then tidy rear cables with black tape.
Connect the Light Engine and Program Twinkle Effects
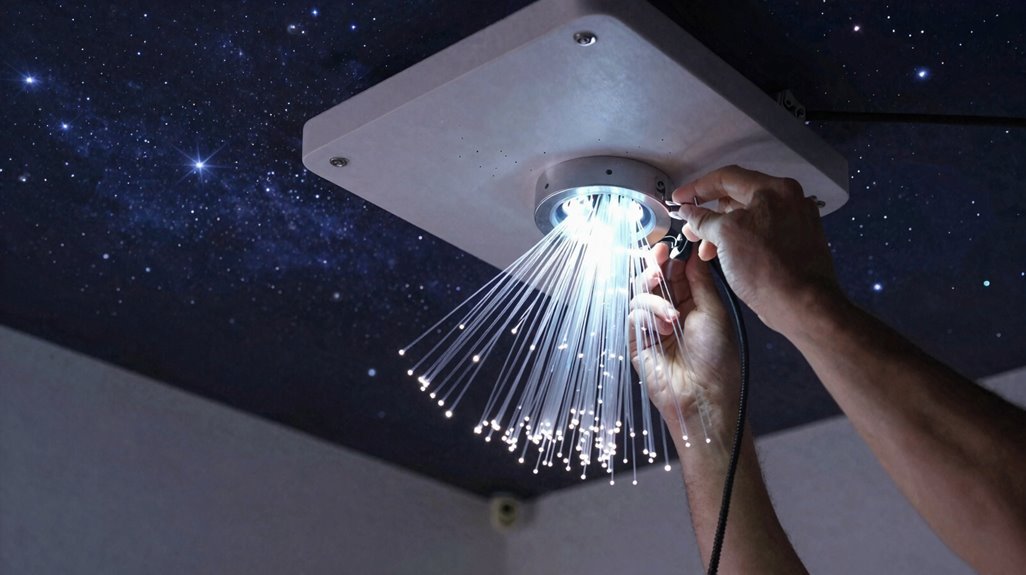
Once you’ve secured every fiber tail with sealant and trimmed protrusions to spec, you’ll connect the bundled tails to your star ceiling illuminator’s connector port, mating the fibers to the light engine mounted on your board. Make certain the engine sits in a ventilated, moisture-free zone with frame access for future adjustments. You’ll run wiring cleanly to avoid fiber interference, then power on and select your twinkle programs.
- Feel the hush settle as your ceiling ignites with distant, living light
- Watch strangers pause, breathe slower, and ask to stay longer
- Recognize you’ve built something that makes others feel held
- Know you belong to the quiet fellowship of makers who craft wonder
Cycle through steady, random, and pulsating patterns, adjusting brightness until the night sky feels deeply yours.





