
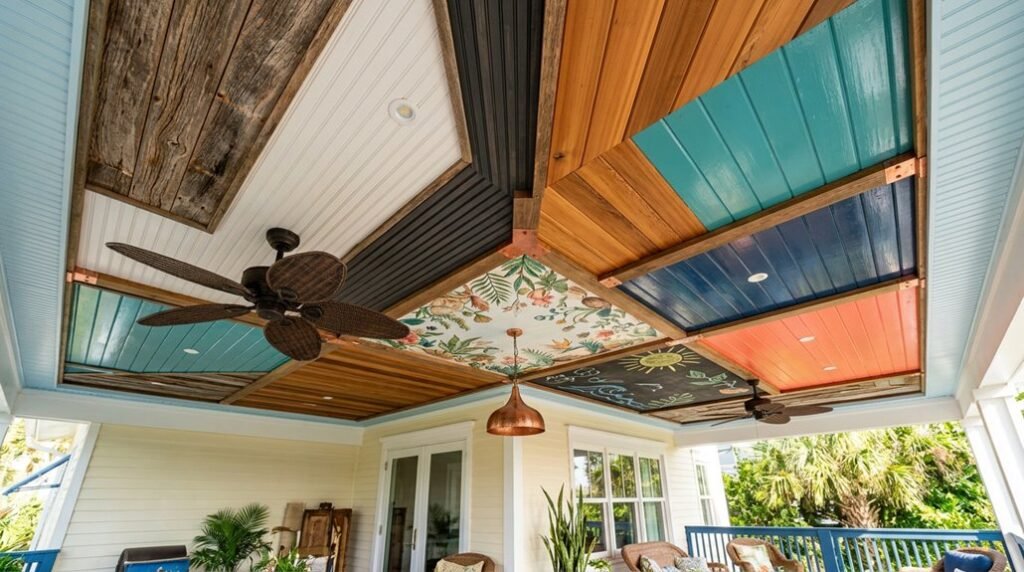
Your porch ceiling demands more than aesthetic appeal; it requires structural planning, climate-appropriate materials, and integrated systems for lighting and ventilation. You’ll need to evaluate nine distinct categories: surface materials (beadboard, shiplap, tin, timber), architectural configurations (flat, vaulted, cathedral), color strategies, weatherproofing specifications, electrical rough-in, and cost projections ranging from $3 to $15 per square foot installed.
Each decision constrains subsequent choices, creating a decision tree you must navigate before purchasing a single board. The following ten solutions address common failure points—moisture damage, inadequate airflow, poor illumination, and budget overruns—through measurable specifications you can implement immediately.
Start With Beadboard for Classic Porch Style
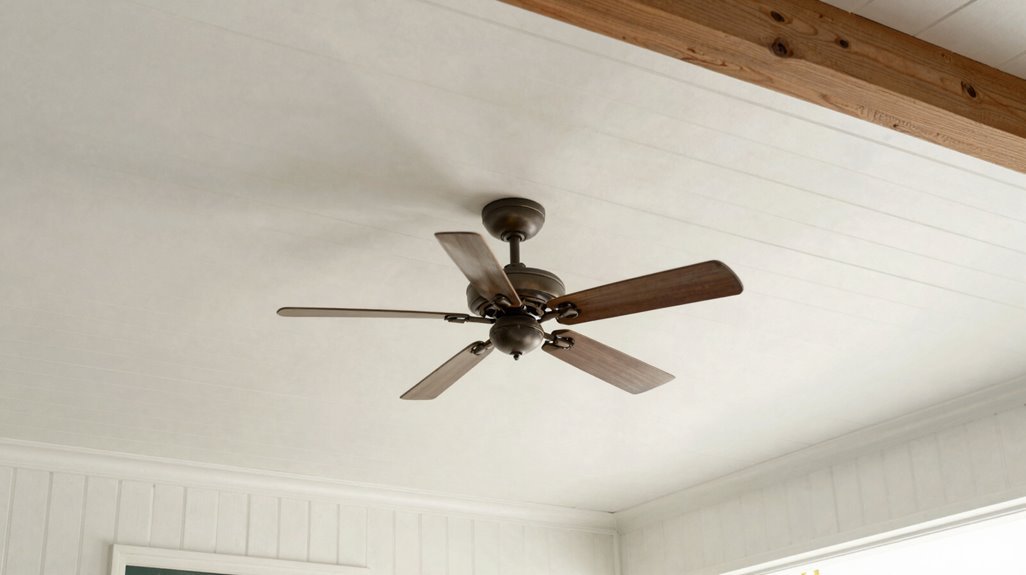
When you’re planning a porch ceiling that delivers immediate visual impact without complex installation demands, beadboard provides your most reliable starting point. You’ll achieve a traditional tongue-and-groove appearance using milled strips that echo historic Southern porches. Select flat, smooth beadboard panels for straightforward installation across cottage or coastal styles.
Choose fiber cement siding for your durable porch ceiling, as you’ll prevent peeling and chipping common with wood alternatives. You can stain beadboard to emphasize natural warmth, or paint for bold color coordination. This option creates seamless visual transitions between indoor and outdoor spaces.
You’ll appreciate year-round functionality with minimal upkeep requirements. Install beadboard yourself using standard tools, following manufacturer spacing guidelines of 16 inches on center for structural support.
Add Drama With Exposed Porch Beams
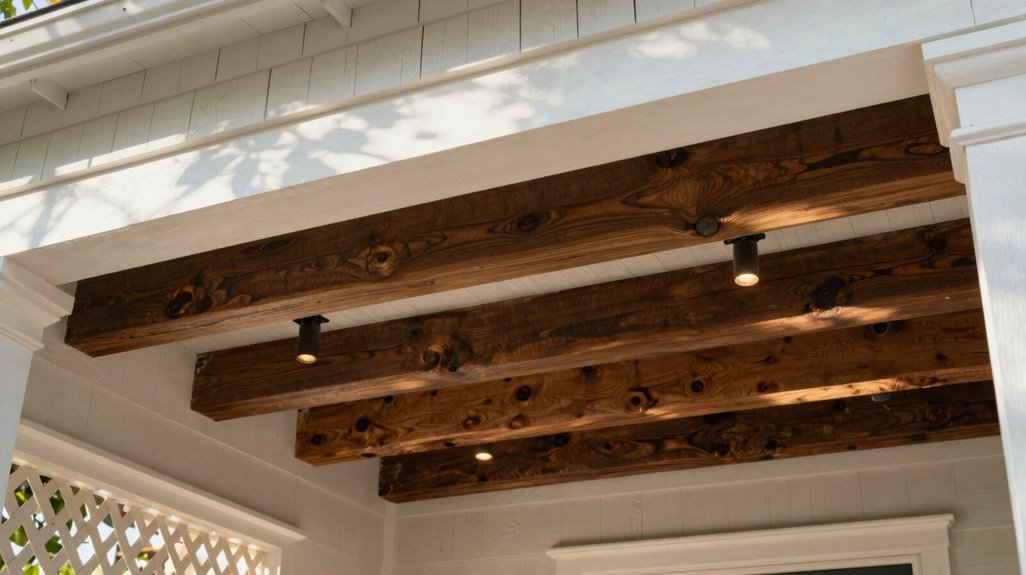
You’ll create rustic visual impact by leaving structural beams exposed, which simultaneously provides overhead support for ceiling fans and lighting fixtures while demanding regular maintenance to prevent moisture damage and pest intrusion.
This approach requires you to balance aesthetic gains against practical drawbacks, including temperature regulation difficulties and cleaning challenges in hard-to-reach crevices. Before committing, assess your roofline compatibility and establish a maintenance schedule spanning 6-12 month intervals for sealing, inspection, and repair work.
Rustic Visual Impact
Why settle for a flat, forgettable ceiling when you can install exposed beams that command attention?
You’ll create instant rustic visual impact when you add natural wood beams overhead. Exposed beams deliver warmth and farmhouse character that connects your porch directly to outdoor living spaces. Pair them with beadboard panels between structural members to amplify that rustic aesthetic while maintaining clean sightlines.
You gain architectural interest and perceived spaciousness regardless of your home’s style; traditional, rustic, or modern transitional designs all accommodate this approach. Match your beam species and finish to existing exterior materials for cohesion across rooflines and facades.
Plan for maintenance cycles: seal beams every 2-3 years, inspect annually for moisture intrusion, and budget 4-6 hours yearly for cleaning and preservation. You’ll prevent wood deterioration while preserving structural character long-term.
Structural Support Benefits
How exactly do exposed beams change your porch beyond mere decoration? You gain genuine structural support while crafting a space that welcomes everyone.
Exposed beams deliver dual functionality. They reinforce your roof system, eliminating hidden framework while displaying honest craftsmanship. You’ll appreciate how timber beams distribute weight across spans up to 20 feet, permitting open floor plans without interior columns.
Consider these structural configurations:
| Configuration | Span Capability | Visual Effect |
|---|---|---|
| Parallel timber beams | 12-16 feet | Traditional rhythm |
| Cathedral ceilings with exposed rafters | 16-24 feet | Dramatic vertical space |
| Box beam systems | 8-14 feet | Refined architectural detail |
Cathedral ceilings maximize headroom, creating gathering spaces that feel expansive rather than confined. Your guests naturally congregate beneath these elevated planes.
Select beam dimensions proportionally: 4×6 inches for modest porches, 6×12 inches for substantial spans. You’ll achieve structural integrity and aesthetic cohesion simultaneously.
Maintenance Considerations
Where exactly do your exposed beams stand after three seasons of sun and rain? You need a maintenance schedule that protects your investment.
1. Sealing/Staining Protocol
Apply penetrating sealers annually in harsh climates, every 2-3 years in moderate zones. Oil-based stains require reapplication every 18-24 months. Water-based formulas need renewal every 12-18 months.
2. Cleaning Procedures
Dust beams monthly with soft-bristle brushes. Wash quarterly using mild dish soap (1 tablespoon per gallon of warm water). Avoid pressure washers exceeding 500 PSI.
3. Inspection Checklist
| Frequency | Task | Indicator |
|---|---|---|
| Monthly | Visual rot check | Soft spots, discoloration |
| Seasonally | Caulk gap repair | Draft detection |
| Annually | Professional assessment | Structural integrity |
4. Climate Adjustments
High-humidity regions demand 50% more frequent sealing/staining. UV-intensive zones require UV-blocking topcoats reapplied every 10-14 months.
Open up With a Vaulted Porch Ceiling
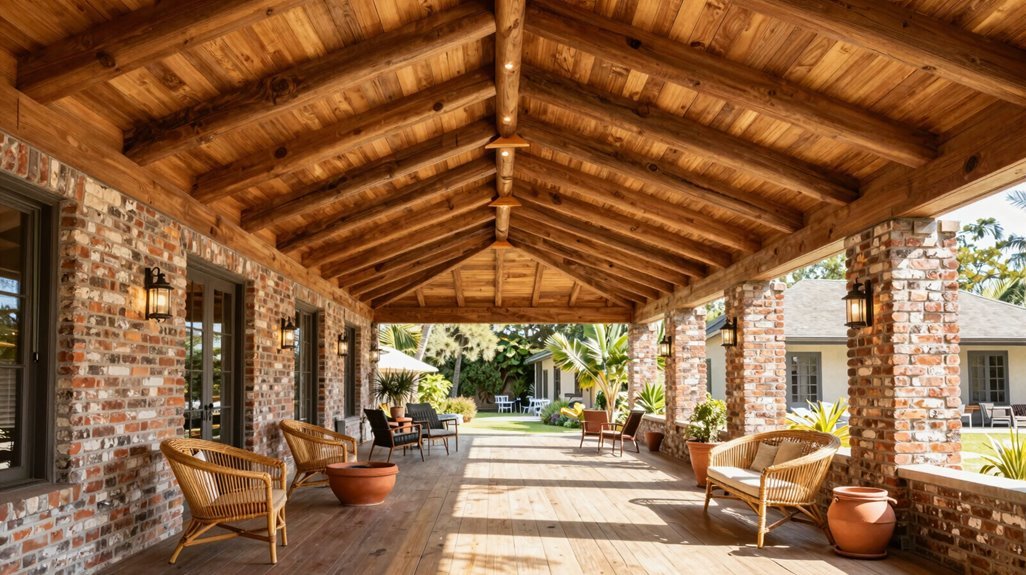
When you’re working with a porch that has a higher roofline or a gable/hip roof structure, you’ll want to contemplate vaulting your ceiling to maximize vertical space and improve air circulation.
Vaulted ceilings reshape your outdoor living space, creating immediate spaciousness while accommodating strategic fixture placement. You’ll gain superior ventilation through optimized ceiling fan positioning, plus enhanced illumination distribution.
Select tongue-and-groove paneling for seamless visual continuity, or expose rafters to emphasize structural depth and architectural character. Screened porches particularly benefit; vaulted designs eliminate enclosure pressure, fostering genuine openness.
Assess your roofline first: low structures prohibit effective vaulting. Measure peak height, evaluate rafter spacing, then determine paneling versus exposed options. Prioritize compatibility: tongue-and-groove suits traditional aesthetics, while exposed rafters deliver rustic, industrial appeal.
Execute precisely. Your vaulted ceiling becomes a functional, elevated outdoor living foundation.
Go Modern With Clean Shiplap Lines
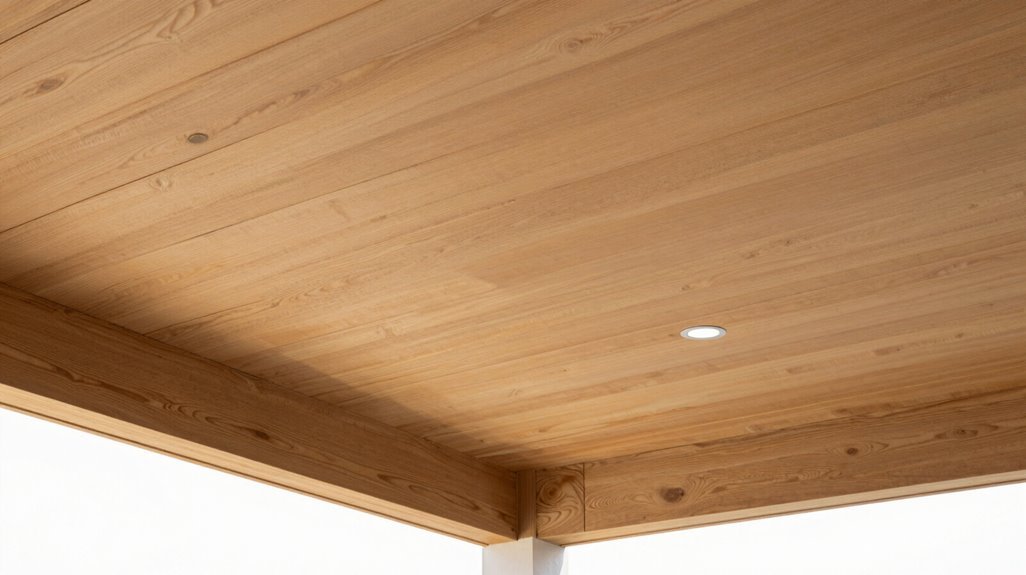
A shiplap ceiling converts your porch into a clean, contemporary outdoor room. You achieve a finished appearance that bridges indoor comfort with outdoor durability. This creates a seamless extension of your living area.
Shiplap ceilings work across material choices, from natural wood to moisture-resistant PVC. This lets you match performance needs with aesthetic goals.
- Select horizontal planks in 6- or 8-inch widths to establish rhythmic visual structure overhead
- Apply coastal design principles with whitewashed or soft gray finishes that reflect natural light
- Choose tongue-and-groove installation for tighter seams and superior weather resistance
- Budget 15-25% less than exposed beam construction while maintaining architectural impact
Your outdoor space gains immediate sophistication through this versatile system. Paint or stain surfaces to coordinate with existing trim, furniture, and flooring for intentional design.
Bring in Daylight With Porch Skylights
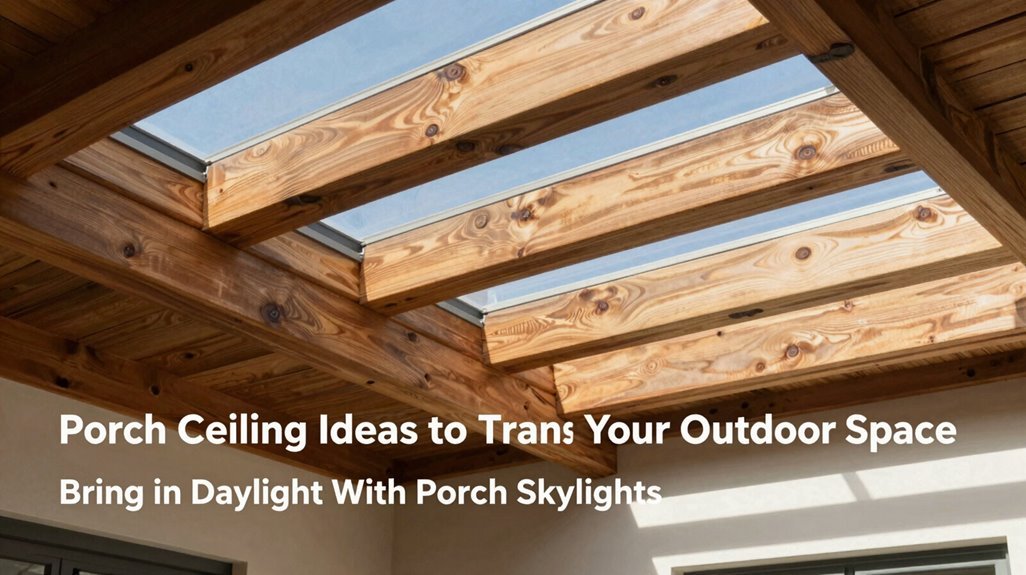
How dramatically would you like to alter your porch’s atmosphere? You can change your outdoor space by installing skylights in your porch ceiling, flooding the area with natural light while maintaining protection from insects and weather.
You must evaluate your roof’s structural capacity before adding openings. Flat or low-slope roofs require specific flashing systems, typically 6-12 inches wide, to prevent water infiltration. Pitched roofs accommodate standard curb-mounted units more readily.
You face heat management challenges. Unshaded skylights increase interior temperatures 10-15 degrees; install interior shades or exterior awnings, or select ventilating models with 14-22 square inch opening capacity.
You can combine skylights with complementary ceiling treatments, beadboard, tongue-and-groove, or smooth drywall, to maximize brightness without sacrificing cohesion. Position units 24-36 inches from walls to distribute light evenly across your gathering space.
Add Pattern With Vintage Tin Tiles

You can change your porch ceiling by installing vintage tin tiles, which deliver ornate patterns and antique sophistication while requiring minimal structural modification. These pressed metal panels withstand outdoor conditions for 20-30 years with basic cleaning; their durability exceeds that of standard flat ceiling materials. Select from geometric, floral, or art deco patterns measuring 12×12 or 24×24 inches to coordinate with traditional, rustic, or eclectic exterior designs.
Vintage Elegance Appeal
Several vintage tin tile manufacturers offer ceiling systems that turn your porch into a refined architectural statement within one installation weekend. You achieve vintage charm through pressed tin tiles featuring intricate floral, geometric, or Victorian motifs that command attention overhead. Your porch ceiling becomes a curated focal point when you pair these metallic finishes with complementary wood trim or beadboard wainscoting.
Select 24×24 inch tin tile panels for standard grid installation with 15/16 inch suspension systems. Apply rust-inhibiting primer and two coats of exterior-grade polyurethane for outdoor durability. Choose antique copper, weathered bronze, or hand-painted white finishes to match existing architecture. Install recessed lighting within tile perforations to highlight dimensional patterns at dusk.
You join a community of homeowners who value craftsmanship, selecting tin tiles that withstand decades of seasonal exposure while maintaining their distinctive antique character.
Durability and Maintenance
Why settle for ordinary when vintage tin tiles deliver decades of performance with minimal intervention? You’ll find these metal panels offer exceptional weather resistance when you select outdoor-coated varieties specifically engineered for porch environments.
Your maintenance routine stays remarkably simple. Unlike wood, which demands annual sealing and frequent repairs, tin tiles require only periodic inspection and occasional cleaning with mild soap and water. You must apply proper outdoor-approved sealants during installation, particularly in humid or coastal zones where moisture accelerates corrosion.
The durable metal construction actively repels pests and prevents moisture infiltration, protecting your investment long-term. You can install directly over existing ceilings or plywood substrates, reducing labor costs. Perform visual checks every six months, reapplying protective coatings every 3-5 years. This predictable schedule keeps your vintage ceiling structurally sound and visually appealing without unexpected interventions.
Paint Your Ceiling: Try Haint Blue or Bold Color
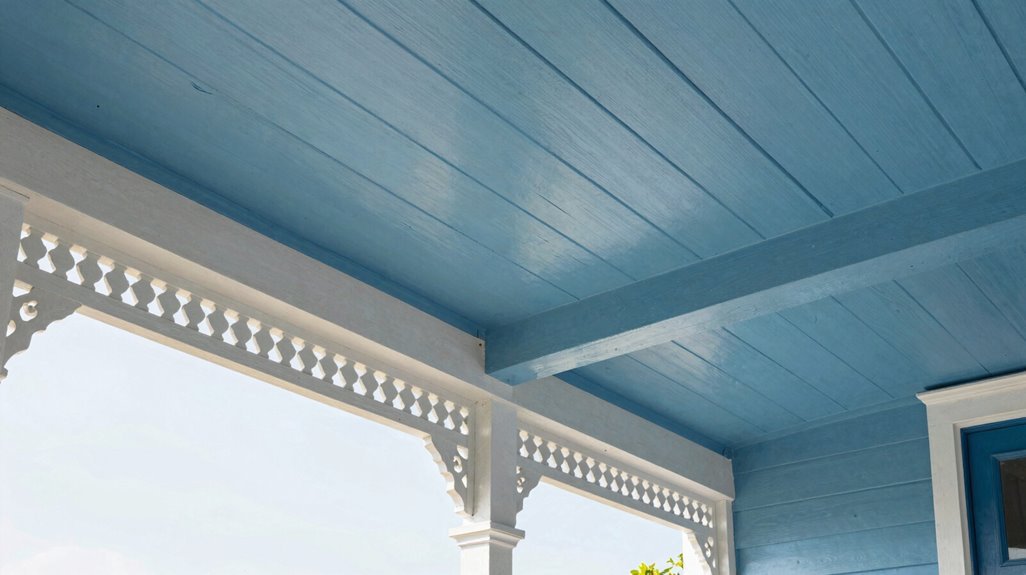
Although a porch ceiling might seem like a minor detail, its color choice fundamentally alters how you experience the entire outdoor space. You’ll find haint blue remains a classic Southern tradition for porch ceilings, deterring insects while creating an airy, expansive atmosphere.
Alternatively, you can select a bold color, such as deep teal, navy, or emerald, to establish contrast and visually enlarge compact areas. Painted finishes complement beadboard or tongue-and-groove installations, reinforcing cottage or coastal aesthetics. Lighter shades reflect natural light effectively, brightening screened enclosures without glare. Coordinate your ceiling color with outdoor furniture and trim for cohesive results.
- Apply haint blue to evoke Southern heritage and cool, open skies
- Install bold color ceilings to expand visual boundaries in tight porches
- Pair painted finishes with beadboard for textured, traditional appeal
- Match ceiling tones to existing outdoor elements for unified design
Match Your Material to Weather and Wear
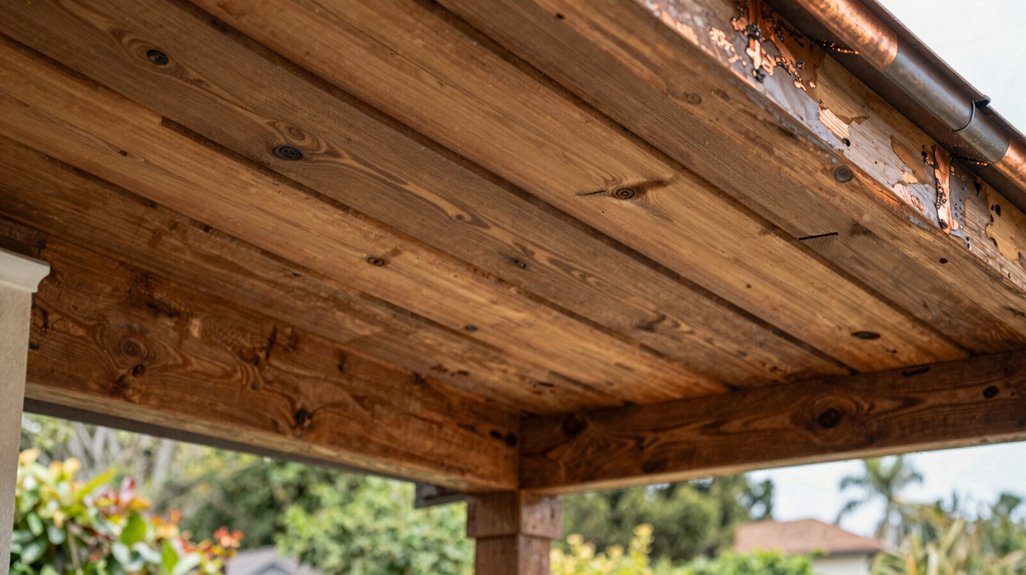
Evaluate your porch’s environmental stressors before selecting ceiling materials, since moisture exposure, UV intensity, and temperature fluctuations dictate appropriate substrate choices. You’ll balance material durability factors, such as vinyl’s zero-maintenance water resistance, cedar’s natural decay resistance requiring annual sealing, and composite’s rot-proof performance, against your regional climate adaptation choices and long-term maintenance capacity.
Match each option’s performance specifications, including 15-25 year lifespans and per-square-foot costs ranging from $2-$8, to your home’s exterior aesthetic and functional requirements.
Material Durability Factors
How do you select porch ceiling materials that’ll withstand your specific climate challenges for 15-25 years? You match durability traits to your environmental demands, prioritizing moisture resistance and rot resistance in humid coastal zones or regions with heavy rainfall. You evaluate maintenance commitments, recognizing that vinyl delivers maintenance-free performance while cedar demands annual sealing.
Install vinyl panels for 20-25 year lifespans with zero upkeep in high-humidity climates. Specify composite systems combining 50% recycled fibers with synthetic binders for superior pest and rot protection. Select cedar or cypress heartwood, applying water-repellent preservatives every 12-18 months. Calculate total cost of ownership: factor labor hours, replacement timelines, and regional weather patterns against initial material prices.
You secure lasting value by treating material selection as climate-engineered infrastructure, not aesthetic preference.
Climate Adaptation Choices
Where you build determines what you install, and matching your porch ceiling to local weather patterns isn’t optional; it’s structural insurance against premature failure.
Select ceiling materials by climate zone. In humid regions, prioritize moisture resistance with vinyl or composite boards. In dry climates, sealed cedar or cypress performs well.
Address temperature extremes. Specify reflective, light-colored finishes in hot zones to reduce heat absorption by 15-30%. Specify rigid, low-maintenance vinyl or powder-coated metal in freeze-thaw cycles to prevent warping.
Secure coastal installations. Use corrosion-resistant fasteners and sealed joints rated for 90+ mph winds.
Schedule maintenance intervals. Re-seal or repaint every 2-3 years in harsh sun or salt-air; extend to 5-7 years in protected, dry settings.
Wire Your Porch Ceiling for Fans and Light
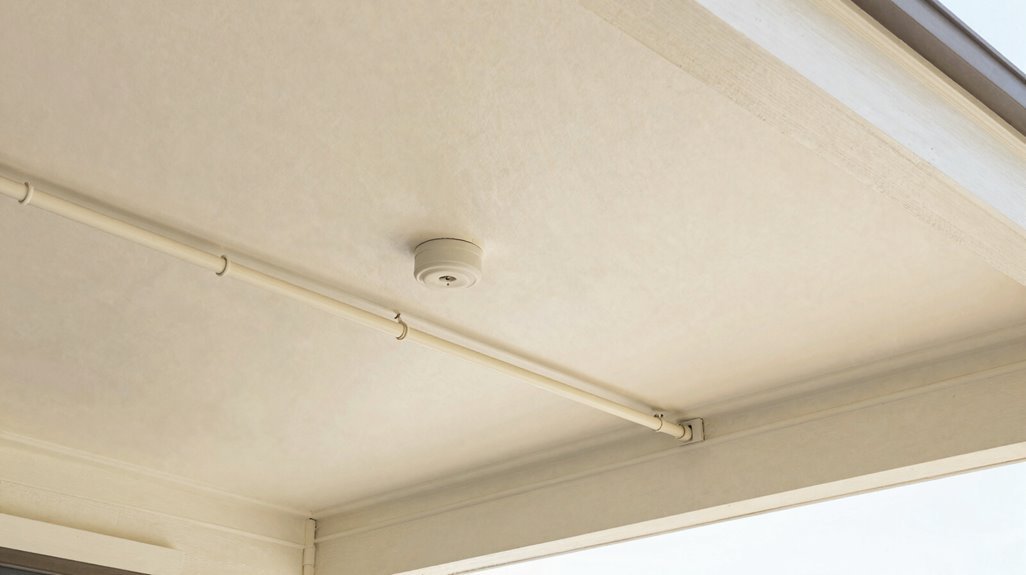
Why settle for a dark, still porch when you can engineer a fully functional outdoor living space? You need a solid wiring plan that integrates porch ceiling fans and outdoor lighting into one cohesive system. Start by installing dedicated circuits with weatherproof electrical components rated for exterior use. You’ll want junction boxes with rain-tight covers, damp- or wet-rated fixtures, and protected conduit runs that shield wiring from moisture and UV damage.
Install fan-rated electrical boxes with proper amperage capacity for safe blade clearance. Select RVT or IP-rated housings that withstand screened or open porch conditions. Position switches within easy reach of seating areas for convenient operation. Add wall controls or remote dimmers to adjust lighting levels throughout evening gatherings.
Check local codes, secure permits, and verify all connections before ceiling installation begins.
Budget Your Porch Ceiling by Material and Labor
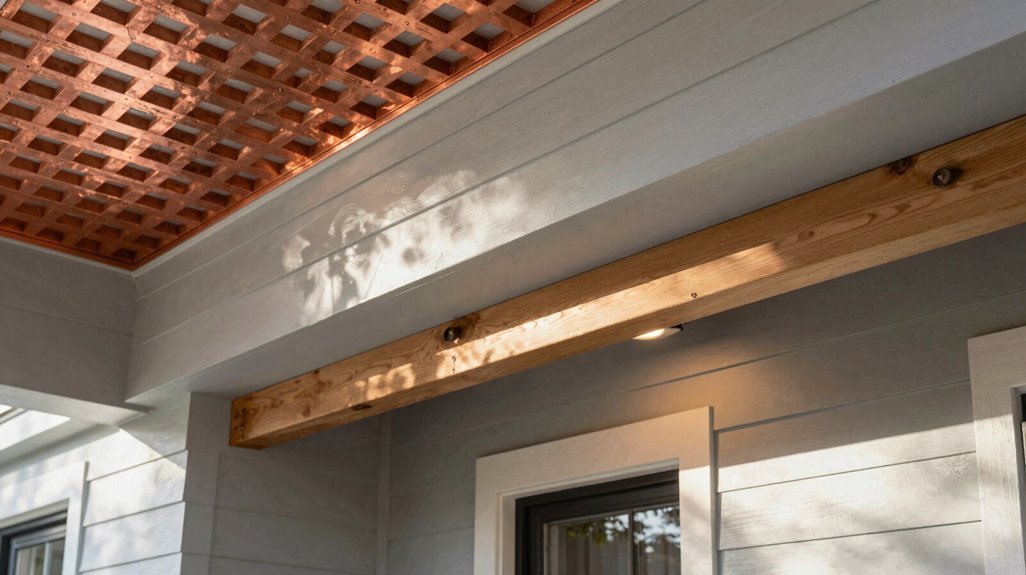
Once your electrical infrastructure is secured, you’ll shift focus to material selection and cost allocation, the factors that actually determine your project’s bottom line. You must evaluate four primary material options: vinyl, wood, plywood, and composite.
- Vinyl delivers maintenance-free, rot-resistant performance, eliminating long-term upkeep costs. Expect $3-$7 per square foot.
- Wood (cedar, cypress, pine) ranges $4-$12 per square foot. Cedar resists moisture best; pine costs least but demands more care.
- Plywood runs cheapest at $2-$5 per square foot, yet you’ll invest additional time sealing and recoating every 2-3 years.
- Composite commands $8-$15 per square foot upfront, but you’ll recoup expenses through minimal ten-year maintenance.
Labor costs fluctuate significantly: tongue-and-groove beadboard requires 40% more installation time than flat sheet vinyl. Factor $50-$100 per hour for professional installation, or dedicate 8-12 hours for DIY completion.





