
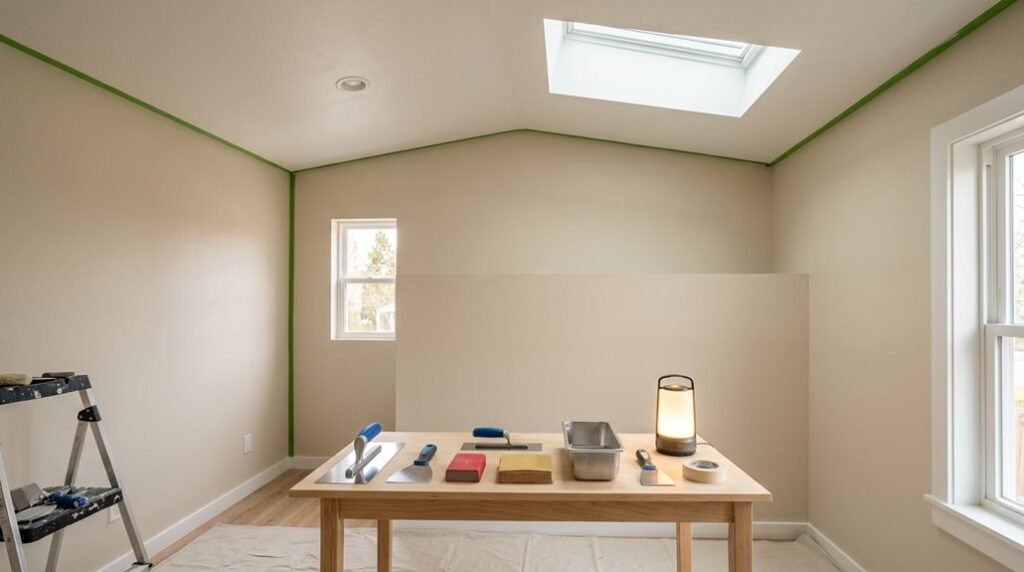
Your popcorn ceiling presents three distinct paths: removal, covering, or encapsulation. Each demands specific tools, timeframes, and safety protocols you’ll need to evaluate before starting.
The method you choose depends on asbestos testing results, ceiling condition, and your skill level.
Understanding these variables prevents costly mistakes and hazardous exposure. Here’s how to assess your situation and select the right approach.
Does My Popcorn Ceiling Contain Asbestos? How to Test
Before you scrape a single inch of your ceiling, you need to determine whether you’re dealing with asbestos. Asbestos testing protects you, your family, and your neighbors from dangerous exposure.
1. Understand your risk. Popcorn ceilings installed before 1980 commonly contain asbestos. Age alone doesn’t confirm presence, but it raises your priority for testing.
2. Choose your testing method:
| Method | Cost | Reliability |
|---|---|---|
| DIY test kit | $250–$850 | Variable |
| Professional sampling | $40 (first sample), $25 (additional) | Higher |
3. Follow safety precautions. Don’t disturb the material. Wet a small area, collect a thumbnail-sized sample, seal it immediately.
4. Submit for lab analysis. Only certified laboratories provide definitive results.
5. Plan your response. Positive results require professional removal. Licensed contractors handle containment, specialized extraction, and compliant disposal per local regulations.
What to Do If Your Popcorn Ceiling Has Asbestos
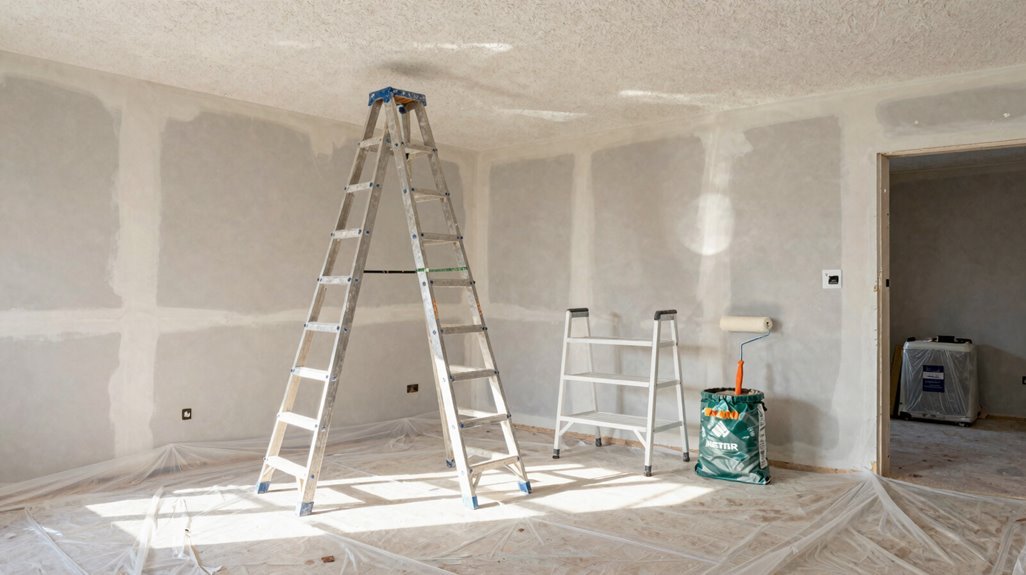
If your test confirms asbestos, you’ll need to act decisively, since disturbing these fibers yourself creates serious health hazards. You must hire a licensed abatement contractor, who will seal your HVAC vents, cover doorways with 6-mil polyethylene sheeting, and deploy HEPA-filtered negative air machines before removing any material.
Expect to pay between $1,500 and $3,000 for professional containment, removal, and legally compliant disposal, depending on your room’s square footage and local regulatory requirements.
Asbestos Testing Essentials
Why gamble with your health when a simple test can reveal what you’re really dealing with? If your home was built before the 1980s, you need asbestos testing before touching that popcorn ceiling. You have two paths: DIY testing kits or professional services running about $40 for your first sample, then $25 for each additional one.
Testing safety demands you shut off your HVAC, seal the room, and use plastic sheeting for containment. Dust control isn’t optional; it’s survival. When results come back positive, stop immediately. Licensed removal becomes your only legal, safe option. Don’t fantasize about handling it yourself.
Even negative results warrant professional help if your ceiling’s crumbling or covers a large area. Your family’s safety belongs in certified hands, not wishful thinking.
Professional Removal Necessity
Once your test results confirm asbestos, you’re legally and ethically bound to hire licensed abatement professionals, because federal regulations and state laws prohibit homeowners from disturbing this hazardous material.
1. Immediate containment steps: Turn off your HVAC, seal doorways and vents with 6-mil plastic sheeting, and restrict access to the room.
2. DIY risk is severe: Disturbing asbestos releases microscopic fibers, causing lung disease and cancer. Avoid sanding, scraping, or drilling entirely.
3. Professional removal requirements include:
- Licensed abatement contractor with EPA certification
- Negative air pressure safety containment systems
- HEPA-filtered vacuuming and wet-wipe cleanup protocols
4. Cost comparison: Asbestos testing runs $40–$850, while abatement ranges $15–$30 per square foot.
5. If your home was built before 1980, schedule testing immediately. Protect your family, neighbors, and future occupants through proper procedure.
DIY Popcorn Ceiling Removal: Tools, Setup, and Safety Gear
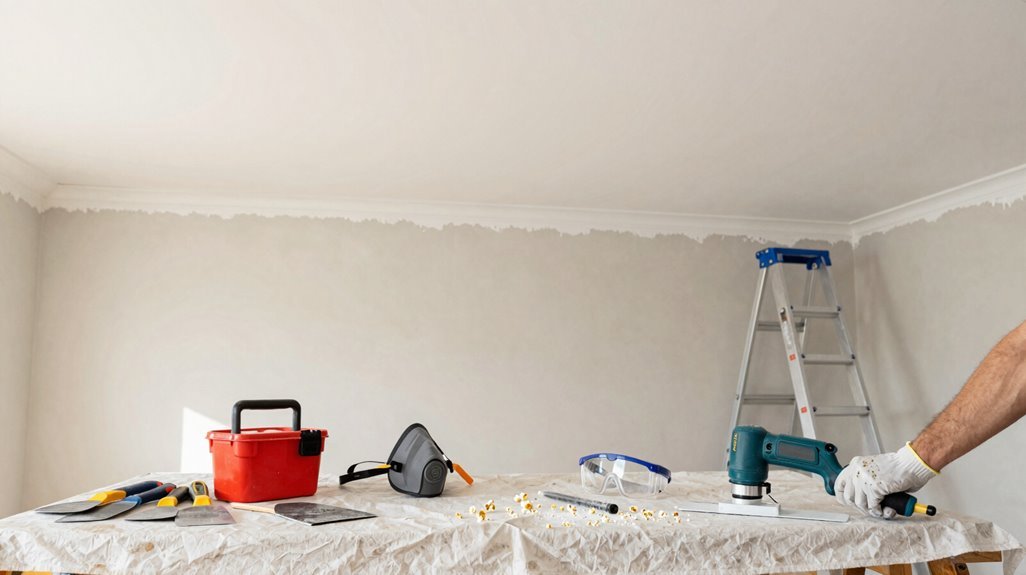
You’ll need a specific set of tools to remove popcorn texture effectively, including a pump sprayer, 6-inch and 10-inch drywall knives, and a mud pan for joint compound application.
Your safety gear must include a properly fitted N95 or P100 respirator, sealed goggles, disposable coveralls, and heavy-duty gloves to protect against airborne particles and wet debris.
Before touching the ceiling, you’ll test for asbestos, shut down your HVAC system, and seal doorways with 2-mil plastic sheeting, taping all seams to create a contained work zone.
Essential Tools Needed
Starting a popcorn ceiling removal project means assembling the right tools, safety equipment, and workspace protections before you touch a single surface. You’ll need removal tools including a 6–12 inch scraper, drywall knife, pump sprayer, mud pan, and HEPA-filter vacuum for dust control. Your containment strategy requires plastic sheeting, painter’s tape, and drop cloths to seal adjacent areas.
Don’t skip testing for asbestos if your home predates 1980; use a moisture-compatible kit before proceeding.
| Category | Essential Items | Purpose |
|---|---|---|
| Removal Tools | 6–12″ scraper, drywall knife, pump sprayer, mud pan, HEPA vacuum | Scrape, wet, collect debris |
| Containment | Plastic sheeting, painter’s tape, drop cloths | Isolate work zone, protect surfaces |
| Testing/Prep | Asbestos test kit, room sealing materials | Verify safety, prevent contamination |
Safety Gear Requirements
Why risk your health when proper gear makes popcorn ceiling removal straightforward and safe? You need proper PPE (personal protective equipment) before touching any ceiling, especially in pre-1980s homes where asbestos hides undetected.
First, you strap on a fitted respirator rated specifically for dust and asbestos particles; standard masks won’t protect you. You add safety glasses, disposable coveralls, and gloves as your protective clothing barrier against debris and skin irritants.
Your safety gear setup continues with room containment: you seal doors with plastic sheeting, cover floors and furniture completely, and shut off HVAC systems to stop dust migration.
You position a sturdy ladder, maintain three points of contact, and keep a helper nearby for tool handoffs and debris removal. This systematic approach keeps you and your workspace protected throughout the project.
How to Wet-Scrape a Popcorn Ceiling Without the Mess
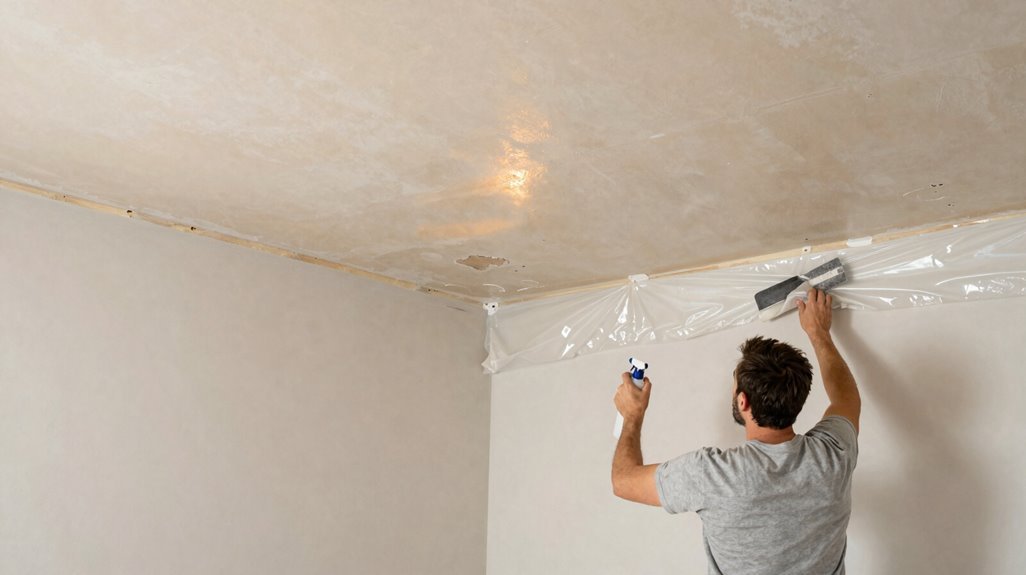
Once you’ve confirmed your ceiling contains no asbestos, wet-scraping offers the most efficient method for removing popcorn texture with minimal airborne dust. You’ll need protective gear, including goggles, respirator, and coveralls, as your asbestos precaution before beginning.
- Prepare your workspace. Clear furniture, lay plastic sheeting, and gather tools: pump sprayer, 6-inch drywall scraper, and drop cloths.
- Test a small spot. Apply warm water to a 2-foot section, wait 15 minutes, and scrape gently to gauge texture release without substrate damage.
- Work in sections. Spray approximately 10 square feet at a time, maintaining dampness without runoff. Hold your scraper at 30 degrees, applying steady, even pressure.
- Address resistance. Re-wet stubborn areas, or switch to smaller tools for corners and tight spots on your textured ceiling.
- Inspect and patch. After you wet-scrape the entire popcorn ceiling, examine for dents or gouges. You’ll fill these with joint compound before priming and painting.
When to Skim Coat Your Popcorn Ceiling Instead of Scrape
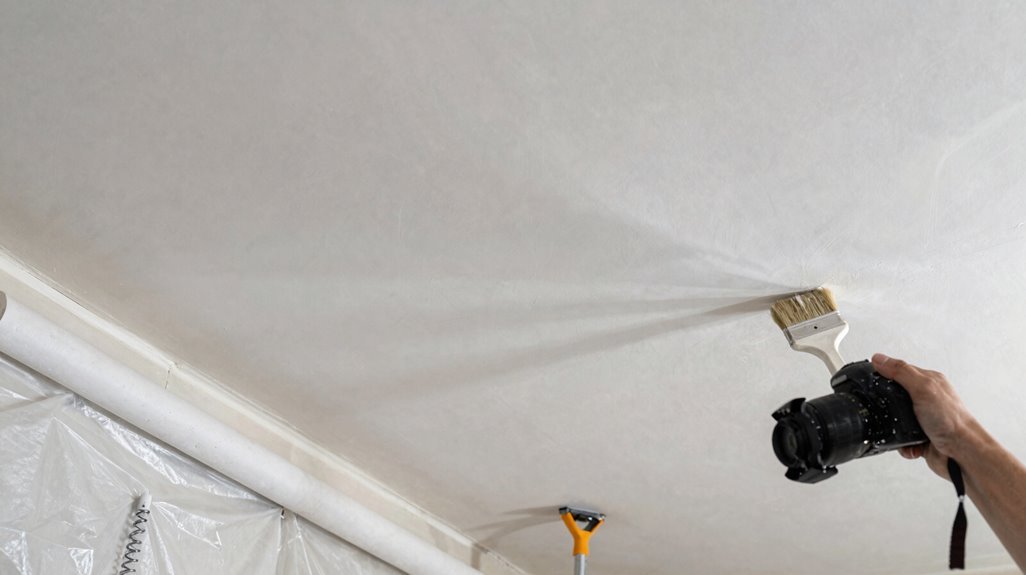
When you’re staring up at a heavily textured ceiling and dreading the mess of wet-scraping, skim coating offers a practical alternative that trades demolition for refinement. You apply drywall mud in thin, successive coats over your popcorn ceiling, sanding between each pass until you achieve a smooth ceiling without full texture removal.
Consider skim coating when:
- Your popcorn ceiling texture sits relatively flat without deep valleys or heavy peaks
- You’ve discovered asbestos and cannot safely perform complete texture removal
- The existing surface shows minor cracks or damage that pre-skimming repairs can address
- You want faster completion with less airborne dust than wet-scraping requires
Apply a drywall primer before mudding to guarantee proper adhesion. After final sanding with 120–220 grit, clean thoroughly, seal with drywall primer, then paint flat or matte. You’ll gain perceived height, though thick applications may retain slight shadowing.
How to Cover a Popcorn Ceiling Without Removing It
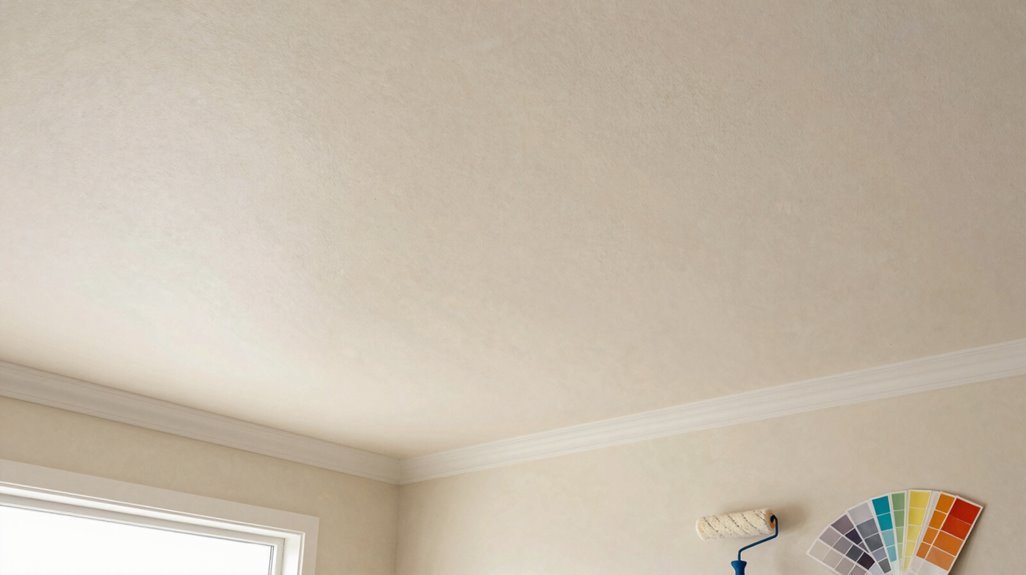
Skim coating isn’t your only path forward when demolition feels overwhelming. You have solid ceiling coverings that conceal textured ceilings without the mess.
You don’t have to tear everything down. Ceiling coverings hide textured surfaces without the demolition mess.
First, install faux tin track systems, like Armstrong Easy-Up, which attaches directly over popcorn at $2 per square foot. No glue, no scraping, just secure tracks and snap-in panels.
Second, consider pressed tin at $2-$15 per square foot, or budget-friendly faux tin PVC alternatives. Both deliver visual impact while hiding texture entirely.
Third, if you want wallpaper, you’ll need to skim-coat first. Apply joint compound, sand smooth, then hang your pattern.
These methods update your room without demolition dust, giving you results that look purposeful, not inherited. Choose based on budget, labor tolerance, and desired finish.
How to Install Beadboard or Planks Over Popcorn Ceilings
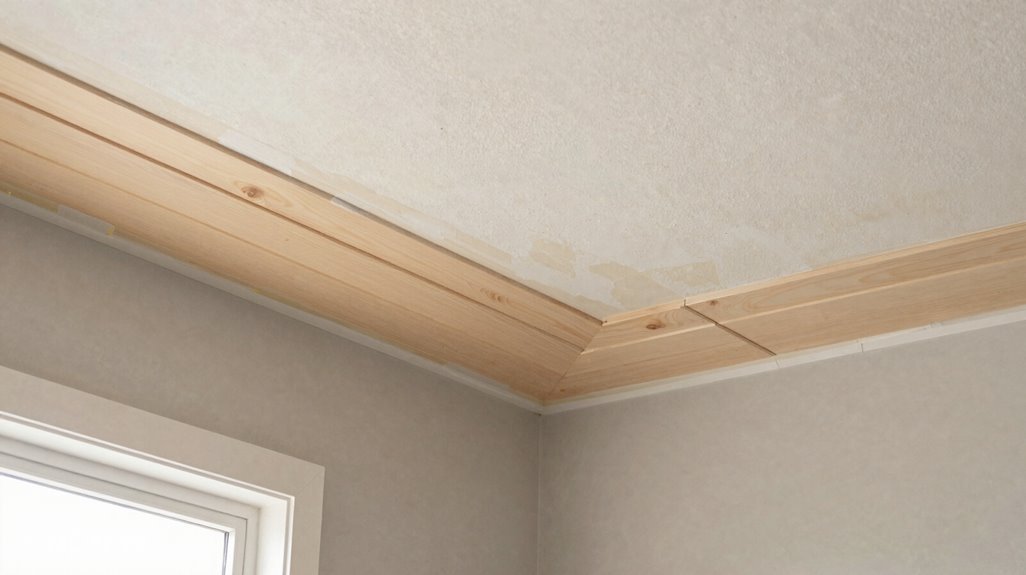
You’ll want to start by selecting pre-primed beadboard sheets, which run approximately $2 per square foot and eliminate an extra painting step. Once you’ve chosen your material, you’ll secure the panels using construction adhesive and finishing nails, working across the ceiling in manageable 4-foot sections.
After installation, you’ll fill nail holes with wood filler, sand smooth, and apply your chosen paint color or clear protective finish.
Material Selection Tips
Why settle for outdated texture when beadboard offers a faster, cleaner upgrade? You deserve a ceiling that feels like home without draining your wallet, and beadboard installation delivers exactly that. Pre-primed sheets cut your painting time in half, while strategic material choices let you skip messy texture removal entirely.
Before you gather supplies, run through this checklist:
- Choose 4×8-foot pre-primed sheets at roughly $2 per square foot for budget painting that doesn’t sacrifice quality
- Inspect your existing surface; apply a drywall skim coat only if popcorn peaks exceed ¼-inch height
- Select finish-grade trim molding, ½-inch by 2¼-inch, to mask seams between panels
- Pick your ceiling finishing: bright white for cottage appeal or golden oak stain for farmhouse warmth
This approach updates your room through smart covering, not destructive demolition.
Installation Techniques
The installation demands precise measurement, strategic fastening, and attention to substrate conditions before you secure the first panel. You’ll assess whether your popcorn texture requires a skim coat or if furring strips create the flat surface needed for proper beadboard installation. Pre-primed beadboard accelerates your project timeline, eliminating priming steps while delivering consistent color absorption across all panels.
| Installation Phase | Critical Action | Outcome |
|---|---|---|
| Surface Prep | Apply skim coat or install furring strips | Flat surface achieved |
| Panel Selection | Choose tongue-and-groove pre-primed beadboard | Seamless seams result |
| Fastening Pattern | Secure to joists every 16 inches | Structural integrity maintained |
| Final Assessment | Inspect for visible texture bleed-through | Professional finish confirmed |
Tongue-and-groove edges interlock, creating seamless seams that disappear after painting. You’ll complete beadboard installation efficiently, changing dated ceilings without messy removal.
How to Install Drywall Over a Popcorn Ceiling
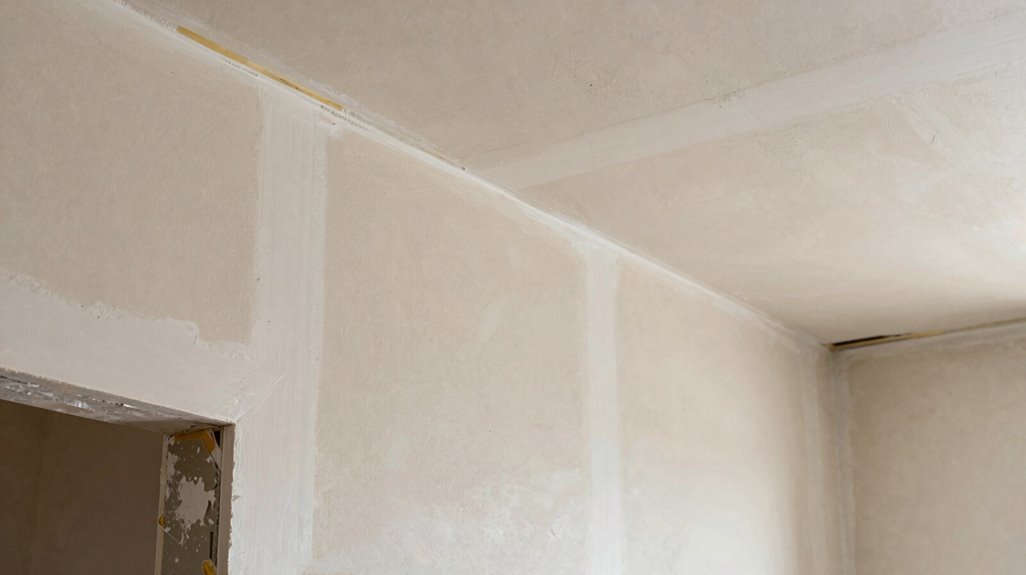
If you’re seeking a faster alternative to scraping popcorn texture, over-drywalling provides a viable solution that preserves your ceiling’s structural integrity while eliminating the dated aesthetic. Drywall over popcorn involves attaching 1/2-inch or 5/8-inch gypsum boards directly to joists, creating a fresh substrate for ceiling paint.
Popcorn ceiling removal through covering demands precision. You’ll mask walls, cut electricity, and check joist capacity before lifting panels. Pre-primed beadboard or plywood substitutes gypsum, with joint compound smoothing every seam. Unlike traditional plaster, this method skips curing delays.
Execute these steps:
- Mark joist locations with a stud finder, then locate and mark each ceiling joist precisely across your entire surface.
- Attach drywall with screws, working panel edges perpendicular to joist direction.
- Tape and mud joints, applying thin joint compound layers, sanding between coats.
- Apply primer after sanding smooth, preparing for ceiling paint application.
How to Prime and Paint Your Ceiling After Popcorn Removal
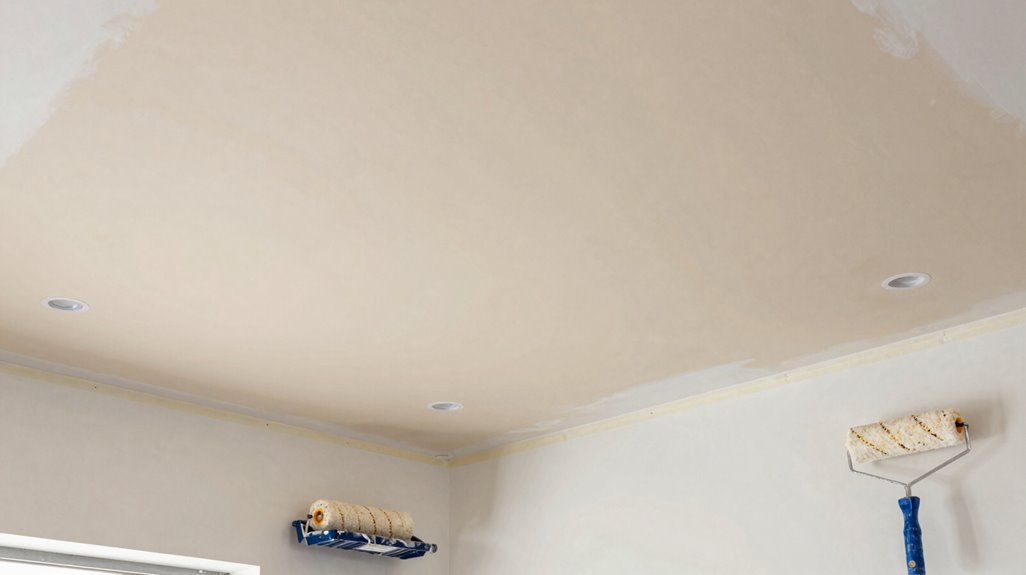
Surface preparation determines every outcome that follows, so you’ll invest adequate time in priming before any paint touches your ceiling. After confirming your space is asbestos-free and repairing any leakage damage, apply a high-quality drywall sealer as primer. This reveals patching needs and improves adhesion across the entire surface. Mask all edges, walls, and fixtures completely. Allow primer to dry fully, typically 4-6 hours, before proceeding.
Select your paint finish strategically: flat or matte minimizes glare and conceals imperfections, while eggshell suits kitchens or bathrooms requiring moisture resistance. Apply two thin coats of ceiling-specific paint, permitting full cure time between applications. This prevents peeling and promotes even color distribution. Your patience during drying cycles directly determines final durability and professional appearance.
How to Repair Ceiling Damage From Popcorn Removal
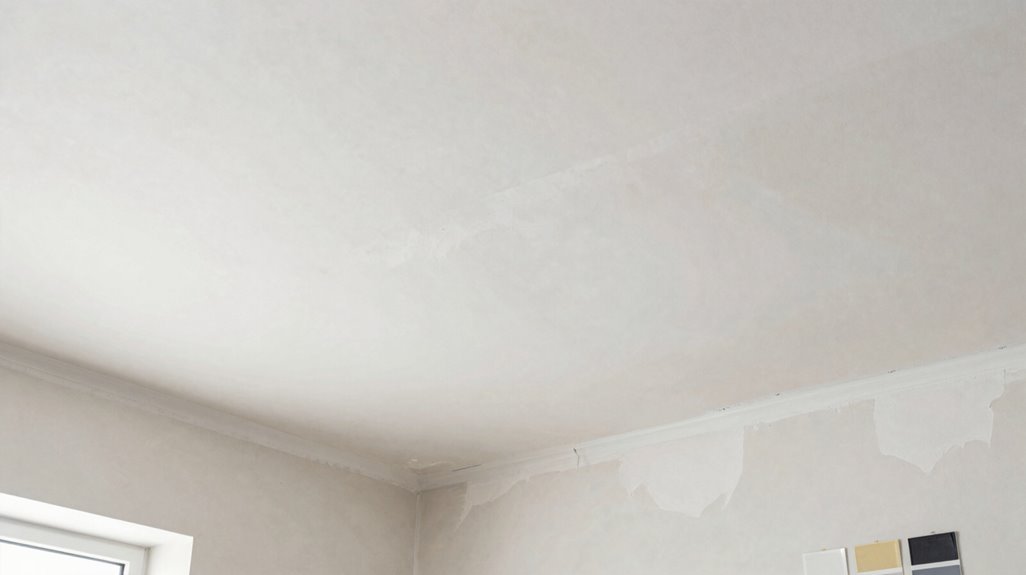
Once you’ve finished priming and painting, you might notice areas where the ceiling surface isn’t as smooth as you’d hoped. Don’t worry, you’re not alone in this. Here’s how you fix it:
- Inspect for dents, gouges, or exposed joints requiring patching with joint compound.
- Apply a thin, even coat of joint compound, then let it dry completely before sanding with 120–220 grit for seamless blending.
- Use a damp sponge or light water mist to minimize dust when feathering edges around repaired areas.
- Prime repaired spots with high-build primer to seal dust and improve paint adhesion.
If your original popcorn contained asbestos, hire a licensed professional for repairs. They’ll guarantee safe containment, protecting your home and your family’s wellbeing.
How to Match Popcorn Texture in Patched Areas
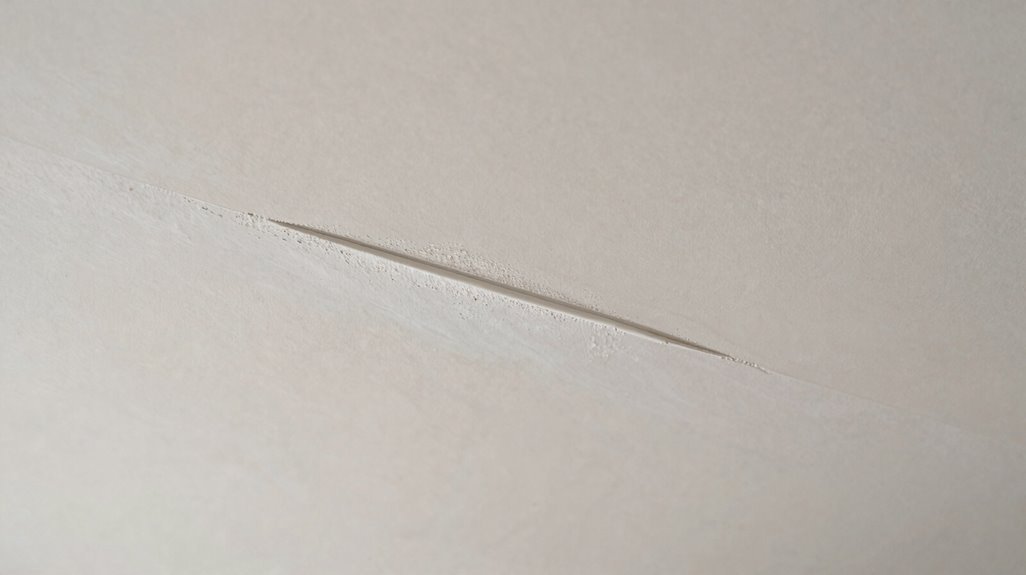
Why does that patched spot on your ceiling stick out like a sore thumb? You’ve completed the patching, but texture matching demands precise technique to blend repairs into your existing surface.
Even a perfect patch fails when texture doesn’t blend—surface matching is what makes repairs truly disappear.
Start by applying lightweight joint compound to fill damaged areas, feathering all edges 2-3 inches beyond the repair boundary. For effective texture matching, lightly stipple or swirl wet compound using a stipple brush, sea sponge, or texture roller to duplicate your ceiling’s original pattern; practice first on cardboard matching your ceiling’s peaks-per-inch density.
When dealing with heavy textures, spread a thin skim coat across patched sections before final painting, so absorption stays uniform across old and new surfaces. You’ll need to complete sanding in progressive stages: begin with 120-grit paper, advance to 150-grit, and finish with 220-grit to eliminate ridges without exposing the repair.
Finally, test paint sheen and color on your patched area, since differences in glaze or surface texture become visible under angled lighting conditions.
What Popcorn Ceiling Removal Costs: DIY vs. Professional

How much should you realistically budget for popcorn ceiling removal? You’ll face a significant cost comparison between methods, and understanding these expenses helps you make informed decisions for your home.
- DIY removal typically costs $300–$900 for supplies, tools, and disposal.
- Professional removal runs $900–$2,500, completing the job in 1–2 days versus your 2–4 days.
- Asbestos testing adds $40 for your first sample, plus $25 each additional; abatement exceeds $1,000 if detected.
- Safety precautions justify professional investment, especially for pre-1980s ceilings where reduced dust, cleaner finishes, and minimized health risks protect your family.
Factor these variables precisely. Your ceiling’s condition, age, and square footage determine whether you stretch your budget for expert handling or manage carefully planned DIY removal.
DIY or Pro? When to Hire Help for Popcorn Ceiling Removal

When you’re weighing popcorn ceiling removal, your decision depends on four critical variables: safety exposure, time investment, equipment access, and finish quality expectations.
| Factor | DIY Approach | Professional Hire |
|---|---|---|
| Cost | $300–$900 supplies | $900–$2,500 labor |
| Time | 2–4 days scraping | 1–2 days completion |
| Safety | You manage dust containment, HVAC shutoff, HEPA vacuuming | They handle asbestos testing, professional abatement |
| Result | Variable texture match | Uniform, paint-ready surface |
Homes built pre-1980 demand asbestos testing before any DIY removal begins. If fibers test positive, professional abatement becomes non-negotiable.
Your cost comparison changes significantly when you factor scaffold rental, protective gear, and potential health risks. DIY removal works for small, asbestos-free rooms you can fully seal. When dust containment overwhelms your space, or ceilings exceed 200 square feet, hire experienced crews. They bring industrial equipment, liability coverage, and guaranteed finishes you can’t replicate solo.





