
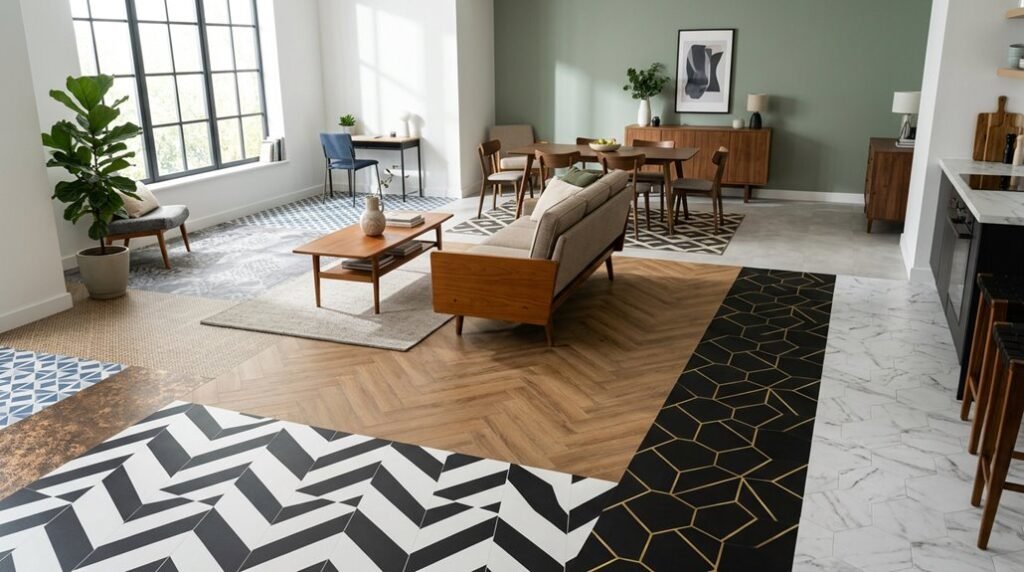
You need flooring that installs in hours, not days, without mortar, grout, or specialized tools. Peel-and-stick tiles deliver exactly that, but material selection determines whether your surface lasts five months or fifteen years. This guide breaks down ten proven applications, from 12×12-inch marble vinyl to 6×36-inch wood-look planks, with specific thickness ratings, adhesive types, and subfloor preparation requirements for each scenario.
The first decision you must make involves surface compatibility, and most first-time installers get this wrong.
Will Peel-and-Stick Floor Tiles Work on Your Surface?
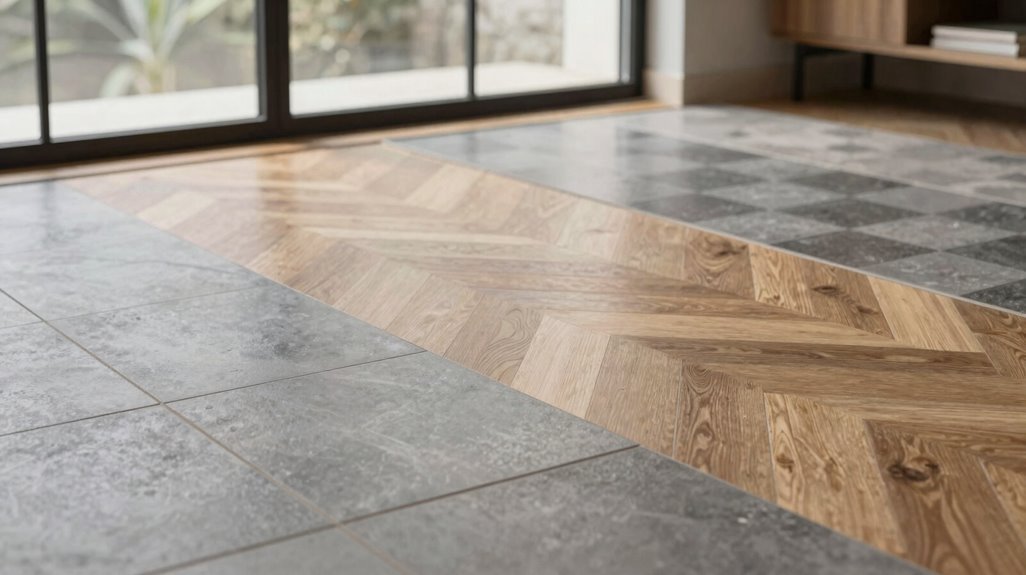
Before you commit to a full installation, you must evaluate whether your existing surface can support peel-and-stick tiles long-term. You can apply these tiles over existing tile, linoleum, cement, or vinyl, but you’ll need proper surface prep to guarantee adhesion and durability.
- Clean your surface thoroughly, removing all debris, grease, and wax.
- Verify the surface is completely dry and level within 1/8 inch over 10 feet.
- Apply a peel-and-stick primer for enhanced bonding, especially on porous substrates.
Check manufacturer guidelines; some tiles require grout-filled or smooth surfaces for optimal performance. In moisture-prone areas like basements or bathrooms, you’ll face increased lifting risks without adequate sealing. Verify water-resistance ratings, selecting bathroom-safe or water-resistant designations for wet applications. Proper preparation prevents costly failures.
Where to Use Peel-and-Stick Tiles: Room-by-Room Guide
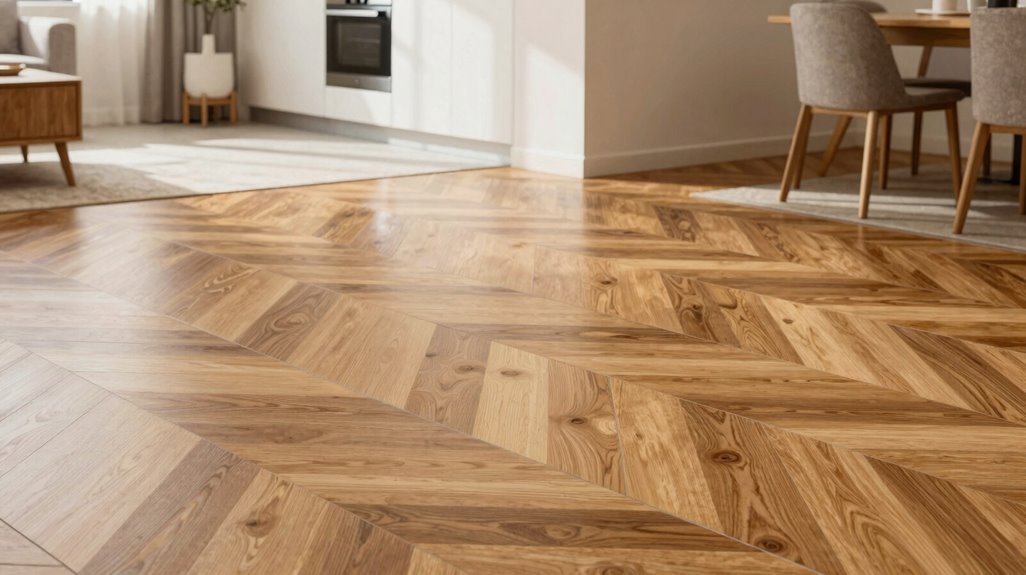
Where should you deploy peel-and-stick tiles for maximum impact? You change bathrooms, laundry rooms, kitchens, and entryways with quick, mess-free installations. You skip grout and mortar entirely, saving hours of labor.
Transform bathrooms, kitchens, laundry rooms, and entryways with quick, grout-free installations that save hours of labor.
You select water-resistant varieties for moisture-prone zones, checking labels before purchase. You prepare surfaces precisely: clean, dry, and level substrates guarantee maximum adhesion longevity. You coordinate patterns with existing décor, shower curtains, cabinetry finishes, and wall colors for cohesive visual flow.
You choose marble-like, wood-look, or bold graphic textures to minimize visible grout lines. You install in 4-6 hour windows for standard 10×10 foot spaces. You retain removal flexibility; relocate tiles when plans evolve.
You match peel-and-stick tiles to room function: water-resistant for bathrooms, durable for entryways, stain-resistant for kitchens. You test small sections first, confirming compatibility before full deployment.
Classic Marble Look Without the Cost or Mess
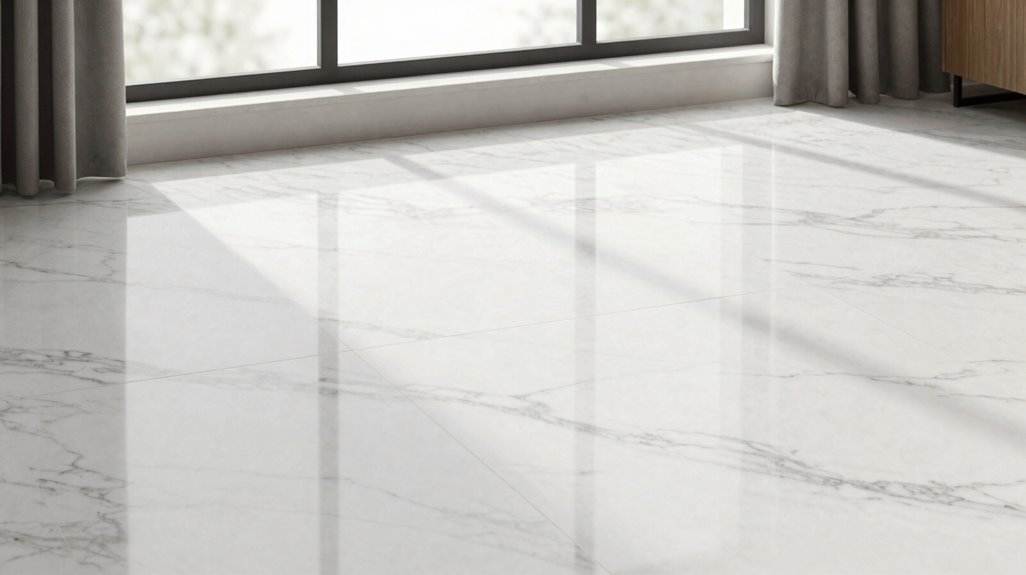
You achieve high-end marble aesthetics without structural reinforcement, cutting specialized stone, or sealing porous surfaces. Peel-and-stick floor tiles deliver this change at approximately $23.99 per tile, replicating marble’s texture and depth through advanced surface printing.
You install these tiles directly over existing floors, eliminating grout lines and professional labor costs. Multiple brands offer marble-inspired patterns, though availability fluctuates; some variants sell out while others ship immediately.
For optimal adhesion, you must prepare surfaces thoroughly. Apply a peel-and-stick primer in bathrooms or high-moisture areas to prevent lifting. The tiles’ dimensional surface mimics genuine stone veining, creating visual complexity without weight or fragility.
You complete installation within hours, not days. The result satisfies practical demands for durability alongside refined appearance, positioning you within spaces that communicate discernment without expenditure.
Wood-Look Peel-and-Stick for Warmth and Durability
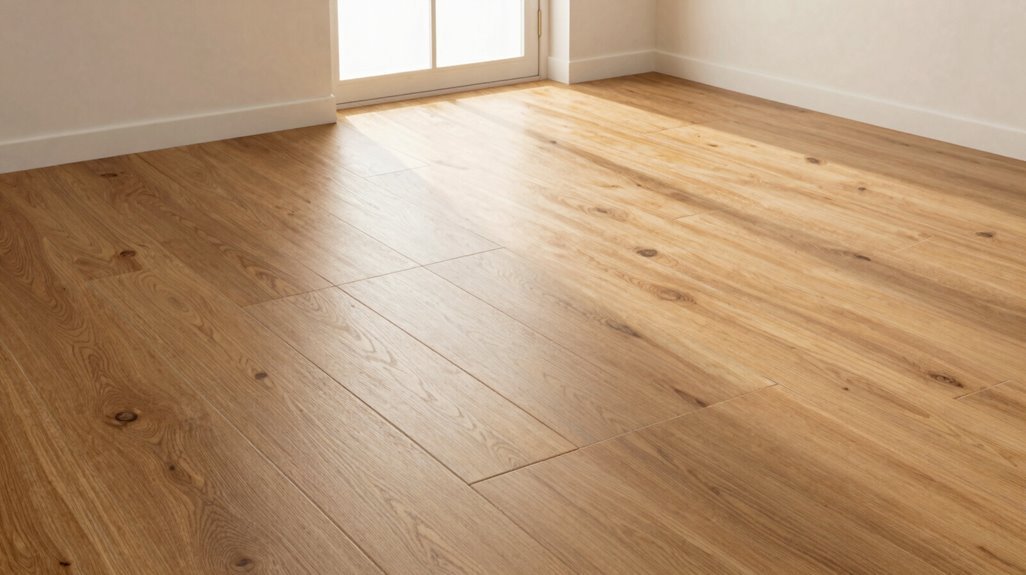
How do you introduce organic warmth into sterile environments without structural overhaul or budget depletion? You select vinyl floor planks that replicate authentic wood grain, installing them directly atop existing tile, linoleum, or concrete surfaces in under a day.
Transform cold, clinical spaces into inviting retreats in hours—not weeks—by layering lifelike wood-grain vinyl over existing floors, no demolition required.
- Textured Topaz, Ezra, Opaline, Jamila, and Chris Loves Julia Cricket lines retail at $23.99 per tile
- Fractional and full-plank formats, plus driftwood finishes, enable custom patterning
- Interlocking designs build dimensional depth without professional labor
- Peel-and-stick primer applications help adhesion last in moisture-prone zones
Clean substrates thoroughly before placement. Manage ambient humidity levels to prevent lifting. You’re assembling a cohesive, grounded space that welcomes inhabitants without demanding excessive resources, specialized skills, or ongoing maintenance commitments.
Bold Geometrics That Make Small Spaces Pop
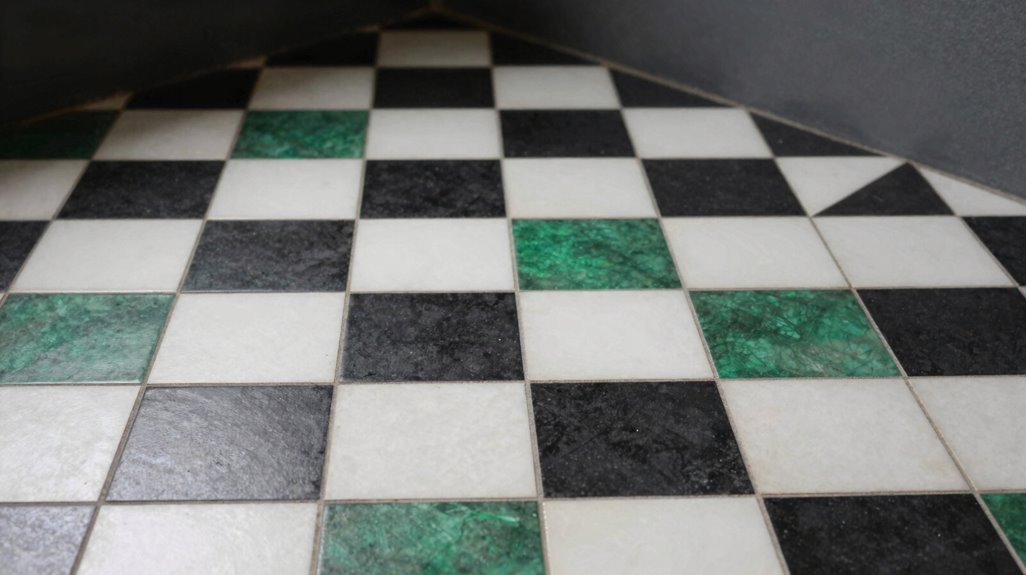
When you’re working with limited square footage, visual expansion becomes your primary objective, and bold geometric peel-and-stick tiles deliver measurable results without structural modification. You install bricks, chevrons, or interlocking geometrics to draw the eye across the floor, creating perceived depth in bathrooms, laundry rooms, and entryways. Running bond layouts diffuse visual breaks, producing continuous surfaces. Moisture-friendly vinyl options provide water resistance and washable surfaces for high-traffic zones.
You ground these bold patterns with neutral walls or coordinating textiles to keep the space from becoming too busy. Many design-forward geometrics retail at $23.99, though stock fluctuates by style.
| Pattern Type | Visual Effect | Ideal Room Size |
|---|---|---|
| Chevron | Horizontal expansion | Under 50 sq ft |
| Brick bond | Continuous surface | 50-100 sq ft |
| Interlocking | Depth creation | Under 75 sq ft |
| Herringbone | Directional movement | 25-80 sq ft |
How to Hide Old Grout Lines Before You Tile
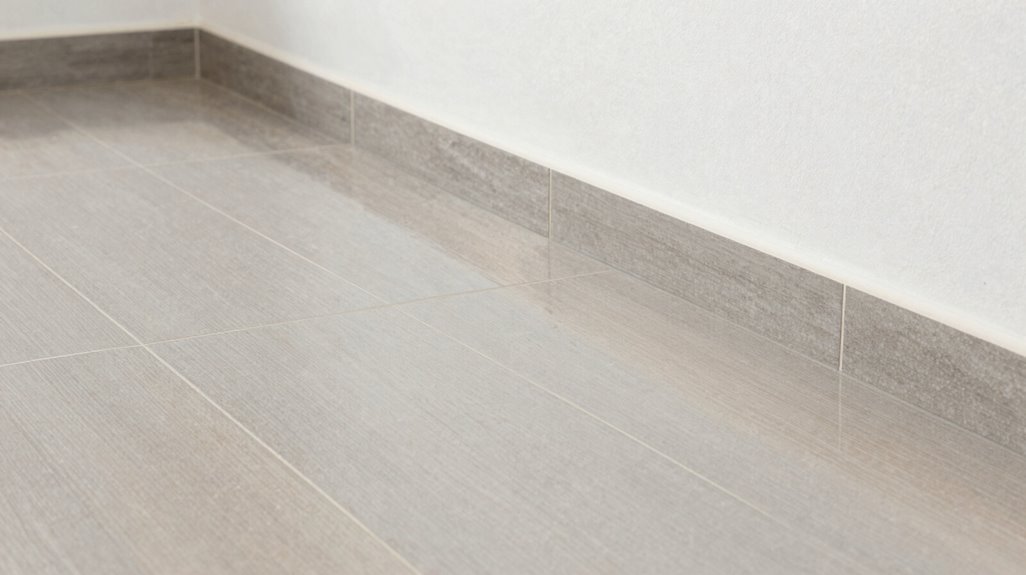
Why let old grout lines sabotage your new floor when a few preparatory steps deliver professional results? You prevent uneven surfaces, visible imperfections, and premature peeling through systematic preparation.
- Clean grout lines thoroughly, removing debris, grease, and loose material with a stiff brush and degreaser
- Fill grout lines with thin-set mortar, feathering edges flush with existing tile surfaces
- Apply peel-and-stick primer over sealed grout lines, creating uniform bonding conditions
- Repair cracked or uneven grout lines first, so no imperfections transfer upward
You allow 24 hours drying time before installation. You prime surfaces for better adhesion. You create flat, stable foundations that support lasting results. You turn compromised substrates into professional-grade bases, guaranteeing your peel-and-stick investment performs as intended without visible grid patterns emerging through.
Size and Pattern Tricks for Professional Results

Where do uneven cuts and misaligned seams originate? They stem from unverified tile dimensions and haphazard layout planning. You’ll measure each tile twice, confirming length and width, because custom sizes from manufacturers alter your pattern alignment markedly.
Select your pattern offset; staggered layouts reduce visible transitions and create cohesive visual flow. You’ll offset rows by half a tile, typically 6 inches on 12-inch tiles, so seams don’t align vertically.
Consider these pattern options:
| Pattern Type | Offset Measurement | Visual Effect |
|---|---|---|
| Brick | 50% (half tile) | Classic, elongated space |
| Geometric | 33% or 66% | Dynamic, modern movement |
| Stone texture | Random stagger | Natural, varied appearance |
You’ll verify bathroom-rated moisture resistance, apply peel-and-stick primer in high-traffic zones, and maintain 1/16-inch expansion gaps at perimeters. Your installation achieves professional precision through systematic measurement and deliberate pattern selection.
Coordinate Floors With Walls and Fixtures
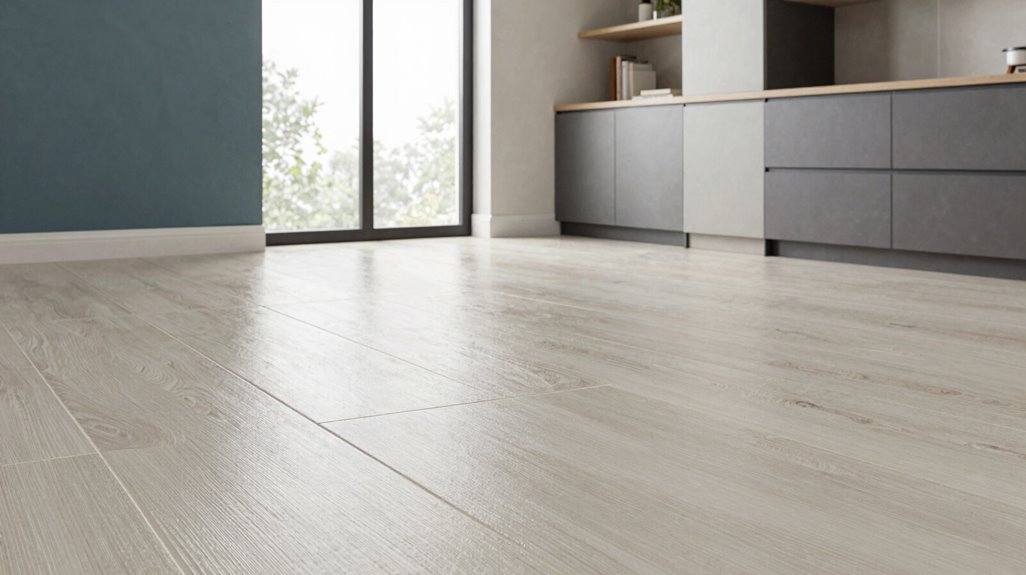
How do you unify a room without replacing every surface? You select peel-and-stick floor tile that echoes your existing palette. Choose moody neutrals or textured stone looks to complement walls and fixtures without overwhelming them.
Unify any room without a full renovation—peel-and-stick tile echoes your palette and complements what you already have.
Match geometric or brick patterns to wall decals, shower curtains, or cabinetry for visual continuity. Offset tile directions or reverse layouts to align grout lines with wall patterns and create balanced sightlines.
Install water-resistant vinyl in bathrooms and laundry rooms, selecting color families that unify floors with vanities and hardware. Test sample swatches against backsplashes and fixtures before full deployment to check harmony.
You avoid costly mistakes by confirming colorway compatibility through small test installs. This methodical approach guarantees your peel-and-stick floor tile integrates with every surface.
What Real Users Say About Long-Term Wear
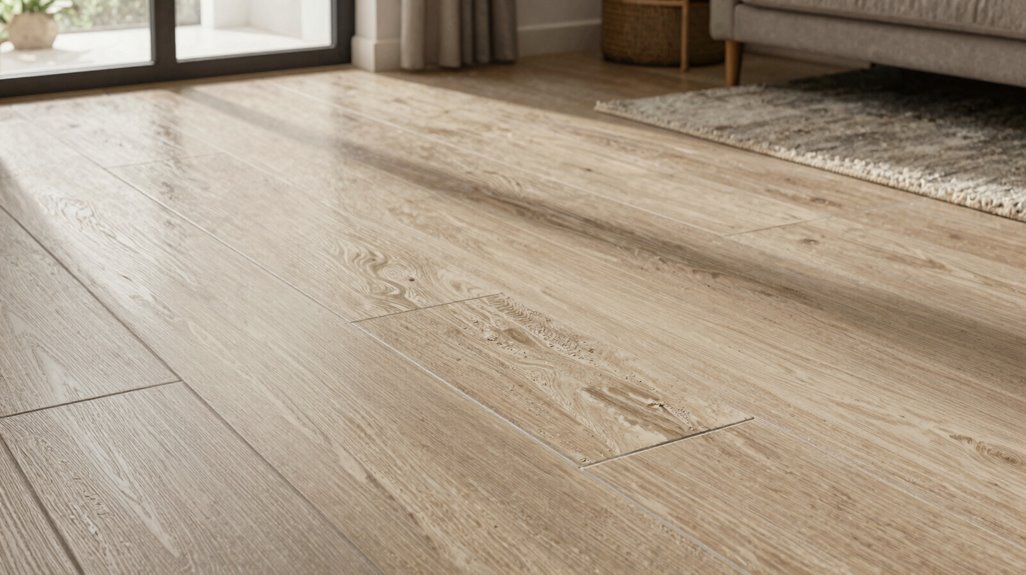
You’ll find real-world performance varies sharply based on installation quality, with textured or sloped edges showing wear within 12-24 months if surface prep is skipped. Users report 5+ year lifespans in bathrooms and entryways when you apply proper primers and fill grout lines before laying tiles.
Your moisture-prone areas demand careful tile rating checks, as damp basements and high-humidity bathrooms cause lifting when exposure exceeds manufacturer specifications.
Real-World Performance
Why do some peel-and-stick floors last five years while others fail within months? You’ll find the answer lies almost entirely in preparation. Real users consistently report that thorough surface prep determines whether you’re joining the satisfied majority or replacing tiles prematurely.
- Clean every surface with degreaser, removing all wax, dirt, and oil residue completely
- Fill grout lines when installing over existing tile to prevent uneven adhesion
- Prime cement and porous surfaces with recommended bonding agents before application
- Test moisture levels in basements; install vapor barriers when readings exceed 3 pounds per 1,000 square feet
You can install successfully over linoleum, vinyl, cement, or ceramic tile when you prime properly. Skip preparation steps, and you’ll experience peeling edges within 6-12 months, especially in damp conditions. Your installation timeframe, including prep, typically ranges 4-8 hours for 100 square feet.
Common Wear Issues
Peel-and-stick floors occasionally separate at edges and seams after 12-36 months, particularly where moisture accumulates or traffic concentrates.
You’re noticing peeling on textured or sloped edges, aren’t you? This happens most in high-moisture zones: bathrooms, entryways, basements, where dampness persists. Surface preparation determines your success. Clean thoroughly, strip old coatings, and prime before application. Skip these steps, and you’ll watch adhesion fail prematurely.
Temperature fluctuations and rough surfaces accelerate wear in busy pathways. For problematic areas, install grout-filled tiles or apply thin-set mortar underlayment first.
Basements demand extra vigilance; ongoing moisture exposure lifts tiles regardless of quality. Check your substrate’s moisture levels before starting. Measure humidity, address drainage issues, and select appropriate products for each environment’s specific conditions.
Remove and Relocate Tiles When You’re Ready for Change
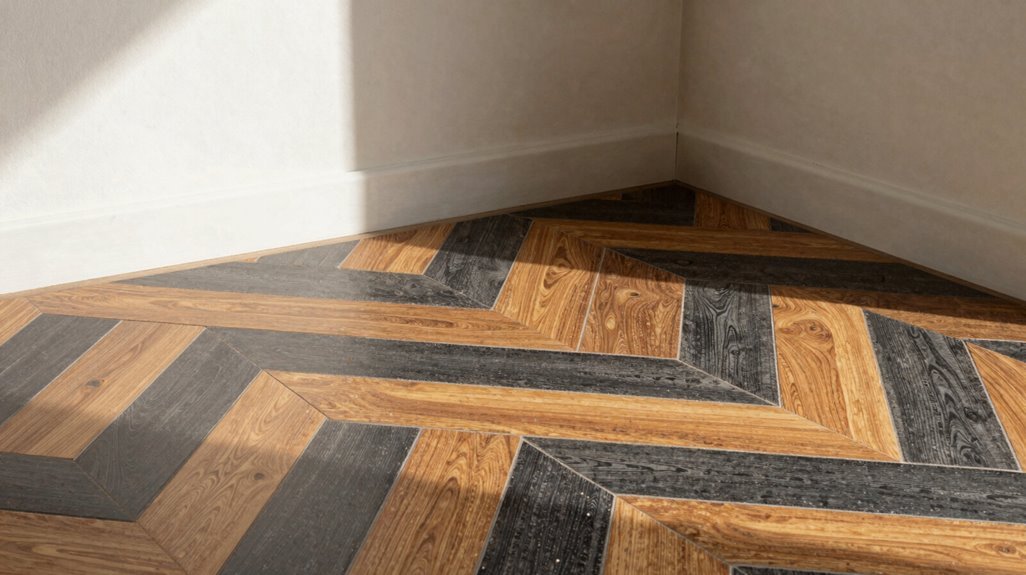
You gain temporary flooring freedom and a renter-friendly design solution when you choose peel-and-stick tiles that lift without residue, provided you select brands rated for clean removal and document adhesive specifications. When relocation becomes necessary, peel slowly at a 45-degree angle to preserve backing integrity, though bathrooms present heightened difficulty if moisture penetration occurred.
Keep records of tile composition, installation date, and subfloor type to simplify reapplication processes across categorical zones including residential, commercial, and high-traffic installations.
Temporary Flooring Freedom
How often have you hesitated to upgrade a floor because you couldn’t commit to a permanent change? Peel-and-stick floor tiles eliminate that barrier entirely, giving you complete control over your space without long-term consequences.
Measure tile dimensions precisely, accounting for custom or free-size options. Install over existing tile, linoleum, cement, or vinyl with proper surface prep. Complete weekend projects without grout, specialized tools, or professional help. Relocate or remove tiles when your style, space, or circumstances shift.
You pay approximately $17.99 to $23.99 per tile, depending on stock availability and sale timing. This investment protects your security deposit, accommodates evolving tastes, and lets you test bold patterns without regret. Temporary flooring freedom means you belong in spaces that adapt with you, not against you.
Renter-Friendly Design Solution
Why commit to permanent flooring when your lease expires in 12 months? Peel-and-stick tiles offer you a removable solution that requires zero mortar, grout, or heavy tools. You install them directly over existing surfaces, and you remove them without damaging the original floor beneath.
- Installation Requirements: Clean, dry subfloor; no additional adhesives.
- Removal Process: Lift corner, peel slowly, minimal residue remains.
- Relocation Capability: Save tiles, reuse in new space, zero waste.
You gain flexibility for bedrooms, bathrooms, or entryways without landlord disputes. Some brands prioritize clean removal with specialized adhesive formulations.
When your taste shifts or your lease ends, you pack the tiles and relocate them. You maintain deposit security, satisfy rental agreements, and still achieve customized interiors. Stock varies, so monitor availability for preferred patterns.





