
Creating a functional heat barrier for your living space requires more than aesthetic ambition; it demands precise execution across ten distinct phases. You’ll navigate material selection, structural preparation, and safety compliance while managing timelines that stretch from weekend projects to multi-week installations.
Each step builds upon the last, and skipping even one creates costly failures you cannot afford.
Choose Your Fireplace Hearth Type and Burner
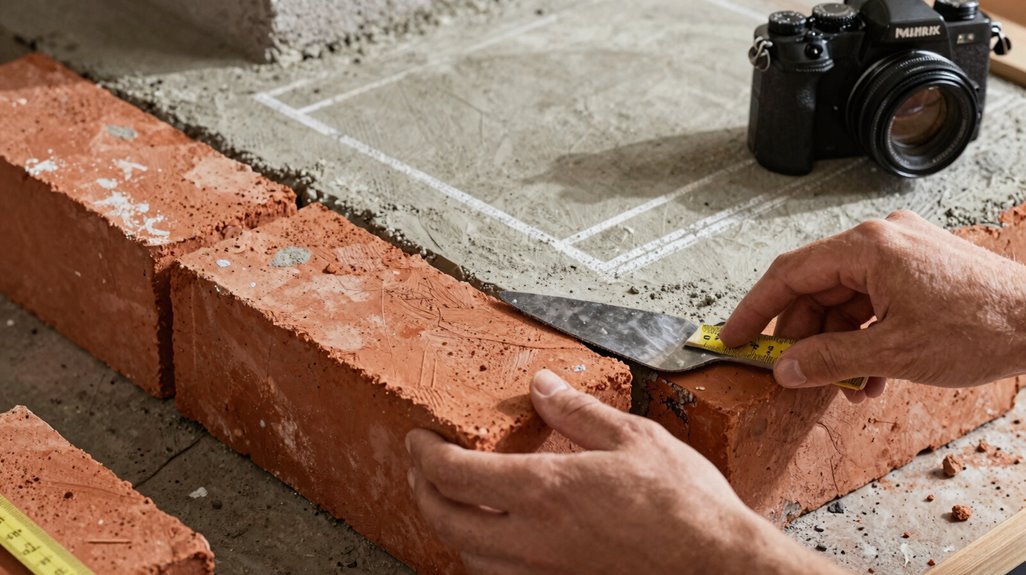
Before you gather materials or sketch dimensions, you’ll determine exactly what type of hearth you’re building and which burner will sit upon it. Your Fireplace Hearth selection shapes every subsequent decision, so you’ll evaluate single-piece versus multi-piece configurations based on your room’s accessibility needs and aesthetic goals. You’ll identify your burner type first, as this dictates structural requirements.
Open fires demand construction hearths with substantial non-combustible bases, while wood or eco-burners accommodate decorative hearth setups with reduced clearances. Gas and electric burners impose specific heat output ratings you’ll match to appropriate materials.
Your burner choice determines whether you’ll install a flush floor-level hearth or construct a raised platform as a deliberate design element. You’ll make sure all surrounding areas remain non-flammable. Your selected hearth must accommodate your burner’s exact specifications for safe, compliant installation.
Calculate Your Budget and Material List
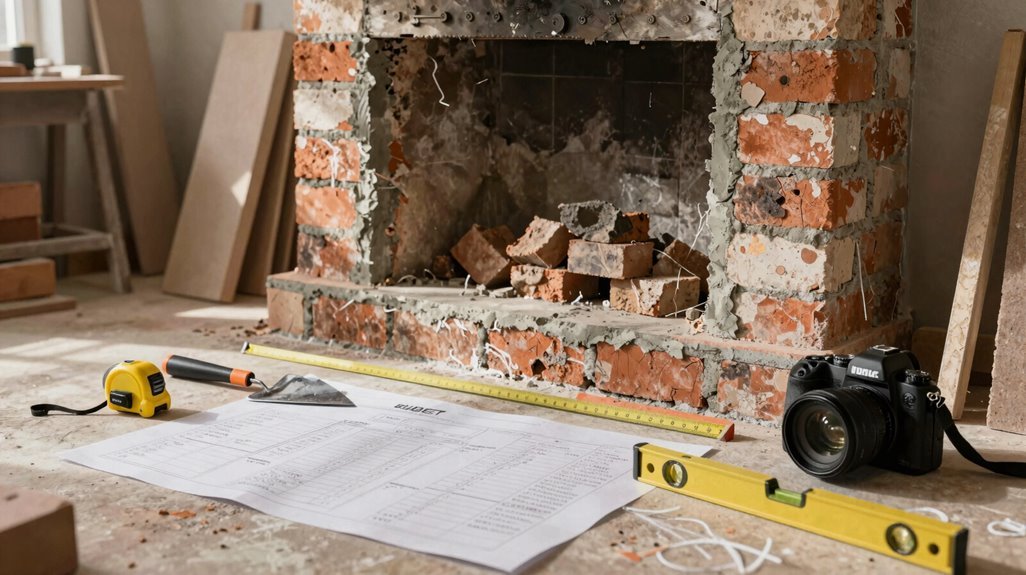
How much will your fireplace hearth actually cost? You’ll calculate your total cost by adding materials plus 50–70% more for labor if you hire professionals.
Calculate materials, add 50–70% for professional labor, and you’ll know your true fireplace hearth cost before breaking ground.
Material Breakdown:
1. Non-combustible base: Choose compressed fibro or concrete
2. Surface materials (per sq ft):
- Natural stone: $30–$70
- Brick: $10–$20
- Concrete: $15–$30
- Tile: $10–$50
3. Backer board: Two sheets, 3×5 ft, ½” thick, plus screws and seam tape
4. Mortar and heatproof flexible mastic for 5 mm expansion gaps
Time and curing: Allow 24+ hours before grouting or tiling.
List every item, check prices at multiple suppliers, and add 10% for waste. You’re building something lasting, and smart planning keeps you in control.
Remove the Old Surround and Prep the Area
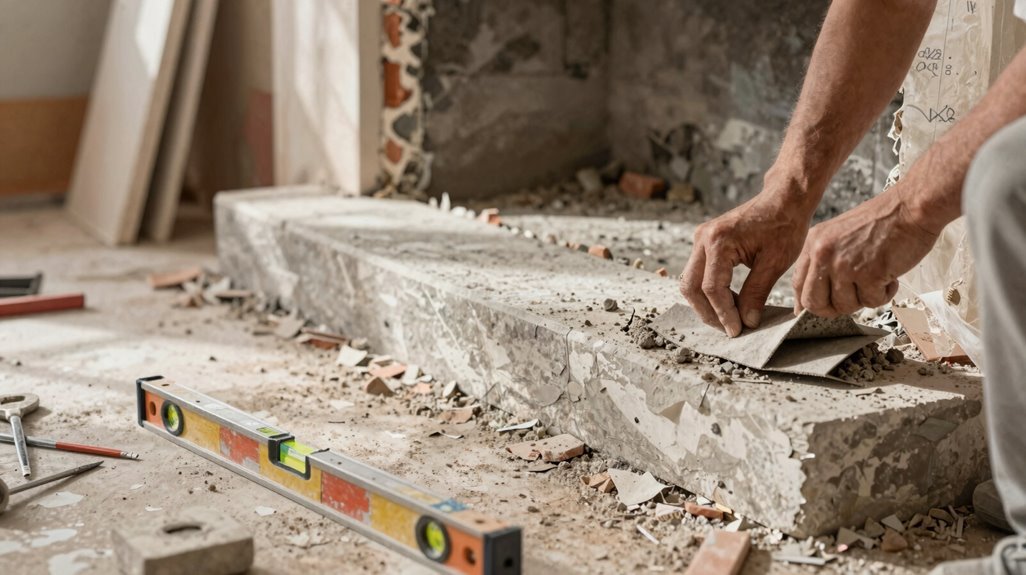
First, you’ll shut off the gas supply at the valve, typically located within 6 feet of the fireplace, before detaching the insert with a 1/2-inch wrench set. Next, you’ll strip the existing mantel, surround, and facing materials down to the rough framing, checking for rot or insect damage that requires sistering new 2x4s.
Finally, you’ll confirm the subfloor’s levelness within 1/8 inch per 4 feet using a 4-foot spirit level, shimming low spots with asphalt shingles or grinding high spots before installing cement backerboard.
Disconnect Gas Supply
Where exactly should you begin when dismantling an existing fireplace? You’ll start by disconnecting the gas supply to your fireplace insert, making sure of safe work conditions and preventing dangerous leaks. Locate your gas shutoff valve, typically found along the gas line near the fireplace or in an adjacent utility area. Turn the valve perpendicular to the pipe to stop gas flow completely.
Test for leaks using soapy water on connections, watching for bubbles that indicate escaping gas. You’re joining countless homeowners who put safety first.
| Safety Step | Action Required |
|---|---|
| Locate valve | Find gas shutoff near fireplace or utility room |
| Turn off gas | Rotate valve 90 degrees perpendicular to pipe |
| Verify closure | Test connections with soapy water solution |
Never proceed with demolition until you’ve confirmed zero gas flow. Reconnect only after framing completion and safety verification.
Remove Existing Materials
With the gas supply secured and verified, you’re ready to strip away the existing fireplace components. Start by dismantling the mantle, surround, tile, and all non-structural elements to expose the base fireplace and wall framing behind it.
Step-by-Step Removal Process
- Cut drywall or plaster as needed to modify insert height, making sure you have clear access for framing work.
- Disconnect and cap gas lines per local code requirements before altering the insert.
- Remove non-load-bearing trim and skirting boards to create an unobstructed work zone.
- Establish your final hearth size measurements now, marking boundaries clearly on the subfloor.
Clean the area completely, verify a non-flammable working surface, and inspect for recessed electrical wiring requiring relocation or protection. Your preparation determines project success.
Level Subfloor Surface
Once you’ve stripped away the old surround and skirting, you’ll need to expose and evaluate the subfloor beneath the fireplace site. Grab your long spirit level, place it across the horizontal plane, and identify every dip and rise that demands correction. You’re building something lasting, and that starts with a surface you can trust.
Here’s your leveling checklist:
- Clear all debris completely, leaving nothing between you and bare subfloor
- Mark low spots with chalk, high spots with your level’s edge
- Pour self-leveling compound into dips, smoothing with a trowel for uniform flatness
- Allow 24-hour cure time, then wire-brush loose material before backer board
Don’t rush the cure. A properly leveled foundation keeps your hearth solid, square, and worthy of the gatherings you’ll host around it.
Level the Hearth Subfloor and Patch Imperfections
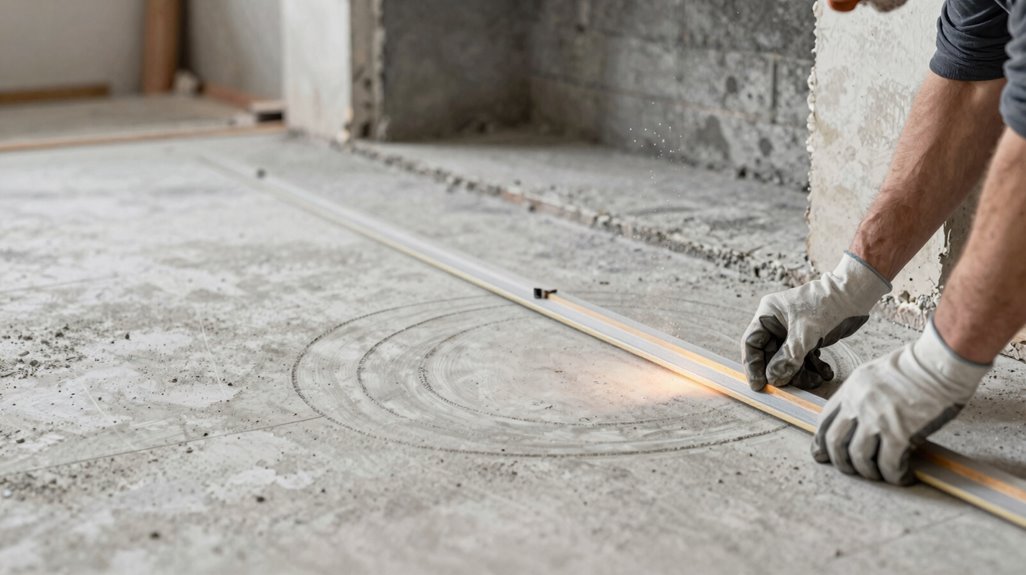
Before you can set any tile or stone, you’ll need to correct every uneven spot on your subfloor, since even minor deviations of 1/8 inch over 6 feet will cause lippage and cracking later. Start by identifying uneven areas across the entire hearth footprint, especially corners and center dips, to map your patching strategy.
Apply self-leveling floor patch to raise low spots, bringing the surface to uniform height. Spread the patch with the flat side of a tile trowel, creating a seamless plane across the work area.
Once the patching material sets completely, remove remaining bumps or high spots using a wire brush scraper for a flush finish. Clean the patched surface thoroughly, making certain it’s dry and ready to receive the hearth assembly before proceeding.
Install Cement Backer Board for Heat Resistance
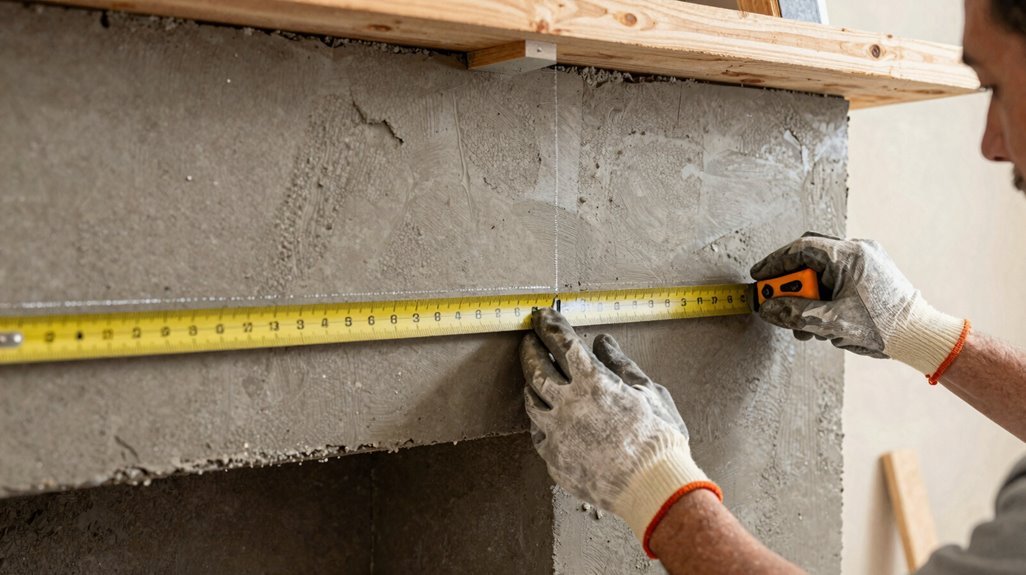
Select two sheets of 1/2-inch-thick cement backer board, measuring 3 x 5 feet each, then cut them to fit your hearth void precisely. You’ll align the first layer flush with your hardwood floor, stack a second layer 1/2 inch shorter on three sides, and mortar them together for a staggered, heat-resistant joint.
Secure both layers to the subfloor with 2 1/4-inch backer board screws, tape the seams with thin-set mortar, and prepare for marble quarter-round trim and final tiling.
Backer Board Selection
Why risk combustible materials near your fireplace when cement backer board provides a proven, heat-resistant foundation? You’ll install two sheets, each measuring 3 x 5 feet and 1/2 inch thick, creating a non-combustible core that protects your home.
Here’s what you need to execute this step properly:
- Cut both sheets to fit your hearth void precisely
- Align the first layer flush with your hardwood floor level
- Offset the second layer 1/2 inch shorter on three sides
- Secure everything with 2 1/4 inch backer board screws driven into the subfloor
Seal all joints using seam tape and thin-set mortar. This prevents movement and blocks moisture intrusion. Once installed, you’ll cover damaged edges with marble quarter-round trim, keeping your base completely non-combustible and ready for finishing materials.
Heat Barrier Installation
Once you’ve prepared your subfloor, you’ll install cement backer board to create a heat-resistant barrier that protects combustible materials beneath your hearth. This non-combustible substrate prevents heat transfer to underlying flooring.
- Measure and cut cement backer board to fit your hearth dimensions. Use 1/2 inch to 5/8 inch thickness for standard installations.
- Apply two layers for superior durability and a perfectly flat mounting surface.
- Fasten boards with 2 1/4 inch screws driven into subfloor framing. Maintain 8-inch spacing along edges, 12-inch spacing in field areas.
- Seal all seams with fiberglass mesh tape embedded in thin-set mortar. This creates continuous, heat-resistant coverage.
- Allow mortar to cure fully. Clean the surface completely; remove dust, grease, and debris before proceeding to tile or finish materials.
Cut and Dry-Fit Your Hearth Materials
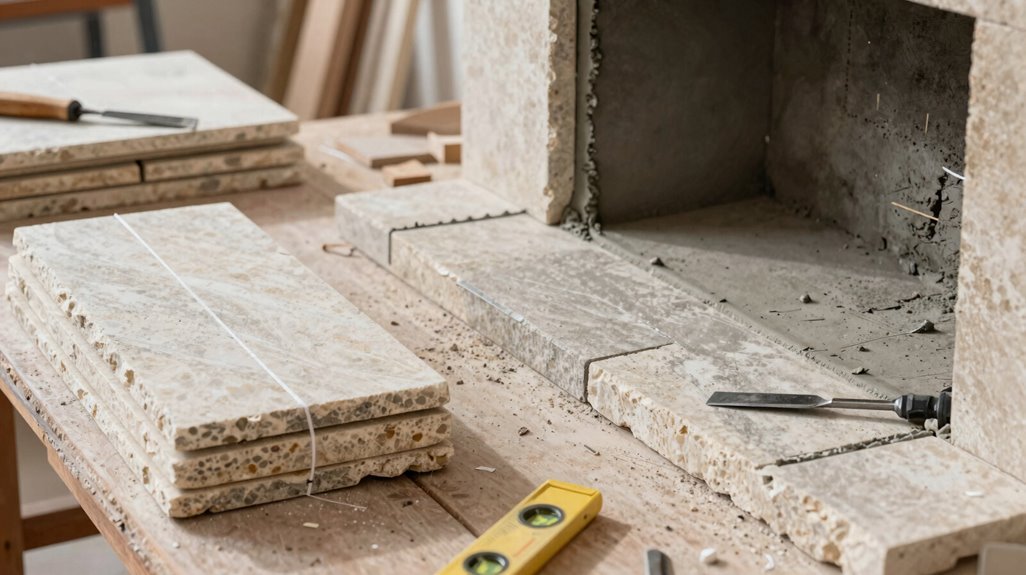
Where exactly should your hearth materials sit in relation to the existing floor? You’re aiming for perfect alignment, so your backer board must match the hardwood floor height exactly, creating one continuous, level surface.
Your backer board must match the hardwood floor height exactly, creating one continuous, level surface.
Before you commit, dry-fit everything. Here’s your precision checklist:
Score your backer board with a straight 2×4 guide for clean, even edges. Lay two 3 x 5 foot, 1/2-inch cement backer board sheets first, checking floor alignment.
Trim your second layer 1/2 inch shorter on three sides for seamless jointing. Check that all pieces sit flat, square, and gap-free before proceeding.
This step belongs to careful craftspeople who measure twice. You’re joining a community that values precision over speed. Get this right, and your finished hearth will look like it grew from the floor itself.
Select and Apply the Right Adhesive for Your Surface
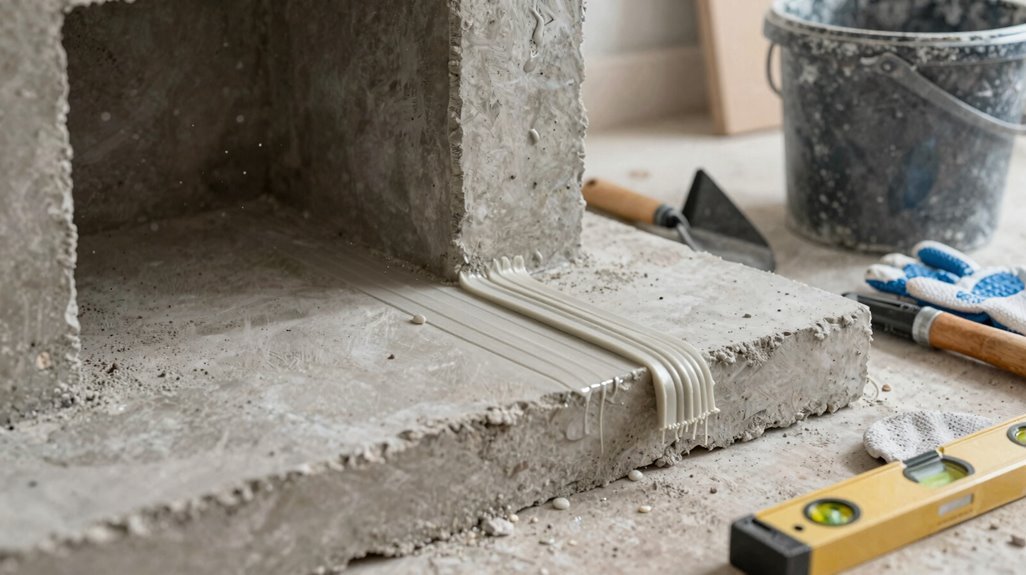
You’ll assess your surface type first, then match it to the appropriate adhesive: thin-set mortar for smooth substrates or bedding mortar for uneven ones. Apply your chosen adhesive in a consistent bed thickness, typically 3/16 to 1/4 inch, making certain you achieve full contact without hollow spots. Wait the manufacturer’s specified curing period, usually 24 hours minimum, before proceeding to grout or load your hearth.
Surface Type Assessment
How do you make sure your hearth materials bond properly to what’s underneath? You start with a thorough surface type assessment, because your adhesive choice depends entirely on what you’re working with.
For masonry or concrete, you’ll grab grip-fill or flexible adhesive, which grips those porous, rough surfaces effectively. When you’re tiling over backer board, thin-set mortar’s your go-to, and you’ll embed seam tape to seal those joints tight.
Facing smooth, non-porous glazed tile? You need high-bond-strength adhesive rated for high temperature, no exceptions. Got uneven or irregular substrates? Apply a self-leveling patch first, then let it cure before you proceed.
You’ll allow 24 hours for initial set, longer for full cure per manufacturer guidelines, before grouting or finishing your tile.
Adhesive Selection Criteria
Because your hearth must withstand intense, fluctuating temperatures without compromising structural integrity, you cannot treat adhesive selection as an afterthought. Your adhesive selection determines whether tiles stay bonded through heating cycles or crack and loosen within months.
1. Match Substrate Compatibility
Check your base material before purchasing. Cement backer boards accept thin-set mortar directly. Stone, brick, and existing tile require compatible formulations. Never apply cementitious adhesives to plaster or wood without manufacturer-approved primers, or you’ll face complete bond failure.
2. Address Surface Texture
Smooth, non-porous surfaces demand flexible adhesive or specialized thin-set. Uneven bases need grip-fill adhesive to build up low spots before final tiling.
3. Verify Heat Resistance
Confirm your adhesive carries approval for high-temperature exposure and masonry fireplace environments. Standard construction adhesives combust or degrade, creating safety hazards you cannot afford.
Application Technique Essentials
The right technique separates a hearth that lasts decades from one that fails within a season. Your adhesive selection directly impacts application success, so match your product to surface conditions before you begin.
- Use grip-fill or thin-set mortar on smooth, even surfaces for optimal bond strength
- Choose flexible adhesive on uneven surfaces to accommodate natural movement
- Spread polymer-modified thin-set mortar on concrete or backer-board for crack resistance
- Fill expansion joints with heatproof flexible mastic to prevent thermal damage
Apply your chosen adhesive with a notched trowel sized to your tile dimensions. Back-butter large tiles to eliminate voids. Respect the manufacturer’s open time before setting materials, and prevent foot traffic until full cure. These disciplined steps integrate you into the community of builders who craft hearths that endure.
Set Base Materials and Leave Expansion Gaps
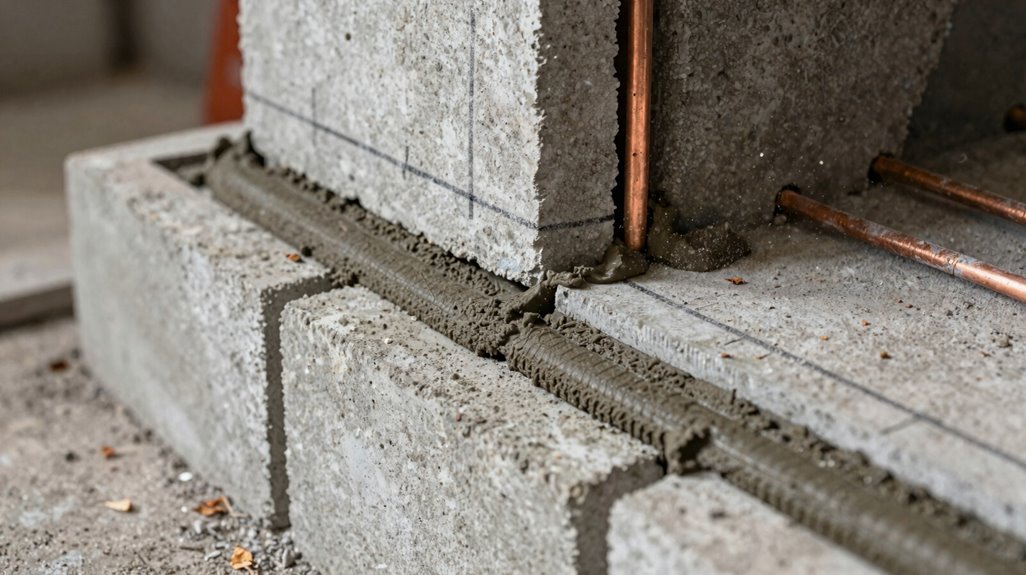
Where should you begin when building a hearth that won’t crack, warp, or fail under intense heat? Start here, with every hearth builder who wants solid results.
- Prepare your surface. You must level and clean the floor, addressing low spots with self-leveling patch before proceeding.
- Install non-combustible base materials. Use compressed fibro, backer board, or equivalent fireproof substrate. Check that your hearth dimensions match installation manual requirements, confirming compatibility with all base materials. Tiles remain optional over this foundation.
- Leave critical expansion gaps. Maintain a 5 mm expansion gap around all hearth edges. You’ll fill this later with heatproof flexible mastic, allowing essential thermal movement without structural damage.
Follow these specifications precisely, and you’ll construct a foundation that withstands intense temperatures while meeting professional standards.
Cure Your Hearth and Apply Heat-Resistant Sealant
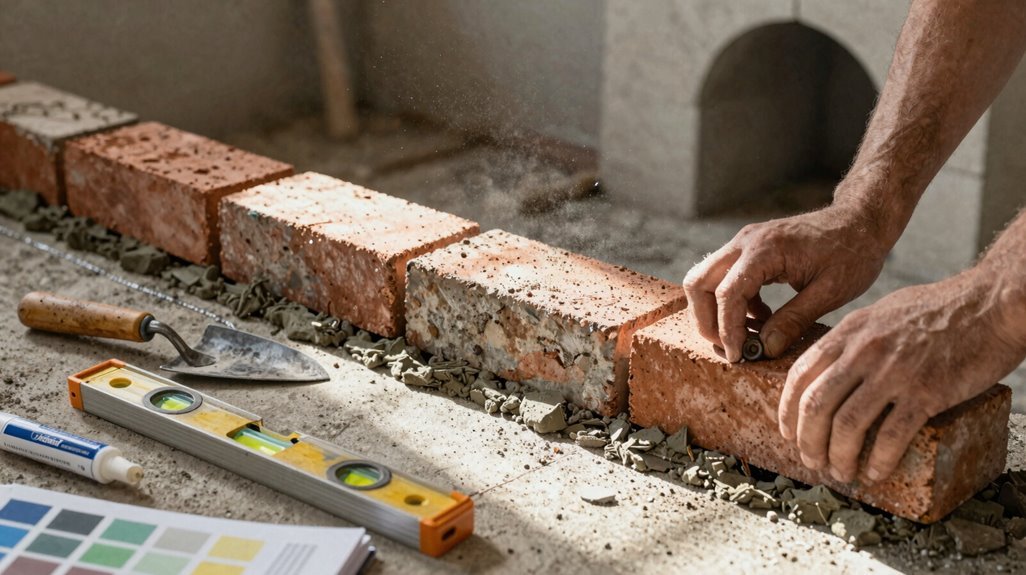
Once you’ve set your base materials and left those critical expansion gaps, you’ll need to let the mortar cure completely before moving forward. Allow 48-72 hours of curing time at temperatures between 50-100 degrees Fahrenheit. This waiting period guarantees structural integrity before you apply any sealant.
Clean and dry the surface thoroughly to prevent moisture entrapment and guarantee proper sealant adhesion. Select a heat-resistant sealant specifically formulated for high-temperature mortar exposure. Apply one thin, even coat, then observe the manufacturer’s specified re-coating intervals and cure times for maximum effectiveness.
- Wait the full 48-72 hour curing window before sealant application
- Maintain ambient temperatures between 50-100 degrees Fahrenheit throughout
- Clean and dry all surfaces completely before sealant contact
- Follow manufacturer re-coating intervals without deviation
Reinspect sealed areas periodically for wear, and reapply sealant as needed to preserve heat resistance and surface protection.
Pass Inspection and Maintain Your Fireplace Hearth
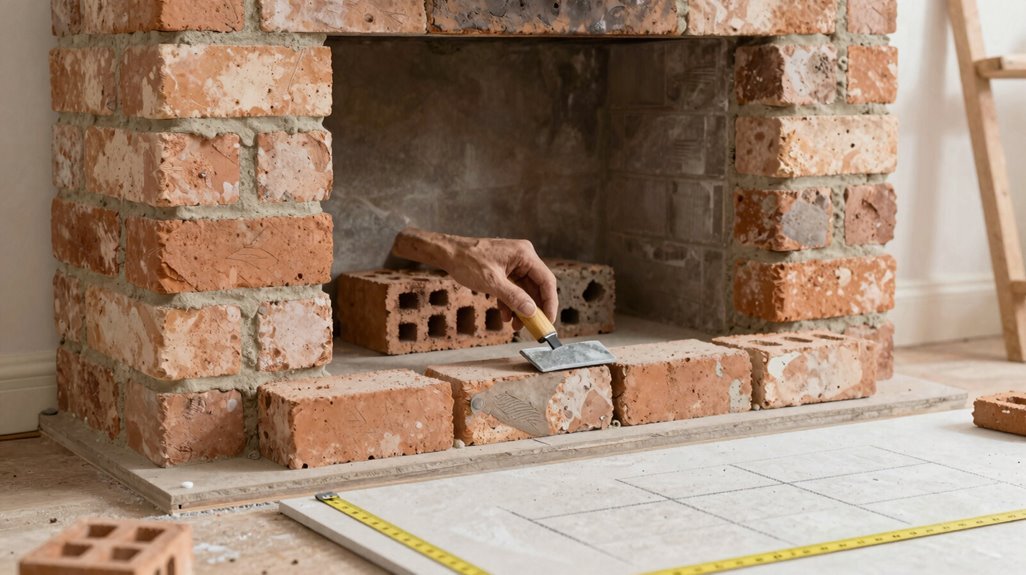
Before you light your first fire, you’ll need to satisfy local building authorities that your hearth meets every applicable code requirement. Schedule your inspection promptly after installation, making certain you’ve maintained proper clearances, venting specifications, and expansion gaps of at least 5 mm. Keep your documentation organized; present material specifications, adhesive types, and temperature ratings to demonstrate compliance.
| Inspection Element | Compliance Action |
|---|---|
| Non-combustible clearances | Verify cement backer board installation |
| Expansion joints | Confirm 5 mm gaps around perimeter |
| Surface leveling | Check for moisture-resistant, level finish |
Hearth safety demands ongoing attention. Inspect mortar joints annually, reseal surfaces as manufacturers recommend, and document all maintenance. Your diligence preserves both regulatory compliance and family security, making certain your hearth remains the warm centerpiece you envisioned.





