
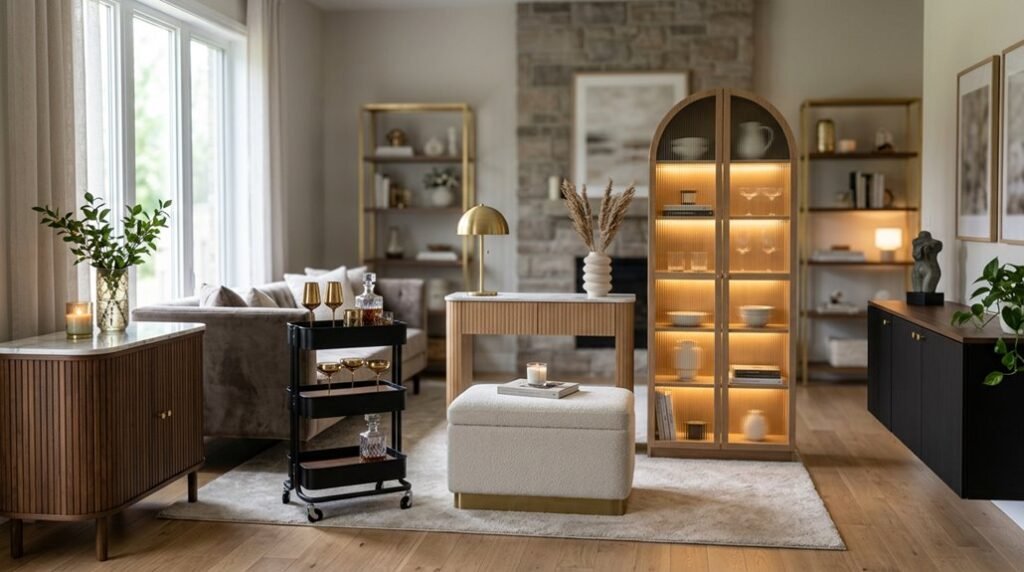
You need workspace solutions that don’t drain your budget. These seven IKEA transformations deliver custom-grade results using systematic assembly, precise material specifications, and modular integration techniques. Each hack includes measured cutting diagrams, hardware schedules, and finish protocols you can execute in 2-8 hours.
The first project starts with a $35 Rast dresser, but you’ll need to determine whether your space demands a concealed office or a surface-level upgrade.
Build a $50 IKEA Rast Into a Custom-Look Desk
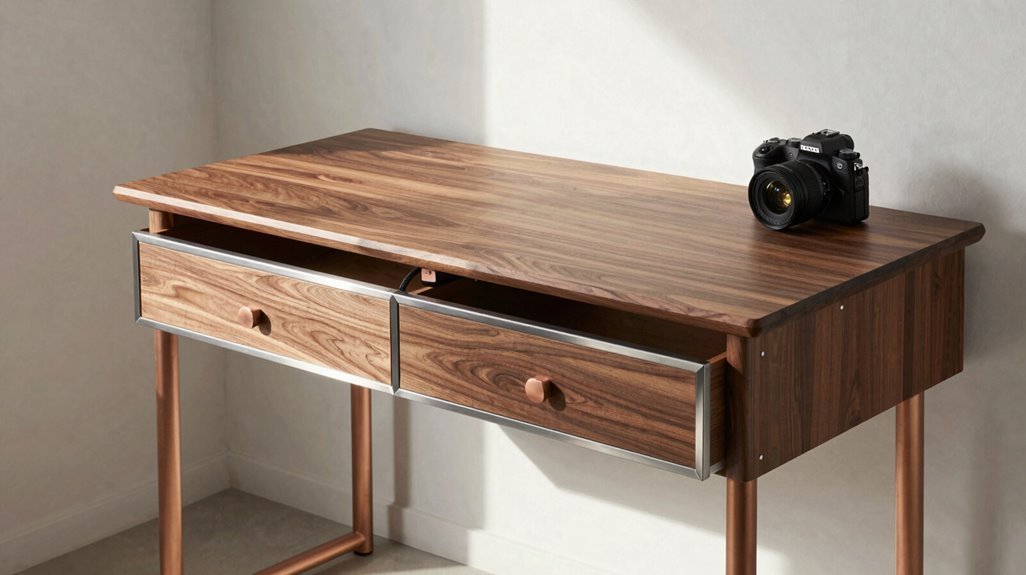
Why settle for a generic workspace when you can engineer a professional-grade desk from IKEA’s $50 Rast dresser? This IKEA Rast desk hack delivers an affordable conversion that positions you among resourceful makers who refuse overpriced furniture.
You’ll execute this conversion through systematic steps:
- Prepare the Rast: Sand all surfaces, then apply Zinsser B-i-n or Bulls Eye 123 primer followed by a hardwearing topcoat for durability.
- Fabricate the countertop: Practice jigsaw cuts on scrap material, then cut your chosen surface to dimensions and attach it seamlessly to the Rast frame.
- Refine details: Apply wood filler to smooth creases, add pole-wrapped legs for styling, and make certain your configuration preserves ladder access to any adjacent bunk bed.
You’ve now built designer-grade workspace at minimal cost.
Hide a Full Home Office Inside a PAX Wardrobe
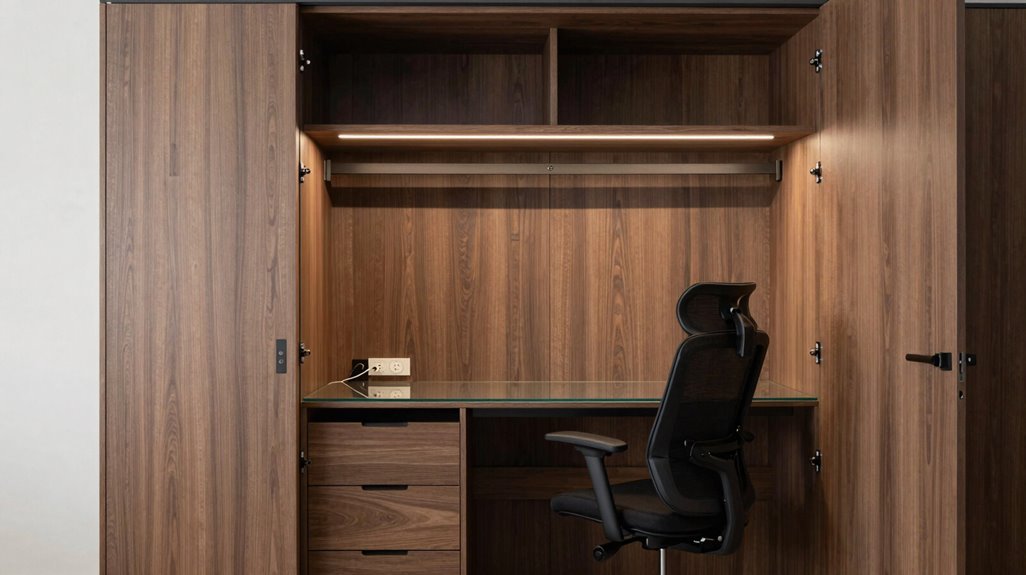
Where does your workspace go when square footage runs tight? You tuck a full home office inside a PAX wardrobe, one of the smartest IKEA hacks for spatial efficiency.
Tuck a full home office inside a PAX wardrobe when square footage runs tight—one of the smartest IKEA hacks for spatial efficiency.
You maximize vertical space by installing a desk surface at seated height, typically 28-30 inches, with shelving above and below. You integrate cable management through drilled grommets and channel raceways. You add a continuous top panel across multiple PAX units for that built-in appearance.
For seamless integration, you match paint or veneer to existing cabinetry, upgrade hardware, and apply edge banding.
Essential considerations include:
- Secure wall-mounting with L-brackets at stud points
- Ventilation gaps, minimum 2 inches, for electronics
- Swing-out or sliding mechanisms for workstation access
You solve spatial constraints without sacrificing function, joining a community that demands practical, well-considered solutions.
Power Your Hidden Office: Cable Management That Actually Works
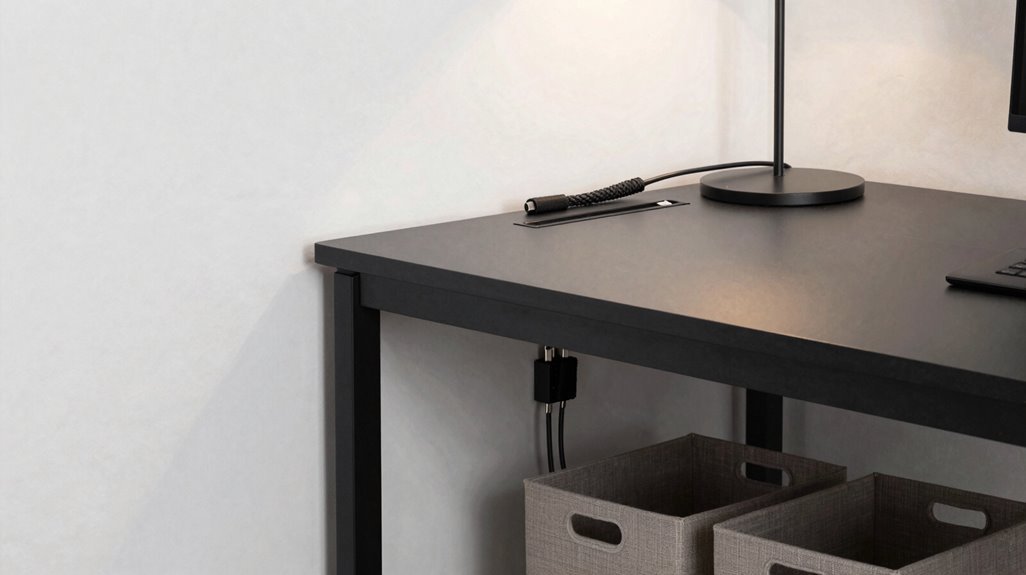
You’ll conceal every cord completely by routing cables through MDF-framed channels, wall-mounted power strips, and slim back-edge conduits that maintain seamless sightlines across your integrated PAX desk surface. Power your monitor, PC, and lamp through hidden desk solutions: conditioned cable trays, primed panels, and strategic hardware placement; this eliminates visible tangle while preserving full wiring access.
Integrate these systems with your existing MALM or BESTA storage, and you’ll achieve tidy tech integration that maximizes square footage without sacrificing operational functionality or aesthetic cohesion.
Cord Concealment Strategies
How do you maintain the illusion of a seamless built-in office when every device demands its own power source? You master cord management through strategic cable concealment that turns chaotic wiring into invisible infrastructure.
Here’s your three-step system:
- Install a hidden power hub inside your desk or cabinet, routing cords through a pass-through grommet to eliminate surface clutter
- Mount adhesive cable channels along furniture back edges, covering them with 50mm MDF strips painted to match your panels
- Integrate vertical cable management inside Pax or Billy frames, concealing power and data lines behind removable covers
Apply magnetic cable clips at 750mm workstation height to guide cords into discrete channels. Combine your hidden power hub with a remote lighting controller inside a single cabinet. You’ll achieve that expensive built-in aesthetic without the custom price tag.
Desk Power Solutions
Why settle for visible power strips when your hidden office demands integrated energy distribution that preserves every inch of your built-in illusion? You convert IKEA PAX, Besta, or Kallax units into command centers by embedding hidden power solutions directly into the architecture.
Mount surge protectors and USB hubs inside drawer cavities or against cabinet backs, securing them with industrial Velcro or screw-mounted brackets. Drill 35mm grommet holes through shelves to route cables vertically, then sleeve bundles with neoprene covers clipped every 12 inches.
Prioritize safety: calculate 80% load capacity per outlet, allow 2-inch ventilation gaps around transformers, and install 15-amp circuit breakers for drawer-integrated strips. You’ll maintain accessibility by positioning ports within arm’s reach while preserving seamless sightlines that signal deliberate, expensive craftsmanship.
Tidy Tech Integration
Once you’ve established hidden power distribution throughout your IKEA framework, the visible remnants of that infrastructure demand systematic containment. You need cable management that preserves your seamless integration without sacrificing accessibility.
- Route power cords through 15mm gaps in KALLAX units, securing them with adhesive cable clips every 30cm
- Install cable sleeves in matching RAL colors, cutting 45-degree entry angles for clean terminations
- Position hidden outlets behind BILLY panel doors, maintaining 50mm clearance from hinges
Your hidden outlets power monitors, chargers, and peripherals while remaining completely invisible during video calls. This method changes cluttered workspaces into dual-use environments where productivity functions coexist with refined aesthetics. You’ll achieve professional-grade organization using standard IKEA components, proving that functional infrastructure and visual sophistication aren’t mutually exclusive investments.
Marius Stools to Outdoor Side Tables: Under $15 Each
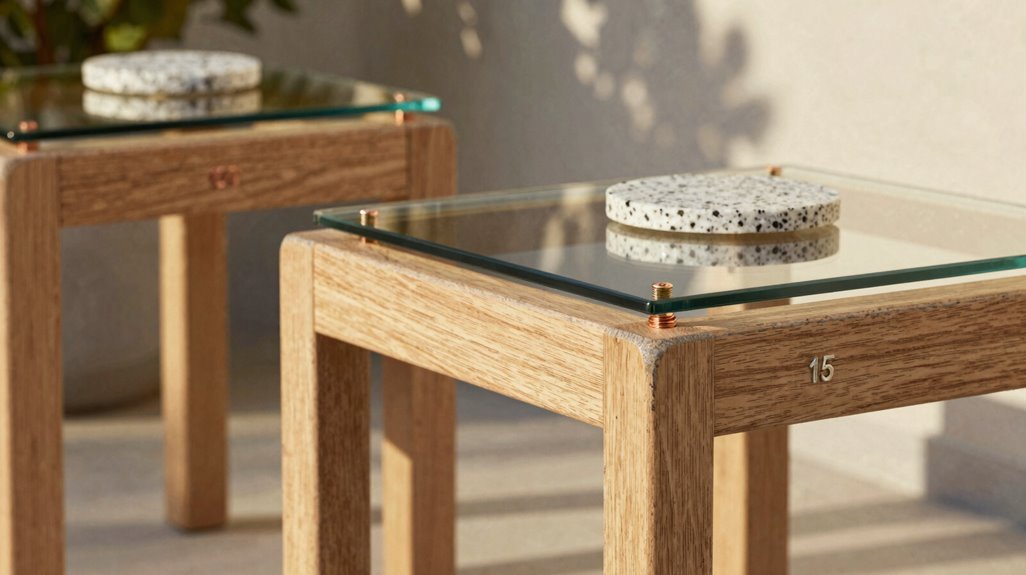
You’ll transform Marius stools into weather-resistant outdoor side tables for under $15 each by securing them to 12-inch concrete stepping stones, creating stable, fireside-ready surfaces measuring approximately 13 inches in diameter and 18 inches tall.
This budget outdoor furniture solution pairs the lightweight $5.99 stool with a $3–$4 paver, yielding a 20-pound unit that withstands wind and resists tipping during use. The resulting 12-inch tabletop accommodates standard drinkware, small planters, or reading materials while maintaining a clean, architectural profile in white or standard finishes.
Budget Outdoor Furniture
How do you furnish an outdoor space without draining your wallet? You convert Marius stools into outdoor side tables, creating budget outdoor furniture that withstands the elements. These IKEA hacks deliver functional surfaces for under $15 each, proving DIY outdoor decor doesn’t require professional skills or excessive spending.
You’ll complete this project through three straightforward steps:
- Purchase one Marius stool per table, selecting white or standard black finish based on your aesthetic preference
- Acquire a concrete stepping stone, approximately 12-16 inches in diameter, to serve as your weighted base
- Secure the stool atop the stone using exterior-grade adhesive, allowing 24 hours for complete curing
The resulting piece provides stable, compact seating or serving space beside fire pits or patio chairs. You’ve joined a community of practical makers who prioritize intelligent design over inflated price tags.
Concrete Pairing Method
Why settle for flimsy outdoor tables when you can engineer a weather-resistant surface in under 30 minutes? Grab a $7 Marius stool and a $6 concrete stepping stone, then execute this concrete pairing method. You center the stone atop the stool’s three legs, creating DIY outdoor furniture that withstands rain, sun, and temperature swings without warping or rusting.
This solution delivers modern, minimalist aesthetics through the stark contrast of white powder-coated steel against raw gray concrete. You’ll spend under $15 per table, achieving commercial-grade durability at a fraction of retail cost. Position these units flanking lounge chairs, between deck seating, or clustered as modular coffee tables. No sealing, staining, or seasonal storage is needed.
Fireside Drink Size
A fireside drink demands stable placement within arm’s reach, and the Marius stool becomes that precise surface for under $15. You’ll repurpose this affordable base, pair it with a concrete stepping stone, and create weather-ready outdoor furniture that rivals expensive patio sets.
- Acquire one Marius stool ($8) and one 12-inch concrete paver ($6) from your local hardware store.
- Center the paver atop the stool’s seat, applying exterior-grade adhesive for permanent bonding.
- Allow 24 hours curing time before exposing to outdoor conditions.
This low-cost solution delivers stability, surface resistance, and easy cleaning. You’re joining a community of practical makers who prioritize function without inflated costs. These IKEA hacks prove that compact, durable outdoor furniture belongs within everyone’s reach, not just those with expansive budgets.
Build a $1K IKEA Walk-In Closet That Rivals $3K Custom
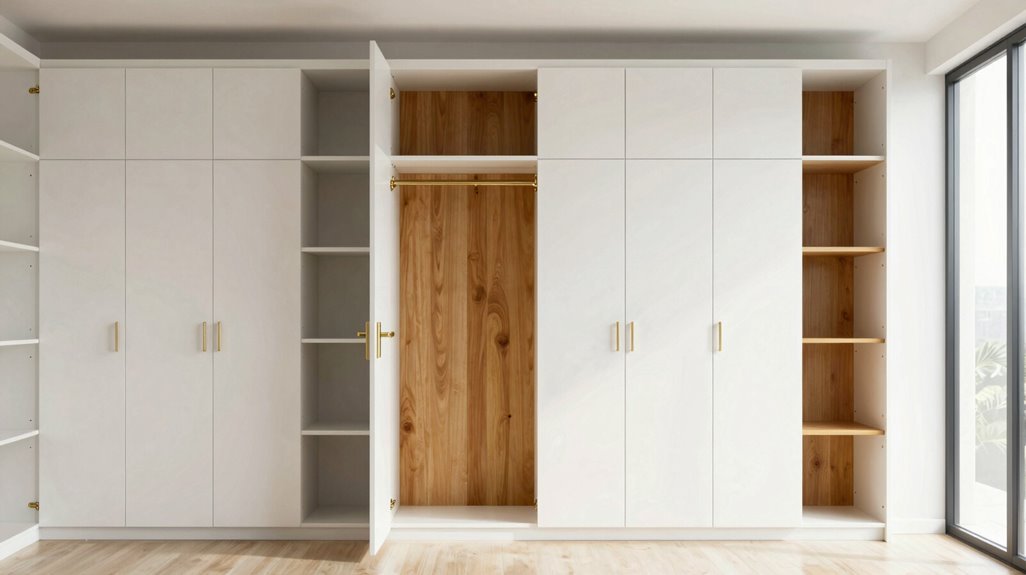
Several strategic modifications to standard IKEA Pax units can turn your walk-in closet into a seamless, built-in storage system that rivals custom millwork costing three times as much. These IKEA hacks deliver a walk-in closet budget update that maximizes every inch vertically, scaling storage across one wall for shoes and folded items while reserving the opposite side for two-tier hanging space.
You’ll frame and panel the Pax frames, eliminating the flat-pack appearance, then reconfigure interior fittings to match your inventory. Labeled compartments replace expensive custom inserts. The $1,000 total covers frames, doors, trim, and hardware. Assembly requires one weekend. Result: a repeatable, organized system functioning identically to $3,000 custom alternatives with materials you can adjust as needs evolve.
Turn a $40 Changing Table Into a Faux-Tile Bar Cart
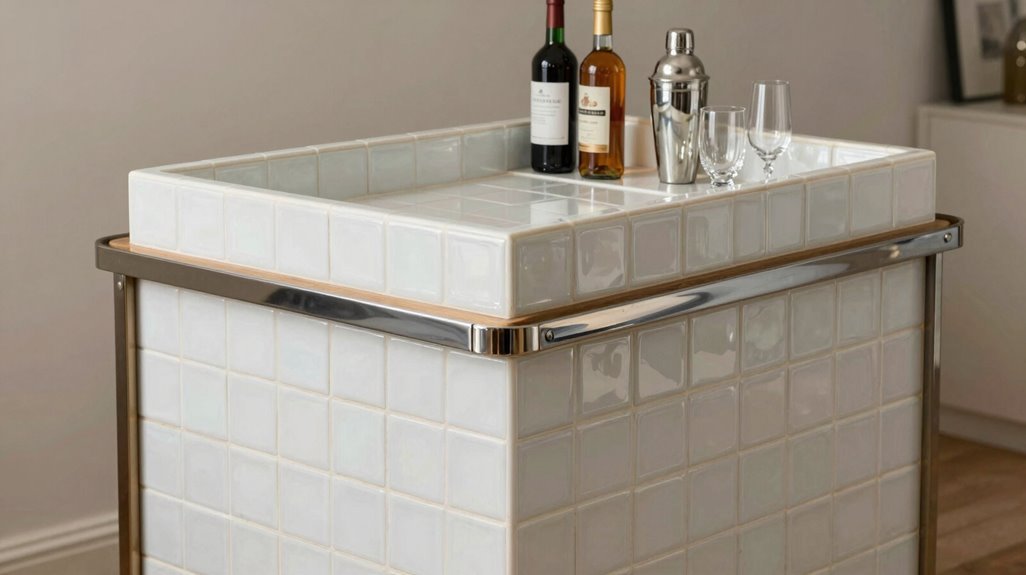
The Sniglar changing table presents an ideal substrate for conversion into a mobile bar cart with faux cement tile surfacing, delivering high-end visual impact at minimal material cost. You’ll turn this $40 nursery staple into a sophisticated entertaining station that signals your design savvy.
Execute this IKEA hack through three precise steps:
- Sand the tabletop thoroughly, then apply peel-and-stick faux-tile sheets in a cement pattern across all horizontal surfaces
- Install four 3-inch locking caster wheels to the existing legs for full mobility
- Add a lower shelf liner in coordinating material, securing glassware storage
Your completed bar cart occupies 28 by 19 inches, rolling easily between kitchen and living spaces. This faux-tile treatment replicates $400 designer pieces while maintaining full functionality for cocktail service.
Hide a Dog Crate Inside a Malm Dresser
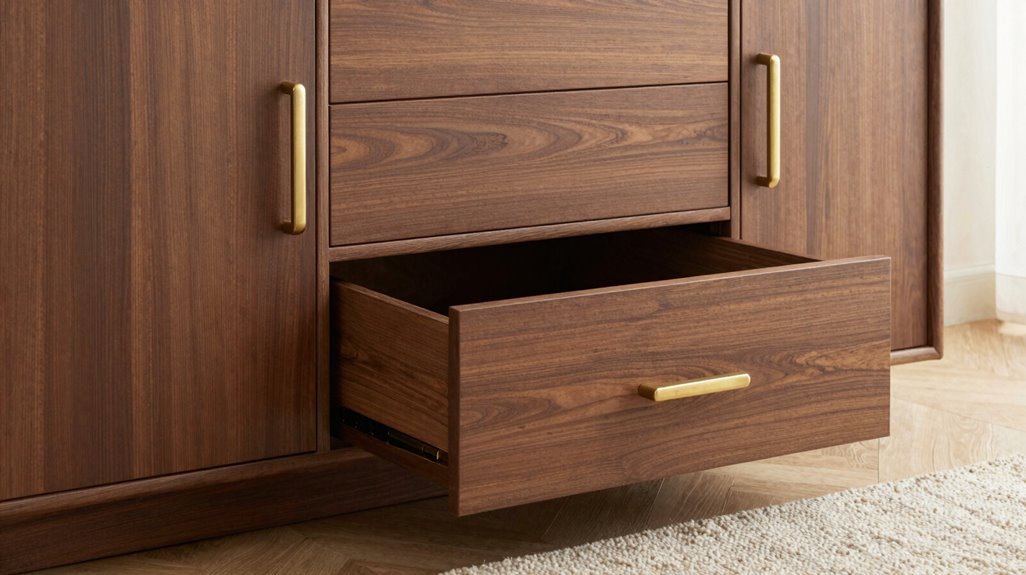
Why settle for an eyesore crate when you can engineer a concealed pet sanctuary inside a Malm 3-drawer dresser? You’re creating integrated dog crate concealment that belongs in your curated space, not apart from it.
Measure your 20 lb dog’s dimensions: 18-22 inches long, 12-16 inches tall. Verify your Malm dresser matches these specifications plus 4 inches clearance.
Remove bottom drawers and keep the top drawer for pet supply storage. Install ventilation panels: 6-8 circular cutouts, 2-inch diameter, aligned vertically.
Attach hinged panel door with magnetic closure. Line interior with washable bedding.
You’re doing one of 15 essential IKEA hacks for pet owners. Your Malm dresser preserves room sightlines, removes 3.5 square feet of floor clutter, and maintains aesthetic continuity. Hide food, leashes, and electronics in remaining drawer compartments.





