
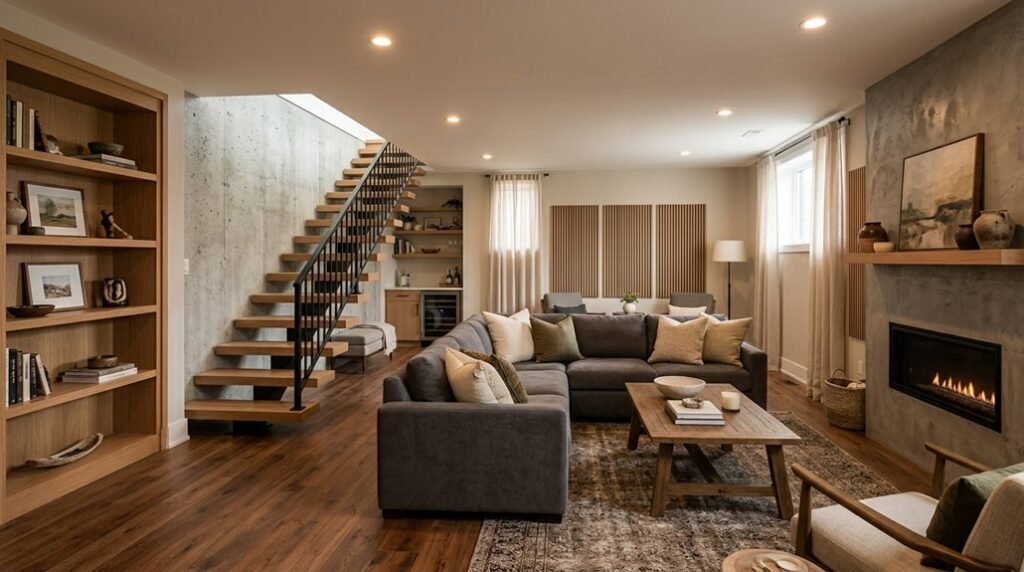
Like Theseus navigating the labyrinth, you face a subterranean transformation that demands precision at every turn. You’re about to execute seven sequential phases that convert raw concrete into conditioned living space, but one misstep in moisture assessment or code compliance collapses the entire structure. The stakes are structural integrity, not aesthetics.
Assess Your Basement Structure and Code Requirements
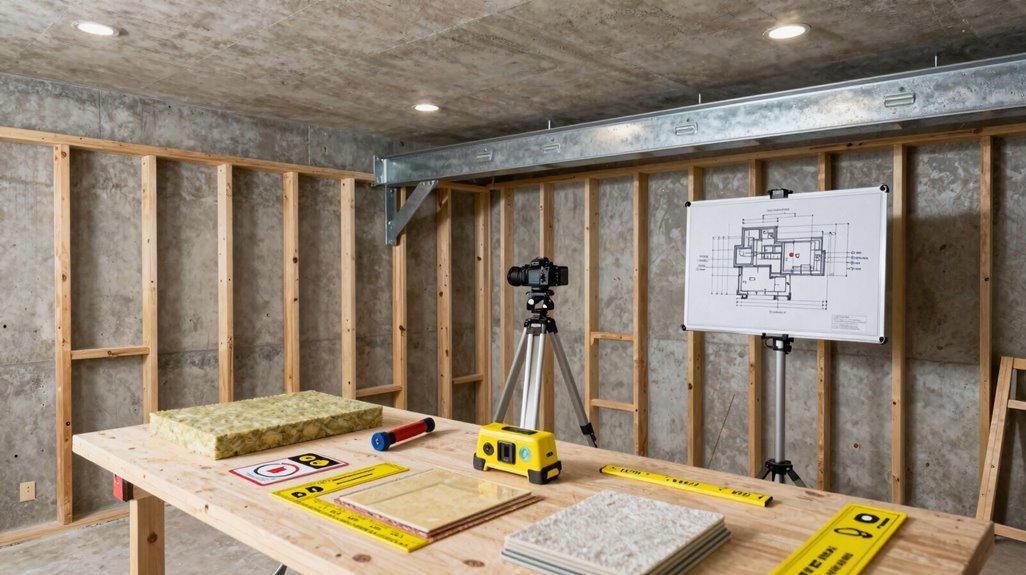
Before you frame a single wall or run any electrical, you’ll need to thoroughly evaluate your basement’s structural condition and confirm it meets code requirements for finished living space.
Start your moisture assessment by examining your basement structure for hairline wall cracks, floor cracks, and movement indicators. Call a professional if you detect moisture penetration or structural concerns. Inspect existing mechanicals and framing for rot, insect damage, or sagging floor joists that compromise structural integrity, repairing issues before proceeding.
Verify ceiling height meets local building codes; typically 7 feet 6 inches minimum for habitable spaces. Confirm egress window dimensions: minimum 5.7 square feet opening, 20 inches wide, 24 inches high, with finished sill height no more than 44 inches from floor.
Identify moisture sources including grading, gutters, and cracks. Research permits for structural, electrical, and plumbing milestones. Schedule required inspections to maintain code compliance and insurance validity.
Dry Your Basement Completely Before Building
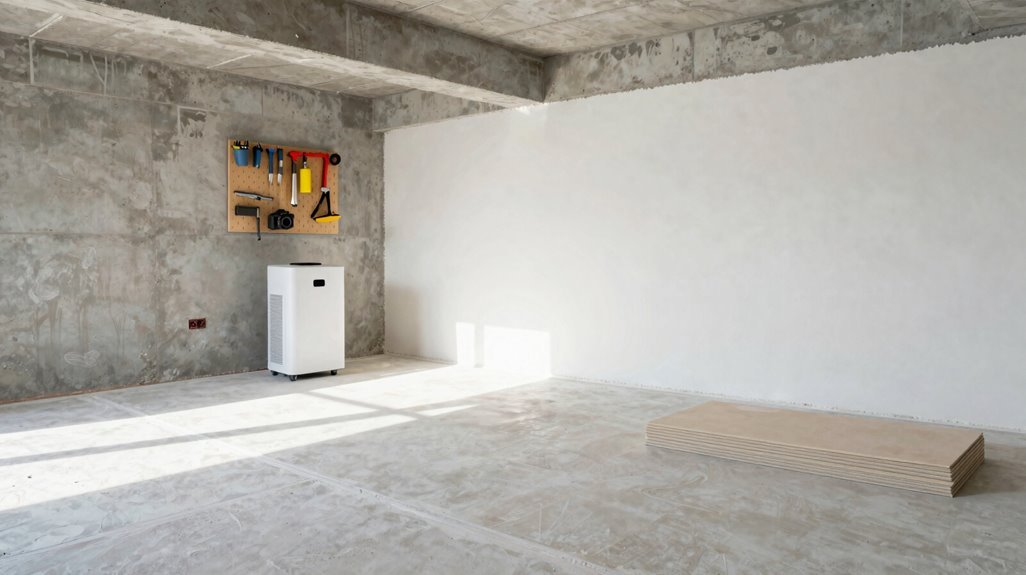
Before you frame a single wall, you’ll identify every moisture source, install exterior drainage solutions like French drains or regraded soil, and deploy interior drying methods including dehumidifiers and sealed vapor barriers. You’ll conduct a 24 to 48 hour plastic-sheet test on each treated area, patch and seal all cracks after diagnosis, and verify dryness through documented moisture readings before any insulation or drywall enters the space.
Your complete drying protocol guarantees hidden water pathways won’t destroy your investment, preserves permit compliance records, and creates the controlled conditions necessary for code-approved finishing.
Moisture Source Identification
Where exactly does your basement’s moisture originate? You need to identify moisture sources before finishing your space, or you’ll face costly repairs later.
Start with a moisture test: seal a 2-foot plastic sheet to walls and floors for 24, 48 hours. Condensation underneath means interior moisture; dampness behind means exterior water intrusion needing repair.
Check exterior water first. Make sure grading slopes away from your foundation, gutters function properly, and downspouts direct water 3, 6 feet from walls. This reduces leaks significantly.
Find interior moisture from dryers, showers, and humidifiers. Install exhaust ventilation to vent humid air outside.
Look for moisture intrusion signs: efflorescence, musty odors, mold, or wet spots. These indicate ongoing penetration.
Before framing, repair cracks, establish a drainage plan, and plan dehumidification. Install a vapor barrier to maintain low humidity. Complete these steps, and you’ll build on dry, stable ground.
Exterior Drainage Solutions
Three exterior drainage strategies form your first line of defense against basement moisture, and you’ll need to implement all of them before framing a single wall.
1. Soil Grading: You’ll grade soil at 5–10 degrees, sloping away from your foundation for 6–10 feet minimum. This prevents surface water accumulation.
2. Gutter Upgrade: You’ll install oversized gutters and extend downspouts 4–6 feet from walls. This reduces hydrostatic pressure against your foundation.
3. Perimeter Drainage: You’ll dig a French drain along footings, connecting it to a sump pump for automatic groundwater removal.
Foundation Waterproofing: You’ll complete exterior crack repair, then apply waterproof coatings or membranes. Weep holes and drainage mats manage wall-soil interface moisture.
Maintenance Schedule:
| Task | Frequency |
|---|---|
| Clean gutters | Biannually |
| Inspect downspouts | Quarterly |
| Check soil grading | Annually |
| Test sump pump | Monthly |
You’ll maintain these systems to preserve your dry basement investment.
Interior Drying Methods
How do you know your basement’s actually dry enough to build? You start with a moisture test, taping plastic sheeting to walls and floors to distinguish condensation from seeping moisture, then you prioritize your drying process accordingly.
Interior drying methods demand systematic action. First, remove all standing water and complete leaks repair. Next, establish humidity control using a dehumidifier, targeting 50%–60% relative humidity for effective mold prevention. Add ventilation through fans or open windows to accelerate evaporation across surfaces.
After 48–72 hours, you verify results with moisture meters, probing wall studs and concrete to confirm readings below 15% wood moisture content. Schedule these steps before framing, making certain exterior drainage prevents re-wetting. Only when meters confirm stable, dry conditions do you proceed with construction.
Frame Walls, Partitions, and Around Obstructions
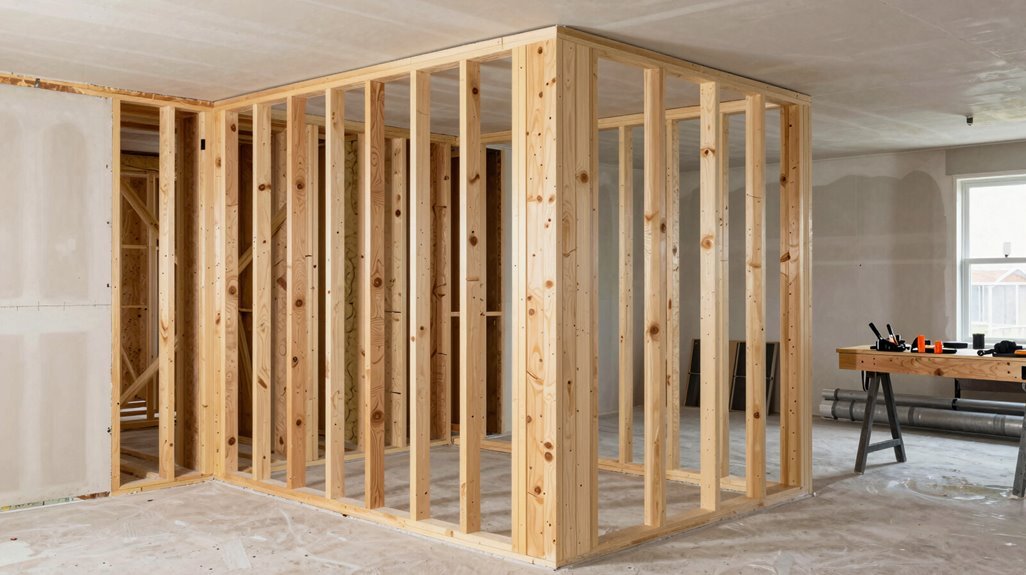
You’ll begin by marking your wall layout on the concrete floor with chalk lines, leaving a precise 2.5-inch clearance around each planned wall to accommodate future finishes and trim. Secure pressure-treated bottom plates to the concrete using masonry screws or anchors spaced every 16 inches, then fasten matching top plates to ceiling joists before installing vertical studs that span floor to ceiling without interruption.
When you encounter beams, posts, or plumbing stacks, frame around them strategically by building removable access panels or grates at critical junction points. Make sure you maintain serviceability while preserving structural integrity and preparing accurate surfaces for subsequent drywall installation.
Wall Layout Planning
Where exactly should your walls stand before you lift a single stud? You’ll mark your basement walls with chalk lines on the concrete floor, adding 2.5 inches for framing clearance around each planned partition.
Your wall layout demands precision. You’ll install bottom plates anchored to concrete floor anchors, then fasten top plates to ceiling joists for rigid structural connection.
You’ll build partition frames from 2×4 studs on the floor, lifting them between plates. Secure these at edges and all doors and windows openings.
You’ll integrate doors and windows early, routing electrical and plumbing around planned openings. You’ll keep utility access around beams, posts, and drains, planning service panels for future maintenance.
Bottom Plate Installation
The bottom plate anchors your entire wall system to the concrete, so you’re starting with pressure-treated 2×4 lumber that withstands ground moisture and resists rot over decades. You’re marking 16-inch on-center spacing directly on the concrete floor before securing this foundation piece. Drill pilot holes every 16 inches along the pressure-treated lumber, then drive masonry screws, typically 3/16-inch Tapcon fasteners, into the concrete floor. You’re torquing these 2 inches deep for maximum holding power.
Leave 2.5 inches of clearance from walls during base plate installation to accommodate future insulation. Once secured, this bottom plate becomes your reference line for vertical studs. Complete the assembly by building wall sections flat, then lifting them onto the anchored plate. Top plates connect to overhead joists, creating rigid basement walls that resist lateral movement and moisture damage.
Framing Obstructions Strategically
When framing basement walls, you’re forced to work around structural elements that interrupt straight runs, including support beams, steel posts, drainage pipes, and electrical panels that cannot be relocated. Effective framing obstructions require planning stud placement around these fixed features, marking precise chalk lines to maintain alignment, and spacing 16-inch on-center where possible.
Build your bottom plates first, securing them to concrete with concrete screws. Frame access paths near beams and posts to preserve service access for future repairs. Square studs make certain drywall fits properly later.
Follow these three priorities for strategic framing:
- Leave 2.5 inches of clearance around obstacles for insulation and wiring routing.
- Design removable panels or false walls concealing utilities without blocking access.
- Verify perpendicular alignment to exterior walls before final fastening.
Insulate Basement Walls and Subfloor
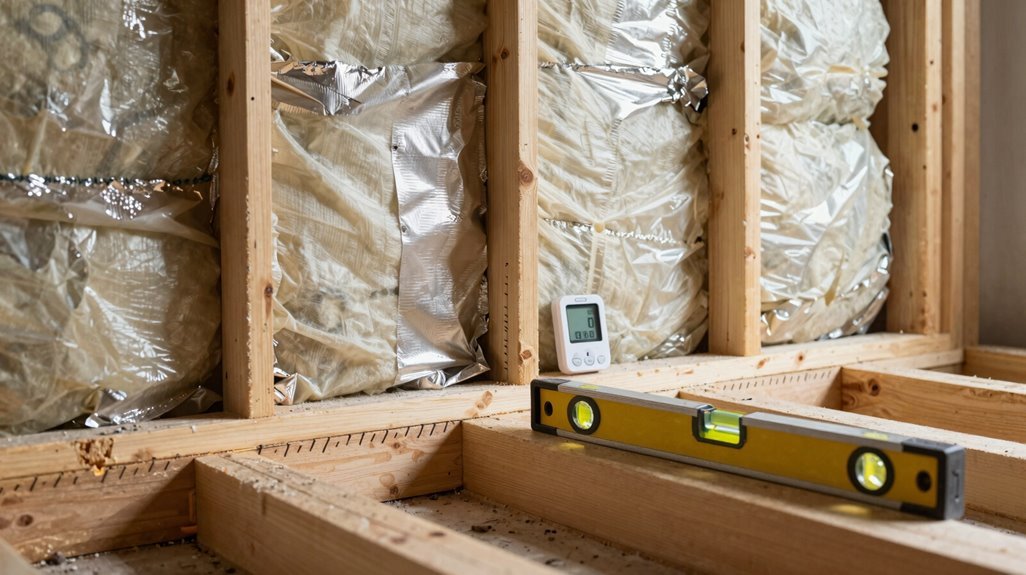
Why does your basement feel cold and damp even when the heat’s running? You’ve skipped proper insulation, and now you’re paying for it. Here’s how to fix that.
1. Insulate Basement Walls
Clean your foundation walls until they’re dry and debris-free. Apply a 1/4-inch bead of foam adhesive in a wave pattern, then press polystyrene insulation directly against the masonry. Add a second layer, overlapping seams to block air leaks.
After framing, install fiberglass batts between studs for approximately R-27 thermal resistance. Cut carefully around obstacles to eliminate gaps. This multi-layer system handles moisture control without needing a separate vapor barrier.
2. Insulate Subfloor
Attach polystyrene insulation to concrete, then secure plywood on top using masonry screws. This creates a warm, dry platform for your finished space.
Verify moisture tests pass before proceeding.
Run Basement Plumbing and Electrical Rough-Ins
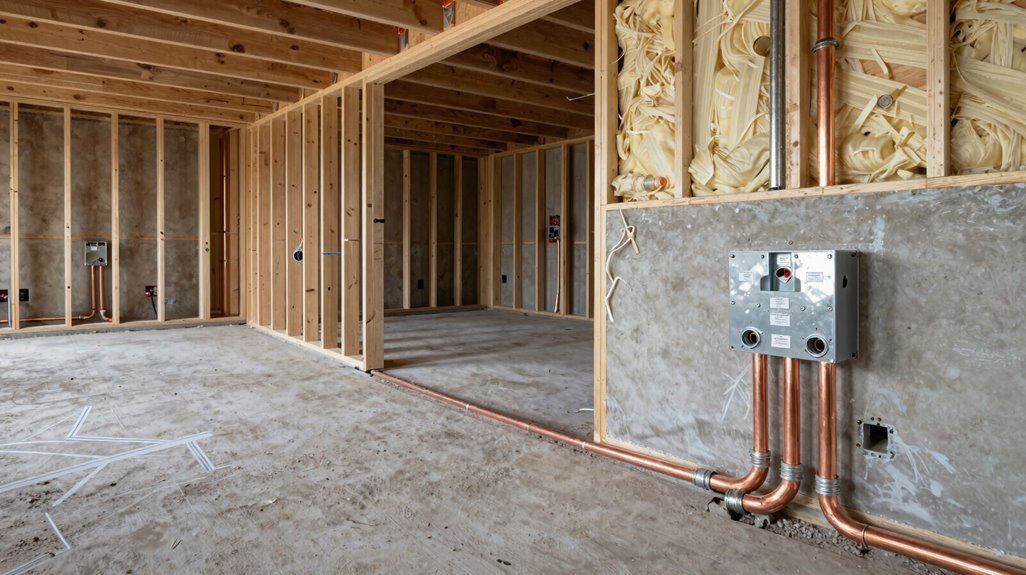
Installing your rough-ins now saves you from cutting open finished walls later, and it’s your only chance to route pipes and wires cleanly before framing begins. You’ll coordinate basement plumbing rough-ins by locating your main drain line, marking routes for future fixtures like bathrooms or kitchenettes, and installing shutoff valves at every branch. If your basement sits below sewer access, you’ll need a sewage ejector pump.
For electrical rough-ins, you’ll work with a licensed electrician to install electrical boxes, plan conduit routing from service panels, and size circuits for anticipated loads. You’ll leave plumbing access panels and avoid burying junction boxes in inaccessible spots. Schedule code inspections for both systems before you frame, checking that all wiring and piping passes testing and documentation requirements.
- Map your main drain line and fixture locations before cutting any pipes.
- Verify electrical boxes and conduit routing against service panel capacity.
- Schedule inspections only after all shutoff valves and junctions remain accessible.
Hang Drywall and Install Your Ceiling
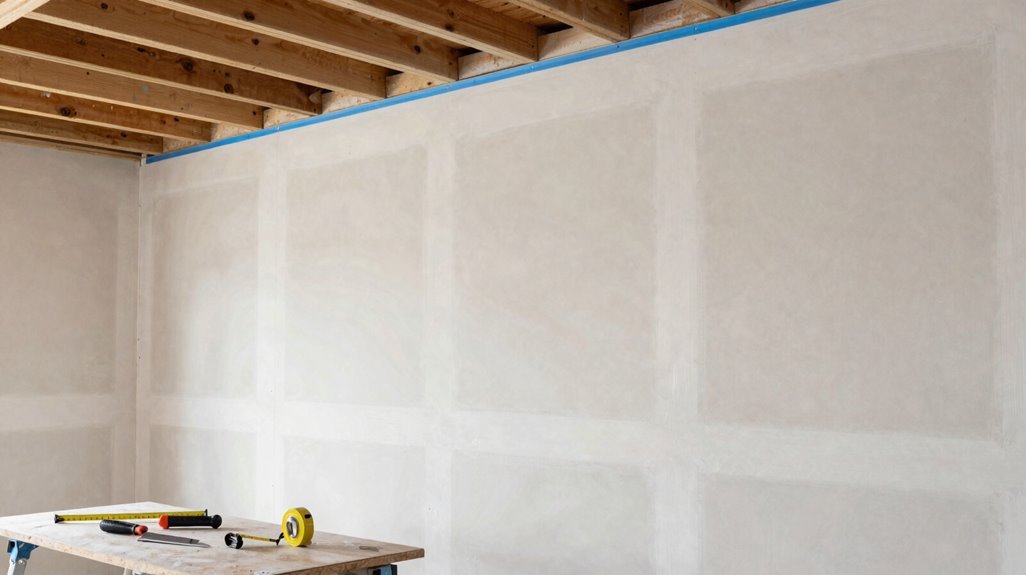
Once your plumbing and electrical rough-ins pass inspection, you’ll close up the framing with drywall and decide on your ceiling system.
Measure your stud walls, then cut drywall panels to end on a stud. You’ll install drywall by driving screws every 16 inches along each stud. Cut access openings for electrical outlets and fixtures during this process. Maintain 1/2-inch clearance above concrete for moisture control.
For ceilings, choose between three systems: drywall ceiling, drop ceiling with removable panels, or exposed ceiling. Drop ceilings provide access to utilities; drywall offers seamless appearance.
Apply drywall mud to seams, embed tape, and complete sanding between coats. Use a drywall jack or partner for lifting panels safely.
Select Basement Flooring and Final Details
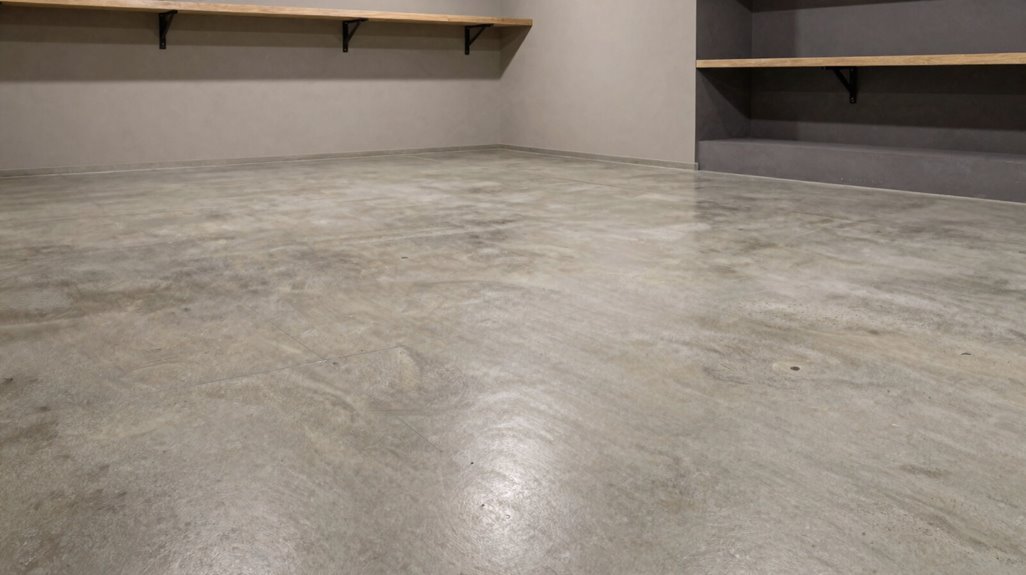
How do you select flooring that won’t fail in a basement’s damp environment? You prioritize moisture resistance from the ground up, starting with proper subfloor preparation. First, inspect your concrete for dips exceeding 3/16 inch, then pour self-leveling compound to create a flat surface. Next, lay rigid foam insulation, attaching plywood over foam to build a stable, thermal base.
Moisture-resistant basement flooring starts with proper subfloor preparation: level the concrete, then build a stable thermal base with rigid foam and plywood.
For basement flooring itself, you’ll choose materials engineered for below-grade conditions. Luxury Vinyl Plank offers exceptional moisture resistance with realistic wood aesthetics, while tile provides durability. If you prefer carpet, install low-pile options with a moisture-resistant pad and quality underlayment for comfort.
Your lighting layout demands equal attention. Plan electrical runs before flooring to avoid seam conflicts, and position fixtures for layered task and ambient illumination.
Three critical flooring rules:
- Never install solid hardwood, as you’ll risk permanent warping from humidity.
- Always verify moisture levels, because prevention eliminates costly failures.
- Coordinate trades early, since timing determines installation success.





