
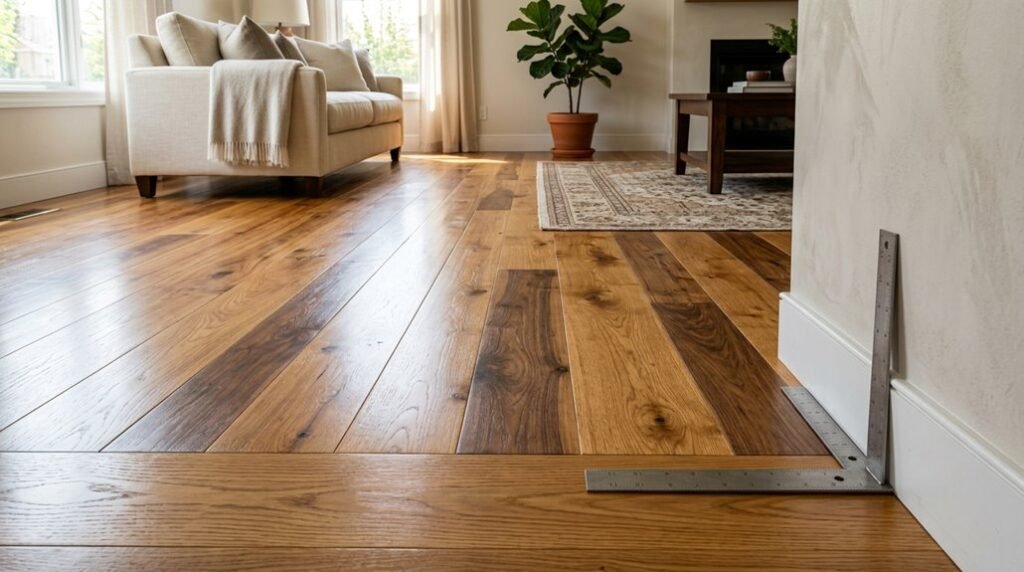
Most homeowners don’t realize that engineered hardwood with a 4-millimeter wear layer can be sanded and refinished three times, matching solid wood’s lifespan at 40-60% lower cost.
You’re about to make decisions that lock in 15-30 years of performance, maintenance burden, and resale value.
The wrong choice between solid, engineered, or waterproof options wastes thousands and demands premature replacement.
Here’s how you avoid that.
Solid, Engineered, or Waterproof Hardwood: Which Fits Your Home?
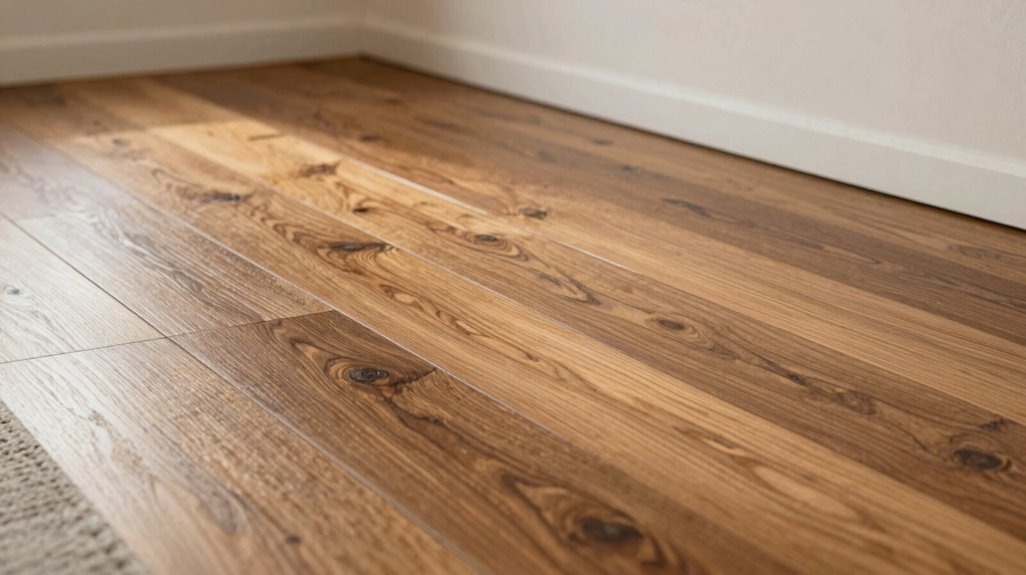
Where should you begin when selecting wood flooring? You start by understanding your environment’s moisture levels, because this single factor determines whether solid hardwood or engineered hardwood belongs in your home.
Solid hardwood delivers traditional authenticity but reacts poorly to humidity swings. You’ll restrict this material to above-grade installations only. Engineered hardwood solves this problem through cross-ply construction, creating dimensional stability that tolerates basements and concrete subfloors with proper moisture barriers.
Solid hardwood’s beauty demands above-grade placement; engineered alternatives conquer moisture challenges through cross-ply construction for any level.
Examine the wear layer thickness when comparing engineered options. A 2mm wear layer permits one refinishing, while 4mm layers withstand three to four sandings over 30-40 years. Premium engineered collections like Robbins HydroGuard® add waterproof cores for kitchens and baths.
You choose solid hardwood for lineage and longevity in dry, stable conditions. You select engineered hardwood for versatility, selecting wear layer thickness based on your household’s traffic patterns and refinishing expectations.
Can You Install Hardwood Below Grade or Over Concrete?
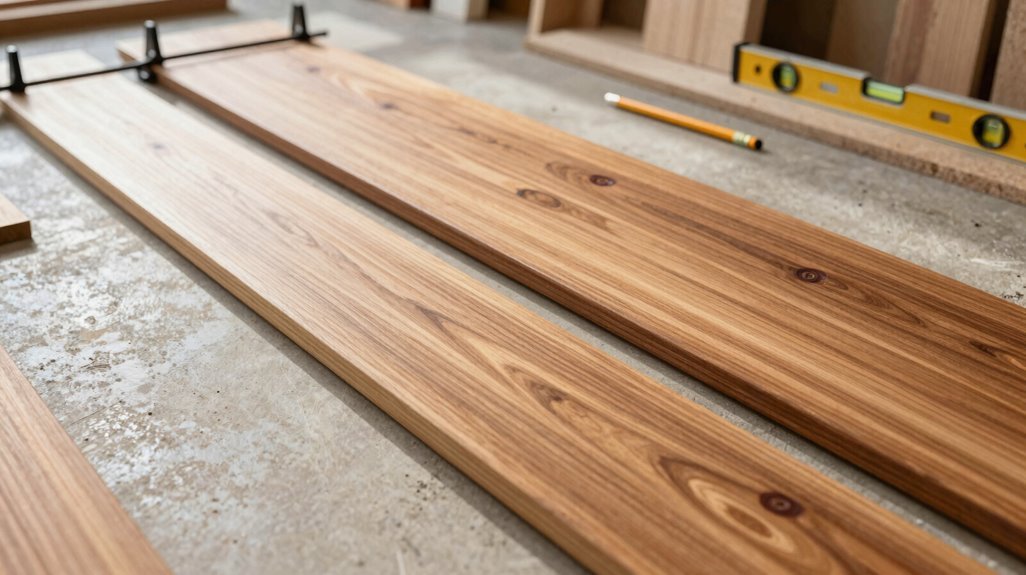
Why does concrete subfloor installation trip up so many homeowners? You’re dealing with moisture, humidity, and expansion risks that solid hardwood can’t handle below grade. You need engineered hardwood instead; its layered construction resists warping on concrete subfloor surfaces where traditional planks fail.
You must install moisture barriers before any below grade work. Skip this step, and you’ll face cupping, gaps, or total floor failure within months. You can choose glue-down or floating engineered methods, depending on your slab condition.
| Installation Factor | Engineered Option | Critical Requirement |
|---|---|---|
| Below grade suitability | Yes, with waterproof core | 30–50% humidity control |
| Concrete subfloor method | Glue-down or floating | Moisture barrier mandatory |
| Moisture protection level | Standard or waterproof | Subfloor moisture testing |
| Dimensional stability | Plywood/HDF core layers | 48-72 hour acclimation |
| Long-term performance | 20-30 year lifespan | Continuous climate control |
You belong among homeowners who get it right the first time.
How to Use the Janka Scale to Pick Durable Hardwood Species
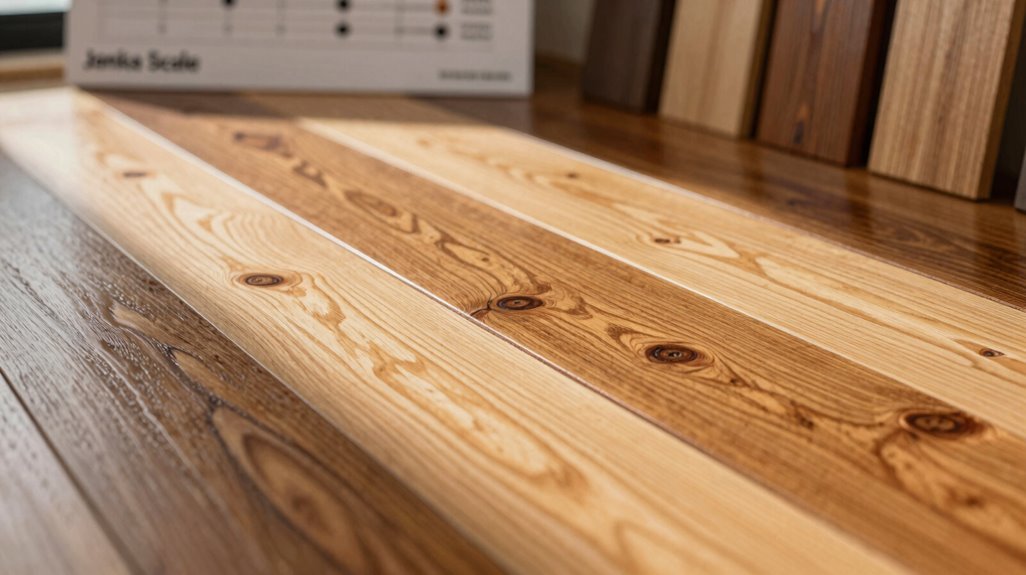
You’ll use the Janka hardness scale to compare wood species objectively, measuring their resistance to wear through standardized force-testing. Higher ratings, like Hickory’s 1820 or Hard Maple’s 1450, indicate superior dent and scratch resistance for busy households. Match these numbers to your traffic patterns, pets, and lifestyle demands. Remember that finish quality and wear layer thickness modify real-world performance.
What Is Janka Hardness?
How do you know which hardwood species will hold up under daily foot traffic, moving furniture, and dropped objects? You turn to Janka hardness, a standardized test measuring denting durability by forcing a 0.444-inch steel ball halfway into wood.
- Measure the force: Janka quantifies pounds-force needed to embed that steel ball, giving you exact wear resistance data.
- Compare ratings: Red Oak scores 1,290, White Oak 1,360, Hard Maple 1,450, and Hickory 1,820, while soft Pine trails at 380.
- Apply your knowledge: Higher numbers mean superior denting durability, so you’ll prioritize Hard Maple or Hickory in busy households.
- Evaluate holistically: Real-world wear resistance also depends on finish quality, wear layer thickness, and installation precision.
Understanding Janka hardness lets you select wood species confidently for long-lasting floors.
Top Durable Species
Put the numbers into action, and you’ll find Hickory, Hard Maple, and both Oak varieties dominating the durability rankings. You’ll see Hickory leads with a Janka rating of 1820, followed by Hard Maple at 1450, White Oak at 1360, and Red Oak at 1290. These numbers translate directly to species durability you’re looking for in busy households.
Skip softer options entirely. Pine at 380 and Cedar at 350 won’t withstand daily punishment, so exclude them from high-traffic flooring plans. For challenging moisture conditions, select engineered planks featuring a thick hardwood wear layer, combining stability with dent resistance.
Applying Ratings Practically
Where exactly does a Janka rating of 1820 place your floor in real-world performance? You’re looking at Hickory-level durability, meaning it’ll withstand heavy foot traffic, dropped objects, and daily wear without showing damage. When you select hardwood, match Janka hardness to your space’s demands.
- Assess your traffic patterns. You’ll want Hickory (1820), Hard Maple (1450), or White Oak (1360) for busy hallways and living areas.
- Calculate your wear layer needs. For engineered hardwood, you’ll require 2-6mm of usable surface above the tongue for future refinishing.
- Evaluate moisture considerations. You’ll find engineered construction provides dimensional stability where solid planks warp, particularly below-grade or over concrete.
- Reserve softer species strategically. You’ll install Pine (380) in bedrooms or closets where dent sensitivity won’t compromise your floor’s integrity.
Clear vs. Character Grade: How Wood Quality Affects Your Price
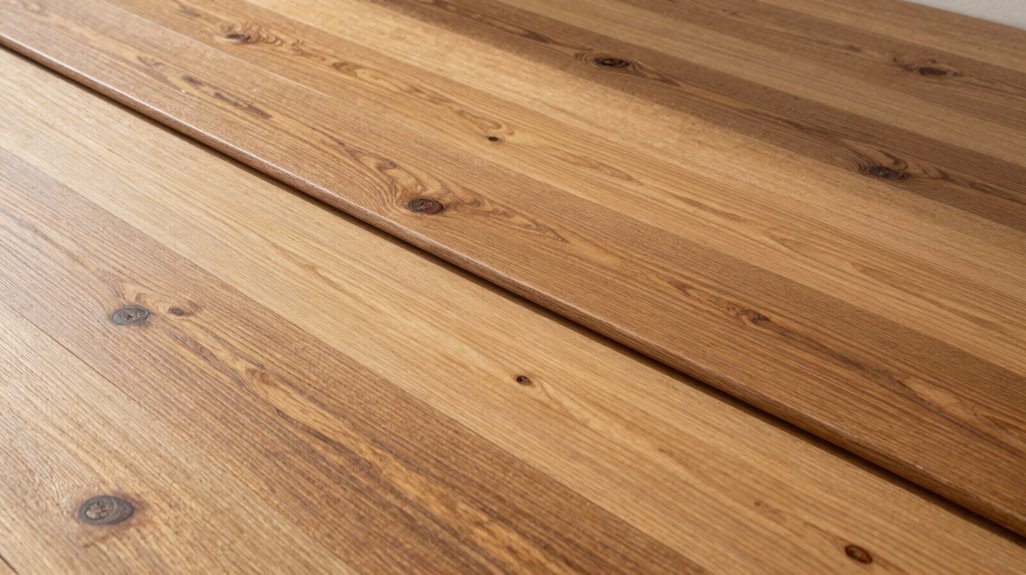
You’ll encounter two primary grade quality levels when selecting hardwood: Clear grade, which offers minimal knots and uniform color at a premium price, and Character grade, which displays prominent natural features like mineral streaks and knots at 15-30% less cost.
Your price impact factors include raw material scarcity, milling waste reduction, and finishing consistency requirements, with Clear grade demanding stricter sorting standards that increase manufacturing overhead. When you balance budget constraints against aesthetic preferences, Character grade maximizes visual texture while reducing material costs, whereas Clear grade commands higher per-square-foot pricing, typically $8-14 versus $5-10, for its defect-free appearance.
Grade Quality Levels
How do you know which wood grade matches your budget and aesthetic goals? Understanding grading systems helps you make informed decisions. NOFMA grades standardize appearance expectations, so you’ll know exactly what you’re purchasing.
- Clear Grade delivers minimal knots and uniform color, commanding premium pricing for pristine aesthetics.
- Select Grade balances refinement with value, offering small tight knots and controlled variation.
- Common Grade maximizes natural character marks while minimizing expenditure.
- Character Grade embraces prominent features at reduced cost, creating distinctive environments.
You’ll trade appearance for cost consistently; more rustic features reduce price. Select Grade suits refined spaces requiring moderate investment. Common Grade serves budget-conscious projects without sacrificing authenticity. Your community values practical choices; selecting appropriate grades demonstrates smart membership in informed homeowner circles.
Price Impact Factors
Why does one plank cost $12 per square foot while another runs $6? The answer lies in grade selection, and you’re making this choice right now.
- Clear Grade: You pay premium price per square foot for minimal knots and uniform color. Your wear layer performs identically to lower grades, but your upfront investment increases 40-60%.
- Character Grade: You save 30-50% on materials while gaining distinctive grain patterns. Your lifespan remains unchanged; refinishing potential depends on wear layer thickness, not visual grade.
- Optimization Strategy: You balance immediate budget constraints against long-term value. Thicker wear layers (3mm+) extend refinishing cycles regardless of grade, maximizing your total installed cost efficiency.
You belong in this decision. Your project succeeds when you match grade to realistic budget parameters, not aspirational standards.
Engineered or Solid Hardwood: Which One Wins for Your Home?
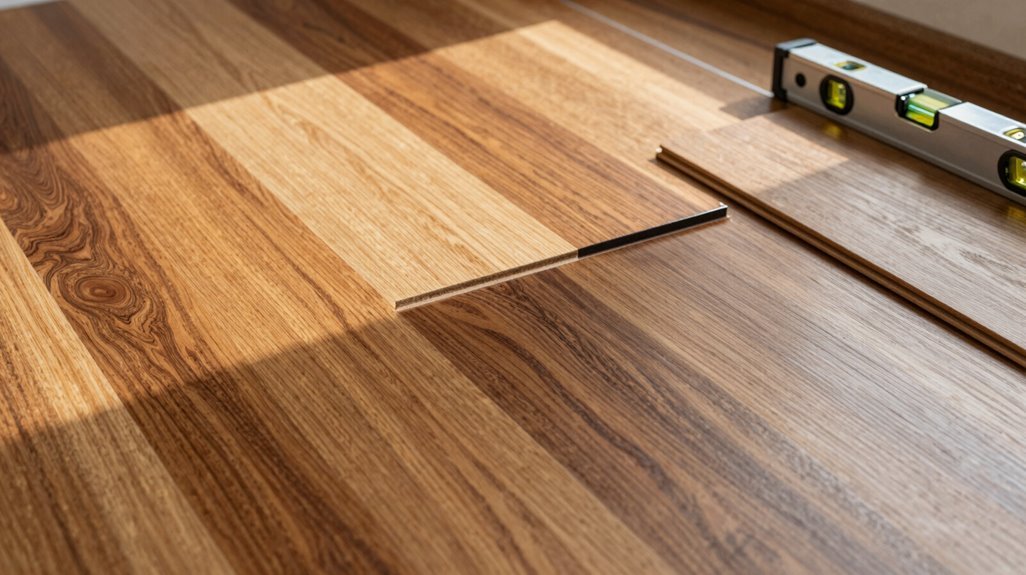
Where exactly should you spend your flooring budget when hardwood’s on the table: engineered planks or solid strips? You need answers that fit your home’s reality, not just showroom dreams.
Consider these four critical factors before you commit:
- Subfloor compatibility: You can install engineered hardwood on concrete slabs and in basements, but solid hardwood fails below grade due to moisture vulnerability.
- Climate resilience: Engineered hardwood tolerates humidity swings and seasonal shifts better than solid hardwood, protecting your investment.
- Moisture resistance: Some engineered options, like Robbins HydroGuard, add waterproof cores, essential for kitchens, baths, and active households.
- Refinishing potential: Check your wear layer thickness; quality engineered floors with 2mm+ layers refinish 2-3 times, lasting 30+ years with proper care.
Match your choice to your space, and you’ll build floors that endure.
How Plank Width, Color, and Pattern Transform Your Space
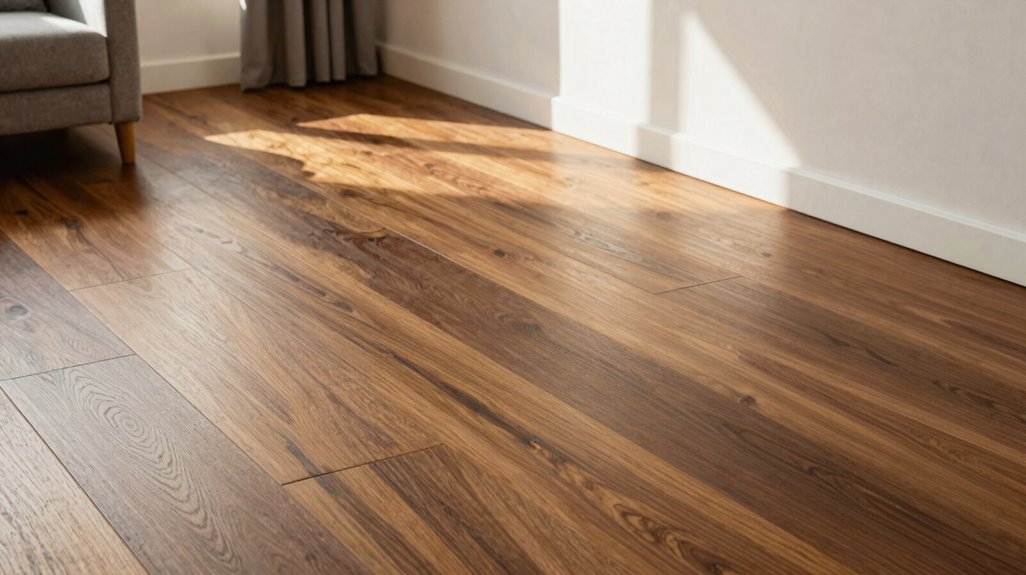
Your hardwood type is settled, but the real impact comes from how you shape it.
1. Plank Width: Select planks 3″–7″ or wider to expand perceived room size, or choose narrow planks for period-appropriate historic restoration. Combine widths strategically for visual complexity without clutter.
| Width Category | Effect | Best Application |
|---|---|---|
| 3″–5″ | Traditional, structured | Formal dining, offices |
| 5″–7″+ | Expansive, contemporary | Open-concept living areas |
| Mixed widths | Custom, curated | Feature rooms, entryways |
2. Color: Apply light tones to maximize brightness and mask particulate accumulation. Use darker colors for depth and sophisticated dimension.
3. Pattern: Execute straight patterns for efficiency, diagonal layouts for directional flow, or herringbone configurations for elevated refinement.
4. Texture Enhancement: Integrate hand-scraped, wire-brushed, or distressed finishes into wide plank designs to amplify material character and tactile interest.
Control these variables precisely, and you’ll engineer spatial change through systematic specification.
Nail-Down, Glue-Down, or Floating Installation?
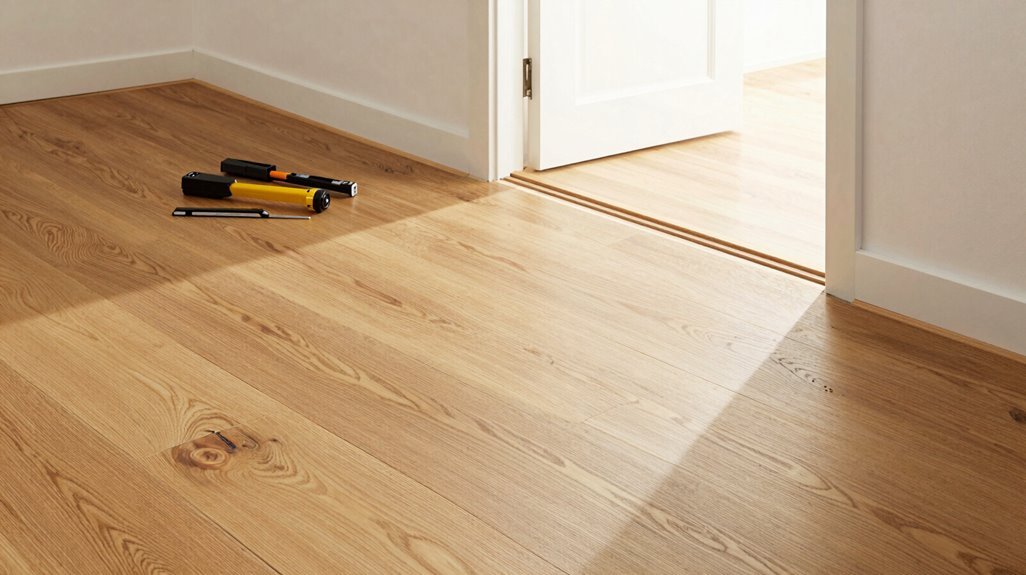
How you anchor your floor determines its longevity, feel, and compatibility with your home’s structure. You must match your installation method to your subfloor type, climate conditions, and skill level.
- Nail-down secures solid and thick engineered planks through the tongue into wooden subfloors, delivering maximum stability and multiple refinishing cycles over decades.
- Glue-down bonds planks directly to concrete slabs, creating moisture protection and eliminating hollow sounds underfoot.
- Floating installation clicks planks together without subfloor attachment, using an integrated pad for moisture and acoustic control.
- Subfloor preparation demands levelness within 3/16 inch per 10 feet, clean surfaces, and straight first rows to prevent joint separation.
Choose nail-down for permanence, glue-down for concrete, or floating for speed. Each method shapes your floor’s performance and your satisfaction.
Pre-Finished or Site-Finished: Which Lasts Longer?
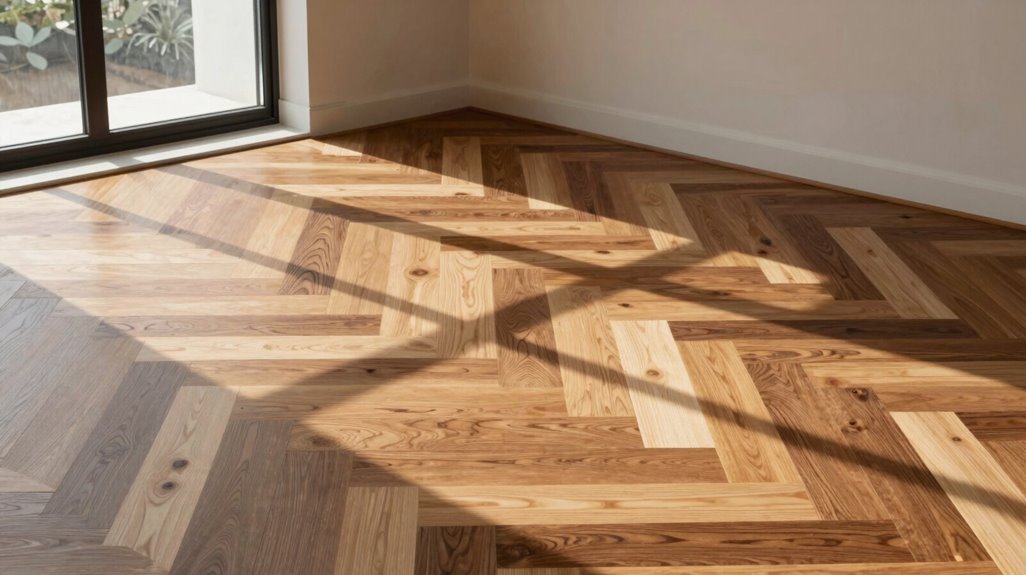
You must weigh three critical factors, durability comparison, aesthetic control, and maintenance requirements, when deciding between pre-finished and site-finished solid hardwood, as each method delivers distinct trade-offs in factory efficiency versus on-site customization. Your project’s timeline, dust tolerance, and long-term refinishing goals will determine whether factory-applied coatings with immediate walkability or site-applied layers with thicker wear potential better serve your needs.
Compare wear-layer specifications, finish adhesion properties, and recoating intervals for each option.
Durability Comparison
The durability of pre-finished versus site-finished wood flooring hinges on three measurable factors: wear resistance, refinishing capacity, and installation integrity. When you evaluate site-finished vs pre-finished options, you’ll notice pre-finished floors withstand more initial wear due to factory-applied coatings, while site-finished solid hardwood offers superior refinishing frequency, typically 3–5 times over decades.
Four factors determine your floor’s longevity:
- Wear-layer thickness: Thicker layers permit more sanding cycles before replacement.
- Refinishing frequency: Site-finished solid outlasts thin-engineered pre-finished alternatives.
- Moisture control: Humidity causes cupping or gaps regardless of finish type.
- Installation precision: Proper moisture barriers prevent finish failure.
Your durability depends on matching wear-layer thickness to expected traffic, maintaining stable humidity, and selecting installation methods that align with your refinishing goals.
Aesthetic Control
Aesthetic control demands you weigh customization against consistency when selecting your finish method. Pre-finished flooring delivers factory-applied coatings under strict conditions, giving you predictable color and immediate coating durability. Site-finished flooring lets you customize stain and sheen on-site, but requires skilled application and extended curing time.
Your environment determines longevity. Pre-finished products resist initial wear better because manufacturers control temperature and humidity during curing. Site-finished floors match or exceed this protection only when you maintain rigorous humidity control, between 35% and 55% relative humidity, during application and curing. Without this stability, site-applied finishes cure unevenly, compromising durability.
Consider your priorities: pre-finished offers faster installation with proven factory finishes; site-finished provides deeper customization if you commit to proper conditions. Both methods succeed when you match your choice to your capacity for environmental management and your timeline constraints.
Maintenance Requirements
Regularly evaluating maintenance demands reveals distinct trade-offs between pre-finished and site-finished installations. You must weigh immediate convenience against long-term repairability when choosing your flooring path.
- Inspect your wear-layer thickness before purchasing, as engineered planks with 3mm+ layers allow 2-3 refinishing cycles, while solid wood supports 6-10 cycles over 50+ years.
- Schedule refinishing based on surface wear, not calendar dates; high-traffic zones need attention every 7-10 years, low-traffic areas every 15-20 years.
- Maintain strict humidity control between 35-55% year-round, using dehumidifiers or humidifiers to prevent gapping, cupping, and premature finish failure.
- Adjust your maintenance interval by flooring type: pre-finished requires immediate cleaning protocols, while site-finished needs 2-4 weeks curing before full use.
DIY vs. Pro Installation: Real Cost Breakdown
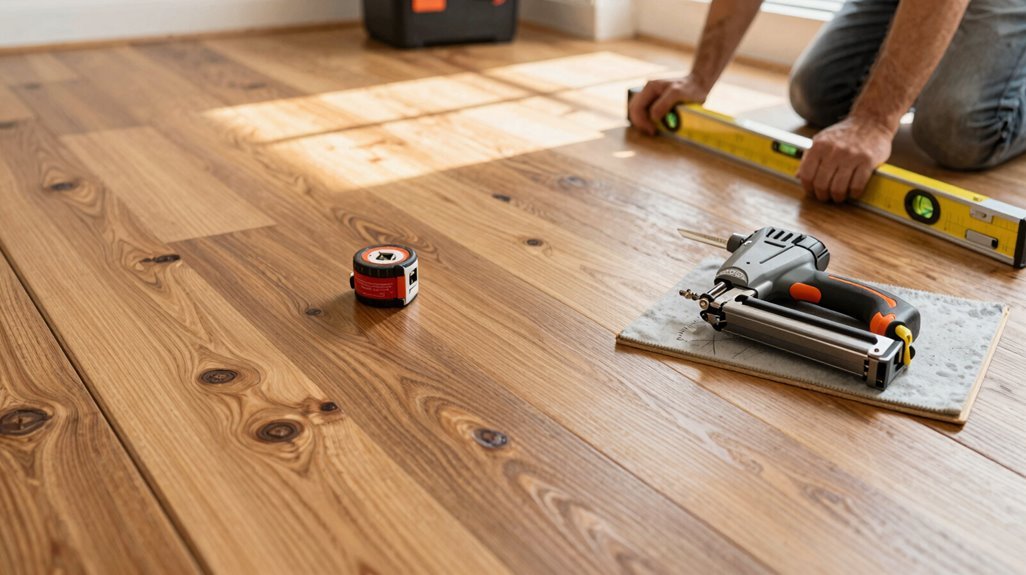
How much could you actually save by installing wood flooring yourself? With DIY, you eliminate labor costs, the largest expense in any project, leaving only materials and tool rental. Professional installation runs $3 to $14 per square foot, but underlayment, subfloor repairs, trim, and finishing add substantially more. A 2,000-square-foot project typically totals $14,000 to $50,000, averaging $32,000.
With DIY, you eliminate labor costs, the largest expense in any project, leaving only materials and tool rental.
- DIY Savings: You keep 50-70% of labor costs, paying primarily for materials, moisture barriers, and pad installation.
- Professional Advantages: Pros see to proper subfloor preparation, moisture protection, and faster completion.
- Floating Floors: These offer the easiest DIY route, requiring no attachment to subfloor, though you’ll need quality underlayment for sound reduction and moisture control.
Weigh your skill level against these numbers carefully.
Why 30-50% Humidity Protects Hardwood From Damage
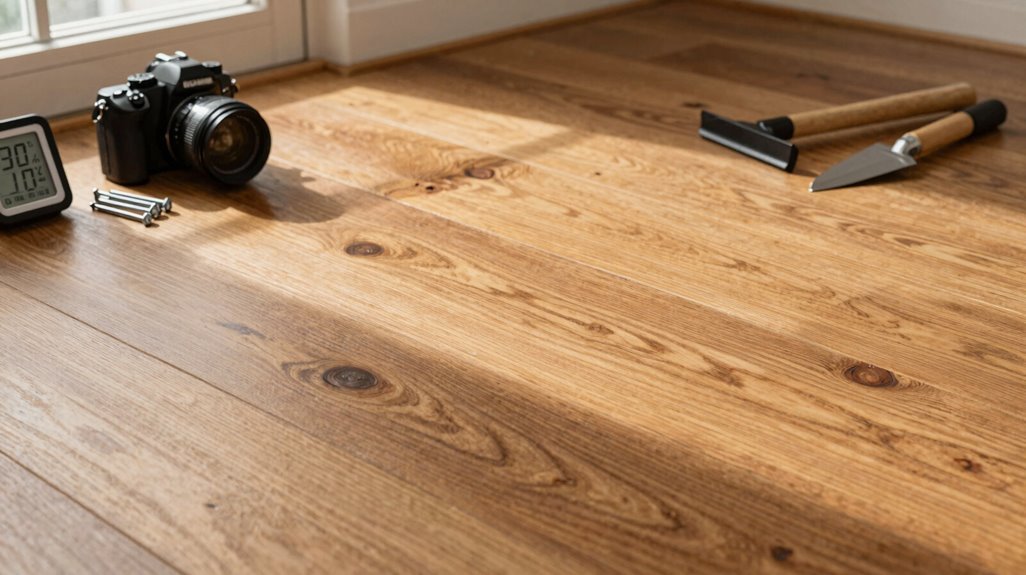
Why does your hardwood floor gap in winter and cup in summer? You’re witnessing wood’s natural response to humidity swings, and if you ignore them, you’re inviting hardwood damage you could prevent.
Your floor belongs in the 30-50% relative humidity range. Step outside this zone, and moisture migration accelerates, pulling water from boards in dry months, swelling them in damp ones. You control this.
- Measure your RH: Buy a hygrometer, check readings weekly, target 35-45% for optimal stability.
- Run humidifiers in winter: Add moisture when heating systems drop your indoor RH below 30%.
- Deploy dehumidifiers in summer: Pull excess moisture before it hits 55%, preventing cupping.
- Monitor slab and basement environments: Concrete releases vapor; maintain 30-50% RH to protect engineered and solid wear layers equally.
Seasonal consistency preserves your finish, your investment, and your floor’s structural integrity.
How to Prevent Scratches With Daily Hardwood Care
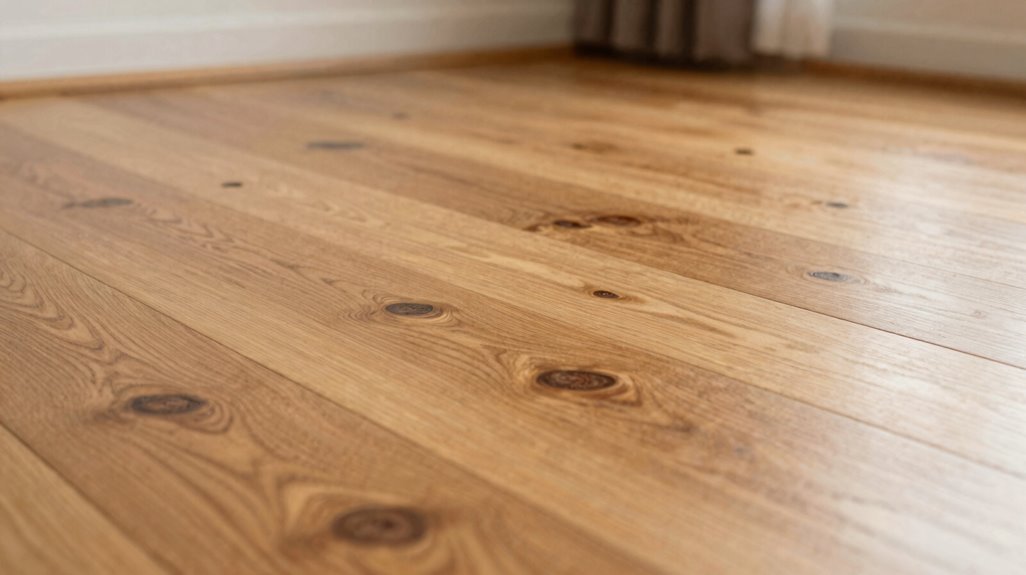
You scratch your hardwood floor every day without realizing it. Daily care stops damage before it starts, and here’s how you protect your investment.
Hardwood Floor Maintenance Essentials
- Sweep or vacuum daily to remove abrasive particles that grind into the finish
- Place entrance mats at every threshold; you’ll cut dirt and grit by 80%
- Deploy area rugs in high-traffic zones, rotating every 3-6 months for even wear
Scratch Prevention Through Moisture Control
Use a barely damp mop, never wet, and wipe spills within 10 minutes. Excess water weakens protective finishes, accelerating surface damage. For moisture prevention, select manufacturer-recommended cleaners only; avoid oil-based soaps entirely.
Your floor’s longevity depends on these habits. Small, consistent actions preserve the surface you’ve chosen, connecting your home to the community of homeowners who value lasting quality.
How Often Should You Refinish Hardwood Floors?
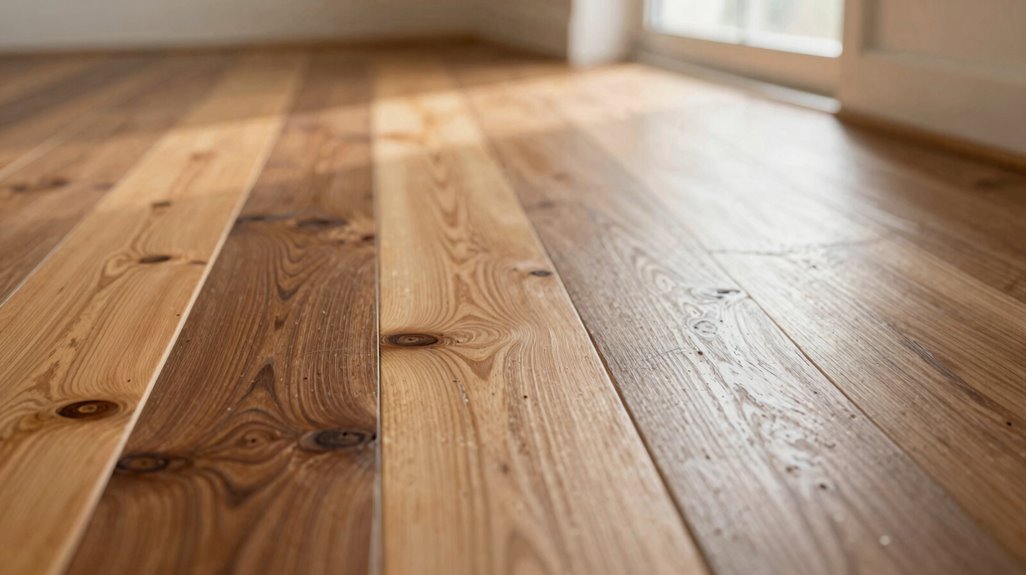
Eventually, every hardwood floor shows enough wear that maintenance won’t restore its surface, and that’s when refinishing becomes necessary.
Eventually, every hardwood floor shows enough wear that maintenance won’t restore its surface, and that’s when refinishing becomes necessary.
Your refinish frequency depends on traffic and wood type. You’ll typically refinish high-traffic areas every 7–10 years, while moderate-use homes extend to 10–15 years.
Wear-layer depth determines your floor’s lifespan. Solid hardwood offers 6–8 refinishing cycles due to full-thickness sandability. Engineered hardwood provides 1–3 refinishes, contingent on veneer thickness.
Four factors control your timeline:
- Room use intensity (entryways deteriorate fastest)
- Pet presence and claw damage
- Sandability limitations per wood type
- Finish durability (oil-based lasts longer than water-based)
Proper installation, humidity control, and consistent maintenance extend intervals significantly. Measure your wear layer before sanding, and you’ll protect your investment for decades.
What Seasonal Maintenance Actually Protects Your Floors
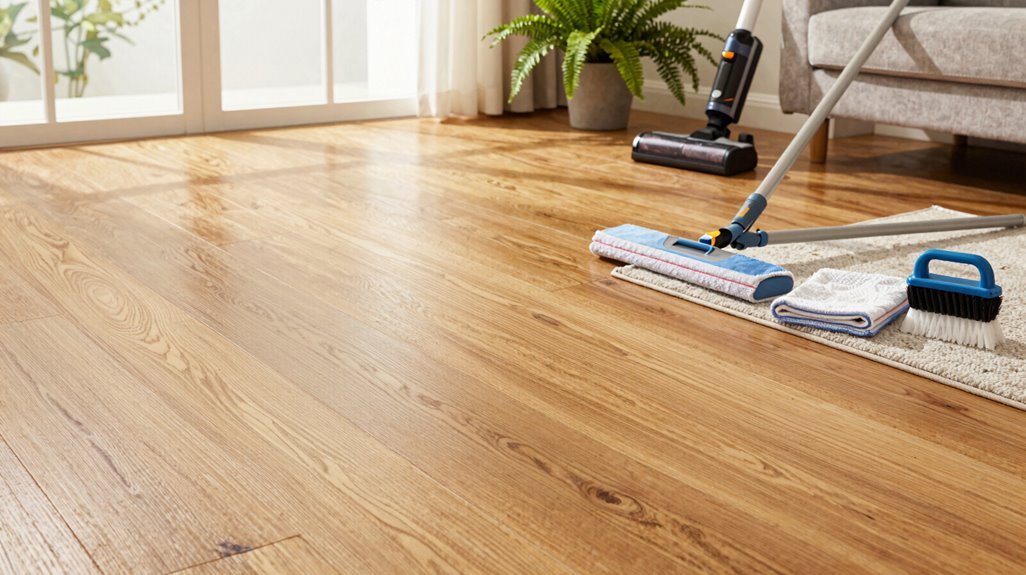
How exactly does your wood floor survive winter’s dry heat and summer’s humidity without warping, gapping, or cupping? You control your indoor climate, and that control determines your floor’s longevity.
- Manage humidity year-round. Maintain 30–50% relative humidity using humidifiers in dry months and dehumidifiers when moisture rises. This prevents wood expansion, contraction, and structural damage.
- Address temperature variability proactively. Adjust your thermostat gradually, avoiding sudden shifts that stress wood fibers and finish adhesion.
- Refine your cleaning routine seasonally. Use manufacturer-approved cleaners only, and never apply damp mops or excess moisture, which degrades protective finishes.
- Protect against environmental wear. Place entrance mats at every doorway, rotate rugs and furniture quarterly for even sun exposure, and adjust window coverings daily to minimize bleaching.
Your consistent maintenance preserves your investment.





