
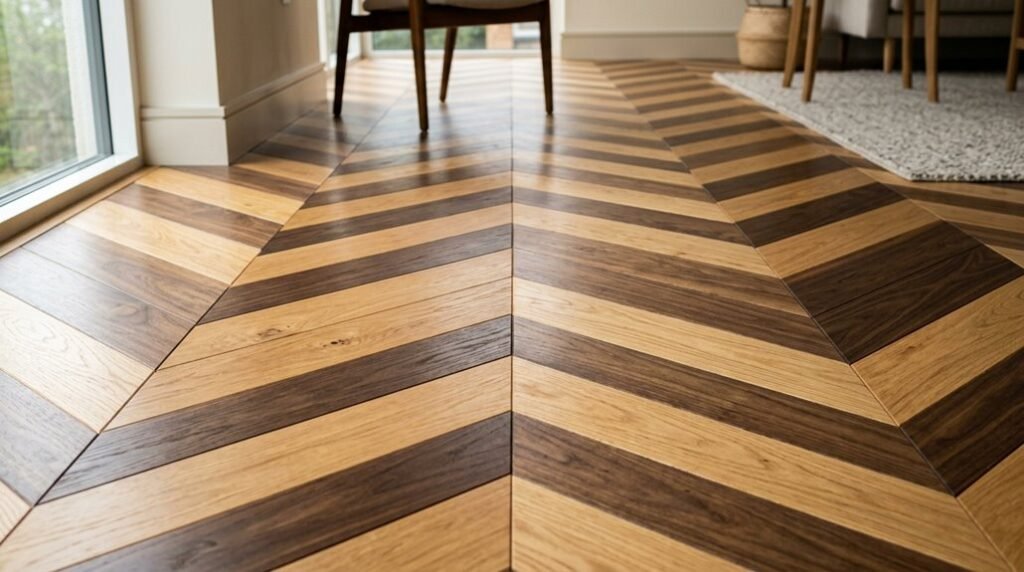
You need flooring that delivers clean, architectural lines without sacrificing structural integrity. Chevron flooring forms continuous V-shaped patterns through precisely angled planks, typically cut at 45° or 60° angles, requiring mirrored left-right pairs for seamless center alignment. This installation demands greater precision than herringbone, with waste factors running 15-20% versus standard 10% for plank floors.
Your material options span engineered wood (stable over underfloor heating), solid hardwood, luxury vinyl plank, and ceramic tile, each with distinct acclimation periods, subfloor requirements, and lifespan expectations measured in decades. The angle you select, plank width (ranging from 3 to 7 inches), and finish sheen level will fundamentally alter spatial perception, maintenance schedules, and long-term durability.
Before you commit to this pattern, you must understand how these variables interact with your specific room dimensions, traffic loads, and climate conditions, because one miscalculation in the layout phase will cascade through every subsequent installation step.
What Is Chevron Flooring?
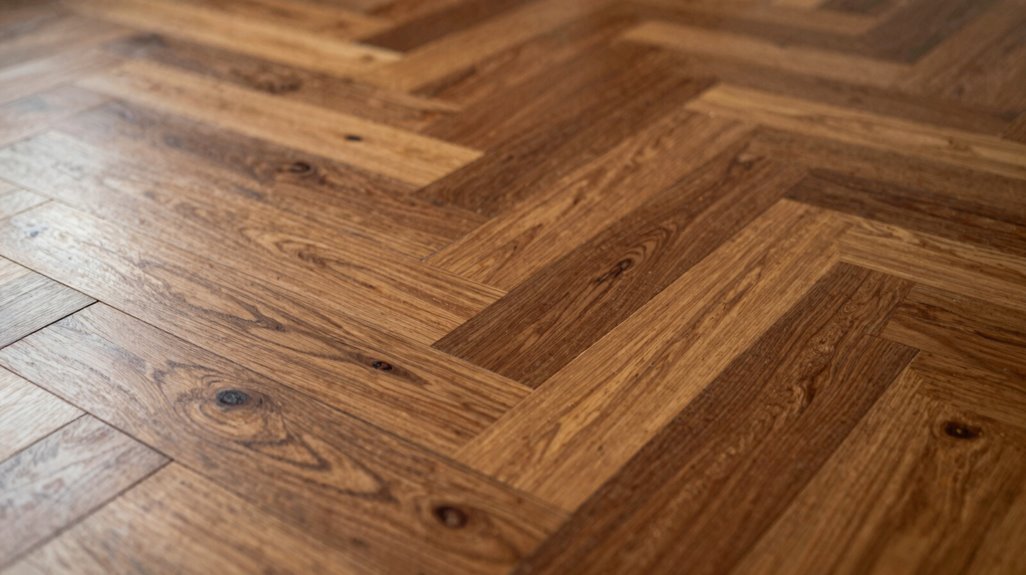
Why does chevron flooring command attention in modern interiors? You recognize the pattern immediately: a continuous V-shaped design that pulls your eye forward, creating movement and expanding your space.
Chevron flooring demands precision. You install boards cut at 45° or 60° angles on both ends, meeting point-to-point in perfect alignment. You can’t fake this geometry. True chevron requires mirrored left-hand and right-hand pieces, manufactured specifically for this pattern.
Chevron flooring demands precision: perfect angles, point-to-point alignment, and mirrored pieces that leave no room for error.
You have material options beyond solid wood. Engineered wood performs exceptionally, offering stability where humidity fluctuates. Laminate and luxury vinyl flooring also accommodate the chevron pattern.
Compared to herringbone, you’ll notice chevron’s cleaner aesthetic. The central straight line emphasizes architectural structure, not rustic charm. Your installation requires exact measurements, consistent angles, and unforgiving tolerances. There’s no hiding sloppy work in this geometry.
How Much Does Chevron Flooring Cost?
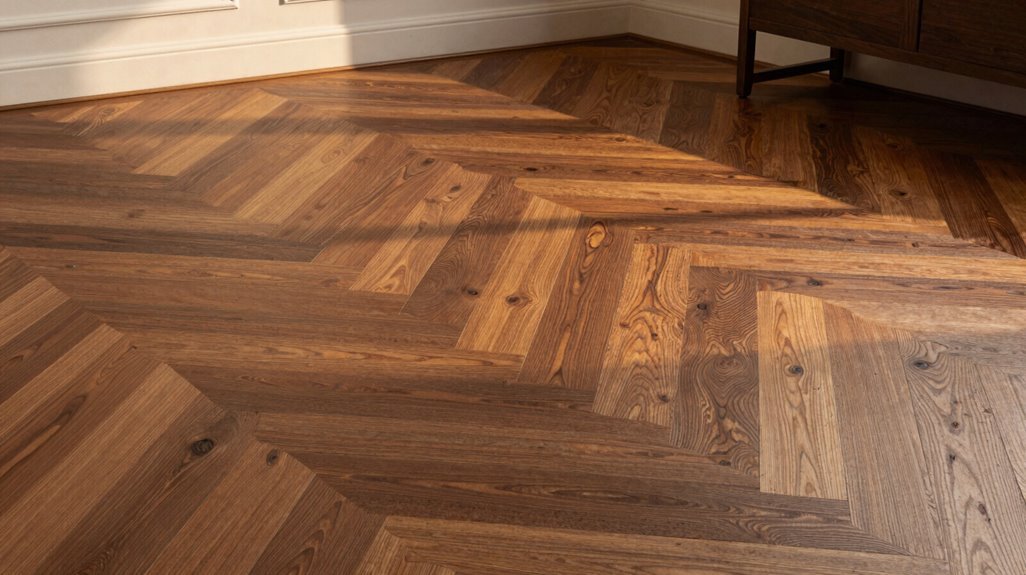
You’ll need to account for both price per square foot and your total project investment when budgeting for chevron flooring, as these two figures determine your overall expenditure. Material costs range widely depending on your selection, with engineered wood running $8–$15 per square foot, solid wood reaching $12–$25, and LVP or ceramic alternatives spanning $4–$20.
Factor in 15–20% waste from precision cutting, plus labor rates of $4–$10 per square foot for complex installation, to calculate your complete financial commitment.
Price Per Square Foot
How much should you actually budget for chevron flooring? Expect to pay 10–30% more for this chevron pattern compared to herringbone, driven by three core factors: precision manufacturing, elevated waste percentage, and specialized installation labor demands.
Your material cost varies dramatically by product type. Engineered wood sits mid-to-high in pricing, while LVP offers your most affordable moisture-resistant path. Regardless of material, you’ll face 15–20% waste percentage versus herringbone’s 10–15%, demanding surplus purchase.
Perimeter cuts and room size directly manipulate your final tally; larger spaces with extended board lengths inflate both material and labor requirements. Pre-finished engineered wood trims on-site installation labor time but still mandates skilled alignment. Calculate your true price per square foot by factoring waste, perimeter complexity, and square footage precisely.
Total Project Investment
What does a complete chevron flooring project actually cost you? Your total project investment depends on eight interconnected cost drivers you must evaluate before committing.
- Material selection: Engineered wood runs 10–30% less than solid hardwood but exceeds vinyl or laminate pricing. Your choice here establishes your baseline expenditure.
- Waste factors: Chevron demands 15–20% material waste versus standard layouts. You will purchase extra planks to accommodate angled cuts and matching left/right pieces.
- Installation labor: Pattern complexity requires precise center alignment, border planning, and custom milling. Skilled craftsmen charge premium rates for this geometric precision.
- Subfloor prep: Leveling, moisture barriers, and structural repairs add unavoidable costs.
- Surface finishing: Pre-finished surfaces reduce labor time and eliminate site-finishing variables, including drywall protection and ventilation adjustments.
Best Materials for Chevron Floors
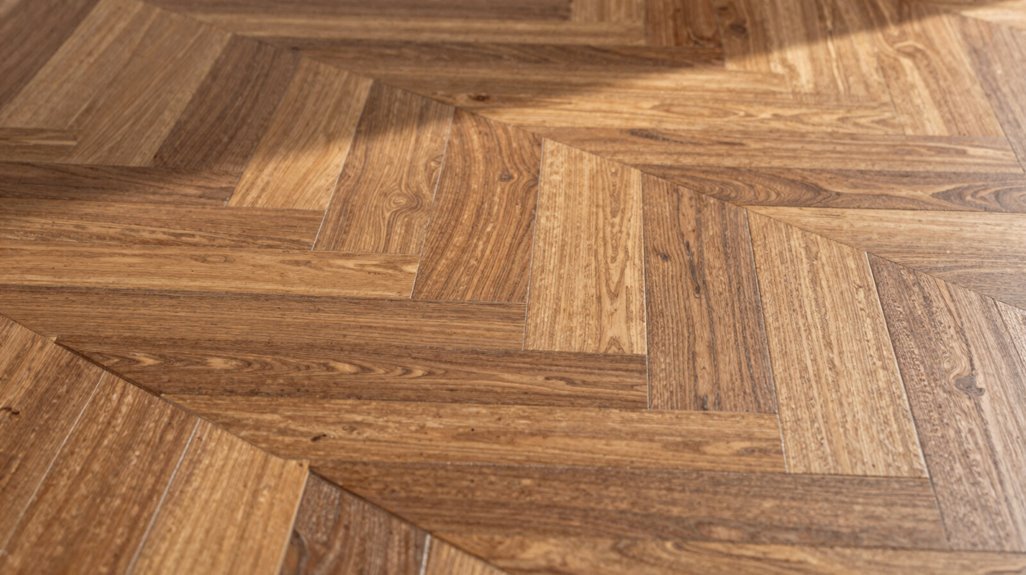
Why choose one material over another when planning your chevron floor? Your material choice determines stability, cost, and compatibility with underfloor heating in Quebec homes. Engineered wood delivers optimal performance for chevron parquet, offering dimensional stability across temperature fluctuations while accommodating radiant systems. White oak flooring remains the premium selection, balancing aesthetics with structural integrity.
Solid hardwood commands higher investment but rewards with longevity. Luxury vinyl plank provides waterproof durability at reduced cost, ideal for moisture-prone zones. Ceramic withstands heavy traffic and humidity extremes.
| Material | Best Application | Key Advantage |
|---|---|---|
| Engineered Wood | Living spaces, basements | Underfloor heating compatibility |
| Solid Hardwood | Dry, climate-controlled rooms | Premium longevity, refinishing potential |
| LVP/Ceramic | Kitchens, bathrooms, entryways | 100% waterproof protection |
Select engineered wood for Quebec homes when prioritizing versatility, or specify alternatives based on room-specific demands and budget parameters.
Chevron vs. Herringbone: Key Differences
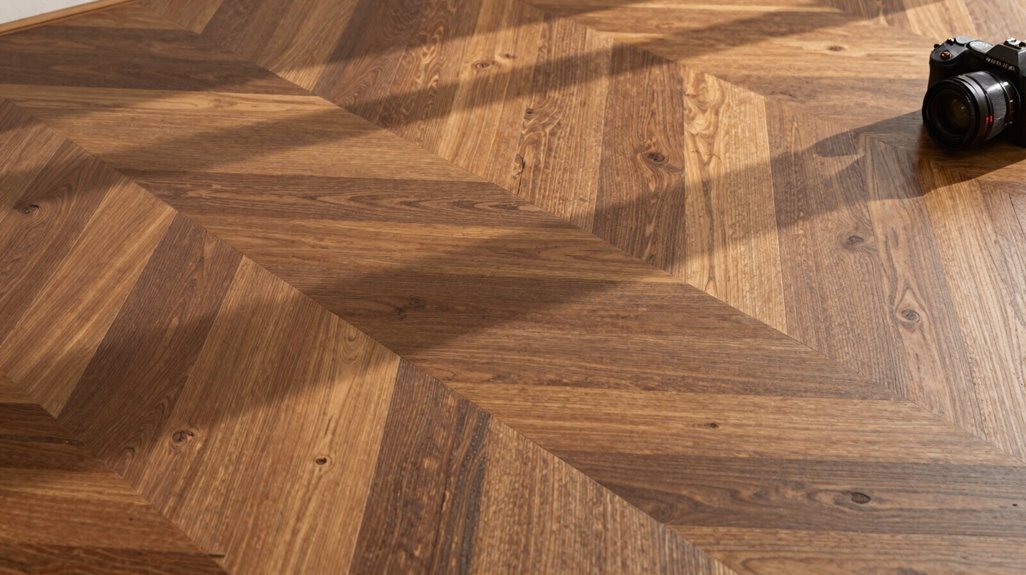
While both patterns appear similar at first glance, you’ll notice distinct structural differences once you examine the joint geometry. Chevron boards meet point-to-point at precise 45° or 60° angles, forming continuous V shapes, while Herringbone uses rectangular planks at 90° angles, creating a broken zigzag.
1. Structural Comparison
| Feature | Chevron | Herringbone |
|---|---|---|
| Board ends | Angled (45°/60°) | Rectangular |
| Pattern shape | Continuous V | Broken zigzag |
| Visual effect | Directional, architectural | Rich parquet texture |
2. Installation Requirements
Chevron demands mirrored left-hand and right-hand boards with careful center alignment. This makes installation more technically demanding than Herringbone’s simpler layout.
3. Angle Variations
Choose 45° Chevron for sharper, narrower Vs with stronger directional impact. Select 60° Chevron for wider Vs and a calmer pattern.
4. Design Application
Herringbone adapts across traditional and contemporary spaces. Chevron leans modern and graphic, altering space perception distinctly.
Best Rooms for Chevron Flooring
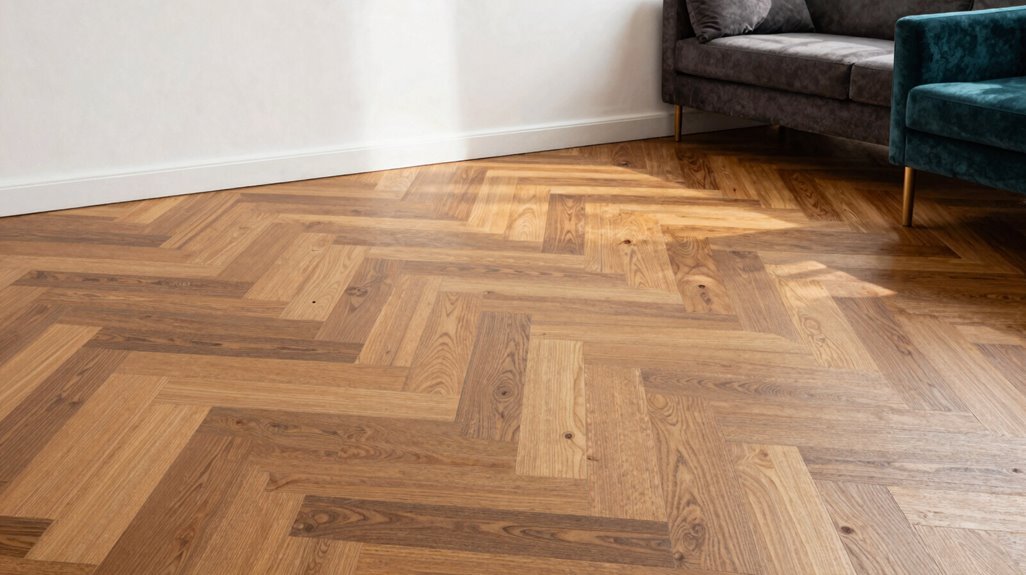
Where should you install chevron flooring to maximize its architectural impact? You’ll find your answer in large, open rooms and hallways, where this directional pattern creates commanding visual impact and guides sightlines through space.
- Living Areas: Choose engineered wood for superior stability and compatibility with radiant heat, so your room feel stays consistent year-round.
- Entryways and Kitchens: Define zones with chevron’s modern precision, selecting durable, low-sheen finishes for high-traffic endurance.
- Commercial Spaces: Achieve bold contemporary luxury using wider planks with sharp 45° or 60° angles.
Critical consideration: pattern orientation determines perceived space and flow. Point your V toward main light sources or toward focal points to optimize architectural effect. Your installation choices directly shape how inhabitants experience and move through your designed environment.
Choosing Your Chevron Flooring Angle and Width
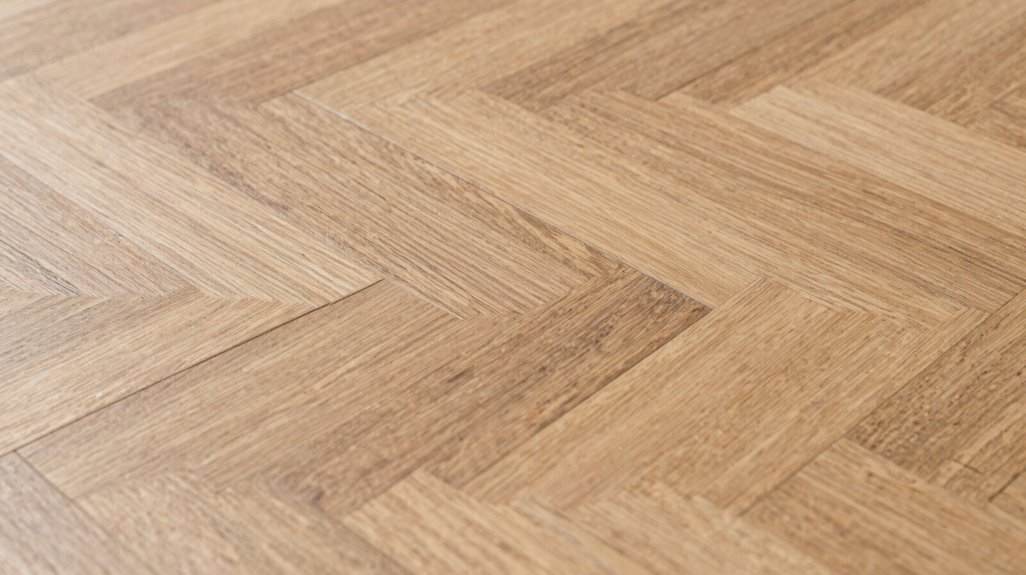
How do you select the most suitable angle and plank width for your chevron installation? Your choice shapes every V-shaped pattern your visitors will observe, so you’ll want to weigh function against visual impact before ordering materials.
Select a 45-degree chevron flooring angle when you need sharper, narrower Vs that energize long hallways or compact rooms. Choose a 60-degree angle for wider Vs that calm expansive living areas with balanced, grounded rhythm.
Rotate chevron angles like a dimmer switch: 45 degrees sharpens and energizes, 60 degrees softens and grounds.
Match chevron width to room scale: wider boards relax large spaces, narrower boards tighten small ones. Verify left-hand and right-hand boards cut availability so pattern continuity holds across every run. Confirm true Chevron requires manufactured boards or precise on-site cutting, since standard planks fail.
Your installation succeeds when angle, width, and room proportions align.
How Chevron Flooring Is Installed

You must prepare your subfloor to within 3/16-inch flatness over 10 feet and acclimate your boards for 72 hours minimum before you attempt any chevron installation. You’ll mirror left-hand and right-hand pieces at precise 45° or 60° angles, maintaining continuous V patterns through calculated center alignment and border planning.
Given the pattern’s zero-tolerance for visible misalignment and 15-20% material waste factors, you’re strongly advised to engage certified installers unless you’ve mastered hardwood flooring with demonstrated geometric precision.
Pre-Installation Preparation
The success of your chevron installation depends on what happens before the first board touches the subfloor. Pre-installation preparation determines whether your Chevron flooring delivers lasting precision or costly failure. You’ll need engineered wood or your chosen material to undergo proper acclimation, typically 48-72 hours, so angle ends won’t shift after placement. Inspect your subfloor for flatness within 3/16 inch over 10 feet; any deviation warps the V pattern.
Map your layout alignment from the room’s center, because border planning success depends on equal cuts at perimeter walls.
- Verify you’ve received matching left and right-hand pieces with consistent angle ends
- Test subfloor moisture levels against manufacturer specifications for engineered wood stability
- Complete acclimation by stacking materials flat, 4-6 inches from walls, for full air circulation
- Establish center lines and dry-fit three rows to confirm pattern symmetry before final commitment
- Calculate border widths mathematically, adjusting starting points to avoid narrow strips at margins
Installation Techniques
Where exactly does chevron installation differ from standard hardwood? You’ll find the answer in the precision cutting, angled cuts, and center alignment that define this pattern. Your Chevron installation demands mirroring pieces, left-hand and right-hand boards, that meet at perfect points to form continuous V shapes.
| Critical Step | Requirement | Consequence of Error |
|---|---|---|
| Subfloor preparation | Flat, stable surface within 3/16″ per 10 feet | Pattern distortion, joint failure |
| Acclimation | 72+ hours at room humidity 35-55% | Warping, misaligned points |
| Precision cutting | 45° or 60° angles, ±0.5° tolerance | Visible gaps, wasted material |
You must establish exact center alignment before laying your first row. Professional installers reduce waste from incorrect angling. Pre-finished engineered options with moisture-resistant substrates reduce on-site finishing while preserving pattern integrity throughout your installation.
Color and Finish Options for Chevron Floors
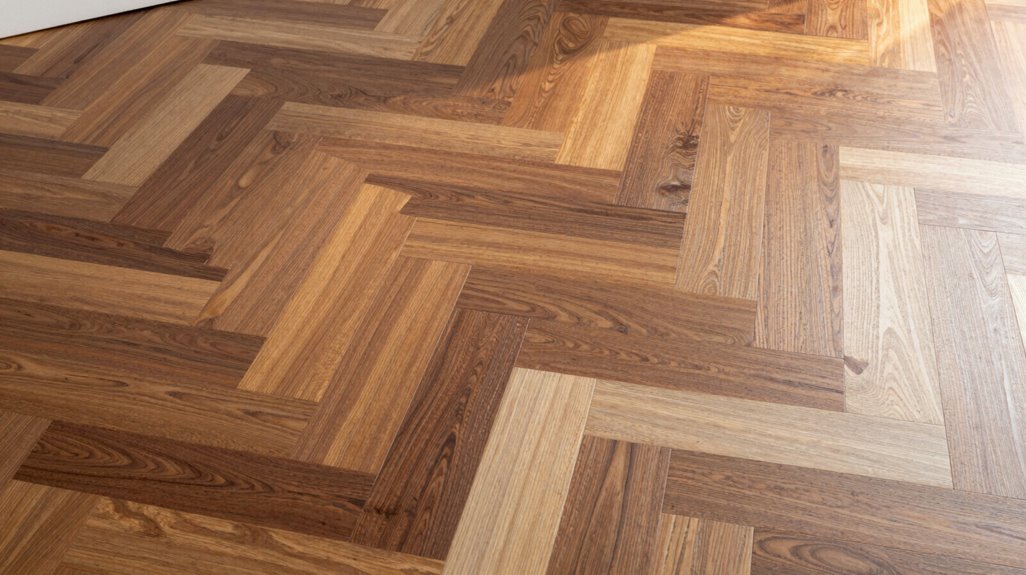
How do you select finishes that hide wear while choosing colors that expand or ground your space? You start by understanding that chevron flooring demands intentional choices, because its angular pattern amplifies every visual decision you make.
Choose matte or satin finishes for your chevron flooring, since these conceal daily wear far better than gloss options that spotlight every mark. Specify engineered wood with wire-brushed textures and low-gloss urethane, as this combination builds dimensional depth and withstands heavy traffic.
Matte and satin finishes conceal daily wear, while wire-brushed engineered wood with low-gloss urethane builds depth and withstands heavy traffic.
Select warm natural color tones, oak, walnut, honey, caramel, for grounding intimacy, or choose white oak and light grey for Scandinavian brightness. Apply UV oil finishes when you want natural matte depth with color stability against sun exposure.
Evaluate your room’s light exposure and function before finalizing finish and color pairings.
Cleaning and Maintaining Chevron Floors
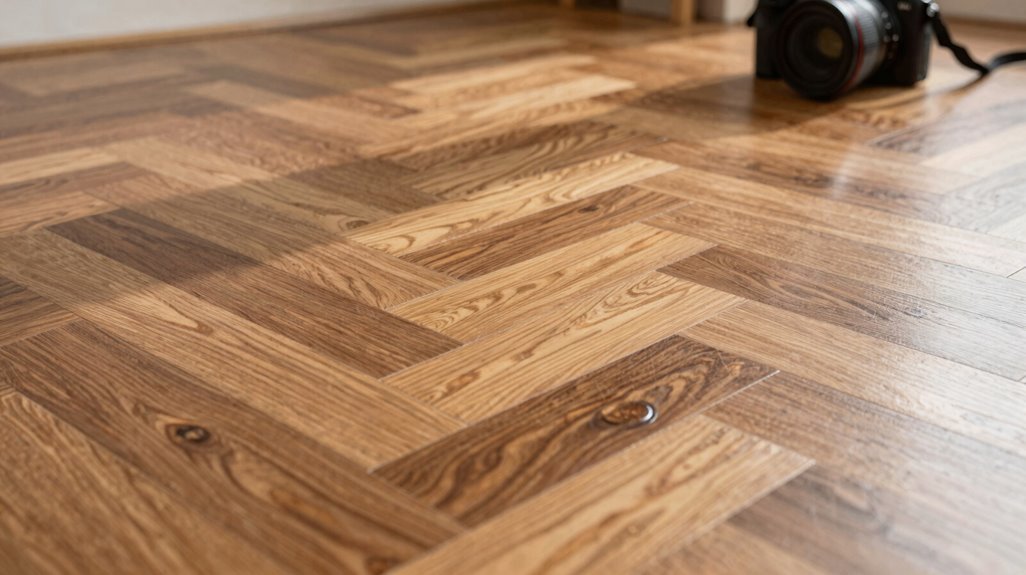
Why should you prioritize specialized maintenance for chevron floors? Your Chevron pattern demands precision, and neglect creates visible damage across those engineered wood planks.
You protect your investment through daily cleaning with a soft-bristle broom or vacuum on hard floor settings. Remove grit immediately, as it scratches finishes. Address spills within minutes using a damp cloth, mild wood floor cleaner, and thorough drying. Never use steam cleaners, harsh chemicals, or excess water; these swell engineered wood and distort your pattern.
| Task | Frequency | Tools/Products |
|---|---|---|
| Dust removal | Daily | Soft bristle broom, vacuum |
| Spill cleanup | Immediate | Damp cloth, cleaner |
| Deep cleaning | Monthly | Manufacturer-approved wood floor cleaner |
| Protective treatment | Quarterly | Wax polish if recommended |
Control humidity strictly, as stable levels prevent gapping, warping, and misalignment. Apply maintenance wax polish only when your manufacturer advises. Your Chevron floor rewards disciplined maintenance with decades of service.





